Why Thai Chicken Stew Recipe Works
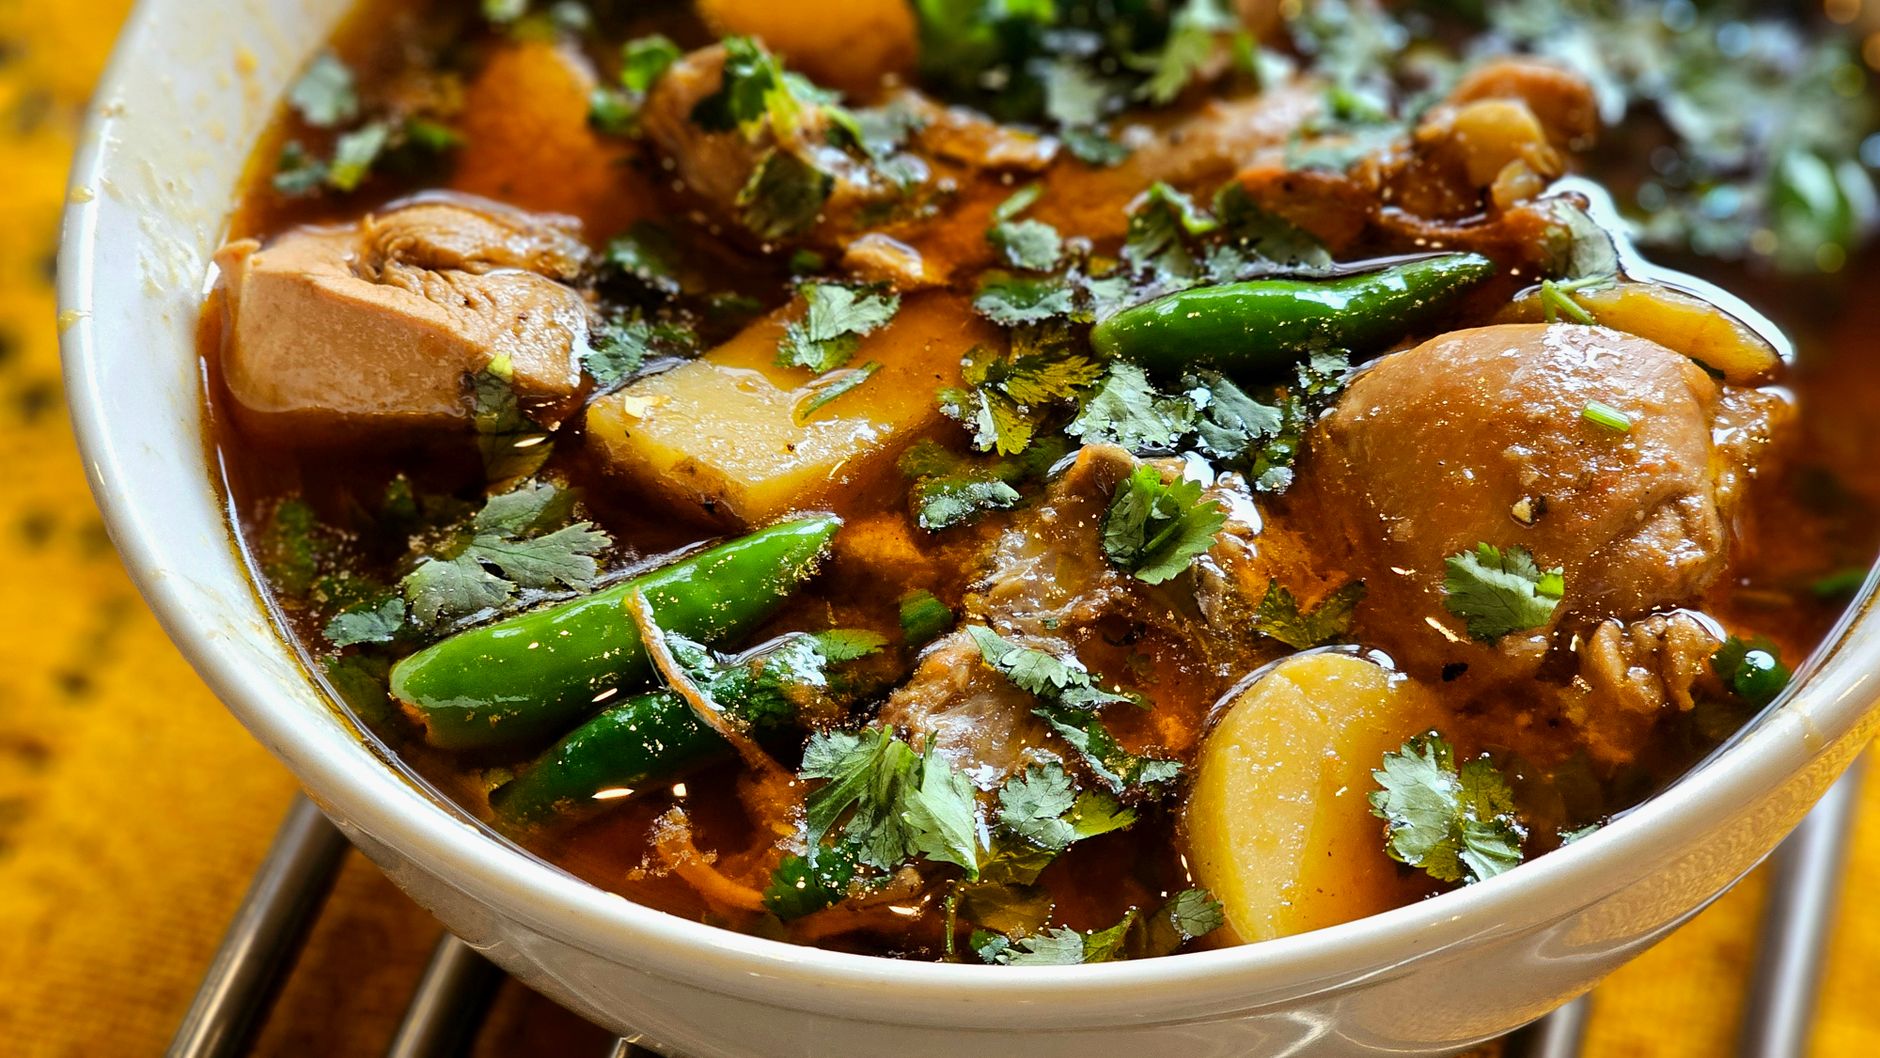
The first spoonful brings together creamy coconut milk, warm ginger, fragrant curry paste, and tender chicken. Colorful vegetables add sweetness and a gentle crunch, while lemon, cilantro, and mint keep the stew bright instead of heavy.
This Thai Chicken Stew Recipe is a one-pot meal made with chicken, coconut milk, vegetables, aromatics, and red curry paste. The chicken simmers gently until tender, while the coconut broth absorbs the flavors of ginger, garlic, lemongrass, and cumin. Serve it over rice or enjoy it on its own.
I like using bone-in chicken pieces because they stay moist during simmering and give the broth a deeper savory flavor. The finished stew is rich enough for a chilly evening but fresh enough for a weeknight dinner.
Health Benefits & Nutrition
This stew includes several useful food groups in one bowl. Chicken provides protein, which helps make the meal filling. Removing the chicken skin also keeps the dish lighter than using skin-on pieces.
- Protein from chicken: Chicken thighs and drumsticks contribute substantial protein for a satisfying main meal.
- Vegetable variety: Carrots, bell pepper, mushrooms, broccoli, bamboo shoots, water chestnuts, and baby corn provide fiber, color, and different textures.
- Aromatic ingredients: Garlic, ginger, lemongrass, cilantro, mint, and lemon create strong flavor without relying on a large amount of added sugar.
- Coconut milk richness: Coconut milk gives the broth its creamy texture. It also contributes saturated fat, so portion size matters if you are limiting saturated fat.
Nutrition varies with the exact chicken pieces, coconut milk brand, curry paste, and amount of oil used. One serving contains approximately 650–750 calories, 45–55 grams of protein, 25–35 grams of carbohydrates, and 35–45 grams of fat, before rice is added. Curry paste and canned vegetables can contain considerable sodium.
Check labels if you have a coconut, mushroom, or other food allergy. Curry pastes may contain shrimp paste or other seafood ingredients. For pregnancy, medical conditions, or dietary restrictions, use advice from your doctor or a registered dietitian.
Ingredients & Preparation
Recipe Card
| Prep time | 15 minutes |
|---|---|
| Cook time | 45 minutes |
| Total time | 1 hour |
| Servings | 4 servings |
| Calories | Approximately 700 per serving, without rice |
| Diet tags | Gluten-free when using verified gluten-free curry paste; dairy-free |
Full Ingredient List
- 1 1/2 pounds chicken legs, separated into drumsticks and thighs, skin removed
- 1 teaspoon fine salt, plus more to taste
- 2 tablespoons vegetable oil
- 1 cup finely minced onion
- 5 garlic cloves, peeled and finely chopped
- 1 tablespoon grated fresh ginger
- 1 cup sliced carrots
- 1 cup red bell pepper cut into 1-inch pieces
- 1 cup sliced mushrooms
- 1 to 2 teaspoons red curry paste
- 2 cans unsweetened light coconut milk, 14 ounces each
- 1/2 teaspoon galangal powder
- 1/2 teaspoon dried lemongrass flakes
- 1 teaspoon ground cumin
- 1 bay leaf
- 1 cup broccoli florets
- 1/2 cup canned bamboo shoots, drained
- 1/2 cup canned water chestnuts, drained
- 8 canned baby corn pieces, drained
- 1 tablespoon fresh lemon juice, plus more to taste
- 1/4 cup finely chopped fresh cilantro
- 1/4 cup finely chopped fresh mint
Equipment Needed
Use a large heavy-bottomed casserole, Dutch oven, or deep sauté pan with a lid. You will also need a cutting board, sharp knife, box grater or microplane for the ginger, measuring spoons, tongs, and a wooden spoon.
Tips for Choosing Quality Ingredients
Choose chicken pieces that are similar in size so they cook at the same rate. Skinless thighs are especially forgiving, but drumsticks add excellent flavor. Fresh ginger should feel firm and have smooth, tight skin. If it feels soft or wrinkled, it may be dry inside.
Use unsweetened coconut milk, not coconut beverage or sweetened cream of coconut. Shake the cans before opening. For the curry paste, begin with 1 teaspoon if your brand is unfamiliar. Heat levels vary widely between brands.
Fresh herbs make a noticeable difference here. Cilantro adds a green, citrusy note, while mint cools the spice. Add both near the end so their aroma remains lively.

Step-by-Step Instructions
1. Brown the Chicken for 8 Minutes
Pat the chicken dry and season it with 1 teaspoon salt. Heat the vegetable oil in a large casserole over medium-high heat, about 375°F if measured with an infrared thermometer. Add the chicken and brown it for 3–4 minutes per side, working in batches if needed. Transfer it to a plate when the surface is lightly golden; it will finish cooking later.
2. Cook the Aromatics and Vegetables for 9 Minutes
Reduce the heat to medium. Add the onion and cook for 3 minutes, stirring often. Add the garlic and ginger and cook for 1 minute, until the pan smells fragrant. Stir in the carrots, red bell pepper, mushrooms, and a small pinch of salt. Cook for 5 minutes, until the vegetables begin to soften and the mushrooms look glossy.
3. Toast the Curry Paste for 2 Minutes
Return the chicken and any collected juices to the casserole. Add 1 to 2 teaspoons red curry paste and stir for 2 minutes over medium heat. The paste should coat the chicken and vegetables, and its aroma should become more rounded and fragrant rather than raw-smelling.
4. Simmer the Chicken for 25 Minutes
Pour in both cans of coconut milk. Add the galangal powder, dried lemongrass, cumin, and bay leaf. Increase the heat to medium-high and bring the liquid to a gentle boil, then immediately reduce the heat to low. Cover and simmer for 25 minutes, stirring once or twice. Keep the liquid at a quiet bubble, not a vigorous boil.
5. Finish the Vegetables and Herbs for 10 Minutes
Add the broccoli, bamboo shoots, water chestnuts, and baby corn. Cover and simmer for 10 minutes, until the chicken reaches 165°F at the thickest part and the broccoli is tender but still green. The broth should coat a spoon lightly. Remove the bay leaf, then stir in the lemon juice, cilantro, and mint. Taste and adjust salt or lemon before serving.
The first time I made this with a hard boil, the coconut milk separated and left an oily layer on top. A low simmer gives a smoother broth. I also found that adding the broccoli with the chicken made it too soft, so adding it during the final 10 minutes keeps its color and bite.
Variations & Substitutions
- Boneless chicken version: Replace the bone-in chicken with 1 1/2 pounds boneless, skinless chicken thighs. Cut them into 1 1/2-inch pieces and reduce the covered simmer to 15 minutes before adding the vegetables.
- Milder stew: Use 1 teaspoon curry paste and replace half of the red bell pepper with another cup of sliced mushrooms. For a very mild result, use a curry paste labeled mild, though brands differ.
- Extra vegetables: Replace the baby corn with 1 cup trimmed green beans. Add the beans at the same time as the broccoli so they remain slightly crisp.
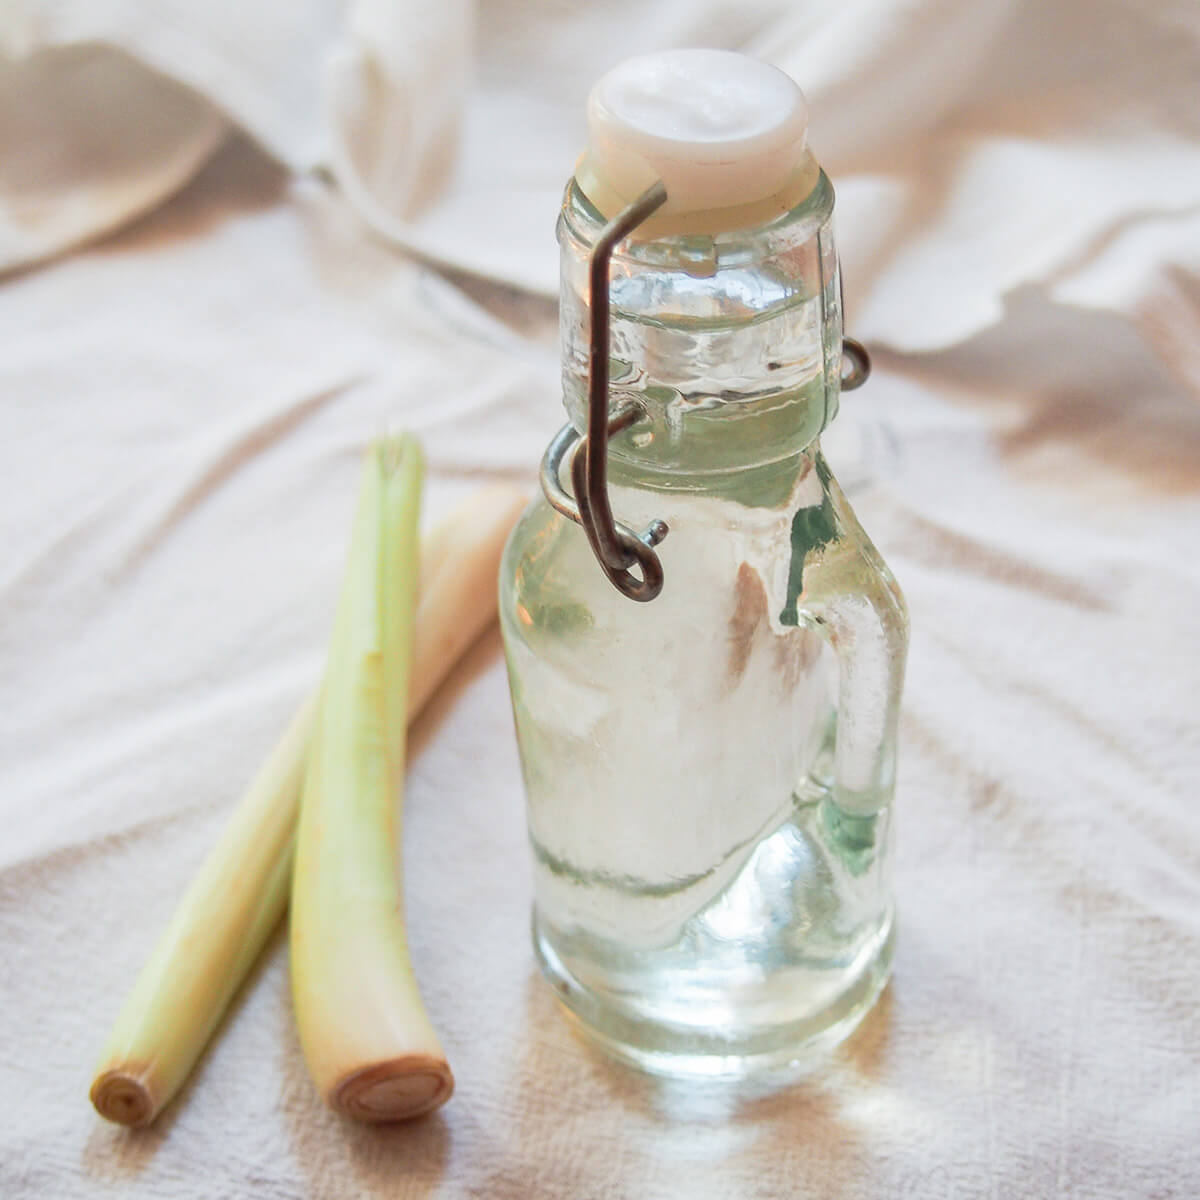
- Fresh lemongrass option: Replace the dried lemongrass flakes with 1 bruised lemongrass stalk. Simmer it with the coconut milk, then remove it with the bay leaf before serving.
- Boneless turkey option: Use 1 1/2 pounds turkey thigh cut into chunks. Simmer until the thickest pieces reach 165°F, checking them with a thermometer rather than relying only on time.
- More broth: Add 1/2 cup low-sodium chicken stock if you prefer a looser soup-like consistency. Taste before adding extra salt because stock and curry paste can both be salty.
I tested the stew with chicken breast, but it was less forgiving and became dry when held over heat. If breast is your only option, cut it into larger pieces and add it halfway through the coconut-milk simmer instead of cooking it for the full time.
Storage & Shelf Life
Cool the stew in shallow containers and refrigerate it within 2 hours of cooking. Store it in a sealed container for up to 3 days. The coconut broth may look slightly thicker or separated when cold, but it should become smooth again when reheated gently.
For freezing, cool the stew completely and portion it into freezer-safe containers, leaving about 1 inch of space for expansion. Freeze for up to 2 months. Thaw overnight in the refrigerator, then reheat in a saucepan over low to medium-low heat until steaming throughout. Avoid a hard boil, which can make the coconut milk separate.
Discard leftovers if they smell sour or unpleasant, develop mold, feel unusually slimy, or show a major change in color. Do not taste food to decide whether it is safe. Rice should be stored separately and reheated only until hot.
Pro Tips
- Dry the chicken first: Moisture prevents browning. Patting the pieces dry also reduces splattering when they hit the hot oil.
- Do not crowd the pan: If the chicken pieces touch each other, they steam instead of brown. Work in two batches when necessary.
- Toast the paste briefly: Two minutes in the hot vegetable mixture removes its raw edge and spreads the spices through the oil.
- Control the coconut milk: Keep the stew below a vigorous boil. Gentle heat protects the creamy texture and keeps the chicken tender.
- Balance at the end: Lemon juice should be added after cooking. Its brightness is easier to judge once the broth is hot and the herbs are ready.
- Protect your cutting board: Curry paste can stain pale plastic and wooden boards. Use a dark board or line a light board with parchment, then wash utensils promptly.
- Keep herbs fresh: Chop the cilantro and mint while the stew simmers, but wait until the final minute to add them. Early addition dulls their fresh aroma.

Serving and Recipe Notes
When is the best time to eat Thai Chicken Stew Recipe?
The best time to eat Thai Chicken Stew Recipe is immediately after cooking, while the broth is hot and the herbs are fresh. It also works well for lunch or dinner because the flavors become fuller after a night in the refrigerator. Reheat it gently rather than boiling it.
What should you serve with this chicken stew?
Serve the stew with steamed jasmine rice, brown rice, or rice noodles. Plain rice is useful because it absorbs the coconut broth without competing with the curry paste. For a lighter plate, serve a small portion with extra broccoli or a crisp cucumber salad.
Can you make this stew without galangal powder?
Yes, you can make the stew without galangal powder. Replace the 1/2 teaspoon galangal powder with an additional 1/2 teaspoon grated fresh ginger, or simply omit it. The flavor will be slightly less earthy, but the curry paste, ginger, lemongrass, and herbs will still make a flavorful broth.
How can you make the recipe less spicy?
Use 1 teaspoon curry paste and choose a mild brand to make the stew less spicy. You can also add more coconut milk or 1/2 cup unsalted chicken stock after simmering. Do not add extra curry paste at the beginning unless you already know its heat level.
Why did my coconut milk separate?
Coconut milk usually separates because the stew was boiled too vigorously or reheated too aggressively. Keep the pot at a gentle simmer and stir occasionally. A separated broth is generally still usable, but whisking in a tablespoon of warm water can make the texture look smoother.
Can I prepare this stew in advance?
Yes, prepare the stew up to 3 days in advance and refrigerate it promptly. For the freshest texture, reserve the cilantro, mint, and lemon juice until reheating and serving. Add the herbs after the pot comes off the heat so they retain their color and aroma.
How do I know when the chicken is fully cooked?
The chicken is fully cooked when the thickest piece reaches 165°F on an instant-read thermometer. The meat should no longer look pink near the bone, and the juices should run clear. Size affects timing, so use temperature as the final check rather than depending on the clock alone.
More Recipes You Will Love
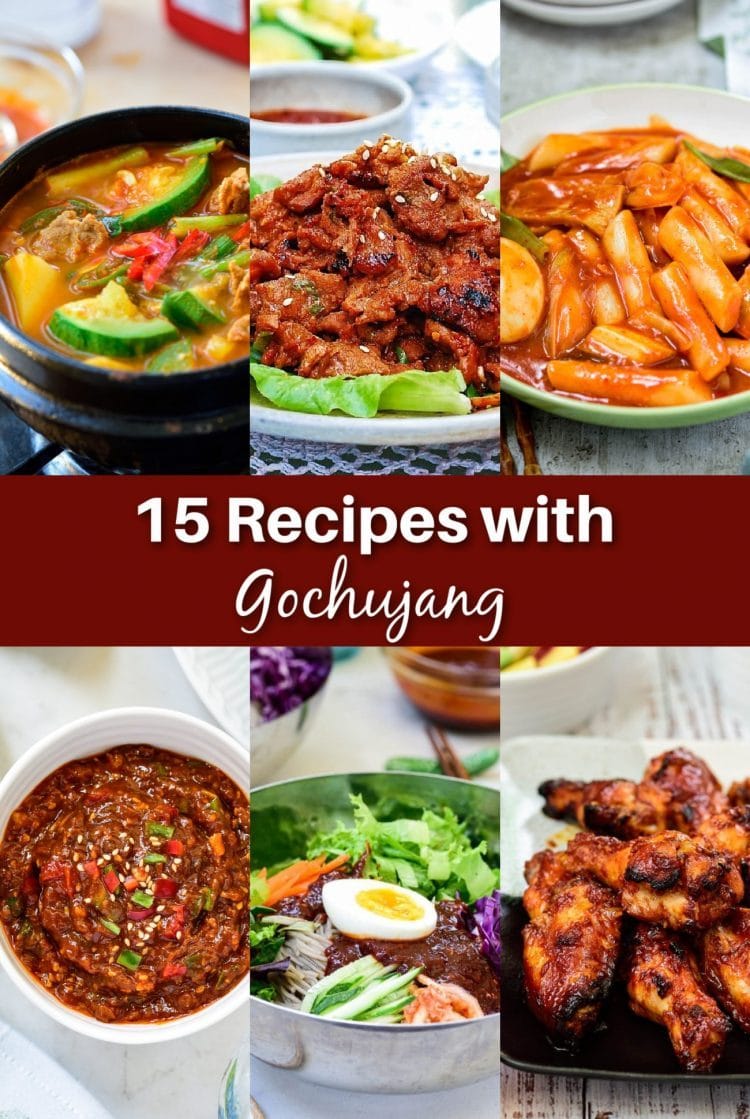
If you enjoy bold, savory meals with a little heat, try this Gochujang rice bowl. Its spicy-sweet sauce and tender toppings make it another practical weeknight option.
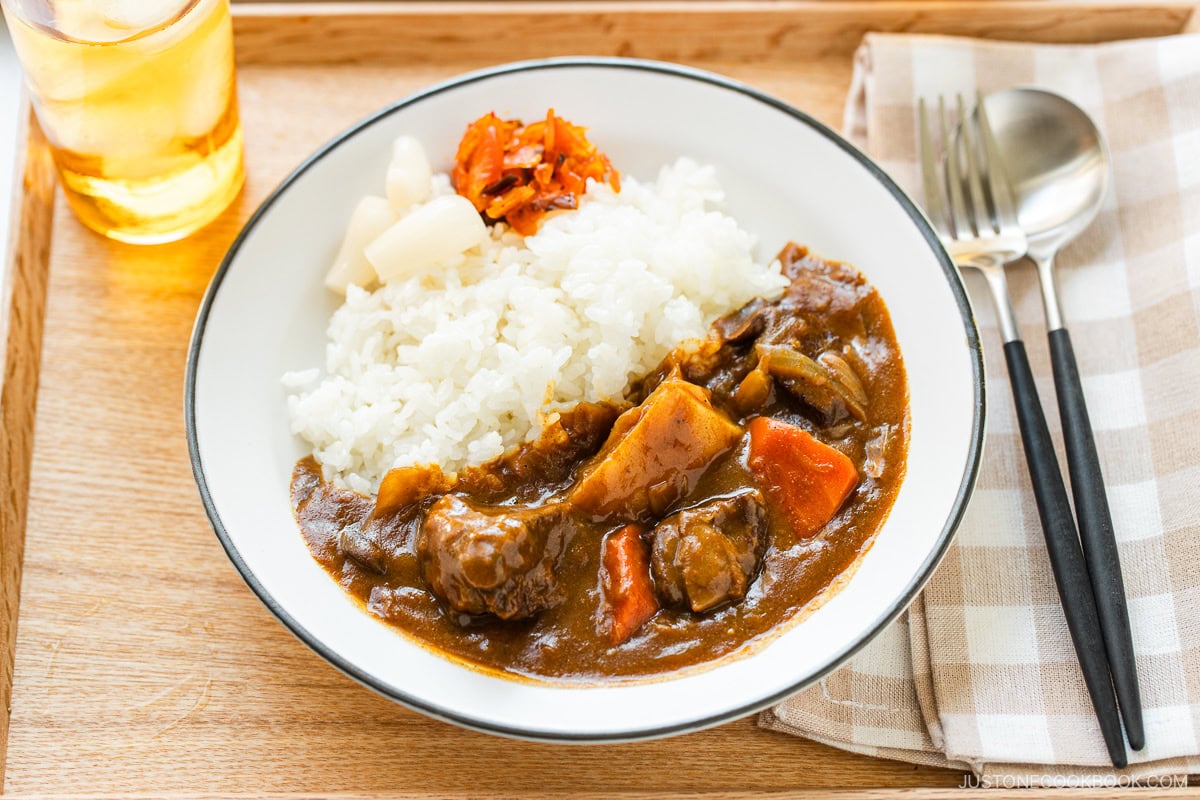
For a thicker, warmly spiced dinner, make the Japanese curry recipe chicken. It has a comforting gravy-style sauce and pairs naturally with steamed rice.
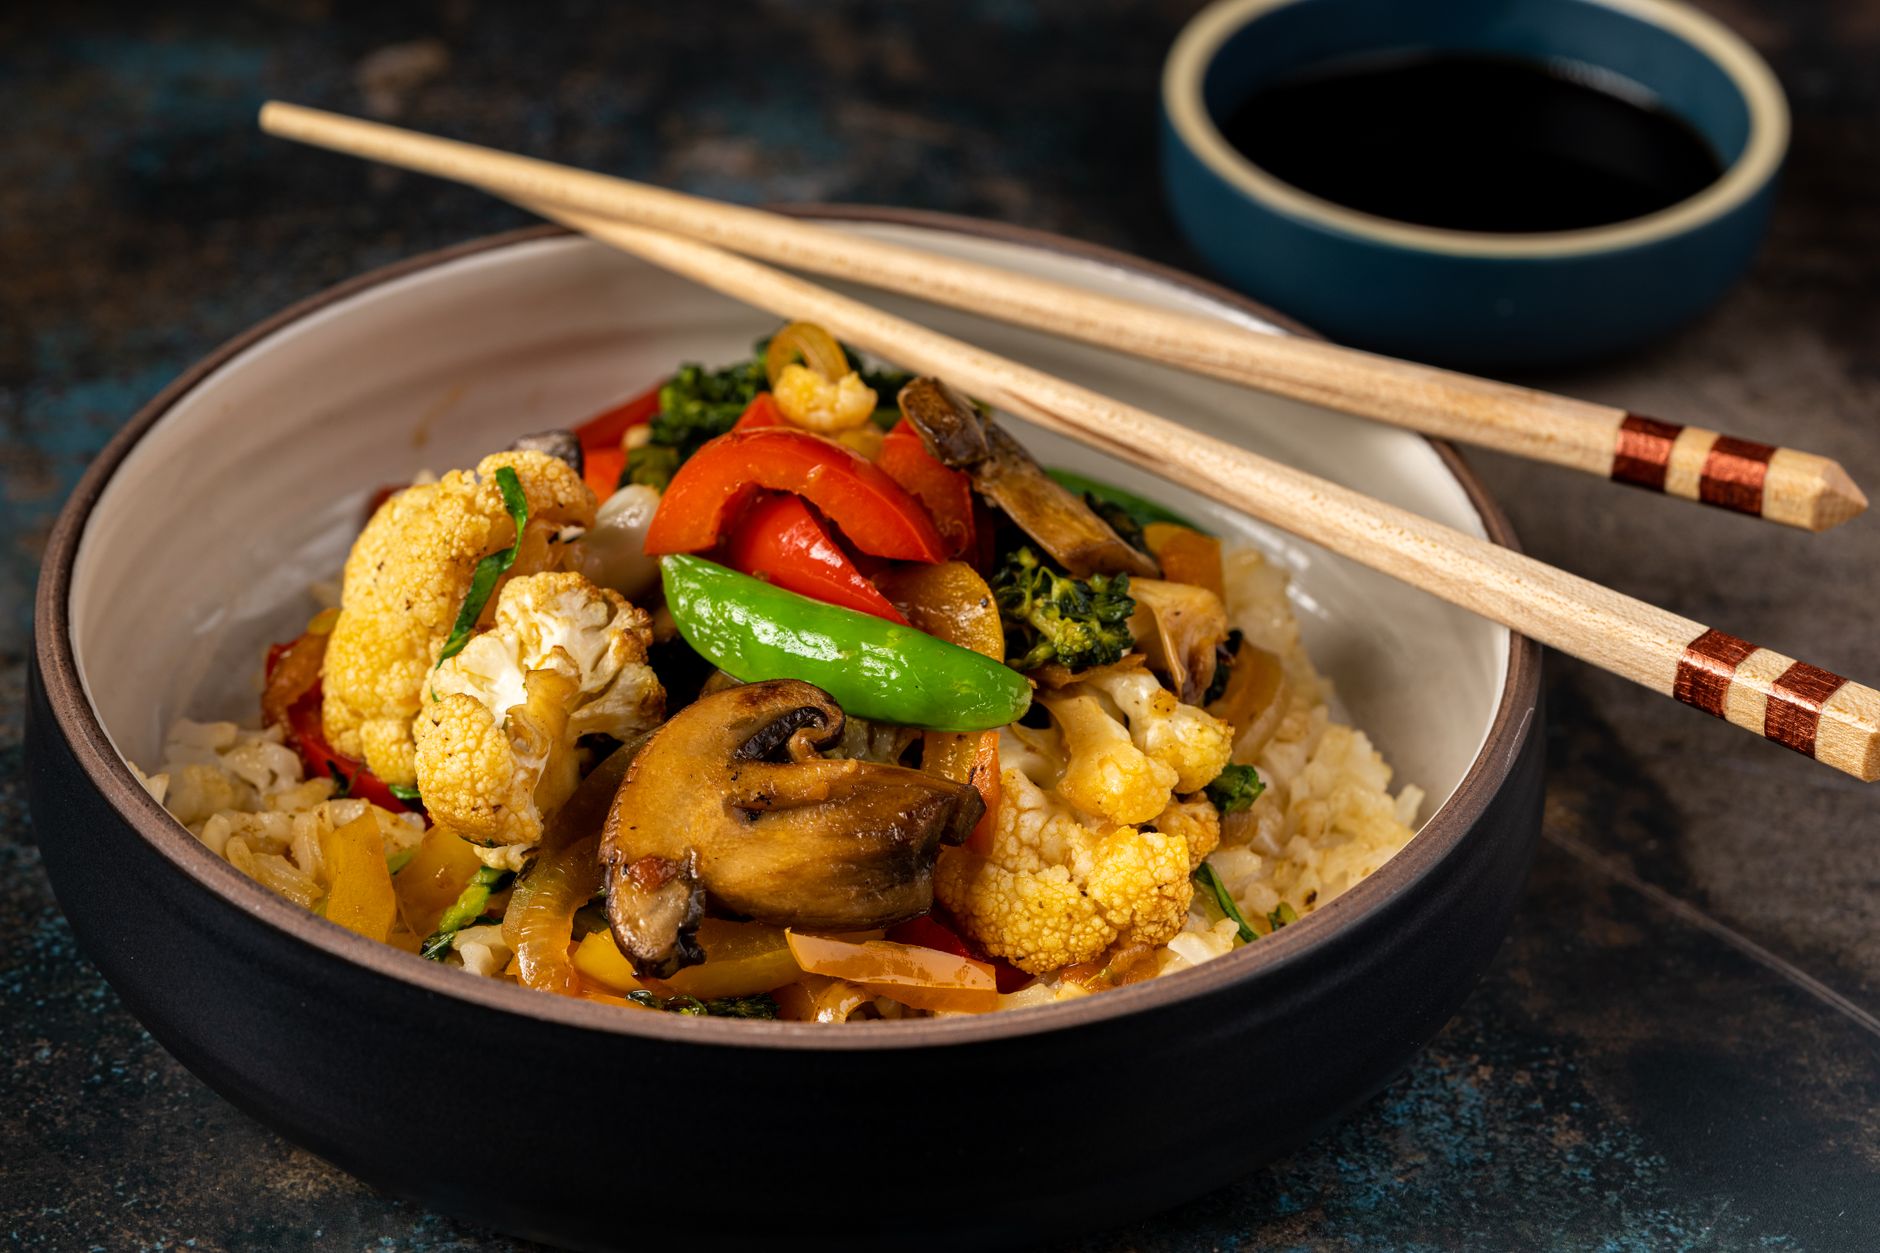
You can also serve this coconut stew alongside simple roasted vegetables or a fresh herb salad. Choose sides with mild flavors so the curry broth remains the focus.
Conclusion
This Thai Chicken Stew Recipe brings together tender chicken, creamy coconut milk, colorful vegetables, and fresh herbs in one dependable pot. Keep the simmer gentle, add the quick-cooking vegetables near the end, and finish with lemon, cilantro, and mint for balance. Serve it with rice for a hearty dinner or enjoy it as a lighter stew on its own. If you make it, leave a rating or comment and share what vegetables you used.
FAQs
When is the best time to eat Thai Chicken Stew Recipe?
The best time to eat Thai Chicken Stew Recipe is for dinner, especially on a chilly evening or a busy weeknight. The coconut broth feels rich, while lemon, cilantro, and mint keep it bright, so it works for both cozy and fresh meals. Serve it hot over rice or on its own.
Can I make Thai Chicken Stew Recipe ahead of time or freeze it?
Yes, you can make Thai Chicken Stew Recipe ahead and refrigerate it for 3 to 4 days in an airtight container. Add the fresh lemon juice, cilantro, and mint just before serving, since they lose brightness during storage. The broth and chicken can be frozen for up to 2 to 3 months, though broccoli and bell pepper become softer after thawing.
Can I use boneless chicken instead of bone-in pieces in this stew?
Yes, boneless chicken can work, but the broth will be less rich. Choose boneless thighs, which stay moist, and shorten the simmering time to about 15 to 20 minutes so the meat does not dry out. Bone-in pieces add deeper savory flavor and are the better choice for this stew.
Why does my coconut milk stew look grainy or separated?
Coconut milk usually turns grainy or separates when it boils too hard. Keep the stew at a gentle simmer after adding the coconut milk, and stir occasionally. Stirring the curry paste into the aromatics before adding liquid and using unsweetened light coconut milk also helps the broth stay smooth.
How long does leftover Thai chicken stew last in the fridge?
Leftover Thai chicken stew lasts about 3 to 4 days when refrigerated in a sealed container. Cool it within about two hours of cooking, then reheat it gently on the stove over low heat, adding a splash of water if the broth has thickened. Avoid boiling it hard during reheating to keep the coconut broth smooth.