Why Hard Candy Shot Glasses
The first bite gives a crisp crack, followed by a bright, fruity sweetness that melts quickly on your tongue. Hard Candy Shot Glasses turn a simple party drink into an edible centerpiece with almost no cooking.
Hard Candy Shot Glasses are made by melting unwrapped hard candies inside a silicone shot-glass mold, then cooling the candy until it becomes firm and transparent. The finished glasses hold small servings of chilled drinks, dessert sauces, or alcohol-free beverages. Use a rimmed baking sheet, avoid overfilling the molds, and let the candy cool completely before unmolding.
I tested several candy arrangements and found that three layers of four candies create a sturdier glass than a thinner layer. The edges may look slightly uneven, but that handmade finish is part of the charm. Set them out just before serving, especially in a warm room.

Health Benefits & Nutrition
This is a novelty snack and serving idea, not a health food. Hard candy is mostly added sugar, so the nutritional value comes from the drink or filling you serve inside the edible glass rather than from the candy itself.
- Small portions: Each glass uses about 12 candies, making the portion easy to count when you are planning a dessert table or party tray.
- No added fat: Plain hard candies generally contain little or no fat, although ingredient labels vary by brand.
- Simple ingredient list: The recipe needs only hard candies, with no oil, butter, flour, or dairy.
- Diet flexibility: Many hard candies are suitable for vegetarian diets and may be gluten-free, but you should check the package for the exact brand you use.
Because the candy is high in sugar, serve it occasionally and consider the sweetness of the beverage inside. People managing diabetes, food allergies, or other health conditions should check the candy label and ask a qualified healthcare professional or dietitian for advice suited to their needs. Never assume a colorful candy is free from allergens or cross-contact warnings.
Ingredients & Preparation
Recipe Card
| Prep time | 1 hour 30 minutes |
|---|---|
| Cook time | 15 minutes |
| Total time | 1 hour 45 minutes |
| Servings | 8 edible shot glasses |
| Calories | Approximately 190 calories per glass, before filling |
| Diet tags | Vegetarian; potentially gluten-free, depending on candy label |
Ingredients
- 96 individually wrapped, multicolored hard candies
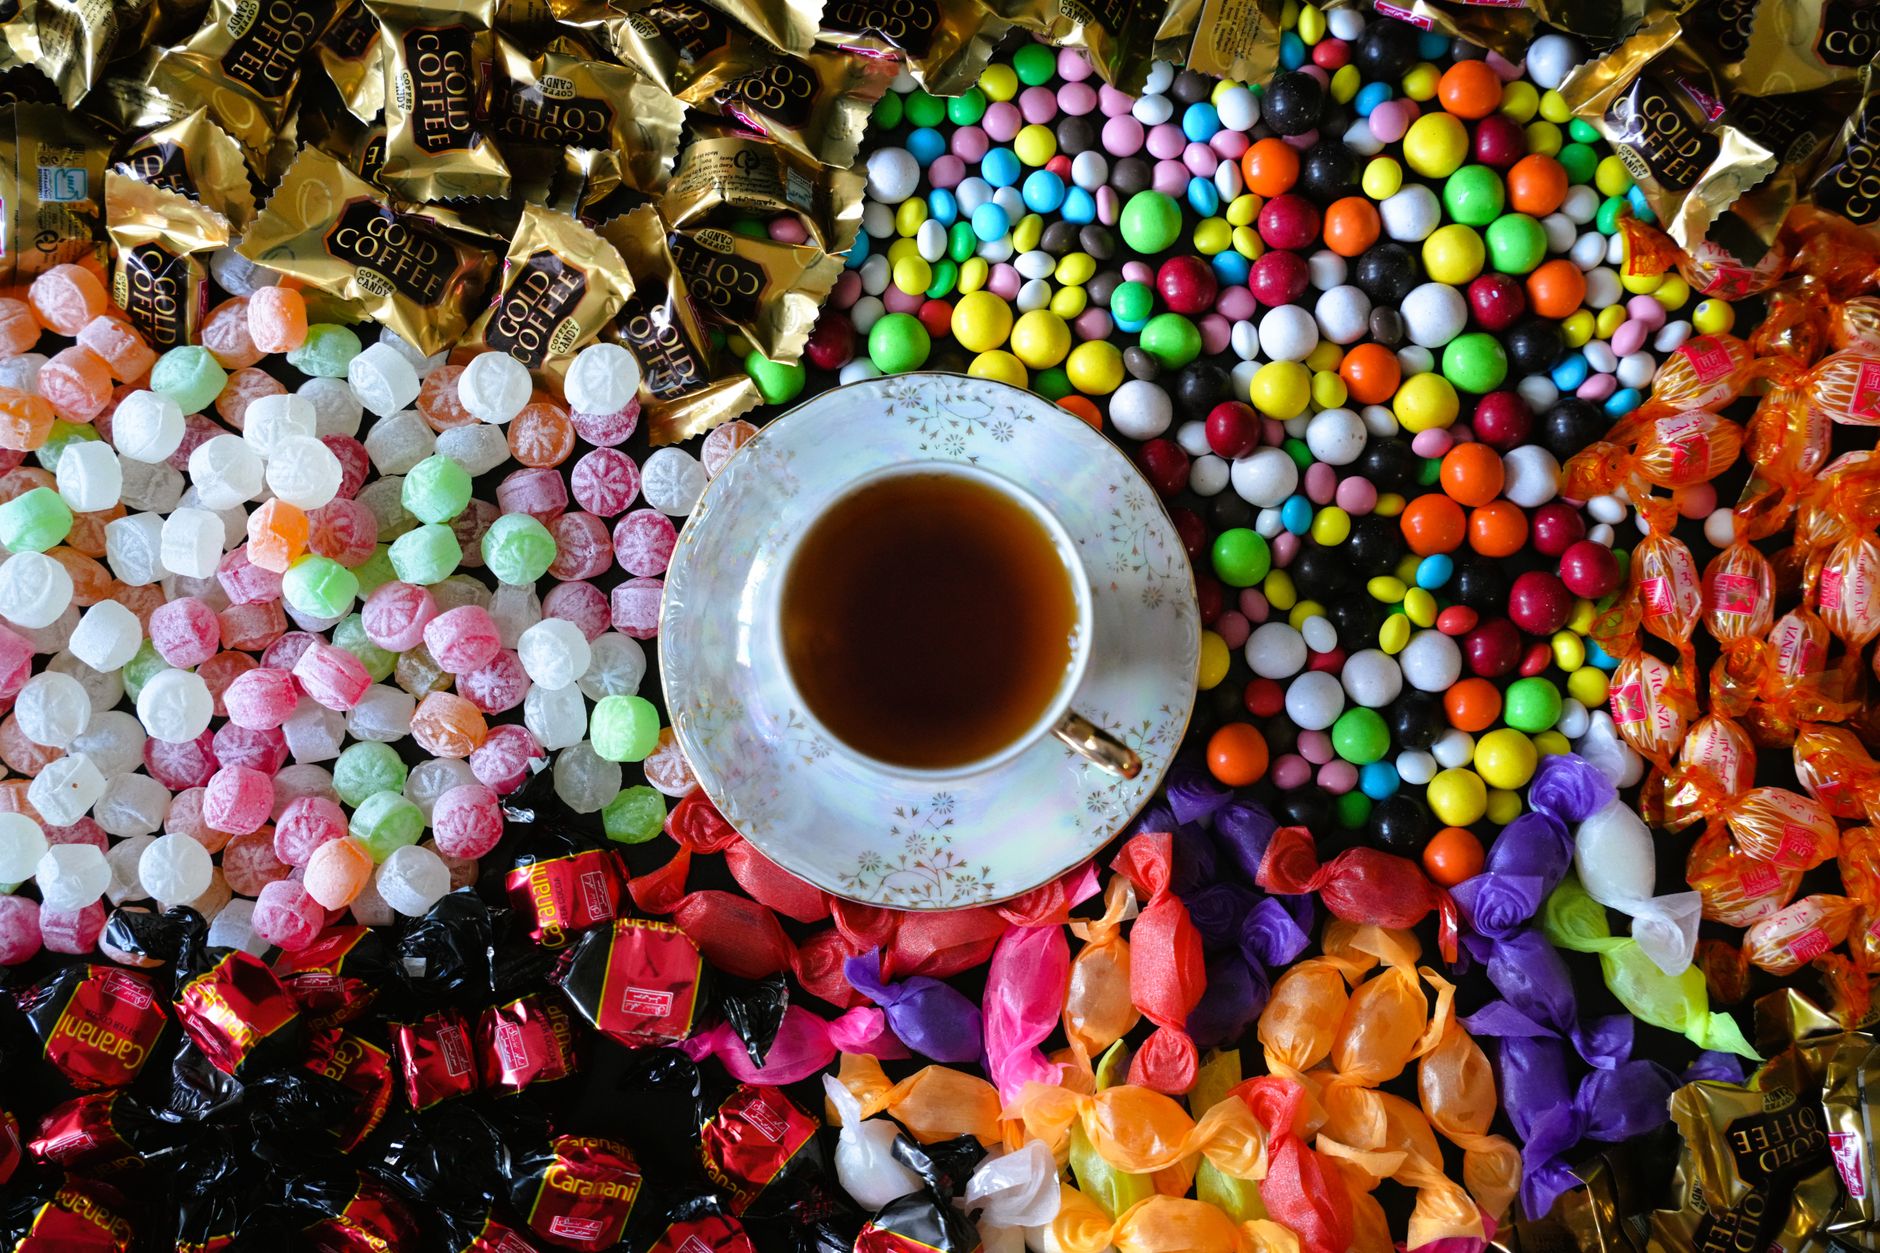
Plan on 12 candies per mold cavity. A mixed bag gives each glass a striped or jewel-toned appearance, while one color creates a more uniform finish. Choose candies that are hard, not chewy, soft-centered, filled, or coated. Different brands can melt at slightly different speeds, so use one brand for the whole batch when possible.
Equipment Needed
- One 8-cavity, round shot-glass silicone mold
- One rimmed baking sheet
- Small spoon
- Heatproof gloves or oven mitts
- Clean, dry storage container with a tight-fitting lid
Place the silicone mold on the baking sheet before adding candy. The tray supports the flexible mold and makes it safer to move in and out of the oven. A mold with straight or gently curved sides works best. Deep, narrow cavities can make the glasses difficult to unmold without cracking.
Tips for Choosing Quality Ingredients
Look for bright, unclouded hard candies with a smooth surface. Candies with a strong fruit flavor usually create the most noticeable aroma as they melt. Avoid pieces that are sticky from humidity, since damp candy can melt unevenly and leave a dull, grainy surface.
If you are serving drinks with the glasses, select flavors that complement them. Fruit candy works well with lemonade, sparkling water, citrus soda, and berry drinks. Mint or cinnamon candy can overpower a delicate beverage.

Step-by-Step Instructions
1. Prepare the oven and mold
Heat the oven to 375°F. Place the 8-cavity silicone shot-glass mold on a rimmed baking sheet. Unwrap all 96 candies and keep them separated by color if you want deliberate patterns. Do not grease the mold; the candy releases cleanly once completely cool.
2. Build the first candy layer
Place 4 candies in the bottom of each cavity. Arrange them in a single layer so they touch, but do not stack them yet. Small gaps are acceptable because the candy will flow as it melts.
3. Add the remaining layers
Place a second layer of 4 candies over the first, staggering the pieces so they sit across the gaps. Add a final layer of 4 candies to each cavity, again staggering the pieces. Each cavity should contain 12 candies and should remain below the rim of the mold.
4. Melt the candy
Bake the filled mold at 375°F for 10 to 15 minutes. Start checking at 10 minutes. The candy is ready when the pieces have fully merged into a glossy, bubbling pool with no dry centers. My molds usually reached that stage near 12 minutes, but the exact timing depends on candy size and the silicone thickness.
5. Remove air gaps and cool
Carefully remove the baking sheet from the oven. Use the back of a small spoon to gently tap the mold beside each cavity for about 10 seconds. This helps settle bubbles and fill small gaps along the sides. The melted candy will be extremely hot, so do not touch or taste it.
Cool the mold on the baking sheet at room temperature for 60 to 75 minutes, until the glasses feel firm and no longer flex in the center. The surface should look hard and glassy rather than soft or tacky. The first time I made these, I unmolded one too early and cracked the rim; waiting until the center felt completely rigid solved the problem.
6. Unmold and serve
Gently pull the silicone away from the outside of each glass, then press upward from the base. Do not twist the rim. Serve immediately with small pours of chilled drinks, or transfer the finished glasses to a dry, airtight container.
Variations & Substitutions
- Single-color glasses: Use 96 candies in one flavor instead of a mixed assortment. The method and quantity remain the same: 12 candies per cavity.
- Two-tone glasses: Use 6 candies of one color and 6 of another in each cavity. Place one color in the bottom and the second color in the top two layers for a clear color contrast.
- Striped glasses: Use 4 candies per layer, keeping each layer a different color. The stripes may blur slightly during melting, but the result will still show distinct bands.
- Smaller candy cups: Use a mini-cup silicone mold and begin checking after 6 minutes at 375°F. Fill each cavity with enough candy to create a base at least ¼ inch thick. The yield will depend on the mold size.
- Alcohol-free serving: Fill the glasses with sparkling water, lemonade, iced tea, fruit punch, or a small spoonful of dessert sauce. Keep the candy quantity unchanged.
- Flavor pairing: Match citrus candies with lemonade, berry candies with cranberry juice, and apple candies with sparkling apple cider. Avoid adding liquid flavoring to the melted candy, because moisture can cause bubbling and splattering.
Chewy candy, gummy sweets, chocolate, and candy with liquid centers are not reliable substitutions. They soften differently and may leave sticky pockets instead of a firm glass.
Storage & Shelf Life
Store unmolded glasses in a dry, airtight container at room temperature for up to 7 days. Separate layers with parchment paper, and keep the container away from sunlight, steam, and heat. Humidity is the biggest enemy because it makes the candy surface sticky.
Refrigeration is not recommended for routine storage. The refrigerator can introduce condensation when the glasses are brought back to room temperature, leaving them cloudy or tacky. If you must refrigerate them, wrap each glass carefully and use it within 3 days after allowing it to return to room temperature inside the wrapping.
Freezing is also not recommended. Ice crystals and condensation can weaken the candy and make the surface unpleasantly sticky. These glasses are best made within a few days of serving.
Discard any glass that has developed visible mold, an unusual odor, wet patches, or a sticky coating that does not disappear in a dry room. Cracks alone do not indicate spoilage, but cracked pieces should not be used for liquid service because they can leak or break further.
Pro Tips
- Use a firm support: Always bake the silicone mold on a rimmed metal sheet. Trying to move a filled, flexible mold without support can spill hot candy.
- Keep the candy dry: Unwrap the pieces immediately before arranging them. Moisture from damp hands or a humid kitchen can affect the final finish.
- Do not overbake: Once the candy is completely liquid and glossy, remove it. Longer baking can darken some colors and create more bubbles.
- Tap gently: Hard tapping can make the hot candy climb the mold walls. Light, repeated taps settle air pockets without disturbing the layers.
- Protect the rim: Do not run a knife around the edges. Silicone releases the candy more safely when you peel the mold away rather than prying the glass out.
- Chill the filling, not the candy: Cold drinks reduce the chance of immediate softening. Fill each glass just before serving, especially if the room is warm.
- Prevent color transfer: Place the finished glasses on parchment rather than a damp plate. Moisture can pull color from the candy and leave a sticky ring.
- Test your mold: Silicone molds vary in capacity. If your cavities are noticeably larger or smaller, make one test glass first and adjust the candy count for a level, sturdy wall.
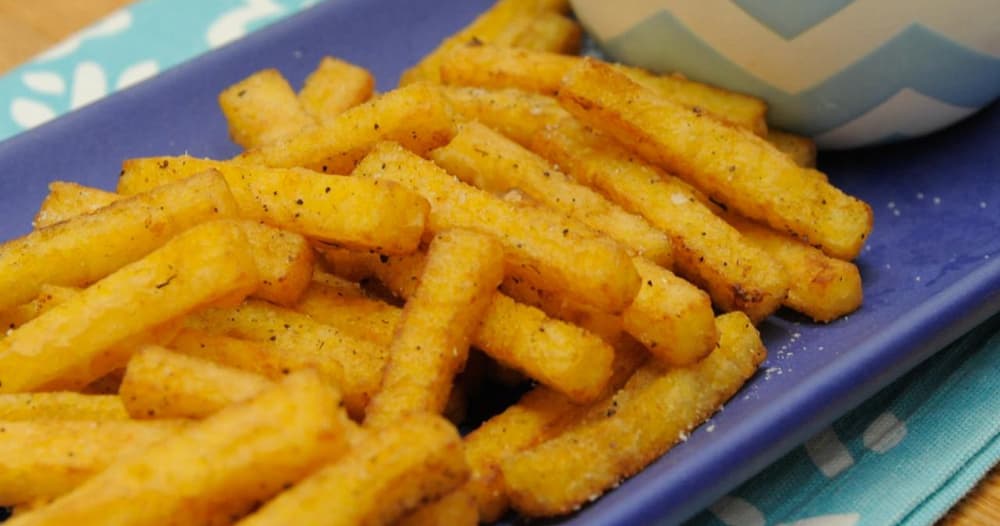
For a snack table with more texture, pair these sweet glasses with something crisp or tangy, such as Spiced watermelon fries with lime crema 5312895. Keep savory snacks on a separate tray so the candy does not pick up salty or spicy residue.
Questions & Answers
When is the best time to drink or eat Hard Candy Shot Glasses?
The best time to use them is immediately after filling them, especially in a warm room. Pour chilled drinks into the glasses just before serving so the candy stays firm. For an outdoor party, keep the empty glasses in a shaded, dry container and fill only a few at a time.
Can I make these edible glasses ahead of time?
Yes, you can make them up to 7 days ahead if they remain completely dry. Store them at room temperature in an airtight container with parchment between layers. Avoid the refrigerator unless necessary, because condensation can make the candy cloudy and sticky.
Why did my candy glasses crack?
Cracking usually happens because the glasses were unmolded while still warm, the candy layer was too thin, or the mold was twisted during release. Let them cool until rigid, then peel the silicone away from the sides and press gently from the base. A full 12 candies per cavity creates a more durable wall.
Can I use any type of hard candy?
Use smooth, solid hard candies without chewy centers, liquid fillings, chocolate, or soft coatings. These varieties melt more consistently and set into a firm shell. Check the ingredient label if allergies or dietary restrictions matter, since colors, flavorings, and manufacturing facilities vary by brand.
What drinks work best in candy shot glasses?
Small pours of chilled lemonade, fruit punch, sparkling water, iced tea, and mixed drinks work well. Choose a beverage that complements the candy flavor rather than competing with it. Avoid hot liquids, very acidic mixtures left standing for long periods, and drinks with large ice cubes that can stress the glass.
Can I make the glasses without a silicone mold?
A silicone shot-glass mold is strongly recommended because it provides flexible sides and consistent shapes. Metal molds are difficult to release, while disposable plastic cups can melt or warp. If you use another heat-safe silicone shape, keep the candy layer at least ¼ inch thick and adjust the baking time carefully.
How do I reduce bubbles in the finished candy?
Reduce bubbles by arranging the candies in even layers and tapping the mold gently after baking. Avoid stirring the melted candy, which can introduce more air. A glossy surface with a few tiny bubbles is normal, but slow, gentle taps beside each cavity usually improve the clarity.
If you are building a broader snack spread, you might also enjoy Best tortilla chips for diabetics. Serve those with a savory dip while the candy glasses handle the sweet, colorful side of the table.
More Recipes You Will Love
For a fresh party snack, try the spiced watermelon fries with lime crema. The juicy watermelon and tangy crema balance the sweetness of a candy dessert without requiring another oven project.
A bowl of crisp tortilla chips is another useful companion for a casual gathering. Choose a sturdy chip for dipping, then keep it well away from the edible glasses so crumbs and moisture do not soften the candy.
You can also fill these glasses with a spoonful of pudding, mousse, or fruit compote. Use thick fillings and serve them promptly for a playful dessert course.
Conclusion
Hard Candy Shot Glasses are colorful, simple, and surprisingly sturdy when the candy is layered properly and cooled completely. The key details are using 12 candies per cavity, baking at 375°F, and waiting until the centers feel rigid before unmolding. Keep the finished glasses dry, fill them at the last moment, and pair the flavor with a chilled drink or small dessert. If you make them, share how your color combinations turned out, and consider leaving a rating or comment.
FAQs
When is the best time to eat Hard Candy Shot Glasses?
The best time to eat Hard Candy Shot Glasses is after you finish the drink inside, while the candy is still crisp. Set them out just before serving, especially in a warm room, because heat can soften hard candy. Chilled drinks, dessert sauces, or alcohol-free beverages all work well as fillings.
Can I use different hard candies for Hard Candy Shot Glasses?
Yes, you can use different hard candies, but stick to one brand for the whole batch when possible. Different brands can melt at slightly different speeds, which may change the thickness and appearance of the glass. Avoid chewy, soft-centered, filled, or coated candies, since they do not melt into a clear, sturdy shape.
Why do Hard Candy Shot Glasses crack or stick to the mold?
Hard Candy Shot Glasses usually crack or stick because they were unmolded before the candy cooled completely. Let them cool fully on the baking sheet, then gently flex the silicone mold to release them. Avoid overfilling the cavities, and choose a mold with straight or gently curved sides, since deep, narrow cavities are harder to empty.
How should Hard Candy Shot Glasses be stored?
Store Hard Candy Shot Glasses in a clean, dry container with a tight-fitting lid. Keep the container in a cool place away from moisture, since humidity can make hard candy sticky and cloudy. Keeping them in a sealed container also helps protect their shape until serving.
Are Hard Candy Shot Glasses okay for people with diabetes?
People with diabetes should check the candy label and talk with a qualified healthcare professional or dietitian before eating Hard Candy Shot Glasses. Hard candy is mostly added sugar, so the sweetness of the filling matters too. Always check labels for allergens and cross-contact warnings, because colorful candy is not automatically allergen-free.