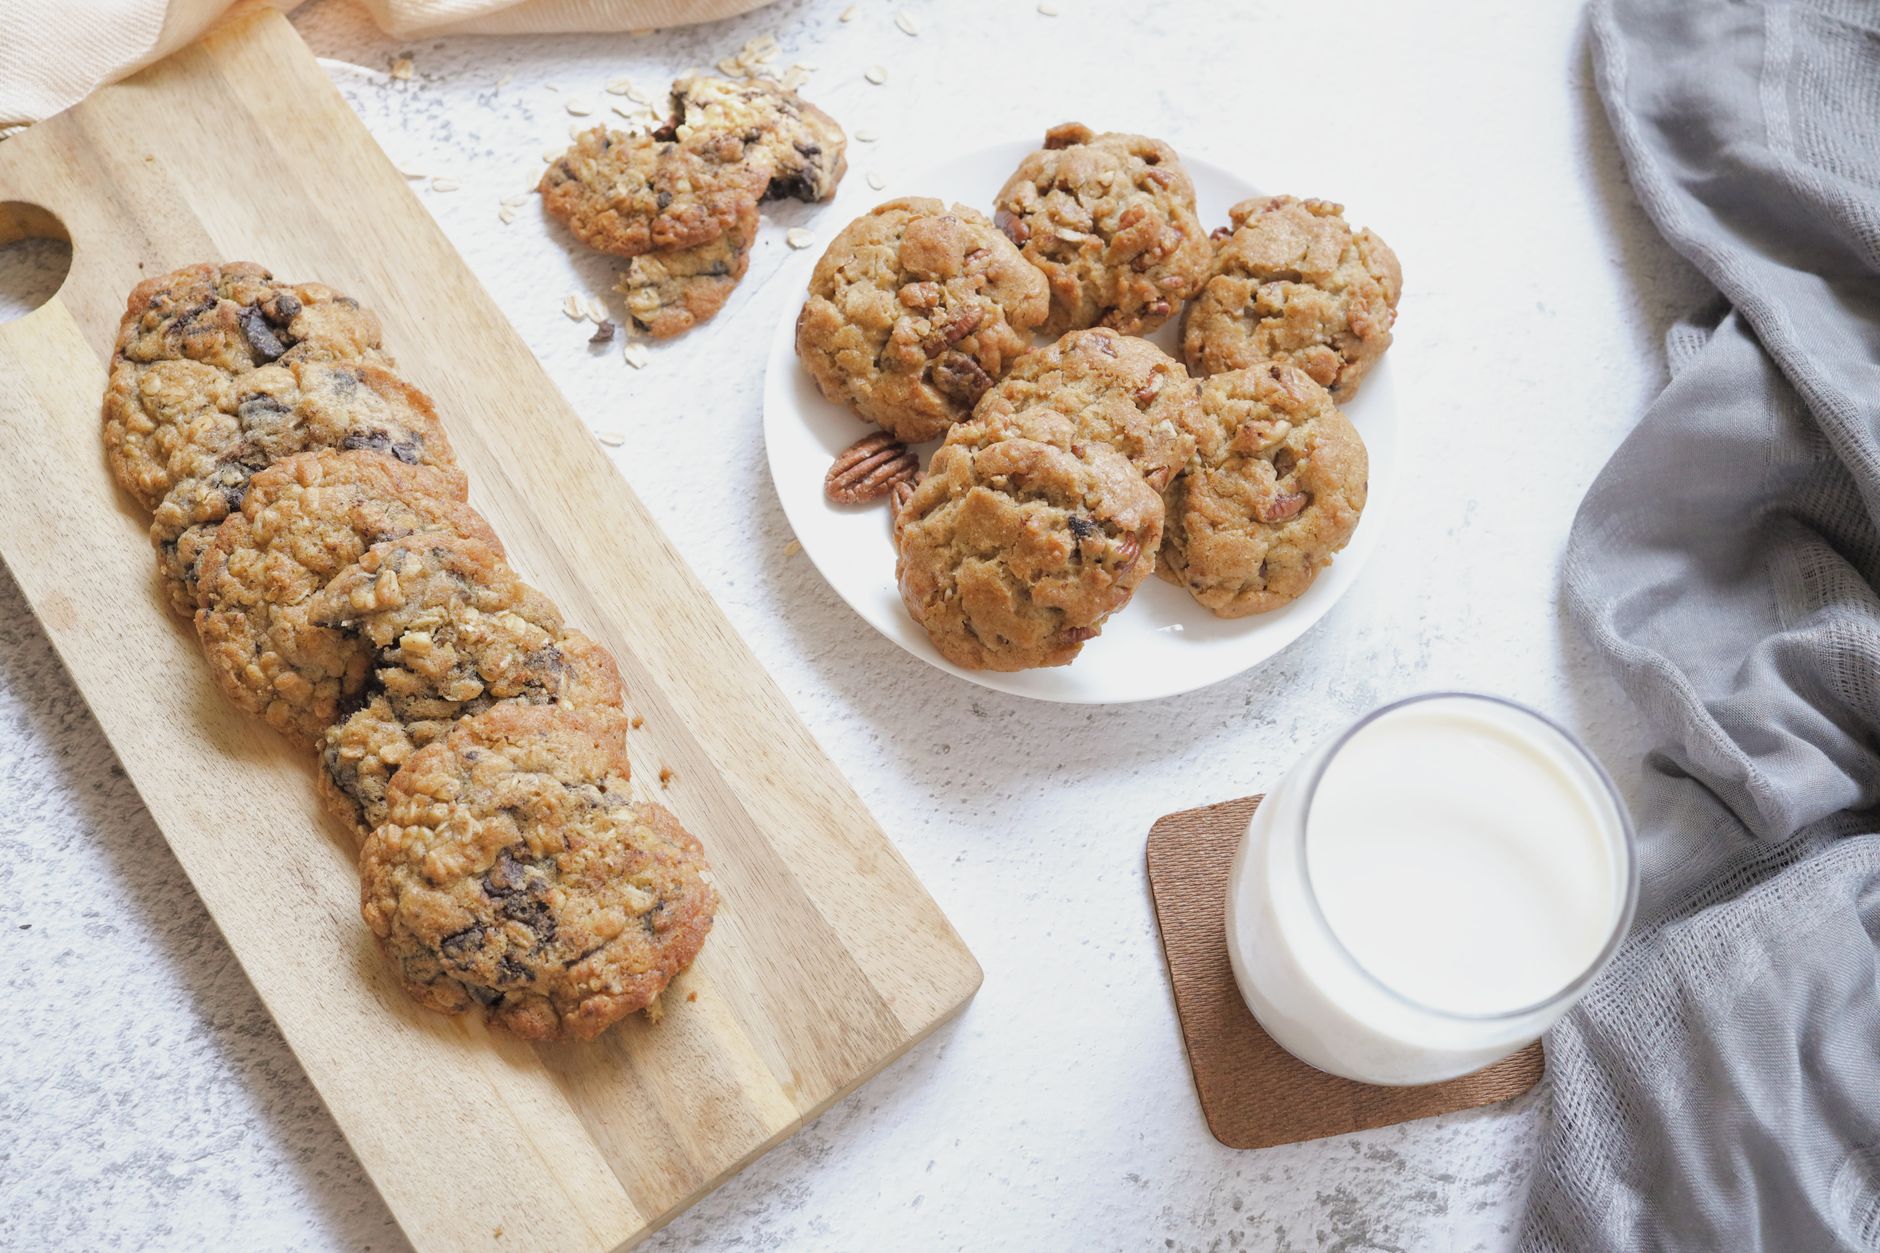
Why Kitchen Sink Cookie Bars Are Irresistible
Imagine biting into a golden, chewy cookie bar loaded with a delightful medley of crunchy, sweet, and savory surprises. That’s the magic of Kitchen Sink Cookie Bars. Named for the mix of whatever you have on hand, these bars capture the comfort of classic cookies and elevate it with a mix of textures and flavors. Whether it‘s chocolate chips, nuts, pretzels, or toffee bits, every bite offers a new twist that satisfies cravings for something sweet and salty. This easy dessert brings pantry staples together in a way that’s both nostalgic and inventive, perfect for sharing or treating yourself after a long day.
Health Benefits & Nutrition
Though indulgent, Kitchen Sink Cookie Bars offer a few nutritional perks when enjoyed in moderation. The nuts often added can provide heart-healthy fats and protein, which help keep you satisfied longer (American Heart Association). Dark chocolate pieces may contain antioxidants called flavonoids known for their anti-inflammatory properties. Whole grain or oat-based mix-ins bump up fiber, aiding digestion and blood sugar control. However, be mindful of the bars’ sugar and saturated fat content; excessive intake can impact cardiovascular health. People with nut allergies or gluten sensitivity should adjust ingredients accordingly to stay safe.
Ingredients & Preparation
Recipe Card
| Prep Time | Total Time | Servings | Calories | Diet Tags |
|---|---|---|---|---|
| 15 minutes | 1 hour 30 minutes (includes cooling) | 12 bars | Approx. 494 kcal each | Vegetarian; Nut-free optional |
Full Ingredient List
- 1 cup (227 grams) unsalted butter, room temperature
- 2 1/4 cups (293 grams) all-purpose flour
- 2 teaspoons (6 grams) cornstarch
- 1 1/2 teaspoons (4 grams) baking powder
- 3/4 teaspoon (3 grams) kosher salt
- 1 cup (200 grams) packed brown sugar
- 1/2 cup (100 grams) granulated sugar
- 2 large eggs, room temperature
- 2 teaspoons (10 milliliters) vanilla extract
- 2 cups (500 milliliters) mix-ins: crushed mini pretzels, crumbled cookies, chopped chocolates, nuts, toffee bits, chocolate chips
- Flaky sea salt for sprinkling
Equipment Needed
- 9-inch square baking pan
- Nonstick cooking spray
- Parchment paper
- Mixing bowls
- Whisk and spatula
- Small pot for melting butter
Tips for Choosing Quality Ingredients
- Use high-quality unsalted butter for a creamy, rich base—consider browning it for extra aroma.
- Opt for fresh baking powder to ensure a light texture.
- Pick mix-ins based on freshness and flavor balance—combining sweet and salty enhances taste.
- Room-temperature eggs and butter integrate better for smooth batter.
Step-by-Step Instructions
Step 1: Prepare Pan and Oven (10 minutes)
Preheat your oven to 325°F (163°C). Generously grease a 9-inch square baking pan with nonstick cooking spray. Line it with parchment paper, leaving an overhang for easy removal.
Step 2: Melt and Cool Butter (7 minutes)
In a small pot over medium heat, melt the butter. For a nutty aroma, continue cooking and swirling frequently until you see golden brown flecks, about 5–7 minutes. Transfer the melted or browned butter to a large bowl and allow it to cool slightly.
Step 3: Whisk Dry Ingredients (3 minutes)
In a separate bowl, combine the all-purpose flour, cornstarch, baking powder, and kosher salt. Whisk thoroughly to blend evenly.
Step 4: Mix Wet Ingredients and Sugars (5 minutes)
Beat the brown sugar and granulated sugar into the cooled butter until creamy. Add eggs one at a time, mixing well after each addition. Stir in the vanilla extract.
Step 5: Combine Dry and Wet Mixtures (3 minutes)
Gradually fold the flour mixture into the butter mixture until just combined. Avoid overmixing to keep bars tender.
Step 6: Add Mix-Ins and Bake (35 minutes)
Gently fold in most of your chosen mix-ins. Spread the batter evenly in the prepared pan. Scatter the remaining mix-ins on top, then sprinkle with flaky sea salt. Bake for 30–35 minutes, or until edges are golden brown and the center is set but slightly soft.
Step 7: Cool and Slice (20 minutes)
Allow the bars to cool completely in the pan. Use the parchment paper sling to lift them out, then cut into 12 equal bars. Serve and enjoy!

Variations & Substitutions
- Gluten-Free Option: Substitute all-purpose flour with a gluten-free baking blend of equal measure. Add 1/4 teaspoon xanthan gum if your mix lacks it.
- Nut-Free Version: Omit nuts or replace with extra pretzels, seeds, or dried fruit for crunch and flavor.
- Dairy-Free Choice: Use vegan butter or coconut oil in place of butter, adjusting baking time by a few minutes as needed.
- Sweet Swap: Swap brown sugar with coconut sugar for a deeper caramel hint.
- Mix-In Creativity: Try adding chopped dried cherries, white chocolate chips, or even mini marshmallows for varied texture and taste.
Storage & Shelf Life
Store your Kitchen Sink Cookie Bars in an airtight container at room temperature for up to 5 days. Avoid refrigerating as it can dry out the bars. To freeze, wrap each bar individually in plastic wrap and place them in a freezer-safe container or zip-top bag. Freeze for up to 3 months. Thaw at room temperature before serving. If bars develop a sour smell, mold, or significant texture changes, discard immediately.
Pro Tips for Perfect Kitchen Sink Cookie Bars
- Brown Your Butter: This adds a deeper, nutty character that enhances overall flavor complexity.
- Don’t Overmix: Stir batter just until dry ingredients meld with wet. Overmixing can make bars dense.
- Room Temperature is Key: Using room-temperature eggs and butter helps the batter come together smoothly.
- Flaky Sea Salt Finish: Sprinkle generously on top before baking to highlight the sweet-salty contrast.
- Distribute Mix-Ins Evenly: Add most mix-ins into the batter, reserving some for the top. This creates visual appeal and texture layers.
When is the best time to eat Kitchen Sink Cookie Bars?
These bars are perfect anytime you need a quick dessert or snack. Their balance of sweet and salty makes them ideal after meals, during coffee breaks, or as a portable, satisfying treat for on-the-go energy boosts.
Can I make Kitchen Sink Cookie Bars ahead of time?
Yes! Bake them a day before serving and keep them stored in an airtight container at room temperature. They maintain freshness for up to five days, making them perfect for busy weeks or entertaining guests.
What mix-ins work best for these cookie bars?
A combination of textures shines here: crunchy mini pretzels, various chopped chocolates, nuts like walnuts or pecans, and toffee bits. Feel free to get creative with your favorite pantry finds.
How do I make the bars chewier?
Use melted or browned butter and avoid overbaking to keep the bars soft and chewy. Slightly underbaking by a few minutes helps retain moisture in the center.
Are these cookie bars gluten-free?
Not as written, but you can easily substitute with a gluten-free flour blend. Just ensure your baking powder is gluten-free and follow standard substitution ratios.
Can I substitute the sugars?
Yes. You can swap granulated sugar for coconut sugar or maple sugar for a different depth of flavor. Brown sugar is crucial for moisture, so it‘s best not to remove it entirely.
What’s the best way to prevent mix-in ingredients from sinking?
Coat heavier mix-ins like nuts and chocolate in a light dusting of flour before folding them into the batter. This helps suspend them evenly throughout the bars.
More Recipes You Will Love
If you enjoy bursting with flavors and textures, try the Chocolate pecan caramel clusters. The sticky sweetness pairs perfectly with the crunchy pecans.
For a refreshing finish to your kitchen creations, consider making an old fashioned homemade ice cream recipe with raw eggs. Its creamy texture complements cookie bars beautifully.

Conclusion
Kitchen Sink Cookie Bars bring comfort and creativity to your dessert table. Their golden crust, chewy texture, and mix of sweet and salty flavors make them a beloved treat for any occasion. With simple preparation and room for customization, they’re a dessert to keep in your repertoire. Enjoy making and sharing these bars – and feel free to comment or share your own mix-in ideas!
FAQs
When is the best time to eat Kitchen Sink Cookie Bars?
Kitchen Sink Cookie Bars are perfect anytime you crave a sweet treat, whether as an after-dinner dessert, a midday snack, or for sharing at gatherings and parties. Their satisfying blend of flavors fits well for celebrations or casual indulgence.
Can I customize the mix-ins in Kitchen Sink Cookie Bars?
Absolutely! The charm of Kitchen Sink Cookie Bars lies in using whatever mix-ins you have on hand. You can add nuts, chocolates, pretzels, toffee bits, or cookies to suit your taste or dietary needs.
Are Kitchen Sink Cookie Bars suitable for people with nut allergies?
They can be adapted for nut allergies by simply omitting nuts and substituting with safe mix-ins like pretzels or cookie pieces. Just be sure to avoid cross-contamination if preparing for someone with allergies.
How should I store Kitchen Sink Cookie Bars to keep them fresh?
Store the bars in an airtight container at room temperature for up to 4 days. For longer storage, keep them in the refrigerator for up to a week or freeze them well-wrapped for up to 3 months.
Can Kitchen Sink Cookie Bars be made gluten-free?
Yes, by using gluten-free flour blends and ensuring all mix-ins are gluten-free, you can make these bars suitable for gluten-sensitive individuals without compromising taste.