Introduction
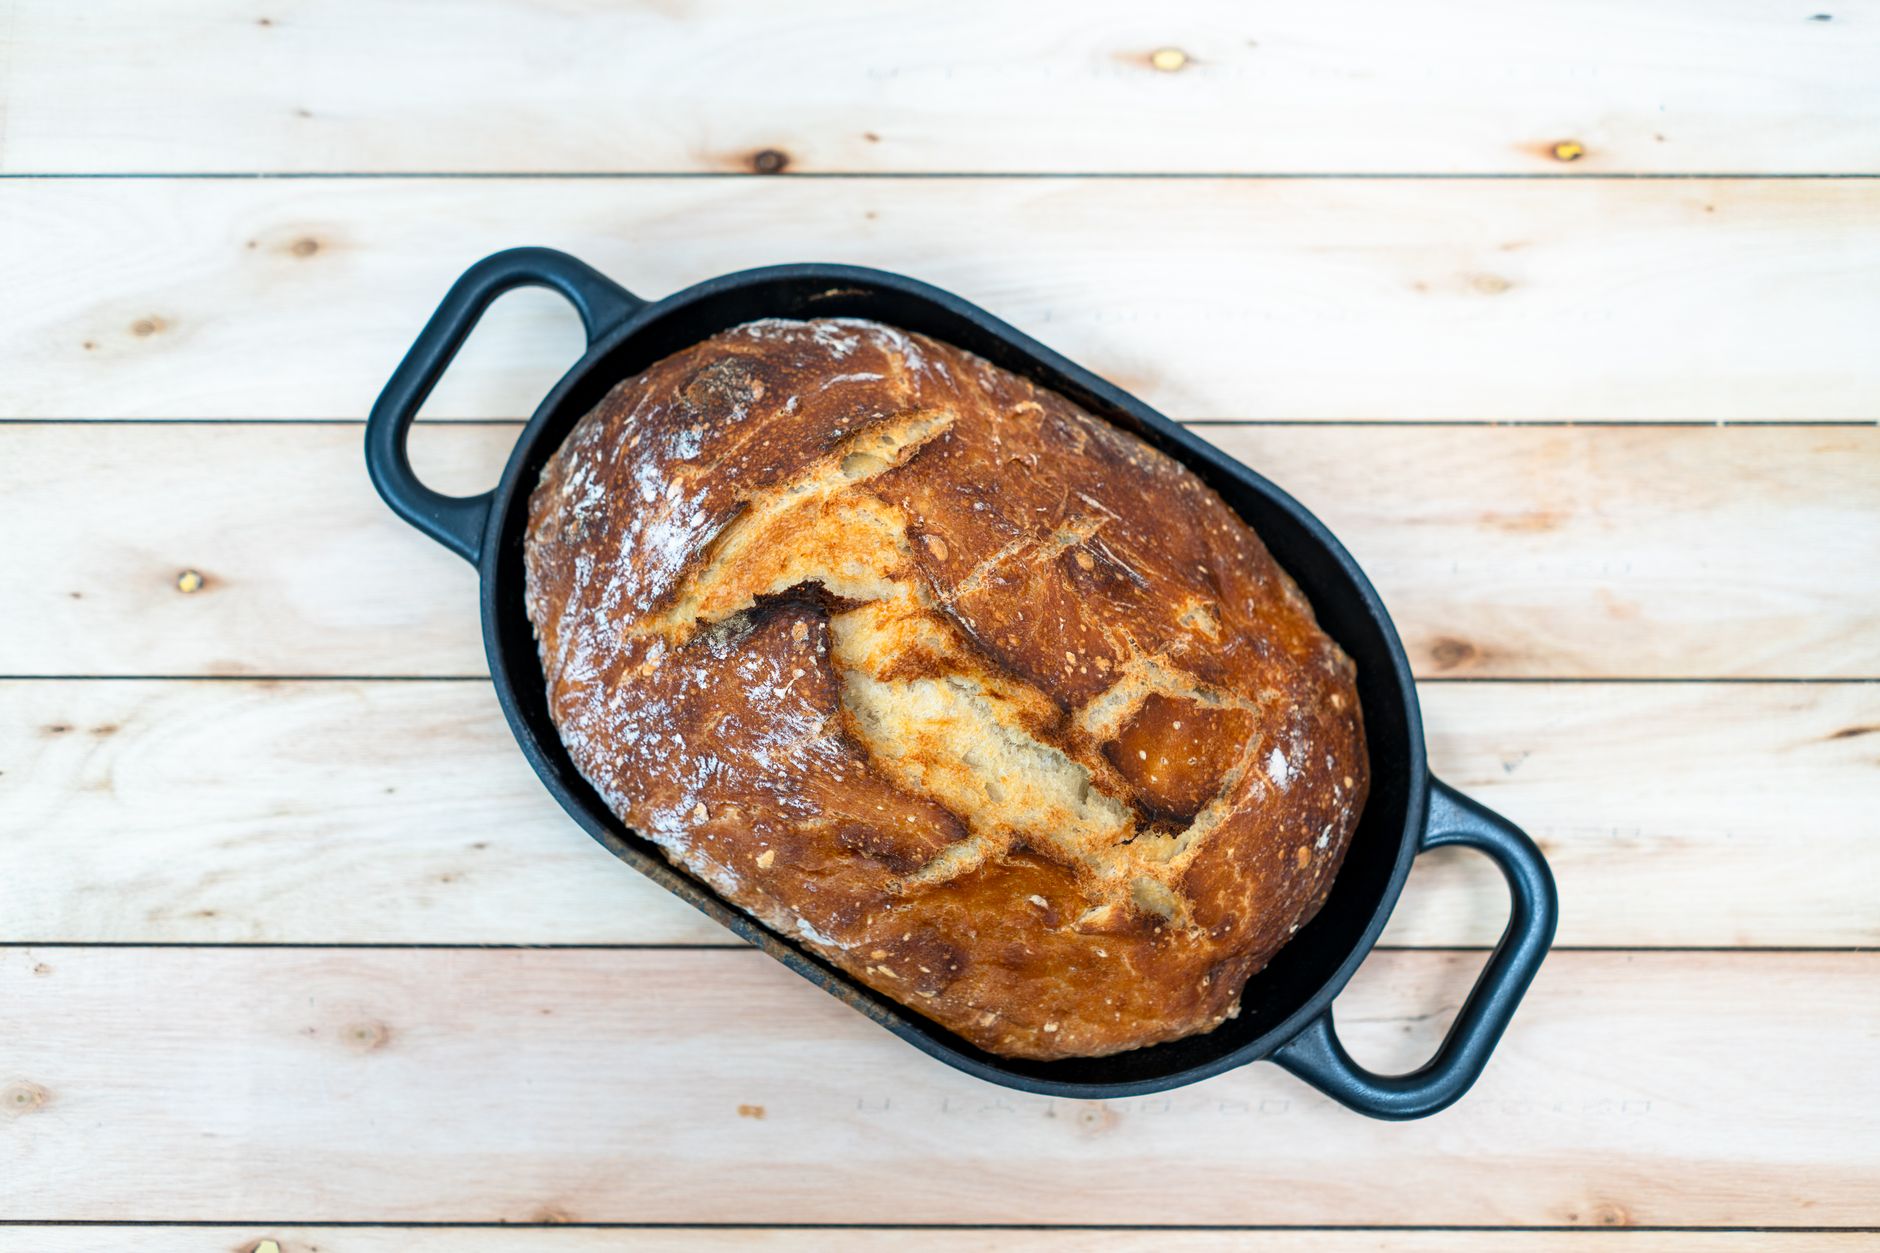
Theres something magical about freshly baked dutch oven bread. It delivers a perfect crusty homemade bread crust with a soft, tender crumb inside. This traditional bread baking technique traps steam inside the heavy pot, like a professional steam oven, producing that artisan bread dutch oven fans rave about. The best part? Its a no-fuss no-knead bread recipe that anyone can master. Whether you‘re new to bread baking or looking to improve your results, this recipe simplifies the process and solves common bread dough rising problems.
Key Highlights
Why dutch oven bread works so well
This bread baking technique uses a cast iron oven to trap heat and moisture, creating steam that crisps the crust while keeping the breads inside soft and airy. The tight-fitting lid holds in moisture that prevents the crust from drying out too soon, allowing the dough to expand fully for an irresistible golden crackle with a chewy interior. This method turns simple ingredients into a loaf that tastes like it came from an artisan bakery.
Who benefits most from this recipe
This approach suits every home baker, especially beginners wanting a reliable, easy method. The recipe requires minimal ingredients and little active time, making it accessible without the need for kneading or fancy equipment. For experienced bakers, it offers a dependable way to enjoy crusty homemade bread with minimal oversight.
What sets this version apart
Unlike some dutch oven bread recipes, this one balances ease and flavor by skipping complicated steps. It offers clear, timed instructions and tips to troubleshoot rising issues or crust concerns, so you get consistent results. Plus, it includes variations for whole wheat or gluten-free dutch oven bread options.
Ingredients & Preparation
| Prep time | Total time | Servings | Calories | Diet tags |
|---|---|---|---|---|
| 15 minutes | 1 hour 15 minutes | 8 slices | 190 kcal | Vegetarian |
Ingredients list
- 3 cups all-purpose or bread flour (or gluten-free blend for gluten-free dutch oven bread)
- 1 tsp salt
- 1 tsp instant yeast
- 1 cups warm water (110F)
- Optional: seeds or herbs for topping
For substitutions, swap half the flour with whole wheat for a nuttier flavor, but add about 10% more water. Gluten-free flours require xanthan gum or psyllium husk to improve texture and rise.
Essential equipment
Youll need a 5 to 6-quart cast iron dutch oven with a lid, a large mixing bowl, a dough scraper, and a kitchen scale if possible. A stand mixer is optional; hand stirring works well for this no-knead bread recipe.
Choosing quality ingredients
Fresh, high-quality flour makes a difference. Organic varieties offer richer flavor, though conventional flour also bakes beautifully. Use filtered warm water without chlorine, as chlorine can interfere with yeast activity. Fresh yeast delivers better aroma but instant yeast provides convenience and consistency.
Step-by-Step Instructions
Step 1 Mix dough and ferment (1218 hours)
In a large bowl, combine the flour, salt, and instant yeast. Add warm water (110F) and stir with a spoon until a shaggy dough forms, with no dry flour spots. No kneading is required. Cover the bowl with plastic wrap or a towel and let it ferment at room temperature for 12 to 18 hours. During this time, the dough will rise and bubble, developing flavor and structure.
Step 2 Preheat the dutch oven (30 minutes)
Place your cast iron dutch oven with the lid inside your oven and preheat to 450F for at least 30 minutes. This ensures the pot is hot enough to create the sizzling crust that defines crusty homemade bread. Use oven mitts carefully when handling the heavy pot, especially when hot.
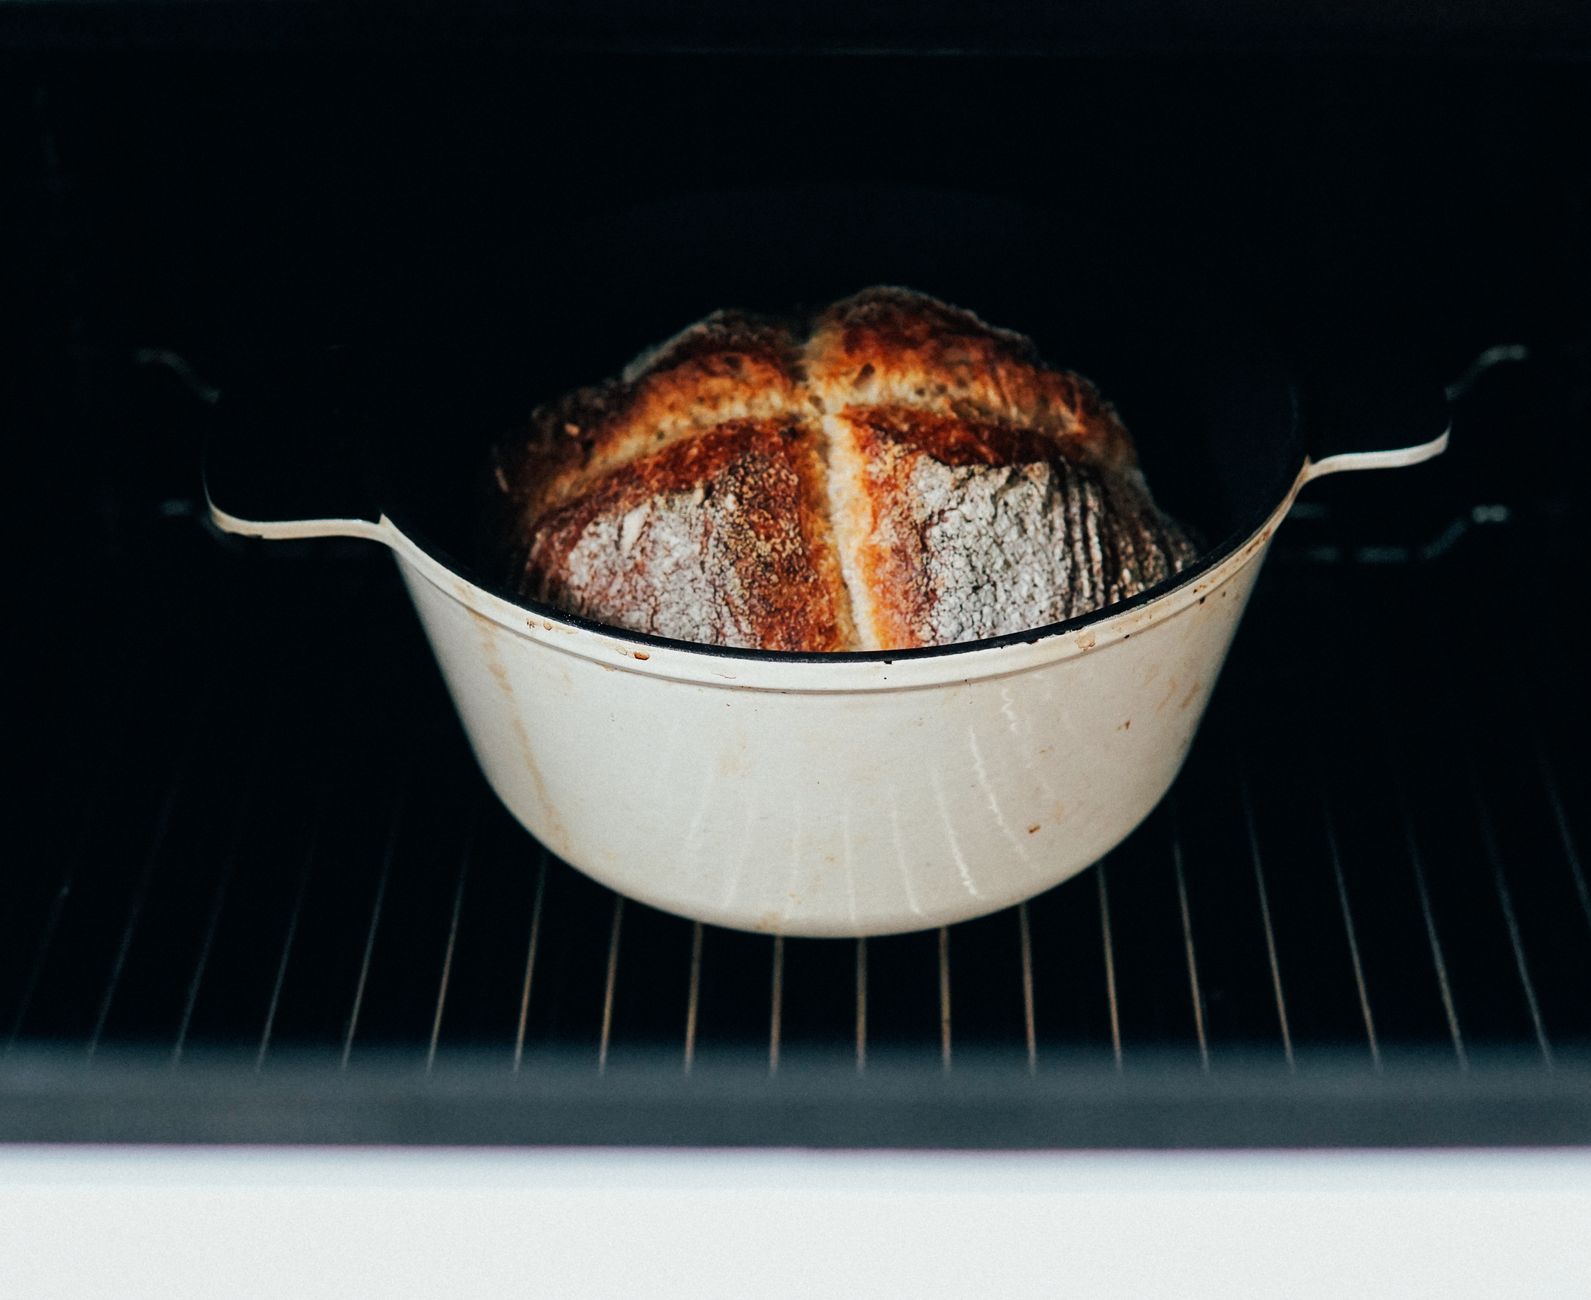
Step 3 Shape and bake the bread (45 minutes)
Lightly flour a clean surface and gently turn the dough out. Shape it into a round loaf by folding edges underneath without pressing too hard. Carefully remove the hot dutch oven from the oven and transfer the loaf inside. Cover with the lid and bake for 30 minutes. Then remove the lid and bake uncovered for an additional 15 minutes until the loafs crust turns deep golden brown and crackly.
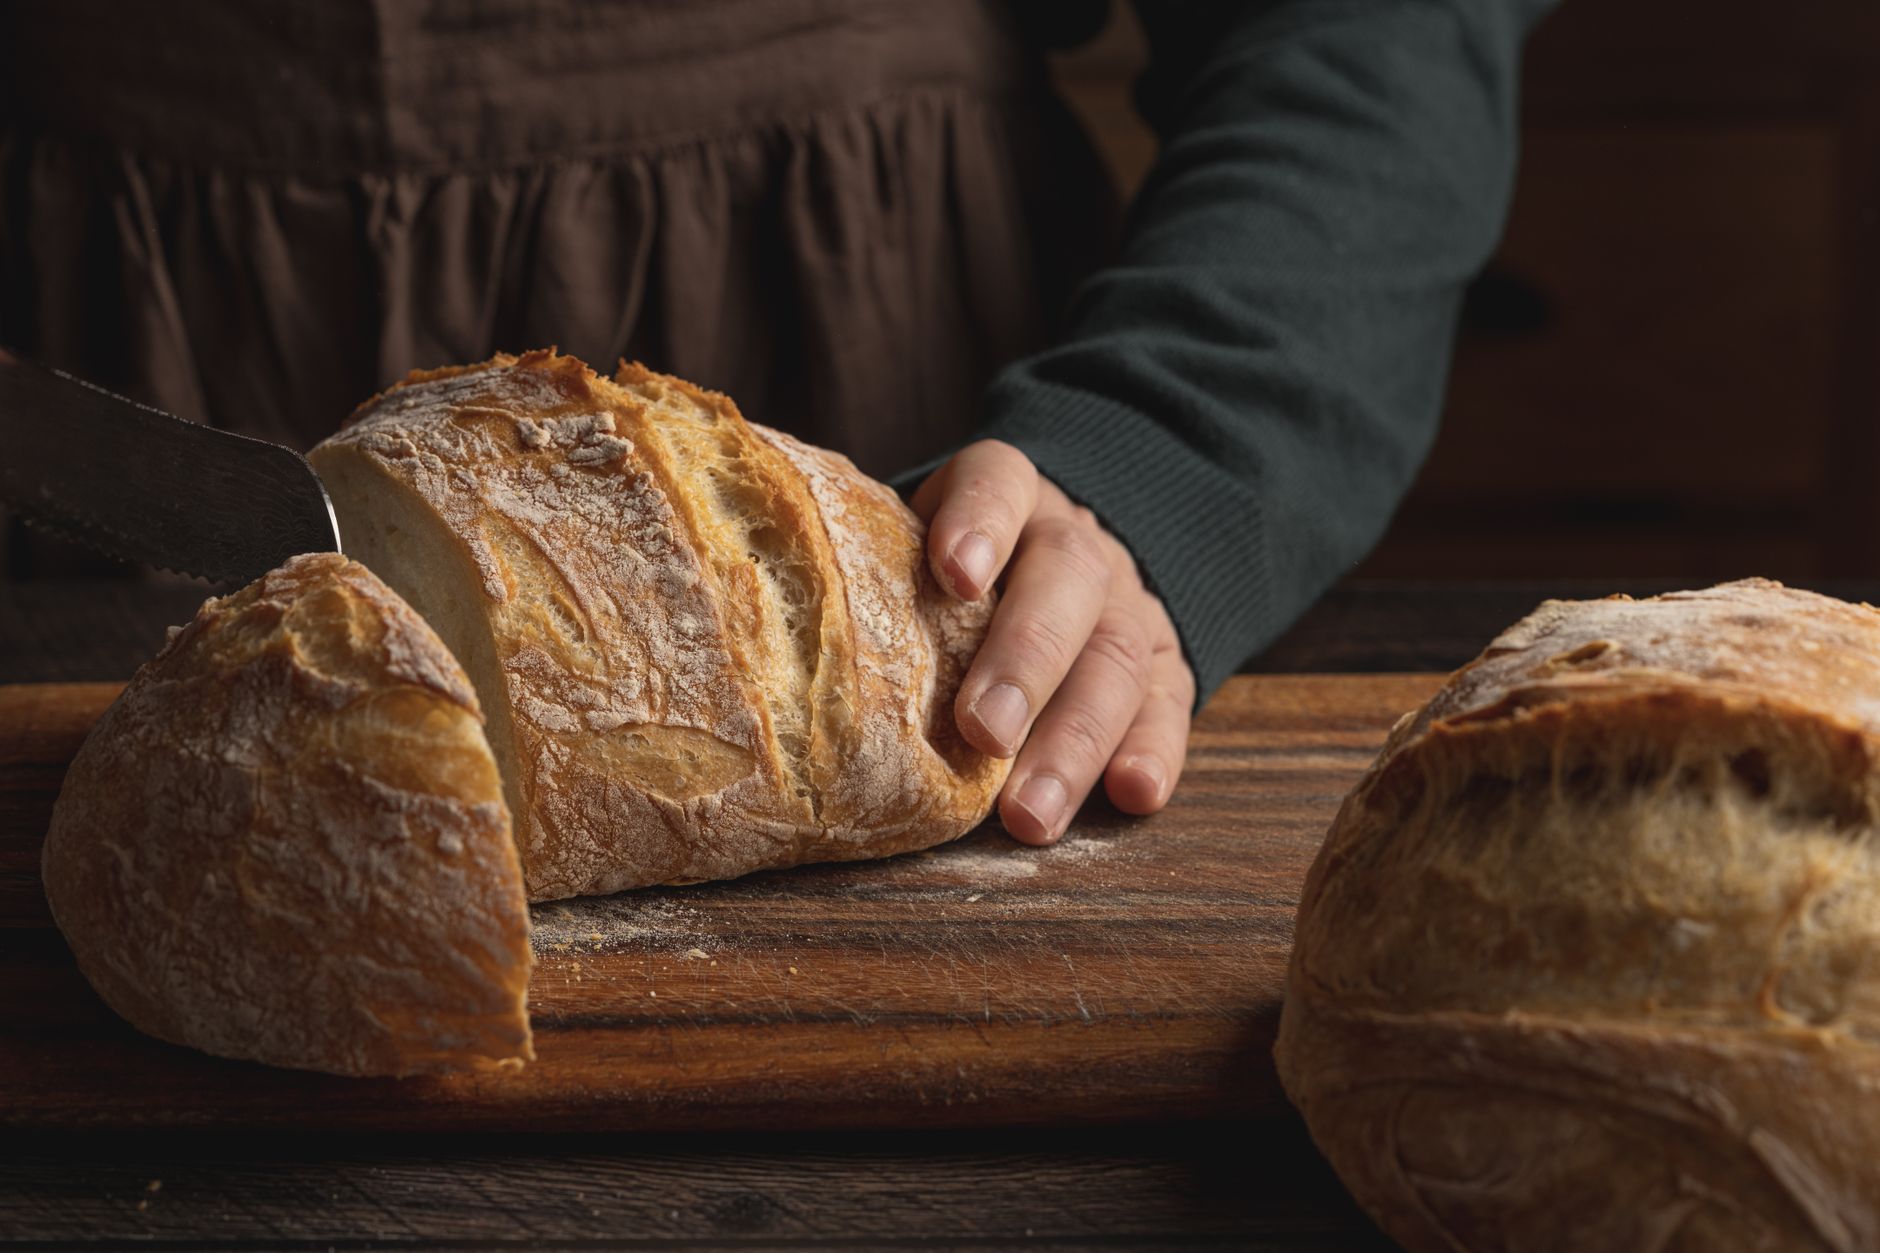
Step 4 Cool before slicing (30 minutes)
Remove the bread from the oven and transfer it to a wire rack. Let it cool completely, about 30 minutes, so the crumb sets properly. Cutting too soon can make the bread gummy inside. Once cooled, slice and enjoy or store as needed.
Variations & Substitutions
Whole wheat and sourdough options
For a healthier twist, replace 50% of the white flour with whole wheat flour, keeping in mind it absorbs more water. For a sourdough version, substitute the yeast with an active starter and extend the fermentation time to up to 24 hours. This adds a tangy, complex flavor and chewy texture typical in artisan bread dutch oven bakers love.
Ingredient swaps with honest notes
Gluten-free dutch oven bread needs special attention. Use a gluten-free flour blend with a binding agent like xanthan gum or psyllium husk for structure. Whole rye flour can add earthiness but results in a denser loaf. Avoid swapping too many ingredients without adjusting liquid ratios, or you risk bread dough rising problems.
Controlling crust and crumb texture
To crisp the crust more, extend the uncovered baking time by 5 to 10 minutes. For a softer crust, reduce uncovered time and wrap the warm bread loosely in a clean kitchen towel to trap moisture. Both methods enhance your bread based on texture preference.

Storage & Shelf Life
Refrigeration
Store sliced dutch oven bread in a paper bag or bread box at room temperature for up to 3 days. Avoid refrigeration as it dries bread quickly and stales the crumb.
Freezing
Wrap whole or sliced loaves tightly in foil, then place in a freezer bag for up to 3 months. Thaw at room temperature before use for the best texture. Reheat in a low oven (325F) for 10 minutes to revive crustiness.
Make-ahead tips
Double the dough recipe if baking for a crowd. You can retard fermentation by proofing the dough overnight in the refrigerator for up to 24 hourssimply shape before refrigerating and allow the dough to come to room temperature before baking.
Pro Tips & Troubleshooting
Handling sticky dough and hot dutch oven safely
Sticky dough can feel intimidating but avoid adding excess flouruse a bench scraper to fold and handle it gently. Preheat your dutch oven well to maintain temperature when adding cold dough. Always use thick oven mitts when handling the cast iron pot. Lift the lid carefully to avoid steam burns.
Fixing common issues
A pale crust usually indicates the dutch oven wasnt hot enough or the lid was removed too early. For a dense crumb, your dough might have been under-proofed or over-floured. If the bread tastes bitter, check if the yeast is expired or if too much salt was added. Adjust fermentation times to suit your kitchens temperature for best results.
Expert upgrade: steam and styling
Before baking, try spraying a small amount of water inside the empty oven to increase steam and enhance crust crispness. Dust your loaf with a light sprinkle of flour for an artisan rustic look. These small touches elevate your bread to bakery-level.
When is the best time to eat dutch oven bread?
The best time to enjoy dutch oven bread is within one or two days after baking for peak freshness and flavor. Freshly baked bread pairs wonderfully with breakfast spreads or alongside hearty soups and stews at dinner.
Can I make a big batch and store it?
Yes, you can double the dough recipe and refrigerate it overnight to bake fresh loaves later. This bulk approach saves time and offers fresh bread over several days without repeated mixing.
Fresh yeast or dried instant yeast which is better?
Instant yeast is convenient and has a long shelf life. Fresh yeast can add a richer aroma and slightly different flavor but requires precise measuring and fast use before it spoils.
Is this recipe safe for pregnant women and kids?
Yes, this recipe uses basic bread ingredients safe for pregnant women and children. However, those with gluten sensitivities should avoid it unless using a specifically gluten-free dutch oven bread version.
How often can I bake and eat this bread?
Baking daily is possible but consider balancing your diet with variety and nutrition. Regular baking can become a comforting routine for bread lovers.
Why does my bread sometimes taste bitter?
Bitterness can result from excessive fermentation, expired yeast, or an imbalance of salt. Shorten rising times or check ingredient freshness for better flavor.
What pairs well with dutch oven bread?
Enjoy fresh dutch oven bread with creamy butter and sweet jam for breakfast. For meals, pair it with soups, stews, or drizzled olive oil with herbs for dipping. The versatile flavors complement many dishes.
More Recipes You Will Love
Try this best dutch oven recipes collection for versatile dishes that maximize your cast iron oven baking.
For more traditional baked goods, explore the Karjalanpiirakka, a Finnish rice pie with a tender crust.
If you want to try a flaky crust with fillings, check out this easy pie pastry recipe perfect for sweet or savory pies.
Conclusion
Dutch oven bread stands out for its simplicity and consistently stunning results. The crispy crust and soft crumb feel like a treat straight from a bakery but come from your own kitchen. With this approachable bread baking technique, fresh homemade bread becomes enjoyable rather than daunting. Give this dutch oven bread recipe a try, and share your experience or star rating below. Then, explore other baking inspirations nearby for more delicious adventures.
FAQs
When is the best time to eat dutch oven bread?
The best time to eat dutch oven bread is within one to two days after baking to enjoy peak freshness, flavor, and a perfectly crispy crust with a soft crumb.
Can I make a big batch of dutch oven bread and store it?
Yes, you can double the dough recipe and refrigerate it overnight to bake fresh loaves later, allowing you to enjoy fresh bread without repeated mixing.
Should I use fresh yeast or instant yeast for dutch oven bread?
Instant yeast is convenient with a long shelf life and consistent results, while fresh yeast gives a richer aroma but requires precise measuring and fast use.
How can I fix common issues like pale crust or dense crumb?
A pale crust usually means the dutch oven wasn't hot enough or the lid removed too early. A dense crumb often points to under-proofing or over-flouring. Adjust heat and fermentation times accordingly.
Is dutch oven bread safe for pregnant women and children?
Yes, this recipe uses basic bread ingredients safe for pregnant women and children, but those with gluten sensitivities should opt for a gluten-free dutch oven bread version.