Introduction
Why a Dutch Oven Bread Cookbook Elevates Your Baking Game
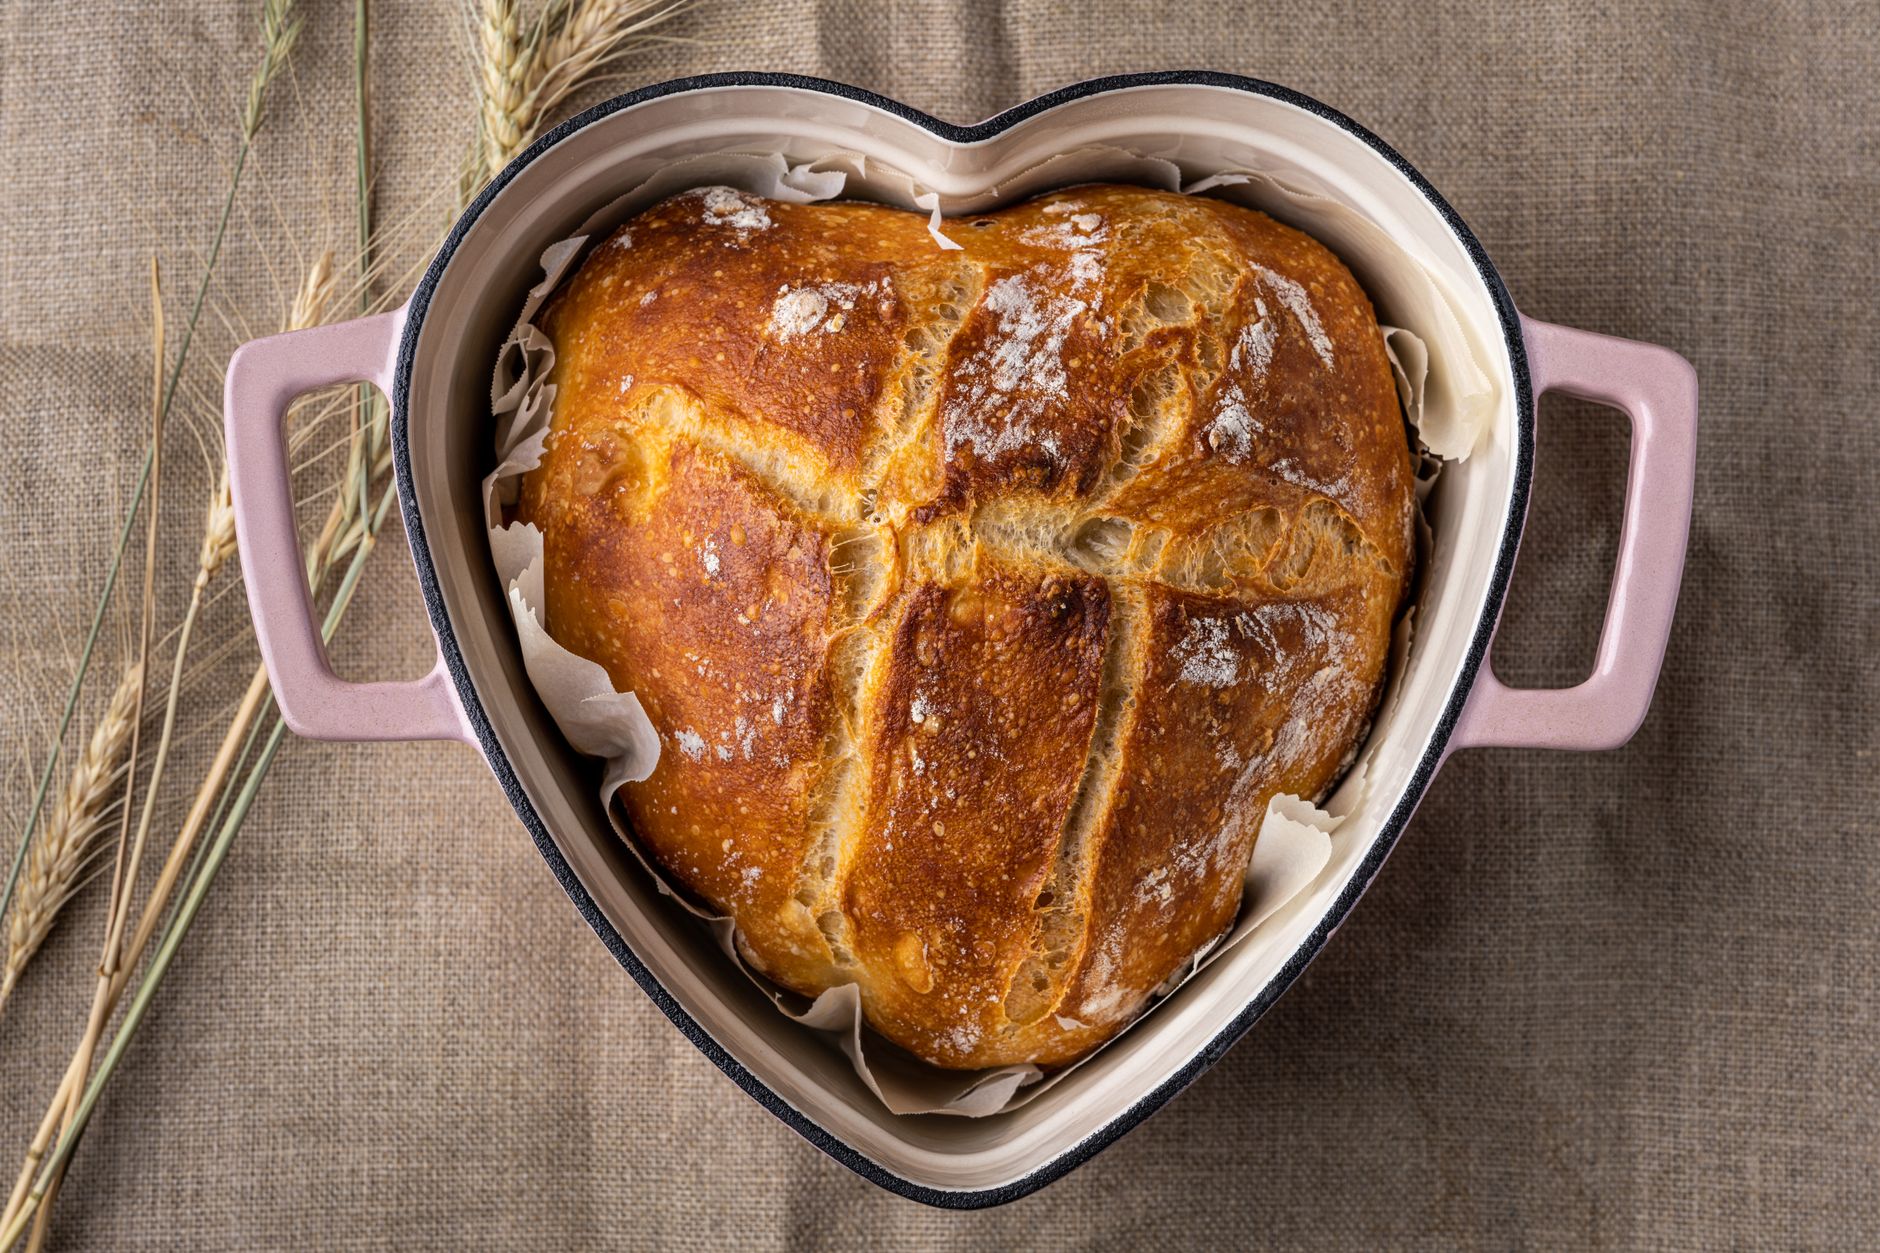
Using a dutch oven bread cookbook transforms your baking by unlocking artisan bread baking techniques at home. Baking bread in a dutch oven traps steam and heat, resulting in a crispy crust bread benefits that make each loaf golden and crunchy on the outside, but tender and airy inside. This cookbook guides you through every step, ensuring you avoid common bread baking mistakes that can ruin texture or flavor.
Who Should Use This Dutch Oven Bread Cookbook
This cookbook suits anyone from beginners to confident bakers who want to master traditional methods without complicated tools. If you crave crusty, rustic bread made with simple ingredients and minimal kneading, this is your go-to guide. Perfect for home cooks, food lovers, and those who appreciate naturally fermented dough like sourdough starter preparation.
What Sets This Dutch Oven Bread Cookbook Apart
Unlike generic recipes, this cookbook focuses on hands-on tips that improve your results dramatically. It explains the science behind steam retention and gluten development to prevent common mistakes like pale crusts or dense crumb. Detailed instructions cover no-knead bread method and sourdough processes so you bake artisan-quality bread every time.
Key Highlights
Achieving the Perfect Crust Through Steam Retention
The magic of baking bread in a dutch oven lies in trapping steam during the first baking phase. This moisture delays crust formation, allowing the bread to rise fully and develop a glossy, crackled crust. The crispy crust bread benefits include enhanced flavor and texture you just cant get from a plain baking sheet.
Versatility With Different Flour Types and Hydration Levels
This method works wonderfully with a variety of flours like bread, whole wheat, rye, or even gluten-free blends. Adjusting hydrationhow much water you addcan change dough elasticity and crumb structure. The dutch oven bread cookbook provides ratios and tips for perfecting those variations.
Safety Considerations With High-Temperature Baking
Baking at 450F or higher means caution. Use heat-resistant gloves when handling your dutch oven lid and place it safely on a heatproof surface. Beginners especially should avoid distractions around the hot oven to ensure safe, confident baking.
Ingredients & Preparation
| Prep time | Total time | Servings | Calories | Diet tags |
|---|---|---|---|---|
| 15 minutes | 55 minutes | 8 slices | 180 per slice | Vegetarian, Dairy-Free |
Full Ingredient List With Substitution Tips
- 3 cups bread flour (substitute all-purpose for less gluten)
- 1 teaspoon active dry yeast (or teaspoon instant yeast)
- 1 teaspoons salt
- 1 cups room temperature water
- Optional: 1 cup whole wheat flour (for nutty flavor)
Equipment Needed
- 5- or 6-quart cast iron dutch oven
- Large mixing bowl
- Kitchen scale (recommended for precision)
- Parchment paper (for easy transfer)
Tips for Selecting Ingredients
Choose high-protein bread flour to develop strong gluten that lifts dough well. Filtered water helps yeast perform optimally by avoiding chlorine. Fresh yeast adds a richer flavor but dry yeast keeps longer. Organic flours and yeast further enhance aroma and quality.
Step-by-Step Instructions
Step 1 Prepare Dough
Mix the flour, yeast, salt, and water gently in a bowl until just combined. Dont knead; a few folds suffice. Cover with plastic wrap and let rest 1218 hours at room temperature until bubbly and doubled.
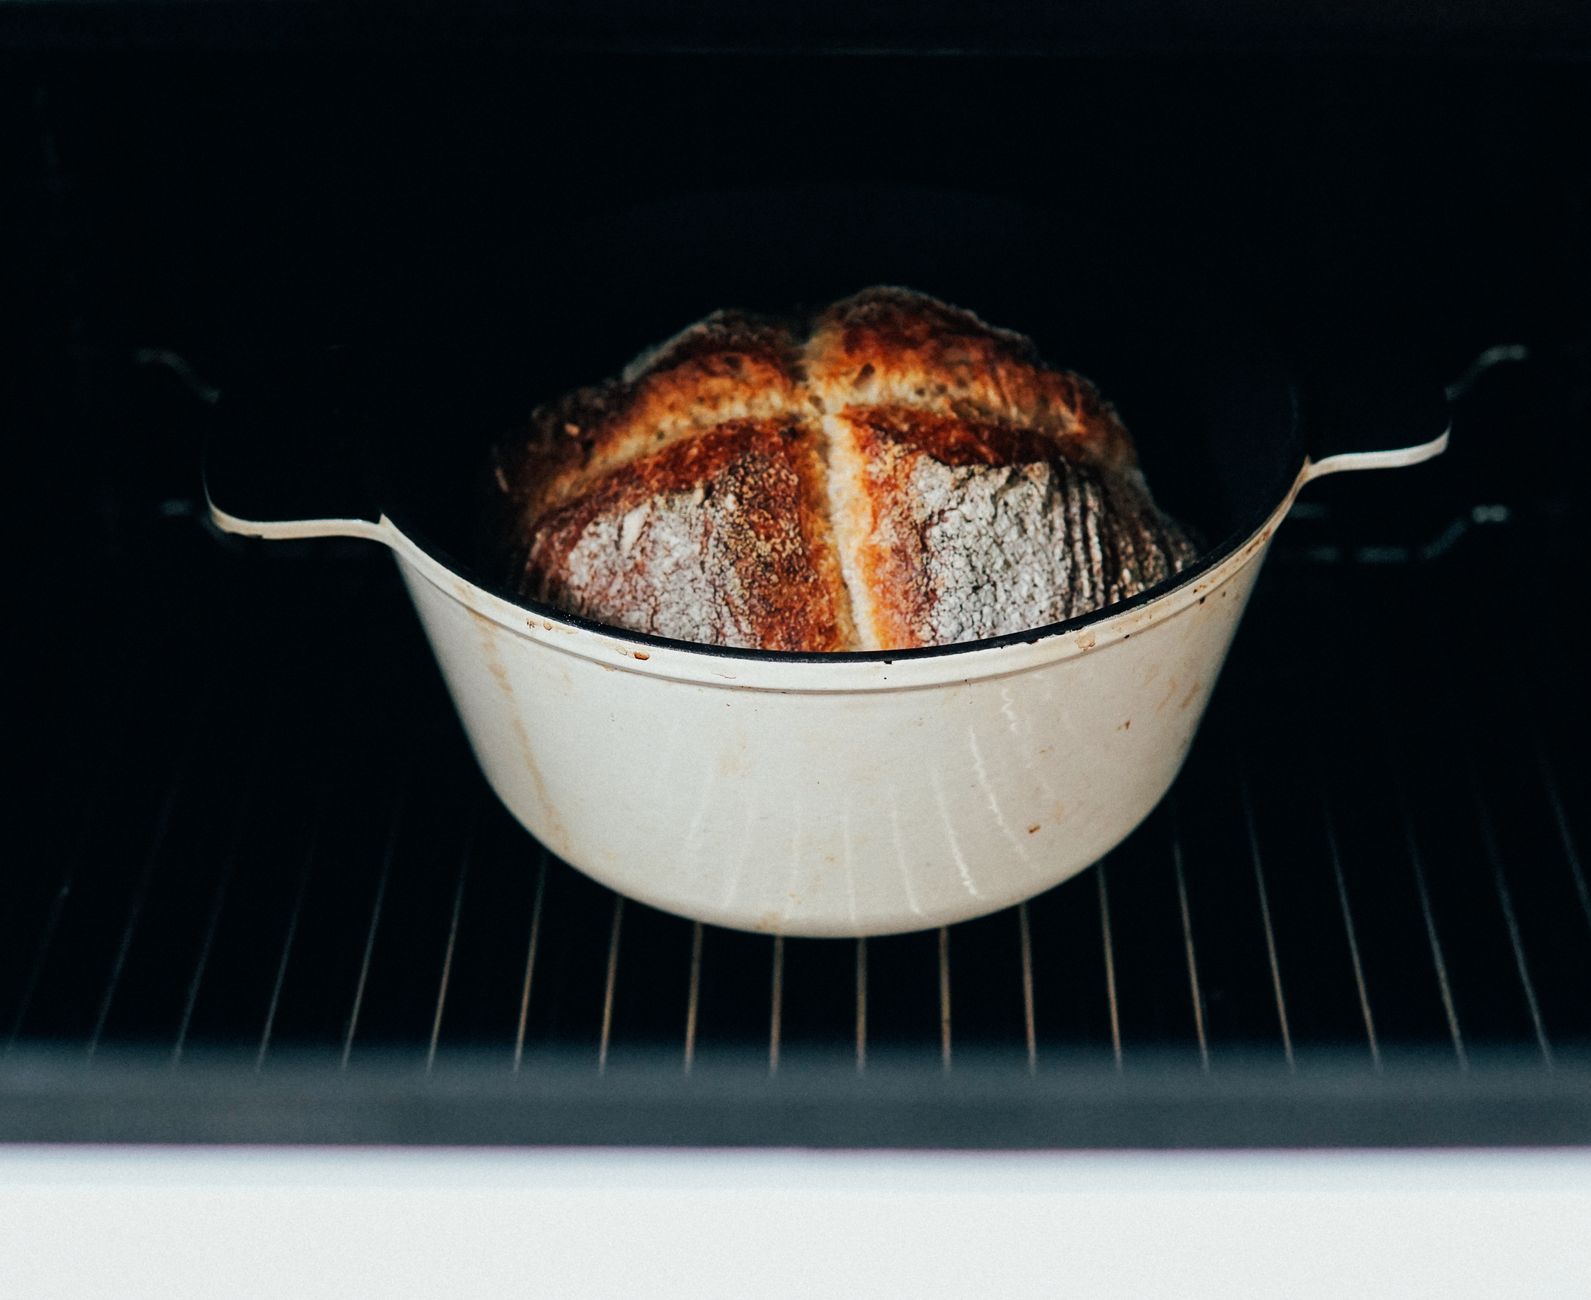
Step 2 Preheat Dutch Oven
Place your empty dutch oven with its lid inside your oven. Preheat at 450F for a full 30 minutes to ensure the pot reaches optimal baking temperature.
Step 3 Shape and Bake
Turn dough onto a floured surface and shape quickly into a ball. Transfer it onto a square of parchment paper. Carefully remove the hot dutch oven with gloves, lower the dough using the paper, cover with the lid, and bake for 30 minutes.
Step 4 Finish Baking and Cool
Remove the dutch ovens lid. Bake for another 1015 minutes until the crust deepens to a golden-brown. Cool completely on a wire rack before slicing to let the crumb set and avoid gummy texture.
Common Mistake: Removing the lid too early or underbaking leads to pale crust and dense crumb. Patience is key here.
Variations & Substitutions
Gluten-Free Dutch Oven Bread Option
Replace bread flour with a gluten-free all-purpose blend and add 1 teaspoon xanthan gum. Baking times may slightly increase; expect a denser texture but still enjoy a crispy crust with this method.
Ingredient Swaps: Whole Wheat and Rye Flour
Swap up to of the bread flour with whole wheat or rye to add earthy flavor notes. Increase water by about 2 tablespoons for whole wheat because of its higher absorption.
Adjusting Crust Strength and Flavor
For a softer crust, lower oven temperature to 425F and shorten total baking time by 5 minutes. Enhance flavor by mixing in seeds, herbs, or a pinch of diastatic malt powder, which improves crust browning.
Storage & Shelf Life
Refrigerator Storage
Store your bread at room temperature in a loosely closed paper bag for up to 3 days. Avoid refrigeration as it dries out the crumb and dulls the crust‘s crispness.
Freezer Storage
Wrap bread tightly in plastic wrap then aluminum foil and freeze for up to 3 months. Thaw overnight at room temperature. Refresh by heating in a 350F oven for 10 minutes to revive crust texture.
Make-Ahead Batch Tips
Double or triple your dough and portion into dough balls. Freeze these before the final rise. When ready, thaw overnight and proof before baking. This lets you enjoy fresh bread anytime with minimal prep.
Pro Tips & Troubleshooting
Hands-On Technique
Use a kitchen towel or oven mitt to safely lift your dutch oven lid. Spray a few quick mists of water inside the pot before baking to boost steam and crust sheen. A bench scraper helps to quickly shape dough while keeping it intact.
Fixing Common Issues
A pale or hard crust often signals insufficient preheating. Make sure your dutch oven reaches 450F. Dense crumb means under-proofing or dry dough extend fermentation or increase water slightly. Adjust as you learn your environment.
Expert Upgrade
Add a small pinch of diastatic malt powder to your flour. This ingredient helps the enzymes break down starches, improving crust browning and the breads aroma. Also, try mixing in toasted seeds for extra flavor and texture.
When is the best time to bake bread using a dutch oven?
Early morning or late afternoon works best since the dough rests overnight before baking. This schedule allows you to start with a fully fermented dough and bake when your oven and dutch oven have reached full 450F temperature for optimal crust formation.
Can I make a big batch and store it?
Yes, you can double or triple the dough recipe. Portion the dough, freeze it before the final rise, and thaw as needed. You can also store baked bread in the freezer, wrapped tightly, for up to 3 months without losing quality.
Fresh yeast or dry yeast which is better for this recipe?
Dry yeast is convenient and shelf-stable, making it ideal for most home bakers. Fresh yeast offers a richer, more complex flavor but is perishable and requires careful storage. Both work well, just adjust quantities accordingly.
Is this method safe for beginners?
Absolutely, with proper precautions. Always use heat-resistant gloves when handling the hot dutch oven and place it on a heatproof surface. Pay close attention to oven timing and supervise children in the kitchen around hot equipment.
How often can I bake this bread?
You can bake this bread weekly or whenever you want fresh artisan loaves. Leftover bread freezes well. With practice, you might find yourself baking more often as the aroma fills your home!
Why does my bread taste sour or bitter?
Sourness often results from over-fermentation or too much sourdough starter, while bitterness can indicate burnt crust or stale yeast. Following timing and ingredient freshness closely will help avoid these off-flavors.
What pairs well with dutch oven bread?
Try spreading creamy butter and sweet jam for breakfast. Dip slices into olive oil with herbs or serve alongside warm soups and stews for a comforting meal. Its also heavenly toasted with melted cheese.

More Recipes You Will Love
Discover the secrets behind no-knead artisan bread recipe methods in our detailed guide perfect for busy home bakers wanting big flavor with less fuss.
Learn sourdough starter preparation with easy steps to cultivate your own natural leaven for deeply flavored bread.
Warm up with easy homemade soup recipes that pair wonderfully with your fresh bread, offering cozy meals all year round.
Check out the best dutch oven cookbook for more ways to expand your baking skills beyond this recipe.
For a savory twist, try our Authentic german bierocks recipe, which pairs nicely with fresh bread, or explore our Empanadas for another scrumptious comfort food idea.
Conclusion
This dutch oven bread cookbook opens the door to baking artisan bread with a perfect balance of crispy crust and soft crumb. It arms you with expert tips to avoid common bread baking mistakes and enjoy delicious homemade loaves. Give this method a try then share your results or star rating below! For more, try our no-knead artisan bread recipe and start mastering home baking today.
FAQs
When is the best time to bake bread using a dutch oven?
The best time to bake dutch oven bread is early morning or late afternoon. This allows the dough to ferment overnight and ensures your oven and dutch oven are fully preheated to 450°F for an ideal crust.
Can I make a big batch and store the dough or bread?
Yes, you can double or triple the dough recipe. Freeze dough balls before the final rise and thaw before baking. Baked bread can be frozen tightly wrapped for up to 3 months and refreshed in the oven to maintain crust quality.
Which is better for this recipe: fresh yeast or dry yeast?
Dry yeast is convenient and shelf-stable, making it ideal for most home bakers. Fresh yeast offers richer flavor but is perishable. Both work well if adjusted correctly; dry yeast is easier for beginners and long-term storage.
Is this baking method safe for beginners?
Yes, it’s safe when following precautions. Always use heat-resistant gloves handling the hot dutch oven and place it on a heatproof surface. Avoid distractions around the hot oven, especially when young or inexperienced bakers are involved.
Why does my bread sometimes taste sour or bitter?
Sourness often results from over-fermentation or excess sourdough starter. Bitterness may come from burnt crust or stale yeast. Monitoring fermentation times and using fresh ingredients helps prevent off-flavors in your bread.