Why Daisy Cake is the Perfect Springtime Treat
Imagine a cake that brings the sunny charm of spring right to your table — that’s the magic of the Daisy Cake. With its golden cupcakes forming a cheerful ring around a traditional cake center, this dessert offers a playful way for kids to enjoy a cupcake while adults indulge in classic cake slices. The soft crumb and creamy frosting deliver a comforting aroma and taste, capturing the joy of fresh blossoms and warm afternoons. Daisy Cake is not just visually stunning; it’s a celebration of sweetness shared in every bite.
Health Benefits & Nutrition
While Daisy Cake is undeniably a treat, it holds some interesting nutritional considerations and offers benefits worth noting.
- Energy Boost: The carbohydrates in the cake provide a quick source of energy, ideal for celebrations requiring an active buzz.
- Calcium Content: Thanks to the butter and milk in the frosting, this cake offers small amounts of calcium, supporting bone health, especially when enjoyed occasionally.
- Psychological Comfort: Treats like Daisy Cake can elevate mood through sensory pleasure and social sharing, contributing positively to mental well-being.
Safety note: Since the Daisy Cake contains dairy, eggs, and gluten from typical cake ingredients, it’s best avoided by those with allergies or intolerances. Pregnant individuals should ensure ingredients are fresh and safely prepared to minimize risk.
Ingredients & Preparation
Recipe Card
| Prep Time | 1 hour |
|---|---|
| Total Time | 2 hours 25 minutes |
| Servings | 18 |
| Calories per Serving | Approximately 490 |
| Diet Tags | Contains dairy, gluten, eggs |
Full Ingredient List
- Canola oil (for greasing pans)
- 1 box (15.25 oz) classic yellow cake mix (plus required ingredients on the box)
- 4 sticks unsalted butter, at room temperature
- 8 cups confectioners’ sugar
- 2 tablespoons whole milk
- 2 teaspoons vanilla extract
- Large pinch kosher salt
- 1/8 teaspoon golden yellow gel food coloring (8-10 drops)
Equipment Needed
- 8-inch round cake pan
- 14 cupcake liners and muffin tin
- Large and small pastry bags
- Plain round piping tips: 1/4-inch tip (#803) and 3/8-inch tip (#804)
- Stand mixer or electric hand mixer with paddle attachment
- Extra-large cutting board or platter (at least 18x14 inches)
Tips for Choosing Quality Ingredients
- Choose a high-quality yellow cake mix with natural ingredients for the best texture and flavor.
- Use fresh unsalted butter at room temperature to achieve a smooth, creamy frosting.
- Opt for real vanilla extract rather than imitation to enhance the cake’s aroma and depth.
- Select gel food coloring for vibrant hues without thinning the frosting.
Step-by-Step Instructions
Step 1: Prepare the Oven and Pans
Preheat your oven to 350°F (177°C). Position oven racks in the upper and lower thirds. Line 14 muffin cups with cupcake liners, and grease the bottom and sides of an 8-inch round cake pan with canola oil.
Step 2: Make the Cake Batter and Bake
Prepare the yellow cake batter according to package directions. Fill cupcake liners halfway with batter. Pour remaining batter (about 2 1/2 cups) into the prepared round cake pan. Bake cupcakes for 18 to 20 minutes and cake for 23 to 28 minutes, rotating pans halfway. Test doneness with a toothpick — it should come out clean. Cool in pans for 10 minutes, then transfer to racks until completely cooled.
Step 3: Prepare the Frosting
In a mixer bowl, beat 4 sticks softened butter with confectioners’ sugar, 2 tablespoons whole milk, 2 teaspoons vanilla, and a pinch of kosher salt. Start at low speed to combine, then increase to medium-high and beat until silky smooth. Reserve about 2 cups for cake frosting, then divide the rest for piping.
Step 4: Color and Fill Piping Bags
Transfer 3 cups of white frosting to a large pastry bag fitted with a 1/4-inch round tip (#803). Tint 1 cup with golden yellow gel coloring, place in a small bag with a 3/8-inch tip (#804). Cover remaining frosting with plastic wrap to prevent drying.
Step 5: Assemble the Daisy Cake
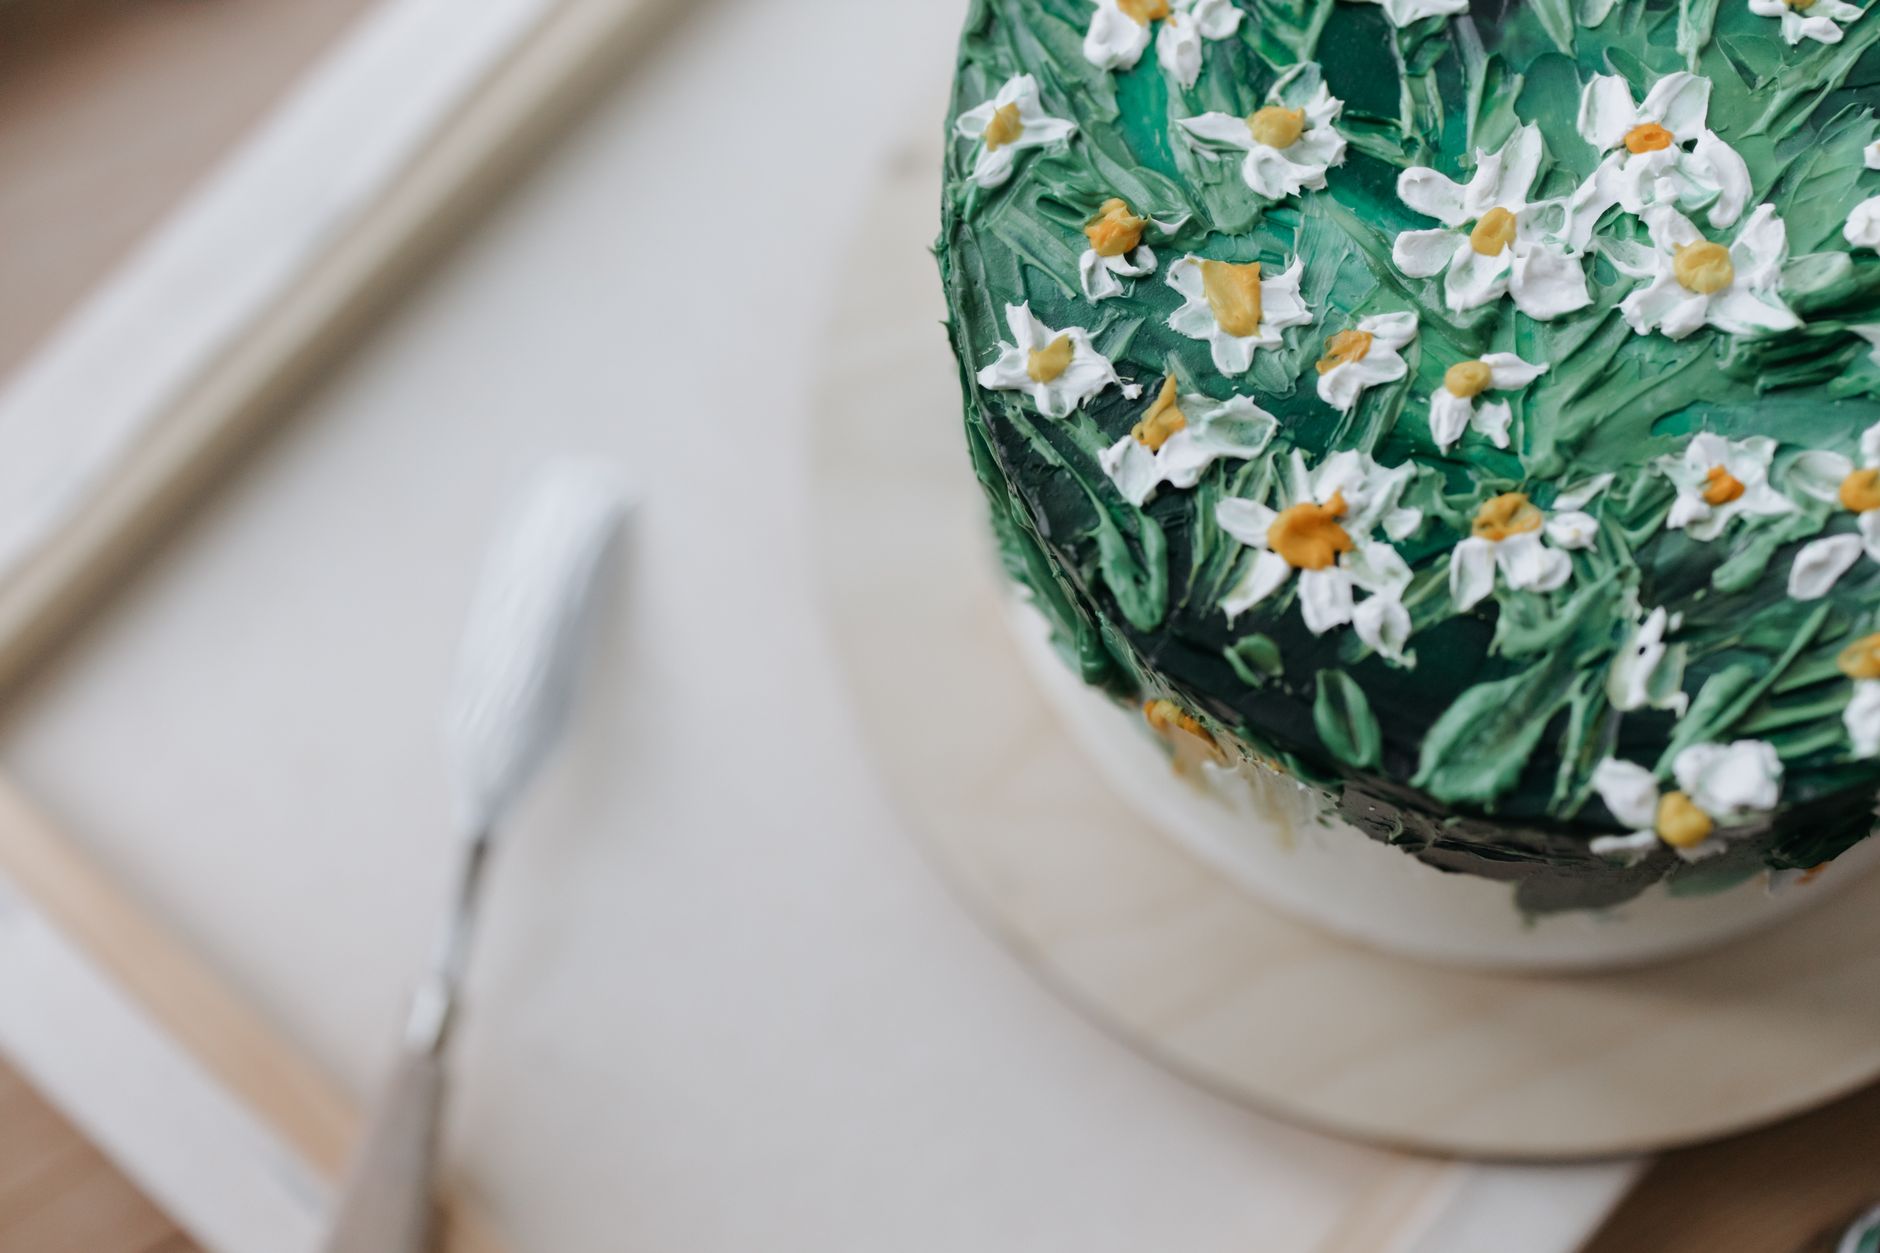
Flip the round cake upside down on a large board or platter. Pipe white frosting generously over the cake surface. Arrange the golden-colored cupcakes in a ring around the cake, pressing gently to secure. Use the white and yellow frosting to pipe daisy shapes on cupcakes and cake, layering creamy petals and centers for a stunning effect.
Variations & Substitutions
- Flavor Swap: Replace yellow cake mix with lemon or almond-flavored cake mix for a bright, nutty twist.
- Frosting Variation: Use cream cheese frosting instead of buttercream for a tangy richness; reduce powdered sugar to balance the tartness.
- Gluten-Free Option: Substitute with a gluten-free yellow cake mix and ensure all other ingredients are GF certified.
- Color Alternatives: Try pastel pink or lavender gel coloring to create seasonal variations while maintaining the daisy presentation.
Storage & Shelf Life
Keep your Daisy Cake refrigerated in an airtight container for up to 4 days to maintain freshness and texture. Before serving, allow it to come to room temperature for optimum flavor. For longer storage, wrap the cake and cupcakes separately in plastic wrap and foil, then freeze for up to 2 months. Thaw overnight in the refrigerator. If the frosting becomes grainy or the cake develops an off smell or discoloration, discard immediately.
Pro Tips for Perfect Daisy Cake
- Use room temperature butter for frosting to avoid lumps and achieve a smooth, creamy texture.
- When piping frosting, maintain consistent pressure for even, delicate petals and daisy centers.
- To prevent yellow frosting from staining fingers, pipe with small bursts rather than continuous strokes.
- Rotate your cake board as you pipe to keep your hand steady and frosting design uniform.
- Chill the cupcakes slightly before assembling to avoid sliding when you’re arranging the ring.
When is the best time to eat Daisy Cake?
Daisy Cake shines during spring celebrations, birthdays, or garden parties when its bright, floral design complements the fresh season. It’s perfect as an afternoon dessert or centerpiece treat when you want both playful cupcakes and a traditional cake experience.
Can I make Daisy Cake ahead of time?
Yes, you can bake the cake and cupcakes up to two days in advance and store them wrapped in the refrigerator. Assemble and frost the cake on the day you plan to serve to keep it fresh and visually striking.
How can I make the cupcakes stay firmly around the cake?
After frosting the cake layer, gently press the cupcakes into the frosting ring to secure them. Chilling before assembly also helps the frosting set like glue, preventing the cupcakes from sliding.
Is it possible to make this cake dairy-free?
Certainly! Use non-dairy butter substitutes and almond or oat milk in place of whole milk. Ensure your cake mix is dairy-free to keep the recipe fully vegan-friendly while maintaining creamy frosting texture.
What piping tips work best for the daisy decoration?
Use a 1/4-inch plain round tip (#803) for the delicate petals and a 3/8-inch round tip (#804) for the larger daisy centers. These sizes allow control for layering frosting without overwhelming the cupcakes.
Can I substitute homemade cake batter instead of boxed mix?
Absolutely! Use your favorite yellow cake recipe, ensuring the batter quantity matches 15.25 oz boxed directions. Homemade batter can add a rich, natural flavor but may require slight baking time adjustments.
How do I keep the frosting from melting in warm weather?
Keep the cake refrigerated until just before serving. If your environment is warm, pipe frosting in a cool room and avoid handling the cake excessively to maintain crisp, defined flowers.
More Recipes You Will Love
If you enjoy the charm of Daisy Cake, you might appreciate the delightful textures in our Almond crescent cookie recipe. Its buttery, nutty flavor and crisp edges pair beautifully with your tea or coffee breaks.
For another festive cake with seasonal fruit notes, try our Peach almond upside down cake recipe. The caramelized peaches and toasted almonds add a delightful crunch contrasting the tender crumb.
Conclusion
The Daisy Cake combines joyful design with delicious flavor, making it a springtime dessert that is both fun and elegant. Whether you’re serving little hands or grown-up guests, its dual nature offers something for everyone. Give this cake a try, and feel free to share your decorating tricks or favorite variations in the comments below. Your experience could inspire the next batch of eager bakers!
FAQs
When is the best time to eat Daisy Cake?
Daisy Cake is perfect for springtime celebrations and family gatherings when you want a cheerful dessert that offers both cupcakes for kids and traditional cake slices for adults.
Can Daisy Cake be made ahead of time?
Yes, Daisy Cake can be baked and decorated a day ahead. Store it in a cool place, covered, to maintain freshness and keep the frosting intact until serving.
Is Daisy Cake suitable for people with allergies?
Daisy Cake contains dairy, eggs, and gluten, so it is not suitable for those with allergies to these ingredients or gluten intolerance. Adjusted recipes would be needed for dietary restrictions.
What type of frosting works best for Daisy Cake?
A creamy buttercream frosting is ideal for Daisy Cake as it holds its shape well for piping and pairs perfectly with the yellow cake's soft crumb and sweet flavor.
How do you serve Daisy Cake at parties?
Serve Daisy Cake by letting kids easily grab the cupcake petals around the ring while adults slice the center cake. This creates a fun and interactive way to share dessert.