Why Cheese Pierogi Are a Delightful Treat
Imagine biting into a tender, golden dough pocket filled with a creamy, savory cheese and potato blend. Cheese pierogi offer a comforting flavor experience that has been rich in tradition for centuries. These delightful Polish dumplings bring together simple ingredients with a harmonious balance of textures and tastes. Whether served warm with crispy bacon bits and caramelized onions or dipped in tangy sour cream, cheese pierogi awaken your senses and evoke cozy family gatherings. This beloved dish has traveled far beyond Eastern Europe, becoming a favorite in homes across the world for its hearty and satisfying flavor profile.
Health Benefits & Nutrition of Cheese Pierogi
Though indulgent, cheese pierogi bring nutritional value when made with wholesome ingredients. The combination of potatoes and ricotta cheese provides a source of complex carbohydrates and protein that sustain energy. Ricotta is rich in calcium and phosphorus, essential for bone health (National Institutes of Health). The inclusion of onions and chives contributes antioxidants and vitamins such as vitamin C and K, supporting immune function and circulation. Using moderate amounts of bacon adds flavor but also fats, so balance and portion control are key. For those with dairy allergies or on low-sodium diets, ingredient adjustments may be necessary to enjoy these dumplings safely.
Ingredients & Preparation
Recipe Card
| Prep Time | 2 hr 10 min |
|---|---|
| Total Time | 3 hr 10 min (includes chilling) |
| Servings | 32 pierogies |
| Calories (per serving) | 165 kcal |
| Diet Tags | Vegetarian option available (omit bacon), Dairy, Gluten |
Full Ingredient List
- Filling:
- 1 large russet potato, baked and mashed
- 8 slices thick-cut bacon, cooked crisp and crumbled (reserve fat)
- 1 large white onion (about 360 grams/4 cups), finely diced
- 1 cup whole milk ricotta cheese
- 2 tablespoons fresh chives, finely chopped
- Kosher salt and freshly ground black pepper, to taste
- Dough:
- 3 cups all-purpose flour, plus extra for dusting
- 1 teaspoon kosher salt
- 3/4 cup warm water (~110°F / 43°C)
- 1/4 cup 2% Greek yogurt
- 1 large egg
- To Serve:
- Reserved bacon fat
- Additional crumbled bacon and cooked onions
- Sour cream
- Chopped chives
- Flaky salt (optional)
- Neutral oil (optional, for frying)
Equipment Needed
- Large mixing bowls
- Nonstick or cast-iron skillet
- Rolling pin
- 3-inch round cookie cutter or comparable mold
- Pot for boiling pierogies
- Baking sheet and parchment paper
Tips for Choosing Quality Ingredients
- Pick firm, starchy russet potatoes for ideal texture in filling.
- Opt for fresh whole milk ricotta with creamy consistency and mild flavor.
- Use thick-cut, smoked bacon to deepen smoky notes.
- Choose unbleached all-purpose flour for a tender yet sturdy dough.
- Fresh chives and onions add vibrant flavor—avoid pre-chopped to maximize aroma.
Step-by-Step Instructions
Step 1: Prepare the Filling (20 minutes active)
Preheat your oven or toaster oven to 350°F (175°C). Bake the russet potato until tender, about 45-60 minutes at this temperature, then mash until smooth. In a skillet over medium heat, add a thin layer of reserved bacon fat and sauté finely diced onions for 10-12 minutes, stirring frequently until golden and caramelized. In a large bowl, combine mashed potato, two-thirds of crumbled bacon, half the cooked onions, ricotta cheese, and chopped chives. Season with kosher salt and black pepper. Mix warmly until blended, then cover and refrigerate to chill for at least 1 hour.
Step 2: Make the Dough (15 minutes)
In a large bowl, whisk together flour and salt. In a separate vessel, combine warm water, Greek yogurt, and egg; whisk until uniform. Create a well in the flour mixture and pour in the wet ingredients. Stir with a wooden spoon or use your hands to form a shaggy dough. Transfer to a floured surface and knead for 8–10 minutes until the dough is smooth, elastic but slightly tacky. Wrap in plastic and chill for 30 minutes.
Step 3: Assemble the Pierogi (45 minutes)
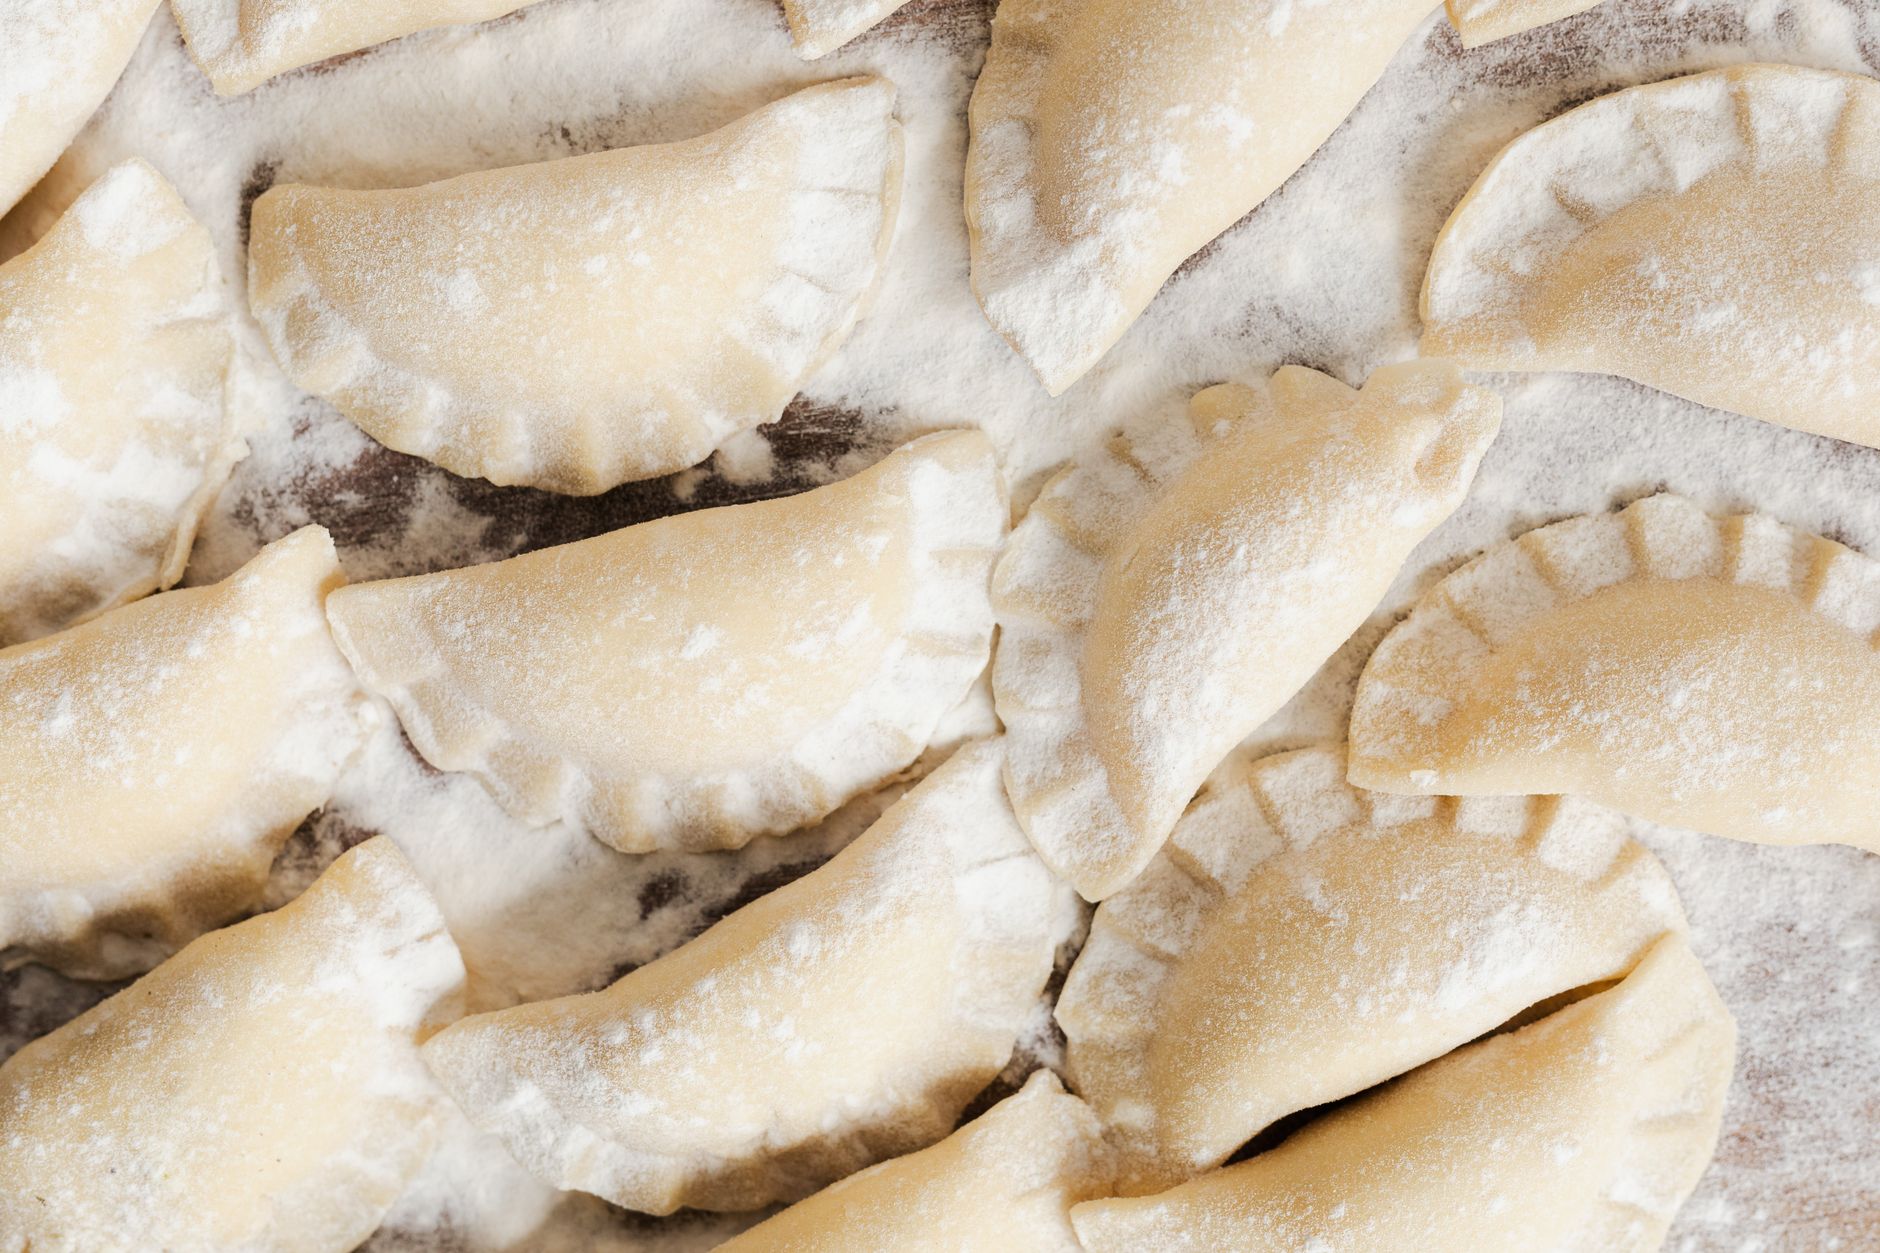
Roll out the dough on a floured surface to about 1/8 inch thickness. Using a 3-inch round cutter, cut circles. Place a teaspoon of filling in the center of each dough circle. Fold dough over to create a half-moon shape, pressing edges firmly to seal. Use a fork or pinch tightly to prevent filling leakage. Arrange pierogies on floured baking sheets as you go, covering lightly to prevent drying.
Step 4: Cook the Pierogi (10 minutes)
Bring a large pot of salted water to a gentle boil. Drop pierogies in batches, stirring occasionally to prevent sticking. Cook for 3-4 minutes or until they float to the surface. Remove with slotted spoon and transfer to a platter.
Step 5: Optional Searing & Serving (10 minutes)
For a crispy finish, heat reserved bacon fat or neutral oil in a skillet over medium heat. Fry boiled pierogies for 2-3 minutes per side until golden and crispy. Serve topped with reserved bacon, caramelized onions, chopped chives, sour cream, and flaky salt for an irresistible presentation.

Variations & Substitutions
- Vegetarian version: Omit bacon and use olive oil to sauté onions; add sautéed mushrooms for an umami boost.
- Cheese alternatives: Swap ricotta for farmer’s cheese or cream cheese for a tangier, creamier filling.
- Gluten-free dough: Replace all-purpose flour with a gluten-free flour blend that includes xanthan gum for elasticity.
- Sweet twist: Try a dessert option by stuffing with sweetened farmer’s cheese or cream cheese mixed with lemon zest.
Storage & Shelf Life
Once cooked, cheese pierogi stay fresh in the refrigerator for 3–4 days when stored in an airtight container. For longer storage, freeze uncooked pierogies on a parchment-lined tray until firm, about 2 hours, then transfer to freezer bags. They keep well frozen for up to 3 months. Cook frozen pierogies directly in boiling water, adding a minute or two to the usual cooking time. Always discard pierogies that develop sour odors, mold, or an off texture to avoid foodborne illness.
Pro Tips for Perfect Cheese Pierogi
- Chill the dough before rolling to make it easier to handle and prevent shrinkage during cooking.
- Seal edges tightly by pressing firmly—any gaps may cause filling to leak during boiling.
- Reserve bacon fat for sautéing onions and frying pierogies to deepen layers of flavor and add a crispy finish.
- Don’t overfill the dough circles to avoid bursting; a teaspoon of filling is ideal.
- Cook pierogies in batches in gently boiling water to prevent overcrowding and sticking.
- For balanced texture, boil pierogies first and then lightly pan-fry them for golden, crispy edges.
When is the best time to eat Cheese Pierogi?
Cheese pierogi are versatile and can be enjoyed any time—from a hearty lunch to a cozy dinner or even a festive gathering. They’re particularly satisfying during cooler months due to their warmth and richness. Serving shortly after cooking preserves their creamy texture and crispy exterior if pan-fried. Enjoy with a dollop of sour cream and chives for a classic experience.
Can I make cheese pierogi ahead of time?
Yes, preparing pierogi dough and filling in advance saves time. You can shape and freeze them uncooked, then cook fresh when ready to serve. This method preserves flavor and texture.
Are cheese pierogi gluten-free?
Traditional cheese pierogi contain wheat flour, making them unsuitable for gluten-free diets. However, substituting with gluten-free flour blends and ensuring all other ingredients are gluten-free can accommodate this restriction.
How do I prevent pierogi from sticking while cooking?
Use plenty of salted boiling water and stir gently after adding pierogies. Avoid overcrowding the pot, and remove cooked pierogies promptly to a lightly oiled surface or plate.
What can I serve with cheese pierogi?
Classic accompaniments include caramelized onions, crispy bacon, sour cream, and fresh herbs like chives. For a richer meal, pair with sautéed mushrooms or a light green salad.
Can I use other types of cheese in the filling?
Absolutely. Farmer’s cheese, cream cheese, or a mild goat cheese can be mixed with mashed potatoes for varied creamy textures and tangy flavors.
Is it better to boil or fry pierogi?
Boiling cooks the dough through and softens the pierogi, while pan-frying after boiling adds a golden, crispy texture. Combining both methods delivers delightful contrast.
How do I know when pierogi dough is ready?
The dough should be smooth, elastic, and slightly tacky but not sticky. It should spring back when pressed gently and hold its shape when rolled out.
More Recipes You Will Love
If you enjoyed crafting cheese pierogi, explore other comforting dishes like a classic Cherry cheese pie, which balances tangy fruit with rich cheese in a buttery crust.
For a cool treat after your pierogi feast, try the easy-to-make Mary Berry no-churn ice cream condensed milk, a creamy, luscious dessert requiring minimal effort.

Conclusion
Cheese pierogi combine a comforting creamy filling with a tender dough that creates a satisfying, hearty dish perfect for sharing. The layered flavors of ricotta, mashed potatoes, bacon, and caramelized onions make every bite irresistible. You can personalize this classic by experimenting with fillings or cooking styles. Share your cheese pierogi experiences, tips, or questions in the comments below — your culinary journey might inspire others to try this Polish favorite!
FAQs
When is the best time to eat Cheese Pierogi?
Cheese Pierogi are best enjoyed warm, making them ideal for cozy family dinners, festive gatherings, or as a comforting meal any time of day. They are especially popular during holidays and celebrations but delicious whenever you crave a savory treat.
Can Cheese Pierogi be made ahead of time?
Yes, Cheese Pierogi can be prepared in advance and frozen uncooked. When ready to serve, boil and then fry or bake them to enjoy fresh. This makes them convenient for busy days or planned meals.
Is there a vegetarian version of Cheese Pierogi?
Definitely! To make Cheese Pierogi vegetarian, simply omit the bacon and reserved bacon fat. You can sauté onions in oil or butter instead for flavor while still maintaining a rich and creamy filling.
How should Cheese Pierogi be served for best flavor?
Serve Cheese Pierogi warm, topped with crispy bacon bits, caramelized onions, fresh chives, and a dollop of sour cream. This enhances their creamy filling and adds a delicious contrast of textures and flavors.
Are Cheese Pierogi nutritious?
Cheese Pierogi provide carbohydrates, protein, and essential nutrients like calcium and vitamins when made with wholesome ingredients such as ricotta cheese, potatoes, and fresh herbs. Portion control helps balance indulgence with nutrition.