Why Candy Melt Trees
Bright green candy, crunchy pretzels, and rainbow sprinkles turn into tiny edible trees in minutes. These Candy Melt Trees look festive on a cookie platter but need no oven, special cutters, or complicated decorating skills.
Candy Melt Trees are no-bake holiday treats made by piping melted green candy over pretzel sticks in a zigzag tree shape. Add sprinkles while the coating is soft, then let the trees set until firm. The result is a crisp, sweet snack with a simple edible "trunk" that children and adults can decorate together.
I like this recipe for last-minute parties because the candy sets quickly at room temperature. The pretzel gives each tree a sturdy handle, while the soft candy melts create a smooth finish without tempering chocolate.
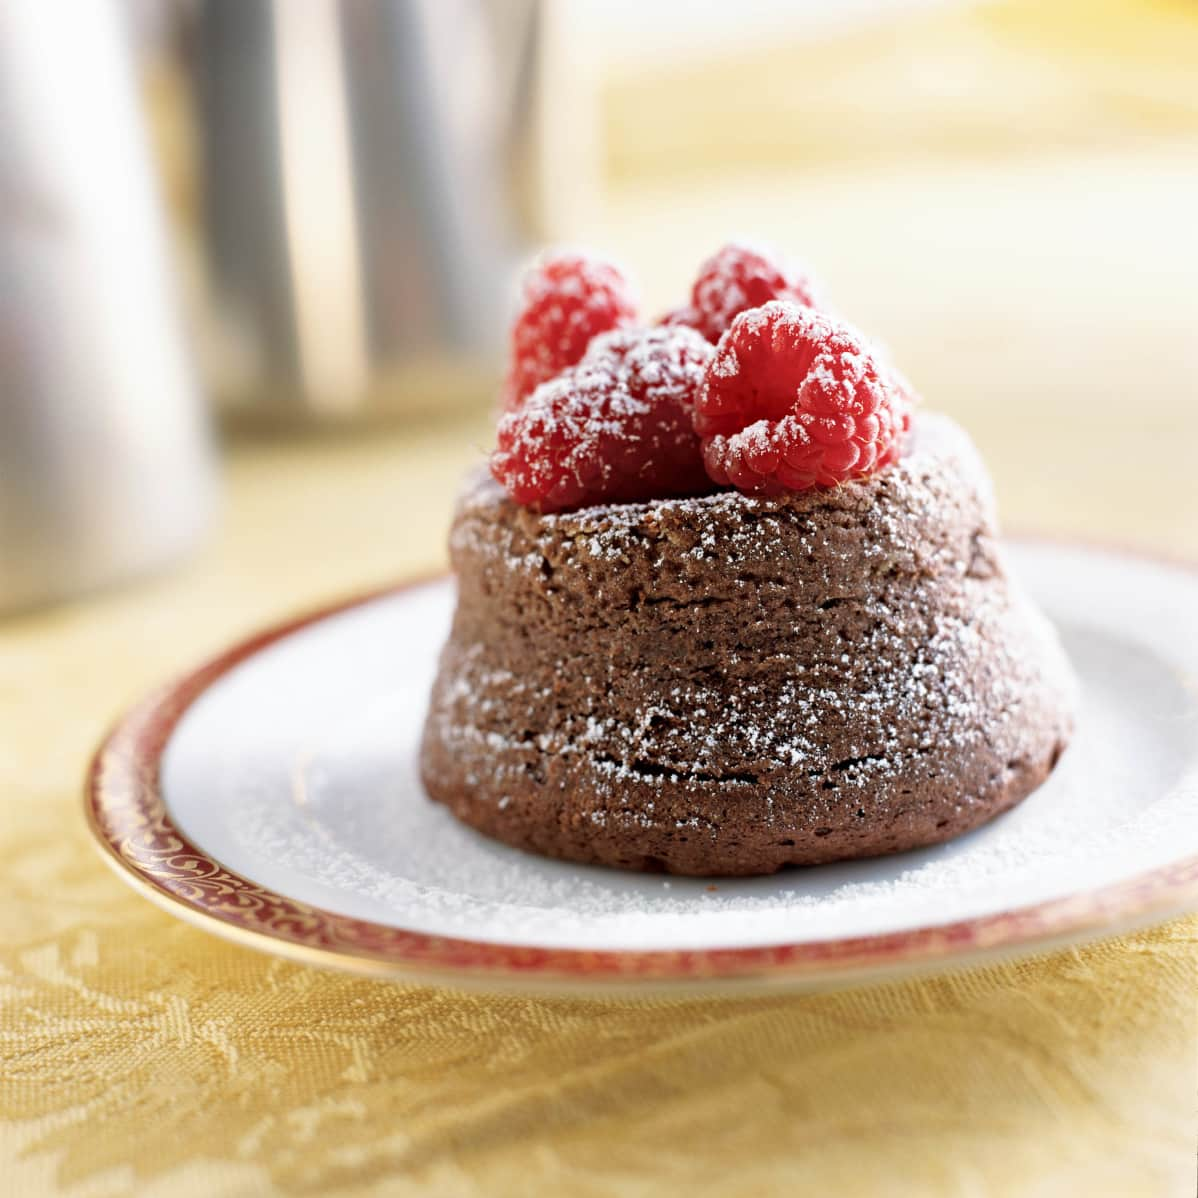
For another small, giftable dessert, try these Earl grey tea chocolate truffles 5482587. They make a lovely companion for a holiday dessert tray.

Health Benefits & Nutrition
This is a fun confection rather than a health-focused recipe, so enjoy it as an occasional dessert. Each tree is small, which makes portioning straightforward and helps keep the treat from becoming overly heavy after a meal.
- Quick portion control: Making individual trees means you can serve one per guest instead of cutting a large dessert into uneven pieces.
- Energy from carbohydrates: Pretzels and candy melts mainly provide carbohydrates, which the body uses for energy. They are not a significant source of fiber or protein.
- Simple ingredient awareness: The short ingredient list makes it easy to see how much added sugar, salt, and fat each serving contains.
- A low-effort festive option: The recipe requires no oven and little cleanup, making it practical when you are already preparing several holiday dishes.
Nutrition varies by candy melt brand, pretzel size, and the amount of sprinkles used. One tree contains approximately 70 calories, with about 1 gram of protein, 13 grams of carbohydrates, and 2 grams of fat.
Check package labels carefully if you have food allergies. Pretzels may contain wheat and can sometimes be made with shared equipment. Candy melts may contain milk or soy, depending on the brand. Use certified allergen-free ingredients when needed, and ask a doctor or dietitian for personal dietary guidance.
Ingredients & Preparation
Recipe Card
| Prep time | Cook time | Total time | Servings | Calories (approx.) | Diet tags |
|---|---|---|---|---|---|
| 15 minutes | 5 minutes | 20 minutes | 16 trees | 70 per tree | Vegetarian; egg-free |
Full Ingredient List
- 16 salted pretzel sticks or thin pretzel rods
- 1 cup green candy melts
- 2 tablespoons rainbow nonpareils or holiday sprinkles
The quantity of candy coating is enough for 16 small trees, with a little extra for breakage and uneven piping. If your trees are wider than 2 inches, keep an additional 1/4 cup of candy melts nearby.
Equipment Needed
- One large baking sheet
- Parchment paper
- Microwave-safe bowl
- Small piping bag or zip-top bag
- Kitchen scissors
- Small spoon or measuring cup
Tips for Choosing Quality Ingredients
Choose pretzel sticks that are straight and reasonably thick. Very thin sticks snap when you lift the finished trees, while heavily curved pieces make the tree shapes harder to pipe. I sort the pretzels before starting and save the broken ones for snacking.
Use candy melts made for coating rather than ordinary green chocolate chips. Candy melts are designed to melt smoothly and set firm without tempering. For the brightest color, choose a fresh bag with no dusty coating or clumps.
Small nonpareils work better than large sugar pearls. They cling to the soft coating without weighing it down. If you use metallic sprinkles, add them sparingly because larger decorations can make the thin branches crack as they set.

Step-by-Step Instructions
1. Prepare the baking sheet
Line one large baking sheet with parchment paper. Place 16 pretzel sticks in a single layer, leaving at least 1 inch between them. Position each stick vertically, with the lower half exposed as the trunk and the upper half clear for the green branches.
2. Melt the candy coating
Place 1 cup of green candy melts in a microwave-safe bowl. Microwave at full power for 30 seconds, stir thoroughly, then continue in 15-second intervals for 1 to 2 minutes more. Stir after every interval until the coating is smooth and flows slowly from the spoon.
Do not overheat the candy. The bowl may feel only warm while the melts are ready. The first time I made these, I microwaved the coating too long and it became thick and grainy. Shorter bursts and thorough stirring give a much smoother piping texture.
3. Fill and test the piping bag
Transfer the melted coating to a piping bag or a zip-top bag. Snip a small opening, about 1/8 inch wide. Pipe a short line onto a piece of parchment first. The coating should come out in a steady ribbon; if it drags, microwave the bag or bowl for 5 seconds and stir again.
4. Pipe the tree shapes
Starting about halfway up each pretzel, pipe a zigzag from side to side while gradually narrowing the lines toward the top. Aim for a tree about 2 inches tall. Leave the bottom half of every pretzel uncovered so it remains a visible trunk.
Pipe with light, even pressure rather than trying to make one thick continuous triangle. A thin ribbon sets more neatly and gives the trees a pleasant snap. Make two or three extra trees if you have enough coating, because the narrow tops can break while moving the treats.
5. Decorate and set
Sprinkle the nonpareils over each tree immediately, while the candy is still glossy and soft. Let the tray stand at room temperature for 10 minutes, or refrigerate it for 5 minutes if your kitchen is warm. The coating is ready when it looks matte and feels firm to a gentle touch.
Listen for a faint crisp snap when you lift a fully set tree from the parchment. If the branches bend or leave a fingerprint, give them another 5 minutes before serving.
Variations & Substitutions
- White snow trees: Replace the green candy melts with 1 cup of white candy melts. Add blue and silver sprinkles for a snowy appearance. White coating can show fingerprints easily, so handle the trees by the pretzel trunk.
- Chocolate woodland trees: Use 1 cup of dark or milk chocolate-flavored candy melts instead of green. The texture will be similar, but the finished trees may need an extra 5 minutes to set in a warm room.
- Gluten-free trees: Substitute 16 gluten-free pretzel sticks in a one-to-one ratio. Confirm that both the pretzels and candy melts are made in a facility suitable for your dietary needs.
- Chocolate trunk: Dip the exposed half of each pretzel in 2 tablespoons of melted brown candy coating. Let the trunks set for 5 minutes before piping the green branches.
- Winter peppermint version: Replace the rainbow nonpareils with 2 tablespoons of crushed peppermint candy. Use small pieces rather than powder, since fine peppermint dust can make the surface look cloudy.
- Mini bite-size trees: Cut pretzel rods in half and pipe smaller trees using about 3/4 cup candy melts. Reduce the piping width to about 1/16 inch, and check them after 6 minutes of setting.
I tried using regular food coloring in white chocolate for a green coating, but the mixture tightened quickly and became difficult to pipe. Candy melts or oil-based candy coloring are more dependable choices because they keep the coating fluid.
Storage & Shelf Life
Store the finished treats in an airtight container at cool room temperature for up to 7 days. Place parchment between layers to protect the thin branches. Keep the container away from direct sunlight, a warm oven, or a steamy dishwasher, since heat can soften the coating.
Refrigeration is optional, but you can keep the trees in the refrigerator for up to 10 days. Seal them well so the pretzels do not absorb moisture or nearby food odors. Let the container sit unopened at room temperature for 10 minutes before serving to reduce condensation.
Freezing is possible for up to 1 month. Arrange the trees in a single layer on a parchment-lined tray, freeze for 1 hour, then transfer them to a freezer-safe container with parchment between layers. Thaw them in the sealed container for 30 to 45 minutes.
Discard any trees that develop a stale or rancid smell, soft or damp pretzels, visible mold, or unusual discoloration. A pale coating or white streaks can be harmless candy bloom, but the texture may be less smooth.
Pro Tips
Keep all tools completely dry. Even a small amount of water can make melted candy coating seize and turn thick. Wipe the bowl and spoon carefully before adding the melts.
Use a narrow opening for detailed branches. A large opening releases too much coating and creates heavy trees that take longer to set. If the bag feels warm from your hands, rest it on the counter for 30 seconds before continuing.
Pipe the trees in one direction across the tray. This gives you a consistent trunk position and makes it easier to compare their sizes. If one tree looks uneven, add a small zigzag layer while the first layer is still soft.
Add sprinkles from a spoon rather than directly from a large container. You will have better control and fewer stray decorations on the parchment. Work over the baking sheet so excess sprinkles can be collected and reused.
For clean edges, avoid moving the pretzels after piping. Slide the entire parchment sheet onto a tray or cutting board if you need to clear the counter. Once the candy sets, lift each tree by the exposed pretzel section.
Make the coating slightly thicker at the bottom of the branches and thinner near the top. This keeps the tree stable without hiding the pretzel completely. A gradual taper also makes the shape look more like a miniature evergreen.

Questions & Answers
When is the best time to eat Candy Melt Trees?
The best time to eat them is after the coating has fully set, usually 10 minutes at room temperature. Serve them the same day for the crispest pretzel texture. They also work well on holiday dessert trays, in lunchbox treat bags, or beside hot cocoa after dinner.
Can I make these treats ahead of time?
Yes, you can make them up to 7 days ahead and store them in an airtight container. Keep parchment between layers and store the container in a cool, dry place. Avoid placing them near heat, because the candy branches can soften and lose their sharp zigzag shape.
Why did my candy melts become thick?
Thick candy melts usually result from overheating, moisture, or insufficient stirring. Microwave them in 5-second bursts and stir between each burst. If the coating remains grainy or stiff, it is better to start with a fresh portion than to add water, which can cause the mixture to seize.
Can I use chocolate chips instead of candy melts?
You can use chocolate chips, but they may not pipe or set as neatly without added fat and tempering. If you use them, melt 1 cup gently and add 1 teaspoon of shortening only if needed for flow. Candy melts remain the easiest option for crisp, colorful branches.
How do I stop the pretzel trunks from breaking?
Choose straight, sturdy pretzels and leave at least half of each stick uncovered. Do not lift the trees by the coated branches. Slide a thin spatula under the set candy if necessary, then hold the treat by the exposed pretzel trunk.
Can children help make this recipe?
Yes, children can arrange pretzels, add sprinkles, and help choose colors. An adult should handle the hot bowl, microwave, piping bag, and scissors. Let the melted coating cool briefly before piping so it is warm and fluid rather than hot.
Why are my branches spreading on the parchment?
Branches spread when the candy coating is too warm or the piping opening is too large. Let the melted coating stand for 1 minute, then test a small line. Use steady pressure and a narrow opening, and chill the finished tray for 5 minutes if your kitchen is warm.
More Recipes You Will Love
If you enjoy small, colorful desserts with strong visual appeal, a refreshing Pomegranate and mint sorbet recipe adds a bright contrast to a rich holiday spread. Its jewel-like color also looks beautiful in individual serving dishes.
For a more grown-up chocolate option, pair these pretzel trees with Earl grey tea chocolate truffles. The truffles bring a soft, creamy center, while the trees contribute a crisp, salty bite.
You can also arrange several treats on a platter with fresh fruit, toasted nuts, and small bowls of extra sprinkles. The mix of colors and textures makes a simple dessert table feel thoughtfully prepared.
Conclusion
Candy Melt Trees are a cheerful, low-effort dessert that turns three basic ingredients into festive edible decorations. The key is gentle melting, a small piping opening, and adding sprinkles before the coating sets. Make a few extra trees for the tray, and let them firm completely before transferring them. If you try the recipe, leave a rating or comment with your favorite color combination, and share it with someone who enjoys easy holiday baking.
FAQs
When is the best time to eat Candy Melt Trees?
The best time to eat Candy Melt Trees is the same day they are made, after the coating has fully set. Serve them at holiday parties, cookie exchanges, or as a small dessert. Room-temperature serving preserves the pretzel’s crunch, while a cool, dry room keeps the candy firm.
Can I use different pretzels for Candy Melt Trees?
Yes, you can use thin pretzel rods or straight pretzel sticks for Candy Melt Trees. Choose pieces that are sturdy enough to lift without snapping and long enough to act as tree trunks. Avoid heavily seasoned or unusually thin pretzels, which may affect the flavor or break during decorating.
How should I store Candy Melt Trees?
Store Candy Melt Trees in an airtight container at room temperature for up to one week. Place parchment between layers to prevent sticking, and keep the container in a cool, dry area away from sunlight. Refrigeration is usually unnecessary and may introduce moisture that softens the pretzels.
Why are my candy melts thick and difficult to pipe?
Thick candy melts usually need gentle reheating or a small amount of candy-melting aid. Microwave the coating in short intervals, stirring after each interval, until smooth. Avoid adding water, because even a small amount can make the candy seize. Work promptly once the coating reaches a pourable texture.
How long do Candy Melt Trees take to set?
Candy Melt Trees usually set at room temperature within about 20 to 30 minutes. Arrange the piped trees on parchment and leave them undisturbed until the candy feels firm. A brief period in the refrigerator can speed setting, but avoid storing the finished treats there for long periods because condensation can soften the pretzels.