Introduction
Why camp dutch oven recipes deliver unbeatable rustic flavors and texture
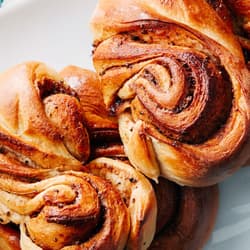
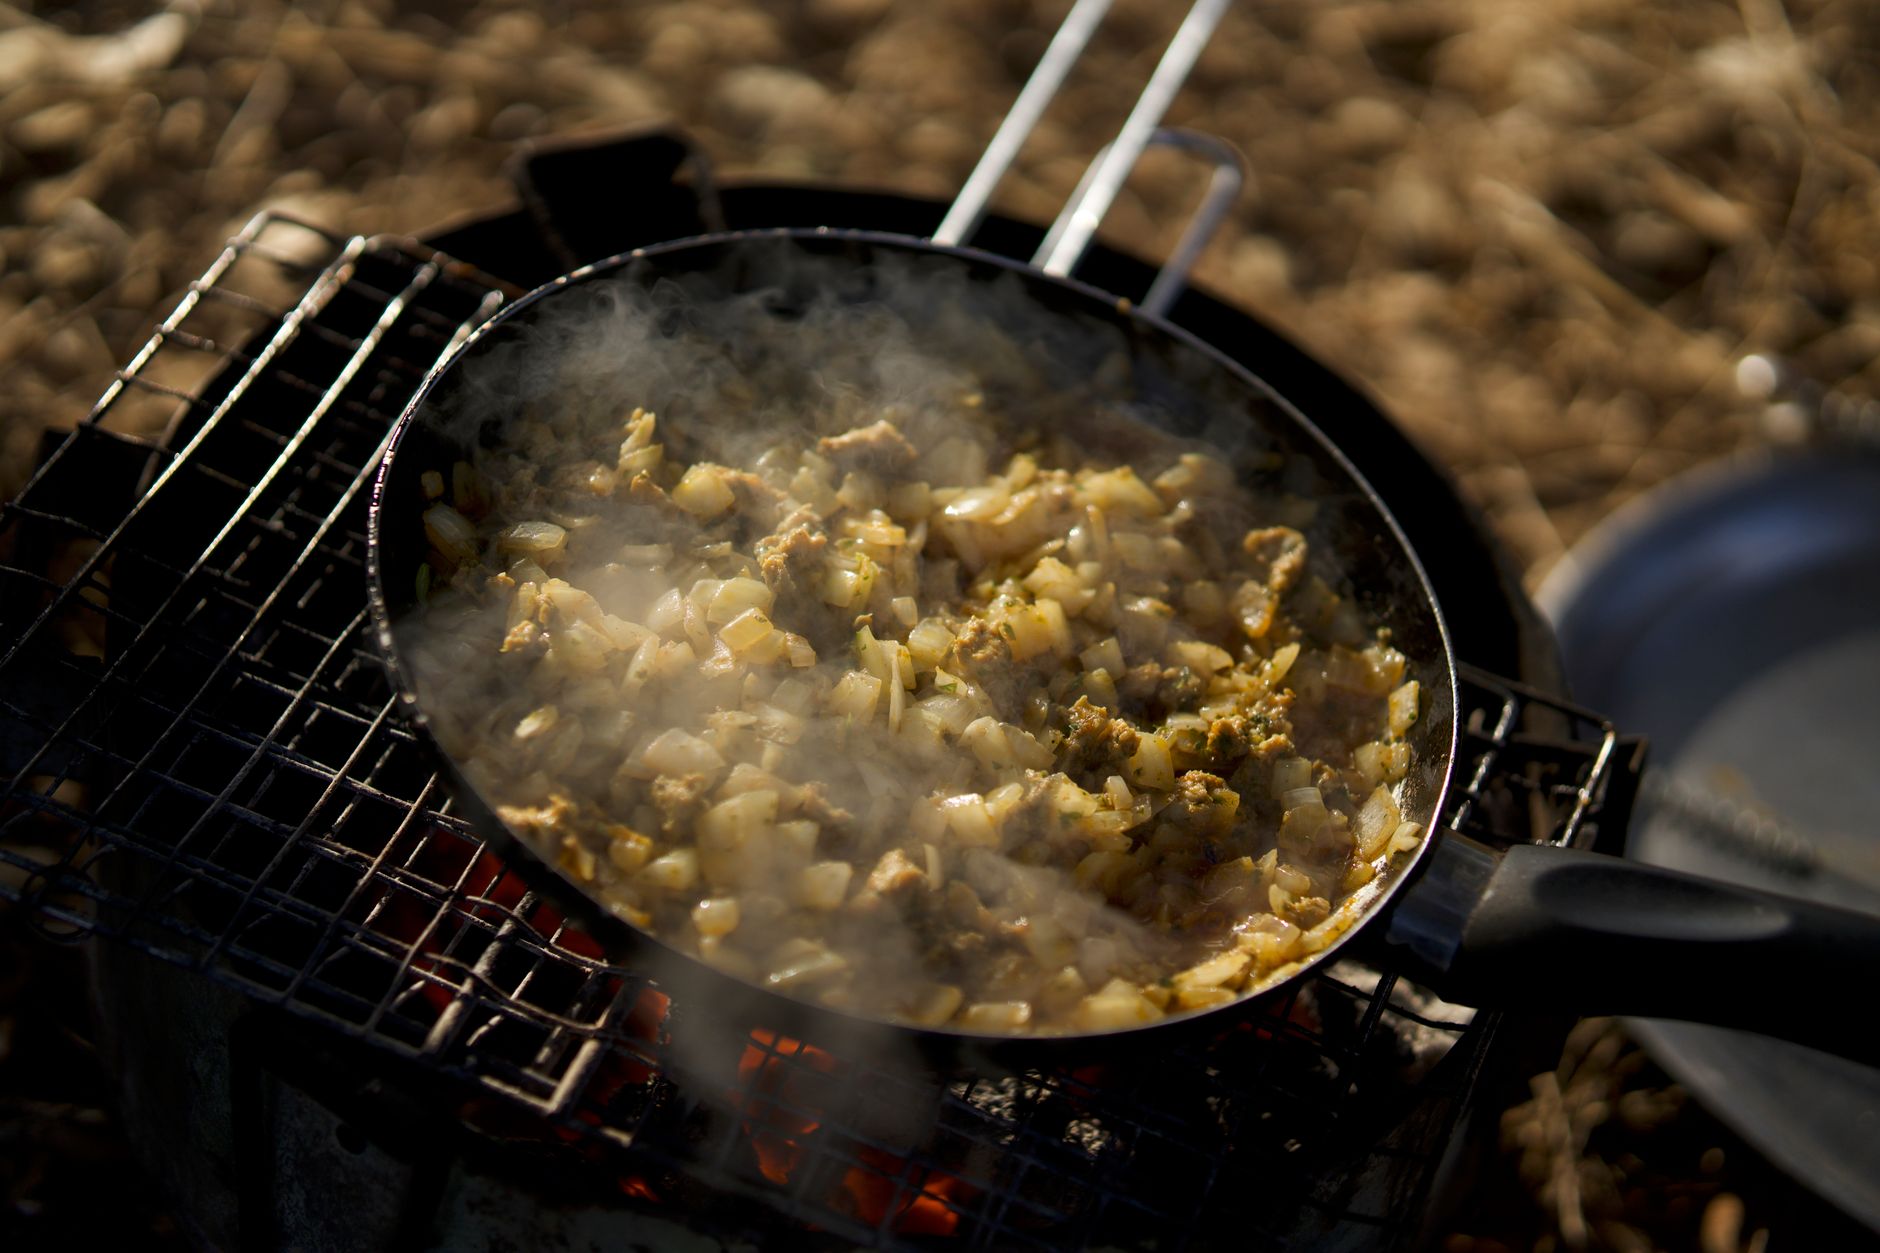
Camp dutch oven recipes transform simple ingredients into hearty campfire meals bursting with rich, earthy flavors. Using cast iron baking techniques over wood-fired cooking methods, every loaf, biscuit, or cobbler gains a golden crust and tender inside. Whether you‘re new to outdoor dutch oven baking or a seasoned pro, these recipes promise satisfying meals infused with natures aroma and warmth.
Who camp dutch oven recipes are perfect for skill levels and lifestyles
These recipes fit campers at any skill level. Beginners find them easy to follow, while experienced outdoor cooks can experiment with flavors and techniques. Gluten-free camp recipes are included for dietary needs, plus vegan and hearty options that suit a busy outdoor lifestyle. Theres truly something for everyone craving rustic, warm meals around the campfire.
What makes our camp dutch oven recipes stand out online
Beyond standard easy campfire recipes, this collection emphasizes mastering cooking and fire management. Unique tips on charcoal placement and ingredient swaps ensure great results. Youll learn to avoid common dutch oven baking mistakes that affect texture and taste. These step-by-step recipes make your camp cooking both approachable and delicious.
Key Highlights of Camp Dutch Oven Baking
The cast iron advantage enhancing flavor and texture naturally
The secret to superb camp dutch oven recipes lies in cast iron. It evenly distributes heat from coals above and below, creating a perfect balance for baking. The iron surface gradually seasons over time, adding depth to flavors. This method produces crusts as crispy as any oven-baked bread and moist interiors with that signature smoky edge.
Versatility in recipes from breads to desserts outdoors
Outdoor dutch oven baking is incredibly versatile. You can bake fluffy biscuits for breakfast, dense whole wheat bread for hearty sandwiches, or even sweet cobblers for dessert. These recipes adapt easily for gluten-free camp recipes or vegan versions, ensuring everyone can enjoy a fresh, home-baked treat regardless of their preferences.
Safety note mindful of handling hot cookware and campfire precautions
Managing heat safely is crucial. Always wear heat-resistant gloves when handling the dutch oven, and place it on a stable surface to avoid spills. Keep young children at a safe distance during cooking. If you have respiratory sensitivities, take care around smoke from wood-fired cooking methods and maintain proper ventilation.
Ingredients & Preparation
| Prep time | Total time | Servings | Calories | Diet tags |
|---|---|---|---|---|
| 15 minutes | 1 hour | 6 | 350 approx. | Gluten-Free, Dairy-Free (optional) |
Full ingredient list with quantities and substitutions
- 2 cups all-purpose flour (or gluten-free blend)
- 1 tablespoon baking powder (fresh)
- 1 teaspoon salt
- 2 tablespoons sugar (optional for slight sweetness)
- 4 tablespoons cold butter or dairy-free alternative
- 3/4 cup milk or plant-based milk
- Optional add-ins: dried herbs, shredded cheese, dried fruits
For gluten-free camp recipes, swap flour for almond or coconut flour and adjust liquids as needed. Dairy-free butter and milk substitutes maintain creamy texture.
Equipment needed cast iron dutch oven, heatproof gloves, charcoal or wood coals
A seasoned cast iron dutch oven is best for even heat. Heatproof gloves protect your hands. Youll need good-quality charcoal or natural wood coals, arranged on the lid and beneath for balanced baking. A charcoal thermometer helps monitor temperature, but a steady hand and timing work fine too.
Tips for selecting the freshest ingredients for camp baking
Fresh baking powder ensures rise and fluffiness. Choose organic, unbleached flour whenever possible to enhance taste. Fresh herbs add a bright, tangy note, while dried versions offer earthy depth. Using quality butter or its substitute provides a creamy crumb in your breads and biscuits.
Step-by-Step Instructions
Step 1 Prep ingredients: measure, sift flour, chop herbs, and preheat coals
Sift the flour, baking powder, salt, and sugar into a bowl. Chop fresh herbs finely if used. Preheat your charcoal coals to create roughly 350F heat by arranging 15 coals beneath and 15 on the lid. This prepares the dutch oven for even baking.
Step 2 Combine batter and place in dutch oven; bake at 350F for 30-45 minutes
Cut cold butter into the dry ingredients until the mixture resembles coarse crumbs. Slowly stir in milk until a soft dough forms. Place dough evenly in the dutch oven. Secure lid and bake for 30 to 45 minutes. Rotate coals halfway through for consistent heat.
Step 3 Remove lid carefully; test doneness and add toppings if needed (e.g., butter, honey)
Open the lid gently after 30 minutes. Insert a toothpick; it should come out clean. If not, reseal and bake another 10 minutes. Brush tops with melted butter or drizzle honey for extra flavor and shine.
Step 4 Serve immediately or cool on a rack before storing
Serve your golden loaf warm for the best taste and texture. If storing, cool completely on a rack to prevent sogginess. Wrap in foil or airtight containers to keep freshness.

Variations & Substitutions
Popular dietary variations vegan biscuits, gluten-free cobbler
For vegan biscuits, replace butter with solid coconut oil and use almond or oat milk. Gluten-free camp recipes thrive with these swaps, yielding tender results. Try gluten-free cobblers with fresh berries and nut flours for a sweet outdoor treat.
Ingredient swaps using whole wheat flour or dried fruits
Whole wheat flour adds nutty flavor but may dry your bread; increase milk slightly for moisture. Adding dried fruits like raisins or cranberries introduces natural sweetness and chewy texture that pairs well with savory herbs.
Adjusting flavors adding spices like cinnamon or herbs for savory versions
Add cinnamon and nutmeg for a cozy, sweet bread. For savory options, fresh rosemary or thyme melt into the doughs crumb. Dried oregano and garlic powder can provide a punchy aroma, perfect for game days or camp dinners.

Storage & Shelf Life
Refrigerator Store baked goods in airtight containers for 35 days
Keep breads and biscuits in sealed containers inside the fridge. This prevents drying out and preserves crumb softness for several days, ideal if camping for multiple meals.
Freezer Freeze dough balls or finished baked goods up to 3 months; thaw overnight in fridge
Wrap breads tightly in foil or freezer bags to avoid freezer burn. Dough balls freeze well too; thaw in the fridge overnight before baking fresh on site.
Make-ahead batch tips scale ingredients for larger groups; label clearly with date and content
Prepare double batches of dough before your trip. Label each container with the date and recipe type for easy access. Well-wrapped dough or baked goods maintain moisture and taste even after transporting.
Pro Tips & Troubleshooting
Avoiding soot stains place dutch oven on a raised grate and use long-handled gloves
Lift the dutch oven off direct ash by using a raised grate or tripod. This reduces collecting black soot on the exterior. Long-handled gloves keep your hands safe and away from lingering sparks.
Fixing dry or dense bread check baking powder freshness and ensure even coal heat
Dry or heavy bread often stems from old baking powder or uneven heat. Use fresh leavening and rotate coals in a circular pattern every 15 minutes for balanced cooking temperature.
Expert upgrade add a small cast iron trivet inside the oven for better airflow and crust
Placing a trivet inside elevates the dough, improving heat circulation. This creates a lighter crumb and a crispier crust, enhancing rustic texture and caramelized flavor.

When is the best time to bake with a camp dutch oven?
Midday or early afternoon offers the most consistent heat for baking. Fires have stabilized by then, providing steady wood-fired cooking methods needed for even heat in your dutch oven. Avoid morning dampness or late evening chills that can cool your coals too quickly.
Can I make a big batch of camp dutch oven recipes ahead of time?
Yes. Most doughs and batters hold well refrigerated for up to 24 hours. Prepare ahead to save time or feed large groups without last-minute mixing at your campsite.
Fresh flour or specialty blends which works best for camp baking?
All-purpose flour is reliable and yields consistent results. Specialty blends like gluten-free mixes require careful moisture balance and sometimes additional binding agents like xanthan gum. Testing small batches first helps.
Is camp dutch oven baking safe for everyone?
Handling hot cast iron and open coals requires caution. Children should not handle cookware. If you have respiratory issues, be mindful of campfire smoke and consider using a propane stove alternative.
How often can I enjoy baked meals cooked in a camp dutch oven?
As often as you like! Outdoor dutch oven baking can be a regular part of hearty campfire meals, offering a tasty way to enjoy rustic cooking without needing an electric oven.
Why does my bread sometimes turn out bitter or dense?
Bitter bread often points to too much baking powder or uneven heat exposure. Dense texture can result from underbaking or insufficient rising time. Follow measurements carefully and maintain stable coals.
What meals pair well with camp dutch oven baked breads and desserts?
Rustic breads go well with stews, grilled meats, and fresh campfire salads. Sweet cobblers pair perfectly with coffee or toasted marshmallows by the fire for a cozy end to your meal.
More Recipes You Will Love
Discover lodge dutch oven recipes for even more ways to use your cast iron at camp. For a sweet treat, try the No sugar banana bread with applesauce. If savory is your preference, check out the Meat pie ingredients and procedure for hearty meal ideas.
Conclusion
Camp dutch oven recipes show that rustic baking outdoors is both achievable and delicious. Embracing cast iron baking techniques over an open fire brings rewarding flavors and textures you cant get at home. Give these recipes a try on your next trip, and share your experiences or star rating below. For more inspiration, explore our lodge dutch oven recipes to keep your camp cooking fresh and exciting.
FAQs
When is the best time to eat camp dutch oven recipes?
Midday or early afternoon is best for baking with a camp dutch oven because fire heat is stable and consistent. Avoid early mornings or late evenings when dampness or chill may cool your coals and affect baking results.
Can I make a big batch of camp dutch oven recipes ahead of time?
Yes, most doughs and batters hold well refrigerated for up to 24 hours. Preparing in advance saves time at camp and is ideal for feeding larger groups without last-minute mixing.
Is camp dutch oven baking safe for everyone?
Camp dutch oven baking requires caution around hot cast iron and open coals. Children should not handle cookware, and those with respiratory issues should be mindful of smoke or use alternatives like propane stoves.
Why does my bread sometimes turn out bitter or dense?
Bitter bread can result from too much baking powder or uneven heat, while dense bread often comes from insufficient rising or underbaking. Use fresh ingredients and maintain even coal heat for best results.
What meals pair well with camp dutch oven baked breads and desserts?
Rustic breads complement stews, grilled meats, and fresh salads, while sweet cobblers pair well with coffee or toasted marshmallows for a cozy campfire dessert experience.