Why Black and White Cookies
The first bite gives you two textures at once: a tender, cake-like cookie and a thin icing that cracks softly under your teeth. Black and white cookies are classic New York-style treats with a lemon-vanilla base, a smooth white glaze, and a bittersweet cocoa glaze spread over opposite halves.
Black and White Cookies are soft, oversized drop cookies topped with two contrasting icings. This homemade version uses lemon zest, vanilla, buttermilk, and a small amount of cider vinegar for a tender crumb. The cooled cookies are finished with lemon icing on one half and cocoa icing on the other.
I tested these several times to get the icing consistency right. The cookies should feel more like little sponge cakes than crisp biscuits. For the cleanest halves, frost the flat underside rather than the rounded top, and let each icing set before stacking.

Health Benefits & Nutrition
This is a dessert, so its main role is pleasure rather than everyday nourishment. Each cookie contains flour, butter, sugar, egg, and icing, which makes it energy-dense and relatively high in added sugar.
- Some protein: The egg, buttermilk, and flour contribute a modest amount of protein, although this recipe is not a high-protein food.
- Calcium from dairy: Buttermilk contributes calcium and other nutrients, but the small quantity per cookie should not be treated as a major source.
- Quick energy: Flour and sugar provide carbohydrates, which make these cookies satisfying as an occasional snack or dessert.
- Portion-friendly format: The recipe makes about nine large cookies, so you can easily serve one per person and save the rest.
The approximate nutrition is about 328 calories per cookie when the batch makes nine. Actual values vary with cookie size, icing thickness, and the brands of flour, butter, cocoa, and sugar used.
These cookies contain wheat, egg, milk, and corn syrup. People with allergies or dietary restrictions should check ingredient labels carefully. For personal nutrition advice, allergy management, or medical dietary needs, consult a qualified dietitian or healthcare professional.
Ingredients & Preparation
Recipe Card
| Prep time | 2 hours 50 minutes |
|---|---|
| Cook time | 20 minutes |
| Total time | 3 hours 10 minutes |
| Servings | 9 cookies |
| Calories | Approximately 328 per cookie |
| Diet tags | Vegetarian |
Full Ingredient List
- 1 1/2 cups all-purpose flour, plus extra for lightly dusting the work surface
- 1/2 teaspoon baking powder
- 1 teaspoon kosher salt, divided
- 6 tablespoons unsalted butter, softened to room temperature
- 1/2 cup granulated sugar
- 2 tablespoons finely grated lemon zest
- 2 teaspoons vanilla extract
- 1 large egg, brought to room temperature
- 1/3 cup buttermilk, brought to room temperature
- 1 tablespoon apple cider vinegar
- 2 cups confectioners’ sugar
- 1 tablespoon fresh lemon juice
- 1 tablespoon finely grated lemon zest
- 1 tablespoon light corn syrup
- 1 to 2 tablespoons water, as needed for the icing
- 1/4 cup Dutch-process cocoa powder
- Nonstick cooking spray, for the parchment paper
Equipment Needed
You will need two baking sheets, parchment paper, a large mixing bowl, a stand mixer or hand mixer, a paddle attachment or beaters, a fine grater, a sifter, a rubber spatula, two small bowls, a cooling rack, and a small offset spatula or butter knife.
Tips for Choosing Quality Ingredients
Use fresh lemons with firm, fragrant skins. You need both the zest and juice, so unwaxed lemons are especially convenient. Room-temperature butter, egg, and buttermilk blend more evenly and help prevent a lumpy batter.
Dutch-process cocoa gives the chocolate icing a smooth, mellow flavor and deep color. If you only have natural cocoa, the icing will still work, but it may taste slightly sharper. Use fresh confectioners’ sugar for a smoother glaze; older sugar can develop small lumps.

Step-by-Step Instructions
1. Mix and chill the cookie batter
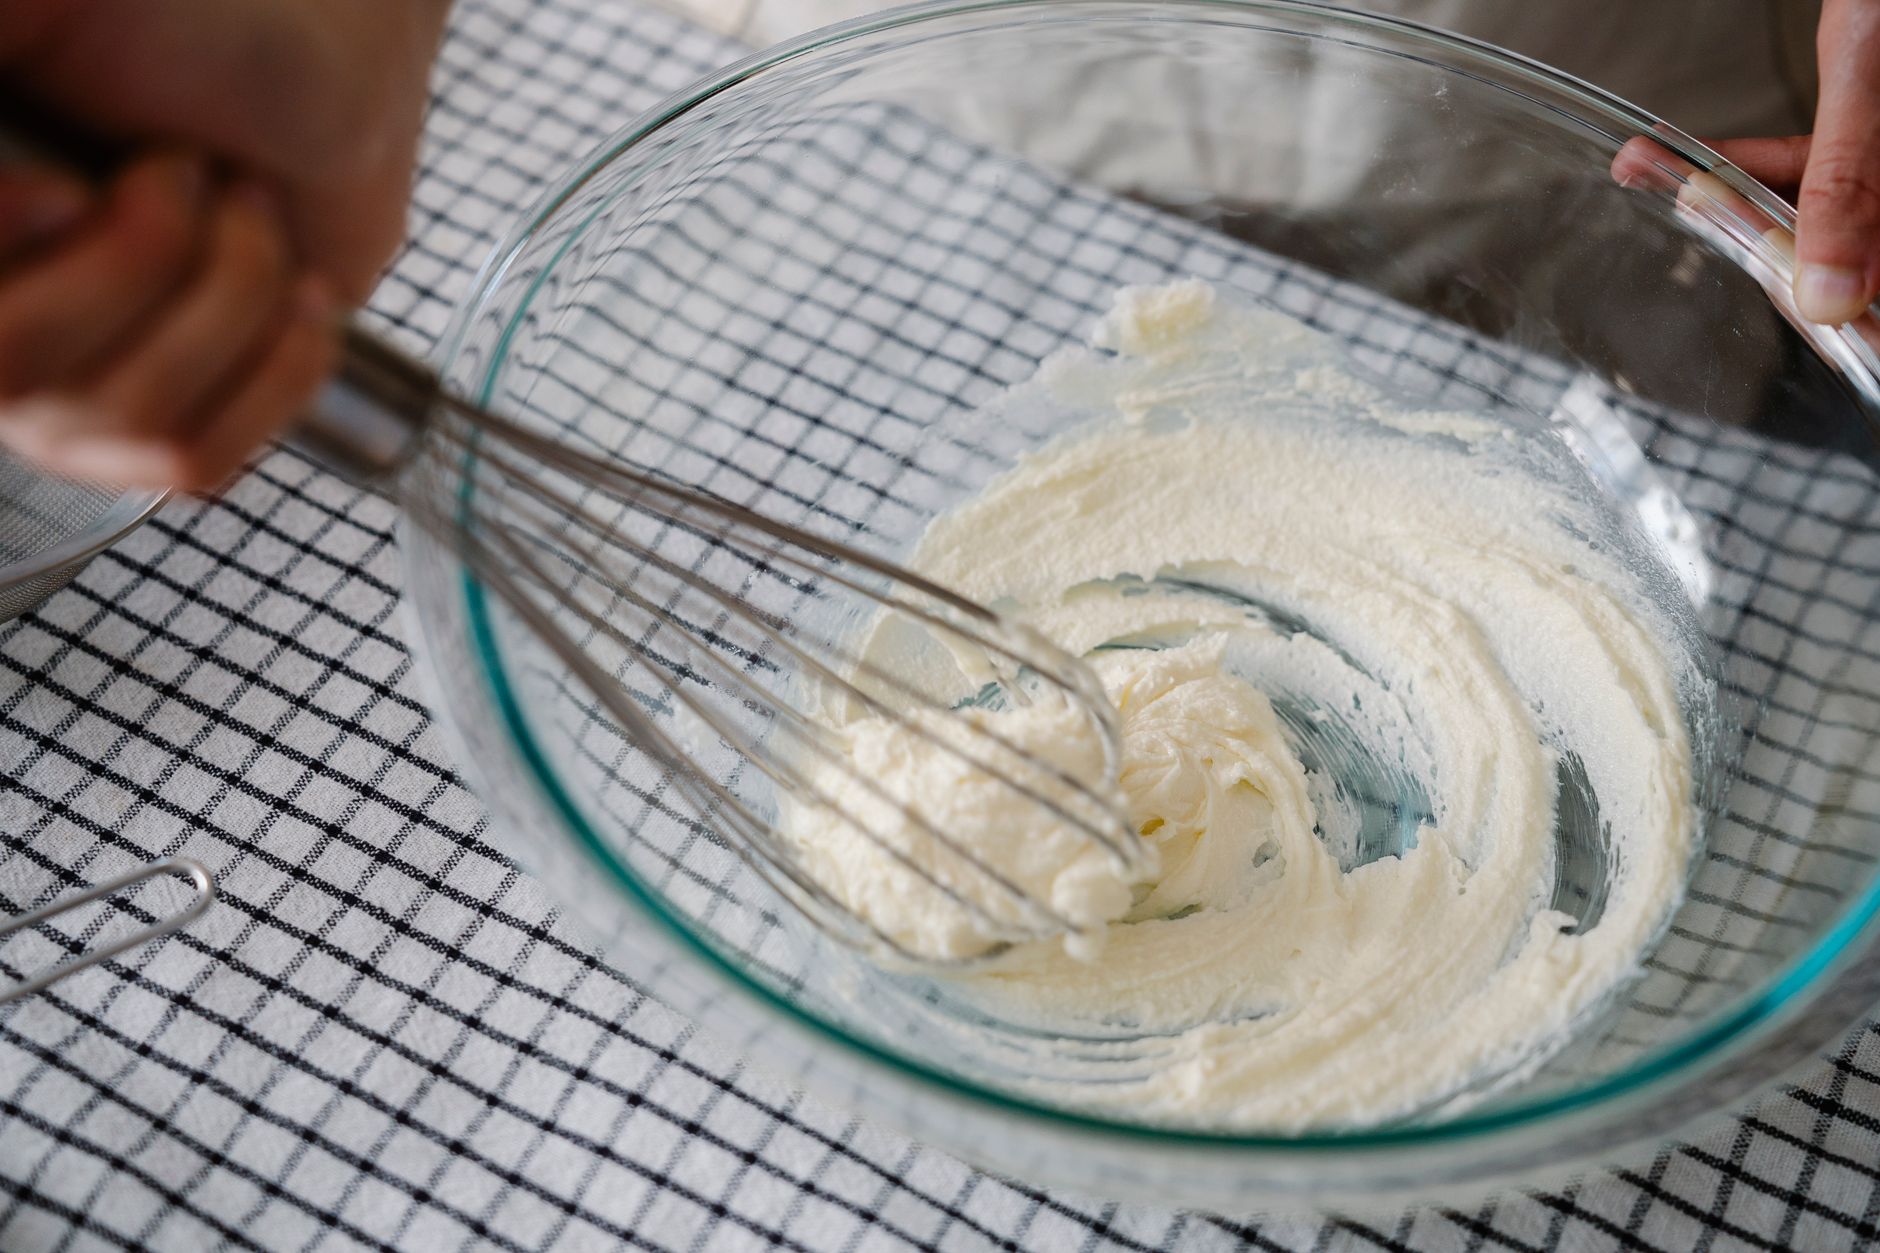
Preheat the oven to 350°F. Line two baking sheets with parchment and lightly spray the paper. Sift the flour and baking powder into a bowl, then stir in 1/2 teaspoon of the salt. Beat the butter and sugar with a paddle attachment on medium speed for 5 to 8 minutes, until pale and fluffy. Add the lemon zest, vanilla, and egg, then mix on low speed for 30 seconds. Fold in the flour mixture, buttermilk, and vinegar by hand just until no dry streaks remain. Chill the batter for 10 to 15 minutes.
2. Portion the cookies
Use a 1/4-cup measure or large cookie scoop to place 8 to 10 portions on the prepared sheets, leaving at least 3 inches between them. Lightly dust your fingers with flour and shape each mound into a rounded disk about 3 inches wide. The batter is soft and sticky; adding too much flour here makes the finished cookie heavy.
3. Bake and cool completely
Bake one sheet at a time at 350°F for 18 to 20 minutes, rotating the sheet halfway through. The tops should look pale golden, the edges should feel set, and the centers should spring back gently when pressed. A faint lemon-butter aroma is another useful cue. Cool the cookies on the sheet for 10 minutes, then transfer them to a rack for about 50 minutes, until completely cool.
4. Make the two icings
Whisk the confectioners’ sugar, lemon juice, lemon zest, corn syrup, and the remaining 1/2 teaspoon salt in a bowl. Add water 1 teaspoon at a time until the mixture is smooth and spreadable but not runny. Divide the icing in half. Leave one portion white, then whisk the cocoa powder into the second portion. Add a few drops of water if the cocoa icing becomes too thick.
5. Ice, set, and serve
Turn each cooled cookie flat-side up. Spread the white icing over one half with a small offset spatula, then spread the cocoa icing over the other half. Work from the center seam toward the edge to keep the dividing line straight. Leave the cookies uncovered at room temperature for 45 to 60 minutes, until the surface feels dry and lightly firm.
The first time I made these, I iced the rounded tops and ended up with uneven, sliding stripes. The flat bottoms make a much neater surface. I also found that icing one cookie at a time works better than coating all the white halves first; the seam stays cleaner while the glaze is still soft.
Variations & Substitutions
- All-vanilla cookies: Make the full icing mixture without cocoa and spread white icing over the entire flat side of each cookie. Add 1/2 teaspoon extra vanilla for a stronger vanilla finish.
- All-chocolate cookies: Mix 1/4 cup Dutch-process cocoa into the full icing batch. Add water gradually because cocoa thickens the glaze quickly.
- Orange version: Replace the lemon zest with 2 tablespoons finely grated orange zest and replace the lemon juice with 1 tablespoon fresh orange juice. The flavor will be sweeter and less tangy.
- No buttermilk: Combine 1/3 cup milk with 1 teaspoon lemon juice or white vinegar. Let it stand for 5 minutes before using. The texture will be close, though slightly less tangy.
- Gluten-free adaptation: Use a reliable cup-for-cup gluten-free flour blend that contains xanthan gum. The cookies may spread differently, so bake one test cookie before portioning the whole batch.
- Reduced icing: For a thinner topping, use 1 1/2 cups confectioners’ sugar instead of 2 cups. The glaze will be less opaque and softer, so allow extra setting time.
I tried replacing all the butter with oil during testing, but the cookies spread too much and lost their pleasant cake-like structure. Keep the butter for the best texture. If you need a different dessert for using ripe fruit, try this Moist banana cake with yoghurt.
Storage & Shelf Life
Store the completely set cookies in a single layer in an airtight container at room temperature for up to 3 days. If you need to stack them, place parchment between the layers to prevent the icing from sticking. The crumb becomes slightly firmer after the first day but remains soft.
For longer storage, freeze the uniced baked cookies for up to 2 months. Cool them completely, wrap each one in plastic wrap, place them in a freezer bag, and thaw at room temperature for 1 to 2 hours. Prepare fresh icing after thawing for the smoothest finish.
You can refrigerate iced cookies for up to 5 days, but the cold air may dry the crumb and make the icing dull. Discard cookies with visible mold, a sour or stale odor, wet patches, or icing that has developed unusual discoloration. Do not rely on taste to check food that appears spoiled.
Pro Tips
Measure the flour carefully. Spoon it into measuring cups and level the top, or use a scale. Too much flour produces a dense cookie and makes the batter harder to spread.
Do not overmix after adding flour. Stop folding as soon as the dry ingredients disappear. A few small streaks will finish incorporating as the batter rests.
Use parchment, not a greased bare pan. Extra grease can encourage spreading and make the cookies brown unevenly. Lightly sprayed parchment releases the cookies without leaving oily edges.
Keep the icing thick enough to hold a line. When you lift the whisk, the icing should fall back in a ribbon and disappear into the bowl after several seconds. If it runs immediately, add confectioners’ sugar. If it drags, add water by the teaspoon.
Protect the white icing from cocoa streaks. Use a clean spatula for the pale icing, then a second utensil for the chocolate portion. Wipe the spatula between cookies if crumbs begin collecting along the seam.
Let the cookies cool fully. Warm cookies melt the icing and create dull, uneven patches. A completely cool cookie feels firm underneath but still has a soft, springy center.

Questions & Answers
When is the best time to eat Black And White Cookies?
The best time to eat these cookies is after the icing has set for at least 45 minutes. That waiting period gives the glaze a lightly crisp surface while the center stays tender. They are also enjoyable the next day, when the lemon and vanilla flavors have settled and the crumb remains soft.
Why are my cookies flat and thin?
Flat cookies usually result from warm butter, overly soft batter, or too little flour. Chill the mixed batter for 10 to 15 minutes, measure the flour accurately, and avoid placing dough on a hot baking sheet. If the first test cookie spreads widely, chill the remaining batter for another 10 minutes.
Why did my cookies turn out dry?
Dry cookies are usually caused by overbaking or excess flour. Remove them when the edges are set and the centers spring back gently, even if the tops still look pale. Cooling them on the baking sheet for 10 minutes also helps the delicate centers finish setting without additional oven time.
Can I make the batter ahead of time?
You can make the batter up to 24 hours ahead and keep it covered in the refrigerator. Let it stand at room temperature for about 10 minutes before scooping, because very cold batter is difficult to portion evenly. Bake the cookies directly from the chilled batter after shaping.
How do I get a straight line between the two icings?
Use the flat underside of each cookie and begin at the center seam. Spread the icing outward with short strokes, keeping the spatula nearly parallel to the surface. Apply the white icing first with a clean utensil, then use a separate utensil for the cocoa icing to prevent gray streaks.
Can I use regular cocoa powder instead of Dutch-process cocoa?
You can use natural cocoa powder in the same 1/4-cup quantity. The chocolate icing may taste slightly more acidic and look a little lighter. Because the icing does not rely on cocoa for leavening, the substitution will not change the cookie’s rise or baking time.
Can I make smaller cookies?
You can make smaller cookies by using 2 tablespoons of batter per portion and leaving about 2 inches between them. Start checking after 12 to 14 minutes at 350°F. Smaller cookies will cool faster and may need only 30 to 40 minutes before icing.
More Recipes You Will Love
If you enjoy tender, cake-like desserts with a bright fruit note, try our Moist banana cake with yoghurt. It has the same soft texture that makes these cookies so appealing, with ripe banana adding natural sweetness.
For a firmer, nutty cookie with crisp edges, bake this Almond cookie recipe. The almond flavor pairs nicely with coffee, tea, and a platter of iced desserts.
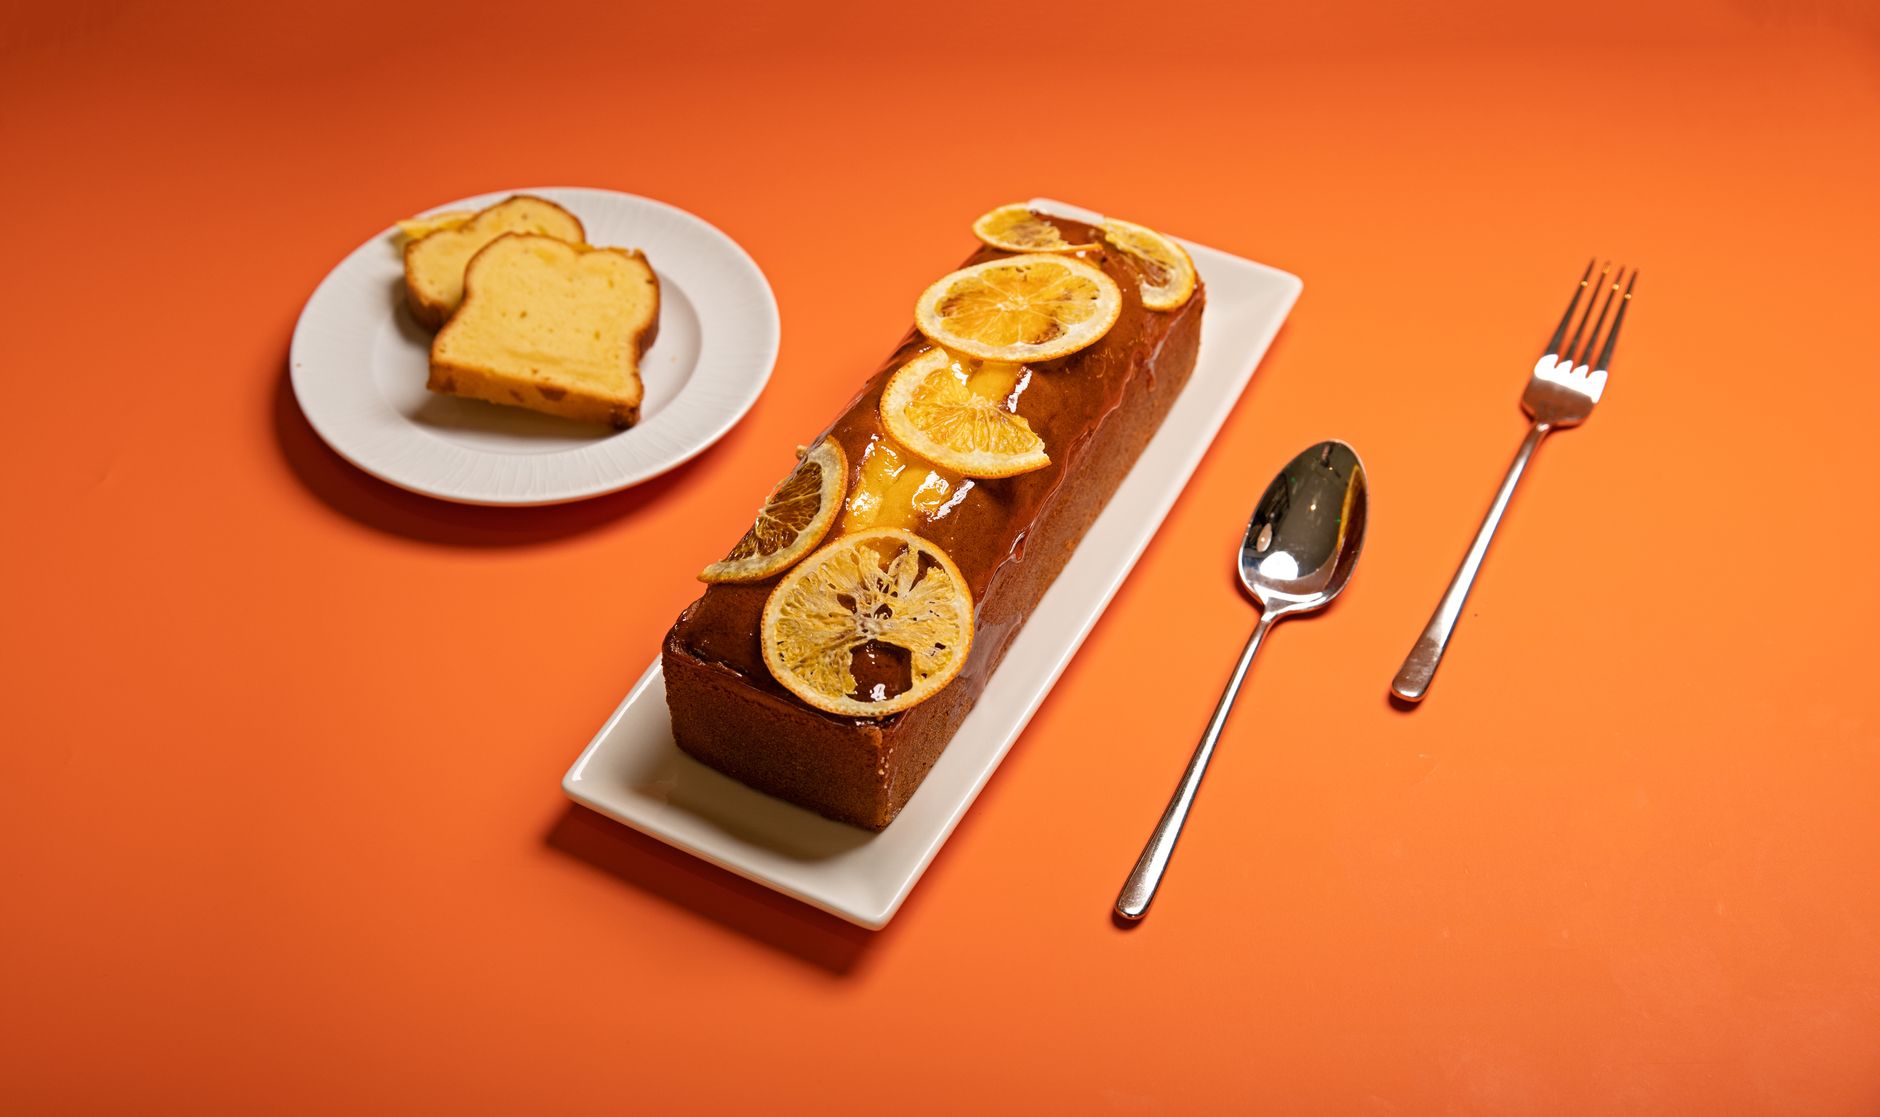
You can also serve these cookies alongside a simple vanilla cake, lemon loaf, or fresh berries. Their contrasting icing makes them especially attractive on a dessert tray.
Conclusion
Black and White Cookies are easier to make than their polished appearance suggests. The key is keeping the batter soft, cooling the cookies completely, and adjusting the icing until it spreads without running. Lemon zest brightens the tender crumb, while cocoa gives one half a gentle bitterness. Make a batch for a party, afternoon coffee, or a nostalgic dessert tray, then leave a comment and rating if you try the recipe.
FAQs
When is the best time to eat Black And White Cookies?
The best time to eat Black And White Cookies is in the afternoon or after dinner, when a soft, sweet treat fits naturally. They also suit coffee breaks, picnics, or a dessert for guests. Because the cookies are energy-dense and high in sugar, enjoying one as an occasional treat works best for most people.
Can I make Black And White Cookies ahead of time?
Yes, you can make Black And White Cookies ahead, but store them only after the icing has fully set. Keep the cooled cookies in an airtight container at room temperature for a few days, with parchment between layers so the icings do not stick. Baked cookies can also be frozen before icing, then thawed and glazed later.
Why are my Black And White Cookies dry or crisp?
Black And White Cookies usually turn dry and crisp because they were overbaked or made with too much flour. Spoon flour into the measuring cup and level it instead of scooping, and remove the cookies once the edges are set and the tops look just dry. Using room-temperature butter, egg, and buttermilk also helps the dough stay tender.
Can I substitute milk for buttermilk in Black And White Cookies?
Yes, you can replace the buttermilk with milk by mixing 1/3 cup regular milk with 1 teaspoon lemon juice or white vinegar and letting it sit for five minutes. The acid thickens and sours the milk, which helps the cookies stay tender. Use the mixture at room temperature for the best results.
Are Black And White Cookies suitable for a vegetarian diet?
Yes, Black And White Cookies are vegetarian because they contain no meat or fish, though they do include egg and dairy. People following a vegan diet need to replace the egg, buttermilk, and butter with plant-based alternatives. Anyone with allergies to wheat, egg, or milk should check ingredient labels carefully.