Introduction
Slow cooked Dutch oven chicken breast is a fantastic way to achieve perfectly juicy and tender meat. This braised chicken breast recipe uses the Dutch oven cooking method to lock in moisture and enhance flavor without fuss. You get a low and slow chicken breast thats juicy baked to perfection, avoiding the dryness that often plagues chicken breast recipes. Whether you‘re after gluten-free chicken recipes or just a comforting family meal, this method delivers delicious results every time.
Key Highlights
Why Slow Cooking Elevates Chicken Breast
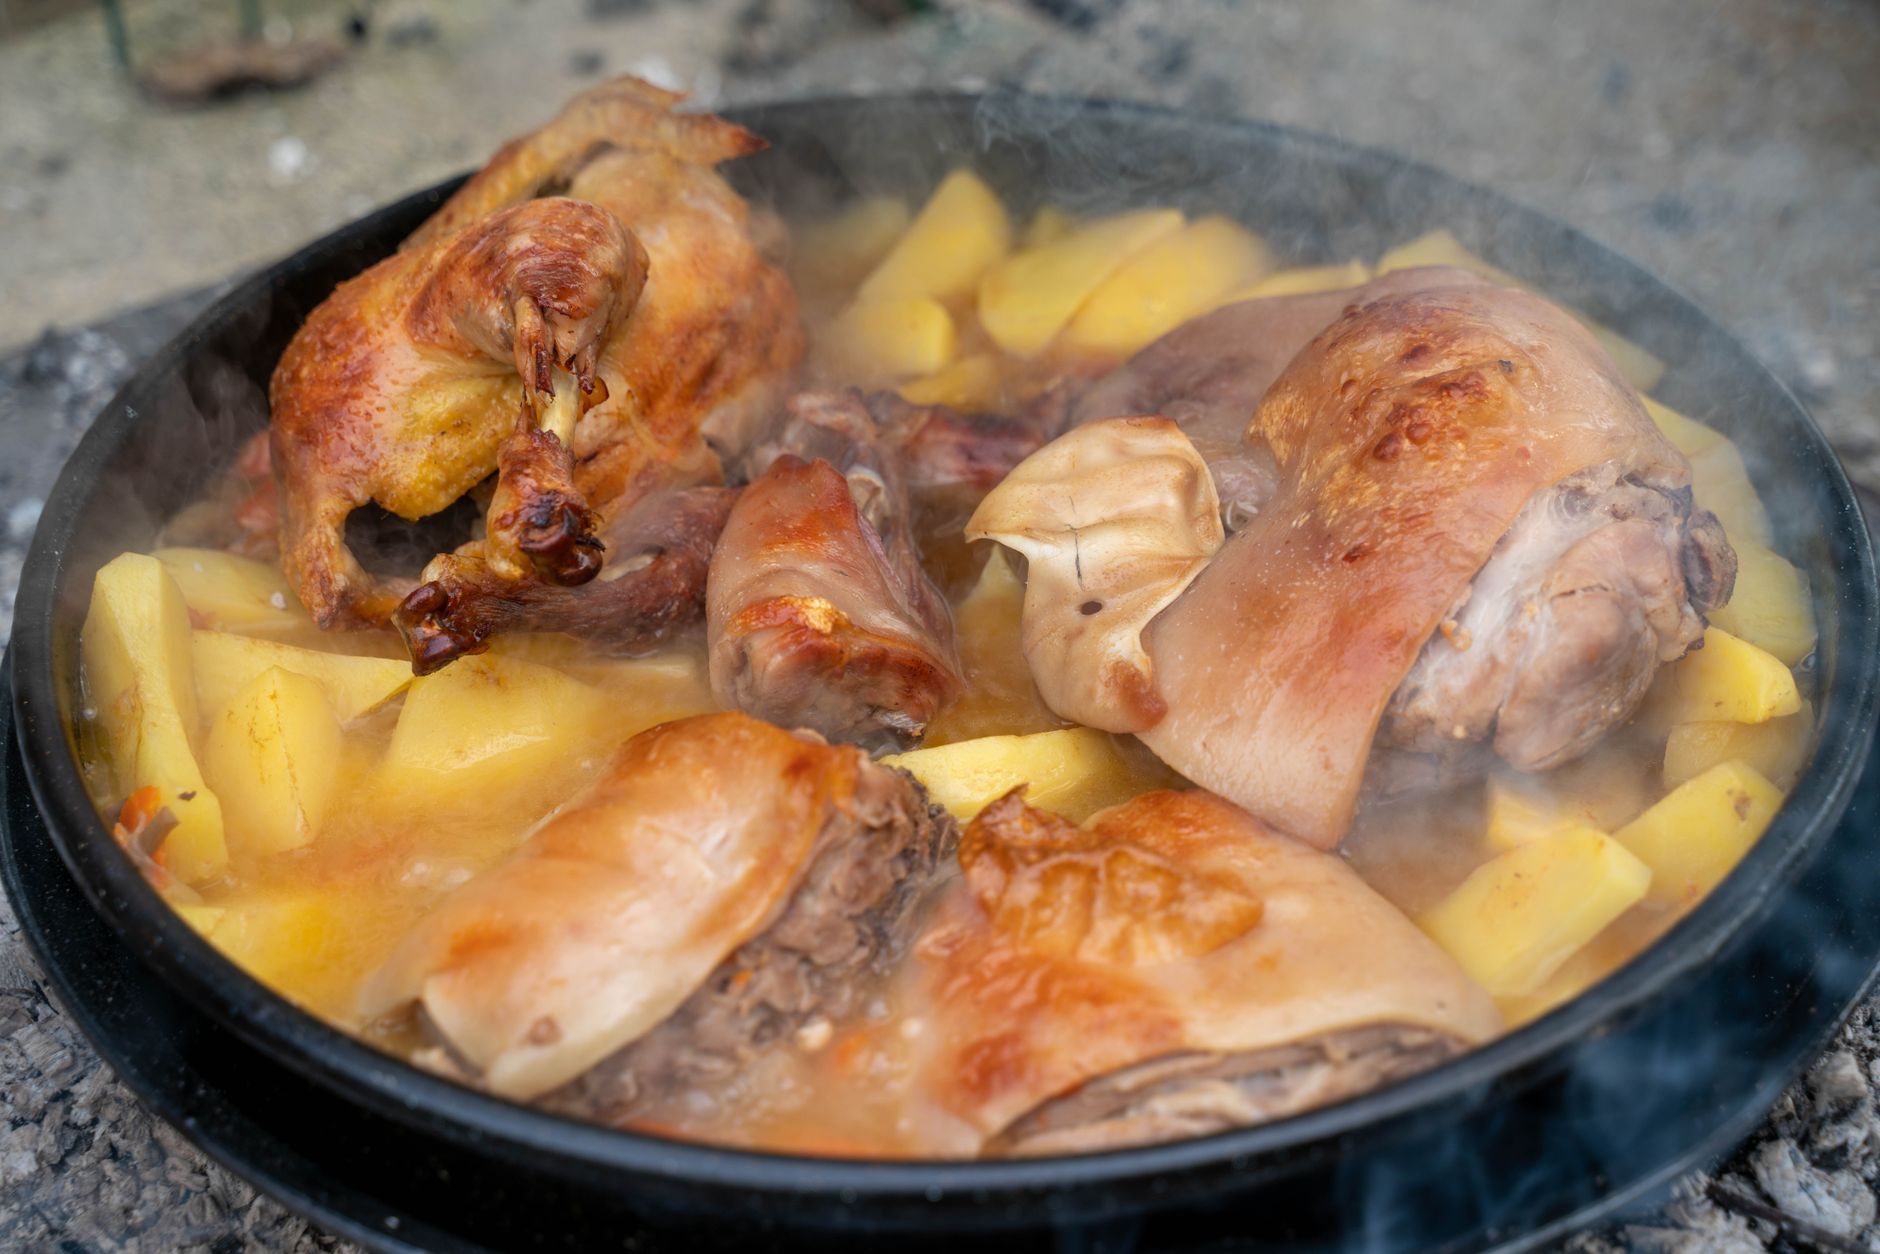
The slow cooked Dutch oven chicken breast technique transforms simple chicken breasts into succulent, tender slow cooked chicken with a rich aroma. The Dutch oven creates a sealed environment that traps steam and heat, gently braising the chicken. This breaks down muscle fibers without drying out the meat. The result is juicy baked chicken breast with a golden crust and moist centera texture and flavor combination hard to beat.
Versatility for Every Meal
This method is remarkably versatile. Swap out herbs like rosemary or thyme to shift flavor profiles or add lemon for tanginess. Because the cooking is gentle and steady, you can confidently try different liquids including chicken broth or vegetable broth, catering to dietary needs. It works well as a base for many dishes, from salads to hearty sides.
Safety and Handling Tips
Food safety matters with chicken. Always handle raw chicken with clean hands and surfaces to avoid contamination. The chicken must reach an internal temperature of 165F to be safe to eat. Investing in a good, reliable thermometer ensures you hit the perfect doneness every time, preventing chicken breast dryness prevention issues while keeping your meal safe.
Ingredients & Preparation
| Prep time | Total time | Servings | Calories | Diet tags |
|---|---|---|---|---|
| 15 mins | 1 hr 45 mins | 4 | 280 per serving | Gluten-Free, Dairy-Free |
Complete Ingredient List with Substitutions
- 4 boneless skinless chicken breasts (substitute with thighs for richer flavor)
- 2 tbsp olive oil (coconut oil for dairy-free option)
- 1 cup chicken broth (vegetable broth for vegetarian adaptation)
- 1 lemon, sliced
- 3 garlic cloves, minced (omit if sensitive)
- Fresh herbs (rosemary or thyme; dried works but fresh preferred)
- Salt and pepper to taste
Equipment Needed
A heavy-duty Dutch oven is essential for even heat retention. Cast iron is preferred for its excellent heat distribution. Alternatively, a covered oven-safe pot works but may not brown the chicken as evenly.
Tips for Choosing Quality Ingredients
Look for fresh, firm chicken breasts without discoloration. Organic or free-range chicken boosts flavor but isnt mandatory. Fresh herbs always enhance aroma and taste more than dried ones, so use them when possible.
Step-by-Step Instructions
Step 1 Prep Chicken and Ingredients
Rinse the chicken breasts briefly and pat them completely dry with paper towels; this step ensures better browning. Mince the garlic finely. Preheat your oven to 325F (163C).
Step 2 Brown Chicken in Dutch Oven
Heat the olive oil over medium-high heat in the Dutch oven. Place each chicken breast in the pot and brown for exactly 5 minutes per side. Once nicely golden, remove the chicken and set aside. Add the minced garlic to the pot and saut for 30 seconds until fragrant. Pour in the chicken broth, scraping any browned bits from the bottom. Add lemon slices and fresh herbs, then nestle the chicken breasts back in. Cover with the lid and place the Dutch oven in the oven. Slow cook at 325F for 1 hour and 15 minutes.
Avoid lifting the lid during this time to keep the steam trapped and cooking consistent.
Step 3 Crisp Edges and Finish
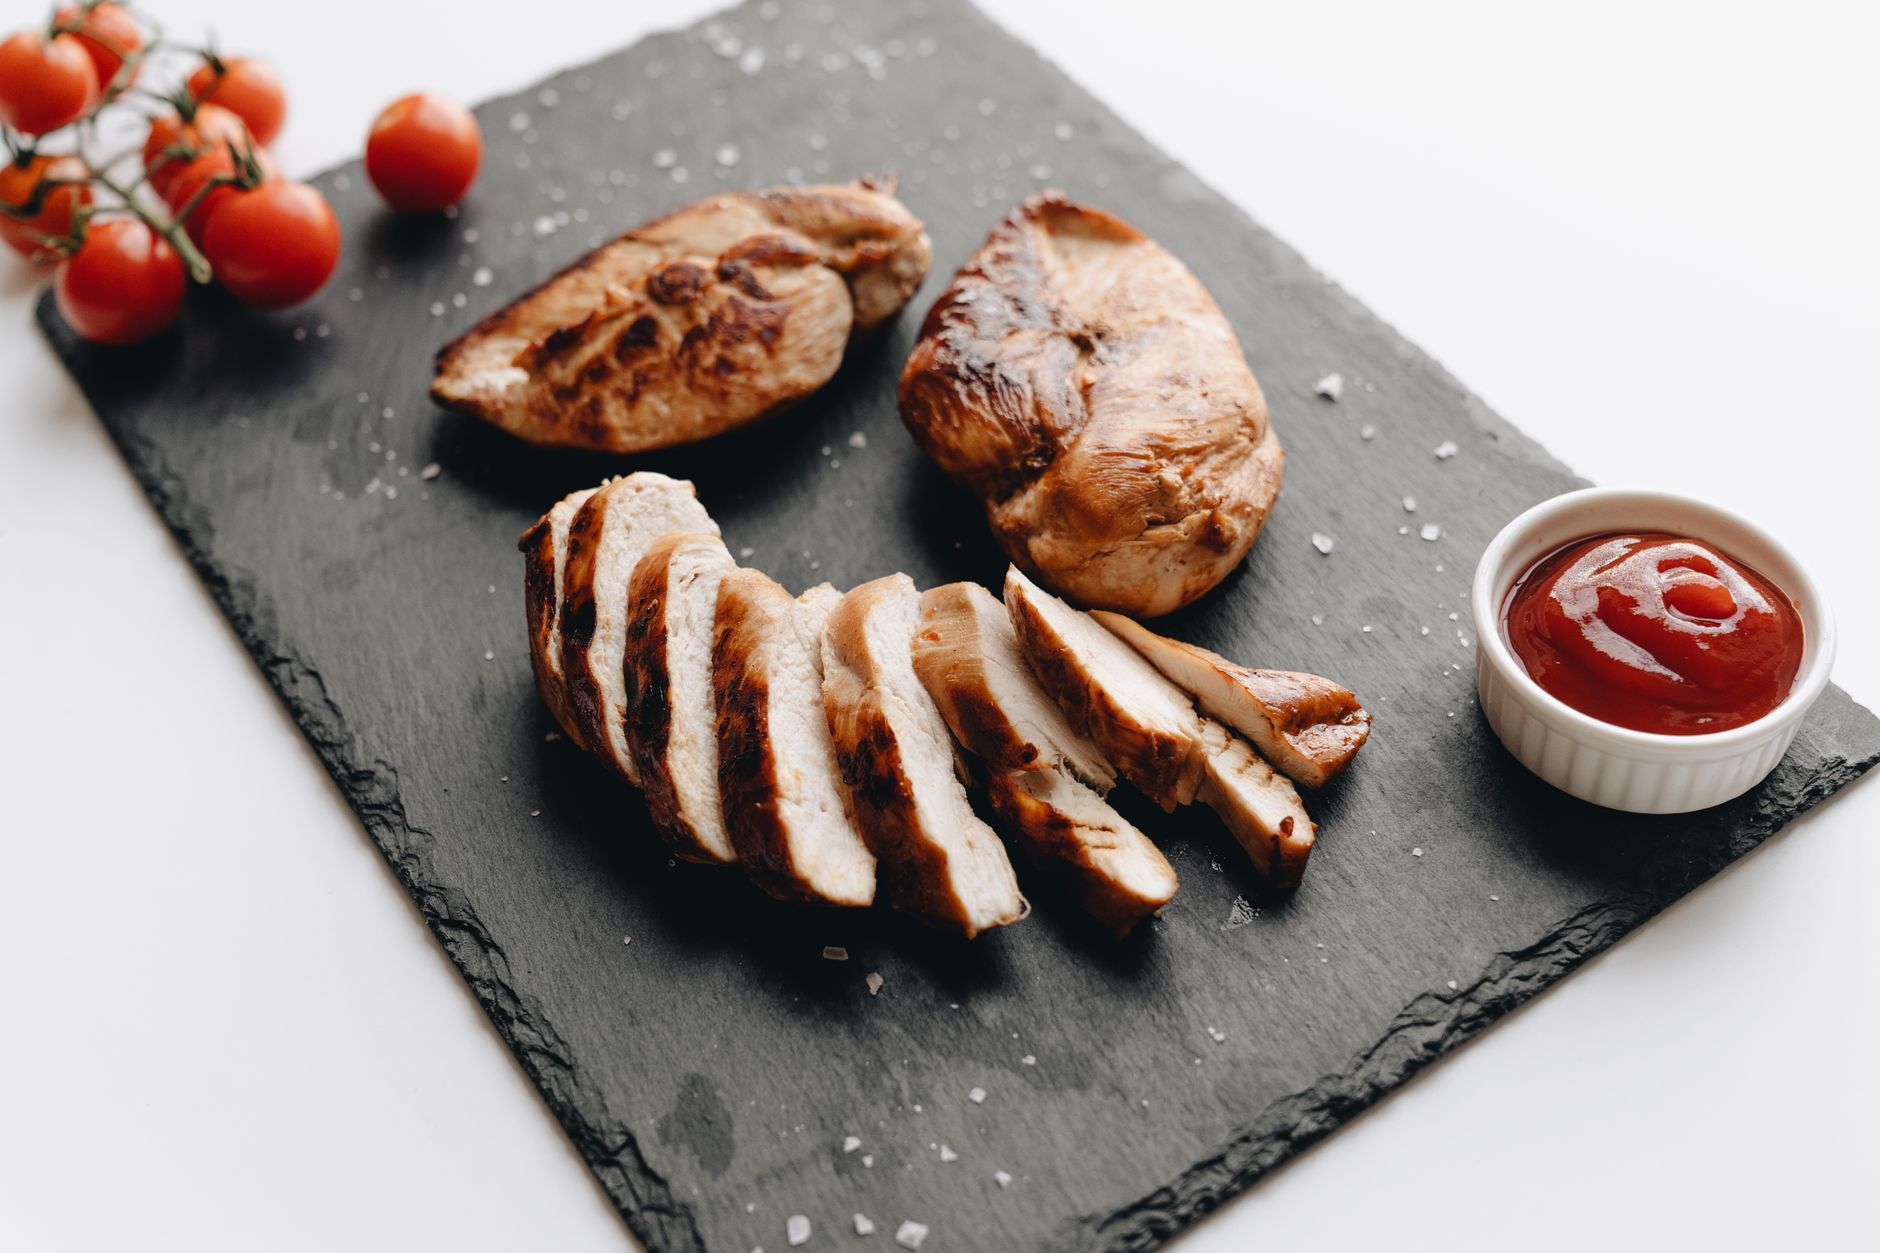
After the slow cook, remove the lid and roast the chicken uncovered for an additional 15 minutes at 325F. This step crisps the edges while keeping the inside juicy and tender. Sprinkle freshly ground black pepper and garnish with a few extra fresh herbs just before serving. Remember not to add pepper earlier as it can lose aroma and turn bitter.
Step 4 Serve or Store
Serve the chicken immediately for best texture and flavor. Alternatively, cool it completely before storing in airtight containers in the refrigerator or freezer.
Variations & Substitutions
Chicken Thighs for Juiciness
Replacing chicken breast with thighs gives even more juice. Their higher fat content benefits from the same Dutch oven cooking method and often improves flavor depth.
Ingredient Swaps
Try vegetable broth instead of chicken broth for a vegetarian stock base. Swap lemon for orange slices to add a sweet citrus aroma. White wine can replace broth for richer flavor complexity.
Adjusting Flavors
To add mild heat, include crushed red pepper flakes. For subtle sweetness, drizzle honey over the chicken just before the final roasting stage. These tweaks keep the method intact but change the profile creatively.
Storage & Shelf Life
Refrigerator Storage
Store cooked chicken breasts in an airtight glass container in the refrigerator for 4 to 5 days. This preserves flavor and keeps odors from other foods at bay.
Freezer Storage
Freeze in portioned freezer bags or airtight containers. Properly stored, the chicken stays good for up to 3 months. Thaw overnight in the fridge before reheating gently to maintain texture.
Make-Ahead Tips
Double the recipe and label containers with dates for easy meal prep. Using a vacuum sealer extends freshness and prevents freezer burn if available.
Pro Tips & Troubleshooting
Searing for Perfect Moisture
Sear chicken breasts on medium-high heat to form a golden crust without sticking. Use tongs to turn the breasts gentlyavoid piercing to retain juices inside. A good sear is the key to preventing dryness while locking in flavor.
Troubleshooting Common Issues
If chicken appears pale or gray-looking, searing wasnt hot or long enough. Increase the stove heat slightly next time. Bitter or off flavors usually come from adding black pepper or garlic too earlyadd these at the end or during the resting phase.
Flavor Enhancers
For an expert touch, add a splash of dry white wine or apple cider vinegar in the last 10 minutes of cooking. This adds tangy complexity and balances the richness beautifully.

When is the best time to eat slow cooked Dutch oven chicken breast?
The best time to enjoy slow cooked Dutch oven chicken breast is immediately after cooking. The meat is at its juiciest and most tender when freshly prepared. Leftovers reheat well too, making them perfect for lunch or dinner the next day without sacrificing texture.
Can I make a big batch ahead of time?
Absolutely. Slow cooked Dutch oven chicken breast keeps well refrigerated for 4 to 5 days and freezes up to 3 months. Preparing in advance saves time on busy days and maintains the same juicy texture when reheated properly.
Fresh chicken or frozen which yields better results?
Fresh chicken typically cooks more evenly and develops a better texture in slow cooking. However, using frozen chicken works fine if completely thawed before cooking, ensuring uniform heat penetration and avoiding dryness.
Is this recipe safe for pregnant women and kids?
Yes, as long as the chickens internal temperature reaches 165F, its safe for all family members. The slow cooking carefully eliminates harmful bacteria while preserving moisture and flavor.
How often can I have this?
This slow cooked chicken breast is healthy and can be enjoyed 2 to 3 times a week as part of a balanced diet. Its lean, high in protein, and adapts well to various flavor profiles for variety.
Why does my chicken taste dry or bland?
Dryness usually results from overcooking or skipping the searing step. Using a thermometer to check doneness helps avoid this. Bland flavor often comes from insufficient seasoning or missing the browning process that develops savory notes.
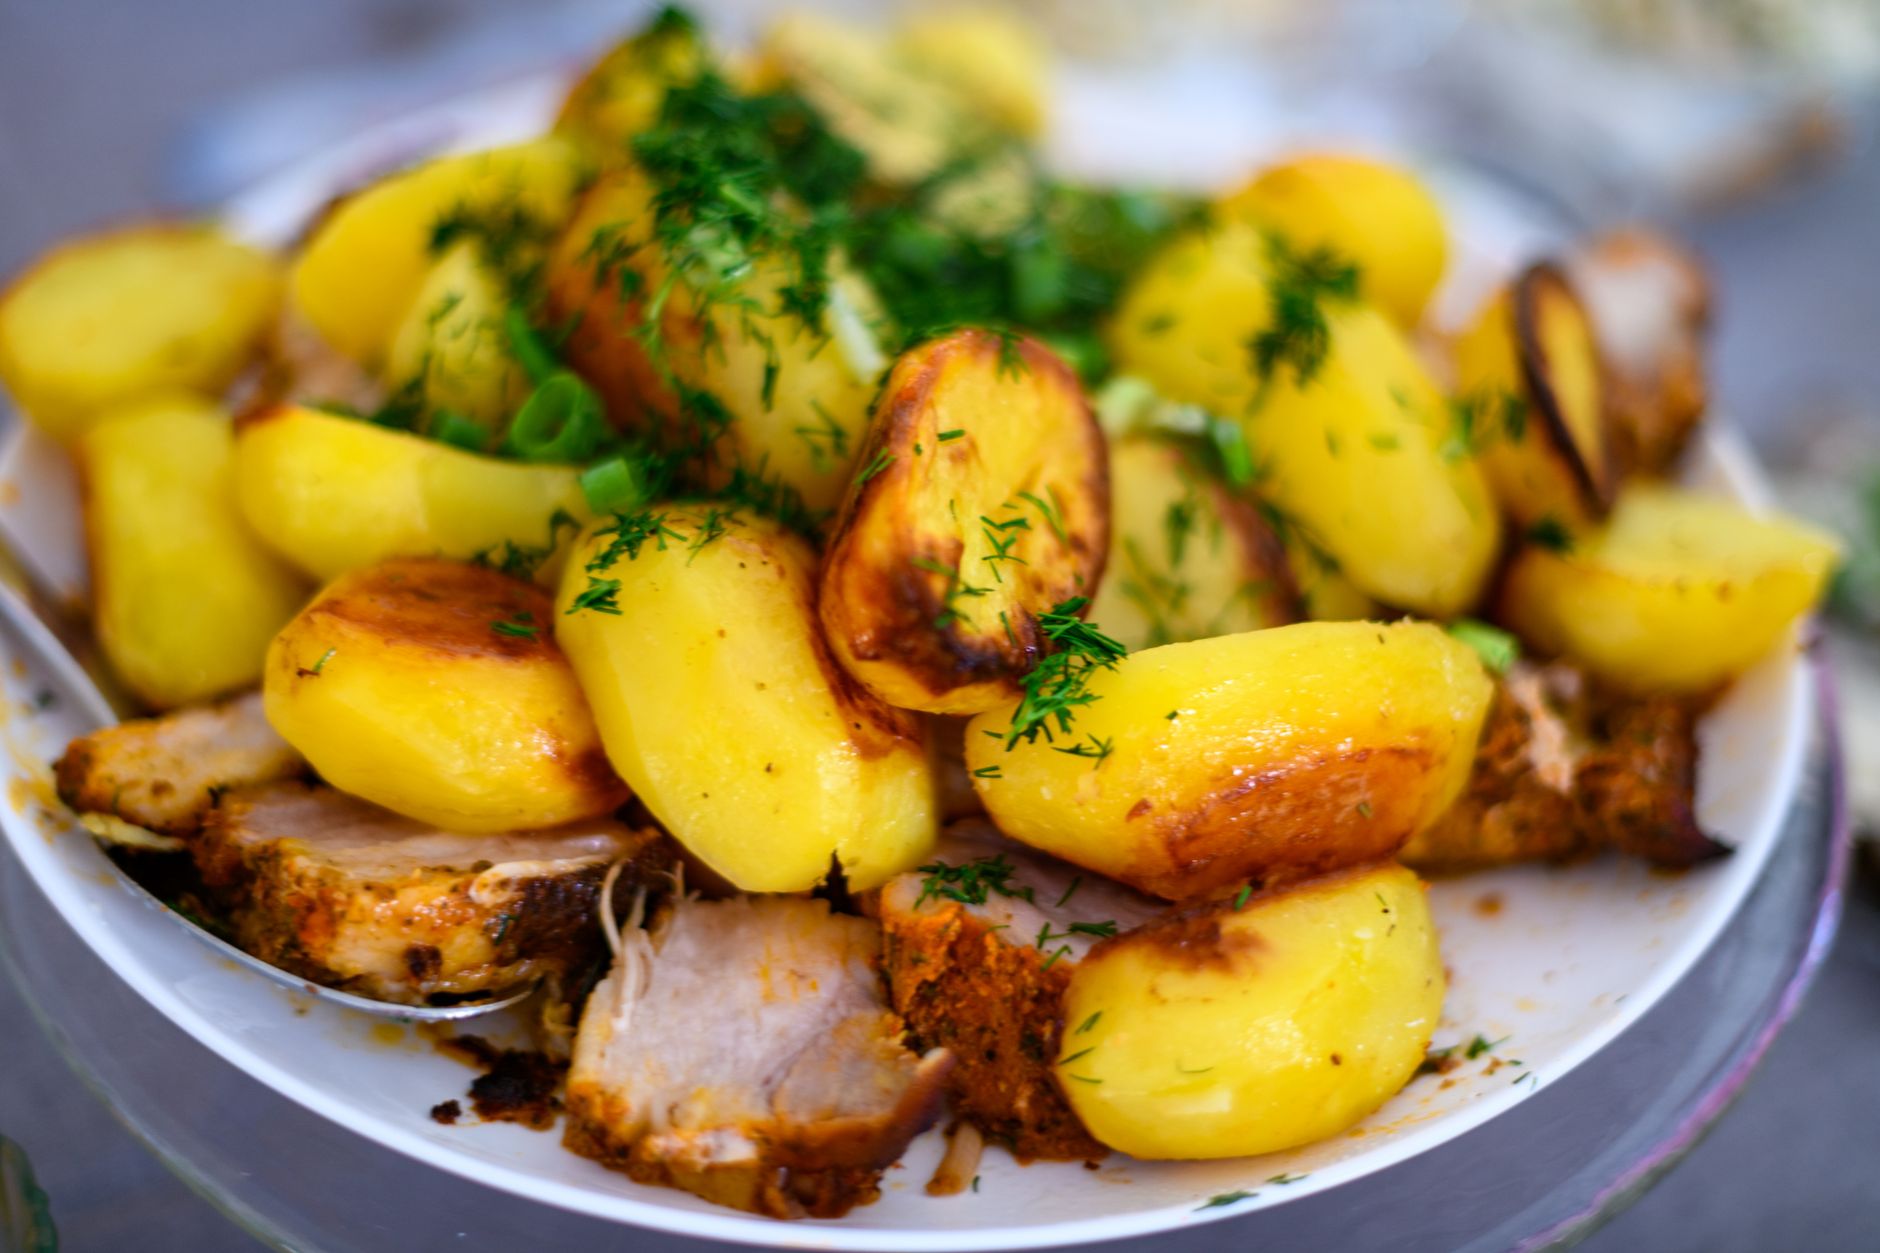
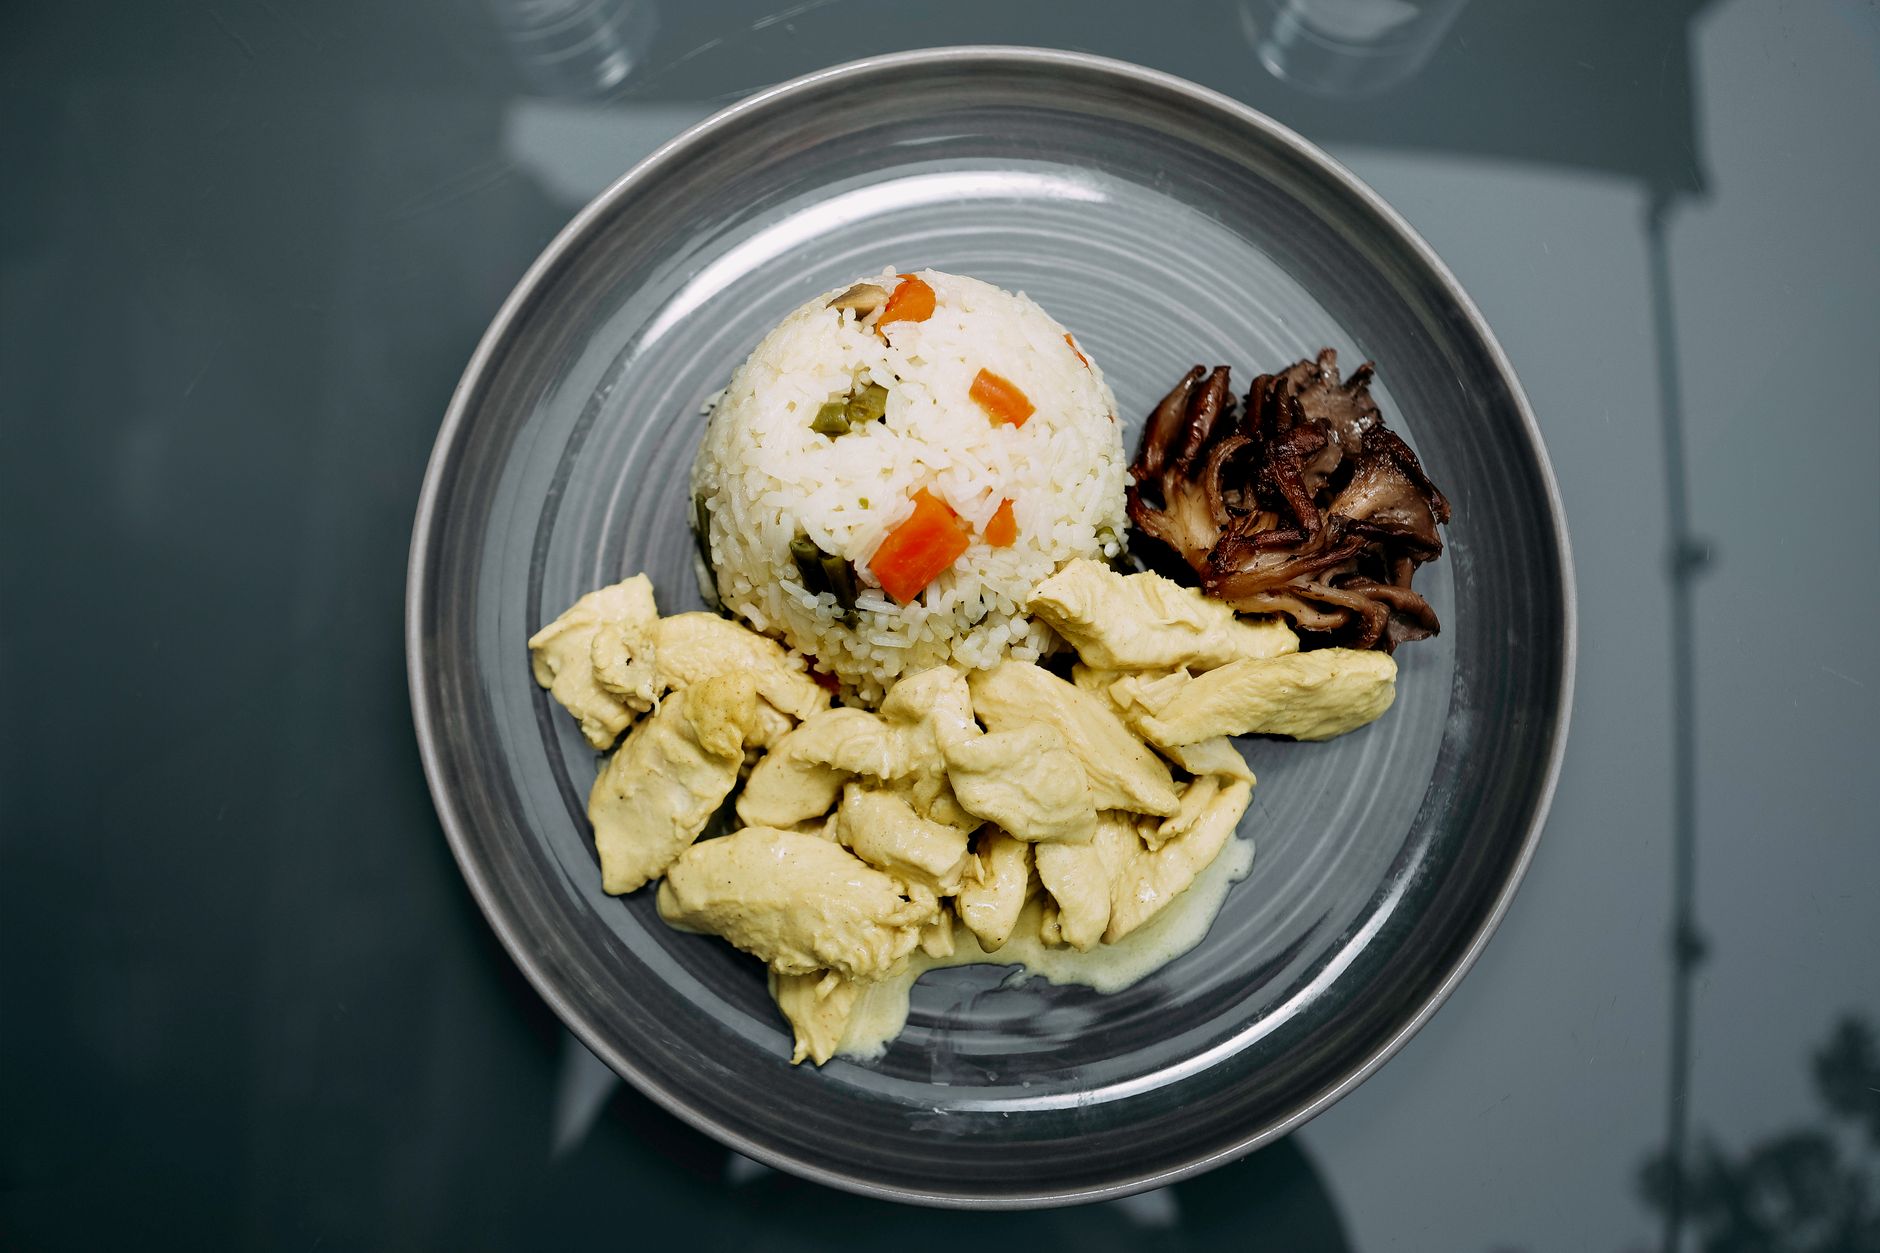
What pairs well with slow cooked Dutch oven chicken breast?
Roasted vegetables, creamy mashed potatoes, or a crisp spring salad complement the tender chicken beautifully. These sides balance rich flavors and round out the meal.

More Recipes You Will Love
For other delicious meals featuring simple, lean proteins, try the le creuset chicken breast recipes. These are full of inspiring baking techniques with herbs and spices. If you want a sweet break, our 3 ingredient banana bread with oats is quick, moist, and wholesome. For savory meal ideas, explore the Savory pie wiki, packed with comfort food recipes perfect for any occasion.
Conclusion
Slow cooked Dutch oven chicken breast is a reliable way to enjoy tender, juicy meat every time. This gentle baking technique locks in moisture while building deep flavor without extra effort. Try this recipe for a fuss-free dinner, then share your results or rate the dish to help others. For a fresh twist on chicken, check out our herb-infused recipes next.
FAQs
When is the best time to eat slow cooked dutch oven chicken breast?
The best time to enjoy slow cooked Dutch oven chicken breast is right after cooking when it is at its juiciest and most tender. Leftovers also reheat well, making the chicken ideal for lunch or dinner the following day without losing texture.
Can I make a big batch of slow cooked Dutch oven chicken breast ahead of time?
Yes, you can prepare a large batch ahead of time. This chicken stores well refrigerated for 4 to 5 days or frozen for up to 3 months. Proper storage maintains its juicy texture when reheated gently.
Is it better to use fresh or frozen chicken breast for this recipe?
Fresh chicken breasts usually cook more evenly and yield better texture when slow cooked. However, fully thawed frozen chicken breasts also work fine as long as they are completely thawed before cooking to ensure even heat distribution.
Is the slow cooked Dutch oven chicken breast recipe safe for pregnant women and children?
Yes, this recipe is safe for pregnant women and children as long as the chicken reaches an internal temperature of 165°F, which eliminates harmful bacteria while keeping the meat moist and flavorful.
What is the best way to prevent dry or bland chicken breast when using this method?
To avoid dry or bland chicken, always sear the breasts properly on medium-high heat to develop a golden crust and lock in juices. Use a meat thermometer to avoid overcooking and season well. Add garlic and pepper toward the end to maintain aroma and flavor.