Why Red Velvet Cake Is a Timeless Treat
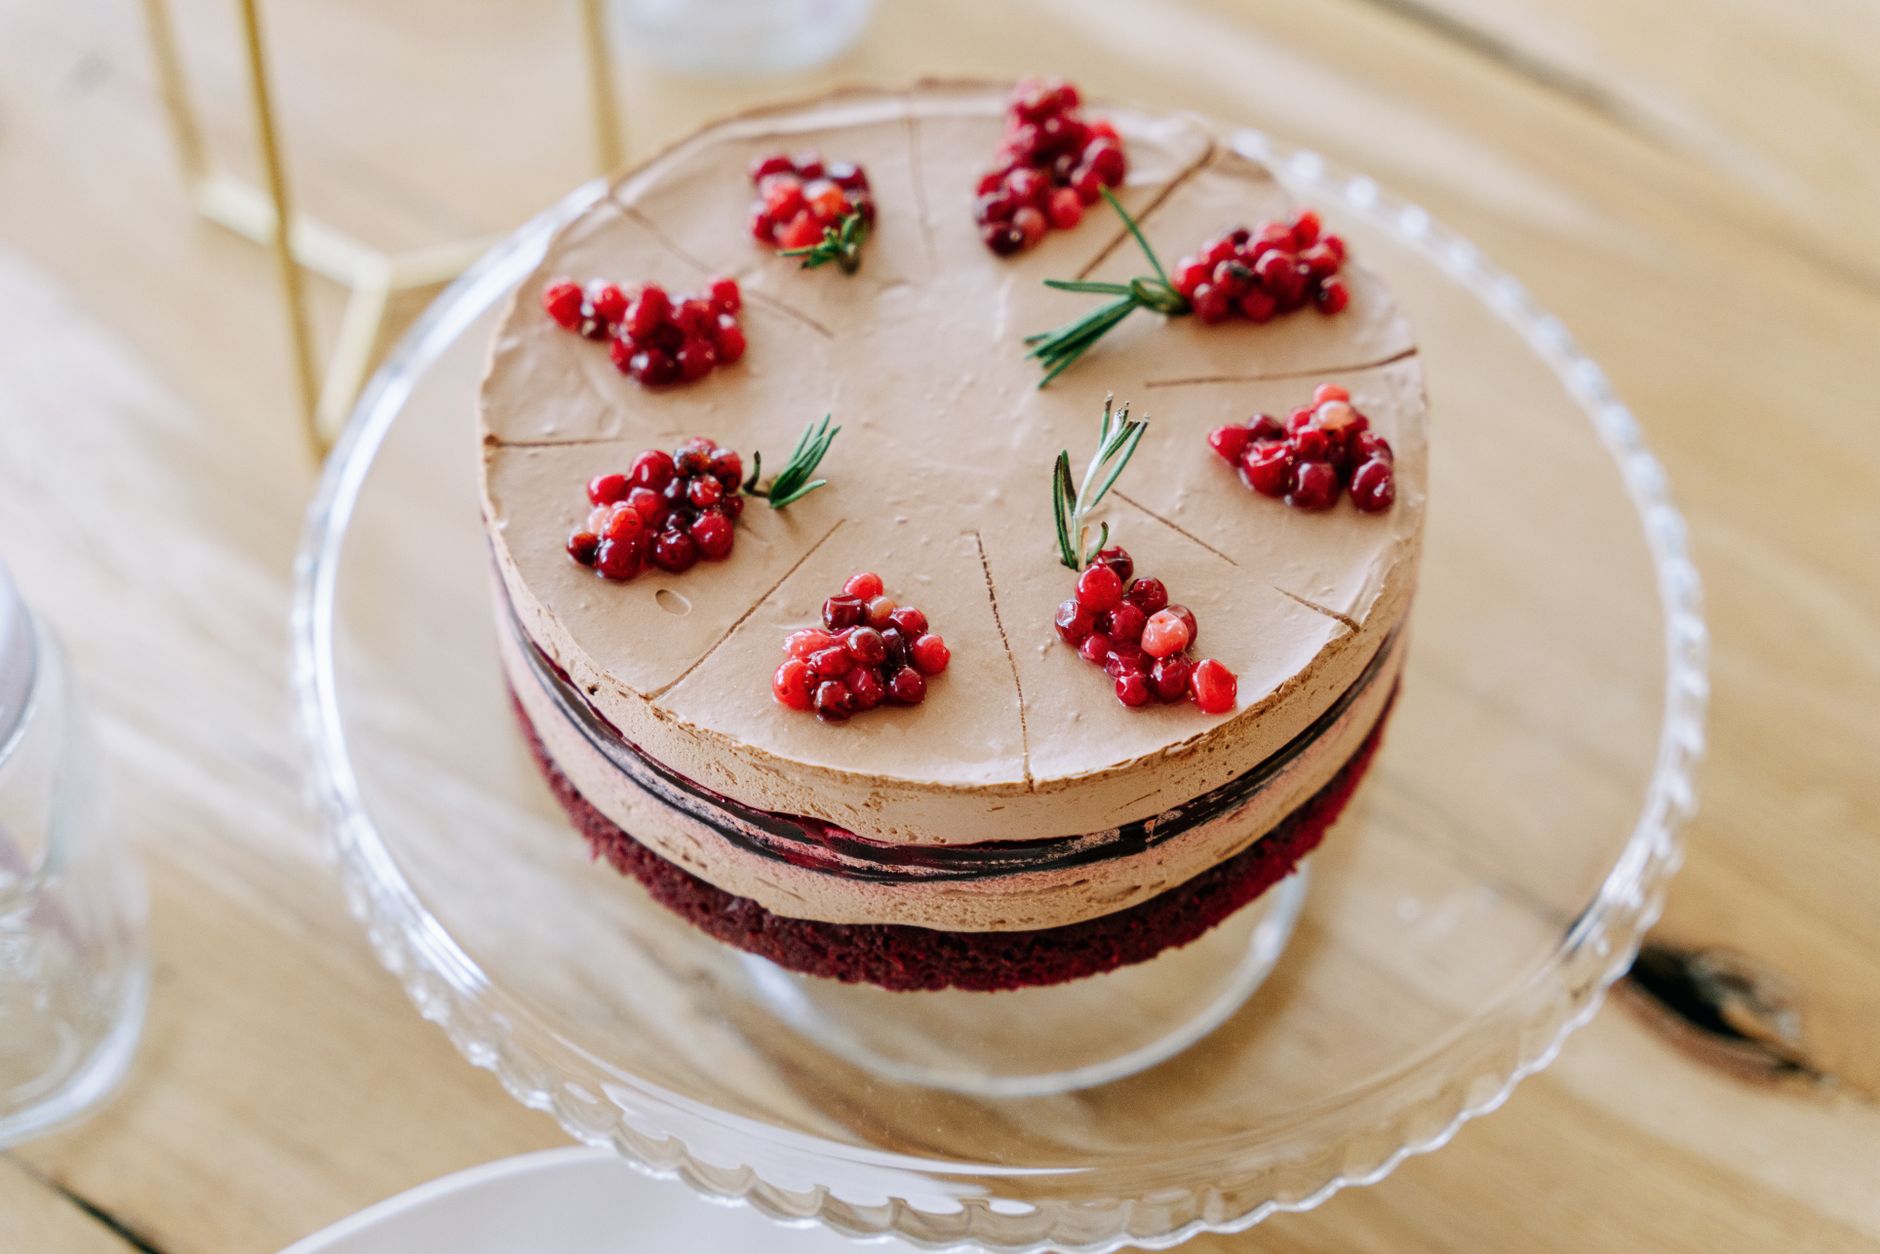
Imagine biting into a velvety soft cake with a subtle chocolate aroma and a vibrant ruby-red hue that instantly brightens your table. This Red Velvet Cake recipe delivers just that—a moist, richly flavored dessert with a creamy, tangy cream cheese frosting that perfectly balances the cocoa undertones. This cake’s unique texture and eye-catching color make it a crowd-pleaser for celebrations and cozy gatherings alike. Whether you‘re an experienced baker or trying out a new dessert, mastering this classic will impress everyone at your next occasion.
Health Benefits & Nutrition
While Red Velvet Cake is often enjoyed as an indulgence, it does offer some nutritional benefits worth noting. The buttermilk adds calcium and vitamins, supporting healthy bones (National Institutes of Health). Cocoa, even in small amounts, contains antioxidants known as flavonoids that may improve heart health and reduce inflammation (Harvard Health Publishing). Additionally, pecans used in frosting provide healthy fats and fiber, which promote satiety and better digestion.
It’s important to be mindful that this cake contains ingredients like eggs, dairy, and nuts, which may cause allergies in sensitive individuals. Pregnant women should ensure all ingredients, especially eggs and dairy, are pasteurized and handled hygienically. Those managing blood sugar should enjoy this dessert in moderation due to its sugar content.
Ingredients & Preparation
Recipe Card
| Prep Time | 15 minutes |
|---|---|
| Inactive Time | 30 minutes |
| Cook Time | 25 minutes per layer |
| Total Time | 1 hour 45 minutes |
| Servings | 6 to 8 |
| Calories Per Serving | Approximately 1191 |
| Diet Tags | Contains gluten, dairy, nuts |
Full Ingredient List
- 2 ½ cups all-purpose flour (preferably White Lily for lightness)
- 1 teaspoon baking soda
- 1 teaspoon unsweetened cocoa powder
- 1 ½ cups granulated sugar
- 2 large eggs
- 1 ½ cups canola oil
- 1 teaspoon white vinegar
- 1-ounce bottle red food coloring
- 1 teaspoon vanilla extract
- 1 cup buttermilk
- ½ cup margarine (for frosting)
- 8-ounce cream cheese package (softened)
- 1 box confectioners‘ sugar, sifted (amount varies, about 3-4 cups)
- ½ teaspoon vanilla extract (for frosting)
- 1 cup lightly toasted chopped pecans (optional)
Equipment Needed
- Three 9-inch round cake pans
- Mixing bowls (large and medium)
- Electric mixer or stand mixer
- Sifter or fine mesh strainer
- Spatula and whisk
- Wire cooling rack
- Cake leveler or knife (optional)
Tips for Choosing Quality Ingredients
- Use fresh all-purpose flour for fine crumb texture; White Lily brand is especially fine.
- Opt for high-quality cocoa powder labeled "natural" for a more pronounced chocolate flavor.
- Choose pure vanilla extract over imitation for a richer aroma.
- Buttermilk should be fresh and cold to activate the baking soda properly.
- For food coloring, gel-based or concentrated liquid color provides deeper red without altering batter consistency.
- Select fresh, full-fat cream cheese and margarine at room temperature to ensure smooth frosting.
- Use raw pecans that you can toast yourself for fresher flavor and crunch.
Step-by-Step Instructions
Step 1: Prepare and Preheat (15 minutes)
Preheat your oven to 350°F (175°C). Grease and lightly flour three 9-inch round cake pans to ensure easy release after baking.
Step 2: Combine Dry Ingredients (5 minutes)
Sift together the all-purpose flour, baking soda, and cocoa powder into a large bowl. This aerates the mixture and ensures even distribution of leavening agents and cocoa.
Step 3: Mix Wet Ingredients (5 minutes)
In a separate large bowl, beat granulated sugar and eggs on medium speed until smooth. Then, add canola oil, vinegar, red food coloring, and vanilla extract. Beat on low to combine fully.
Step 4: Alternate Adding Dry and Buttermilk (5 minutes)
Begin adding the flour mixture and buttermilk alternately to the wet mixture, starting and ending with flour. Mix on low speed after each addition to maintain a smooth batter without overmixing.
Step 5: Bake the Cake Layers (25 minutes per layer)
Evenly pour the batter into the prepared pans. Tap each pan gently on the counter to release air bubbles. Bake each layer for exactly 25 minutes or until a toothpick inserted in the center comes out clean.
Step 6: Cool the Cake Layers (40 minutes)
Allow the cake layers to cool in pans for 10 minutes. Then transfer to wire racks to cool completely before frosting to prevent melting the frosting.
Step 7: Prepare Cream Cheese Frosting (10 minutes)
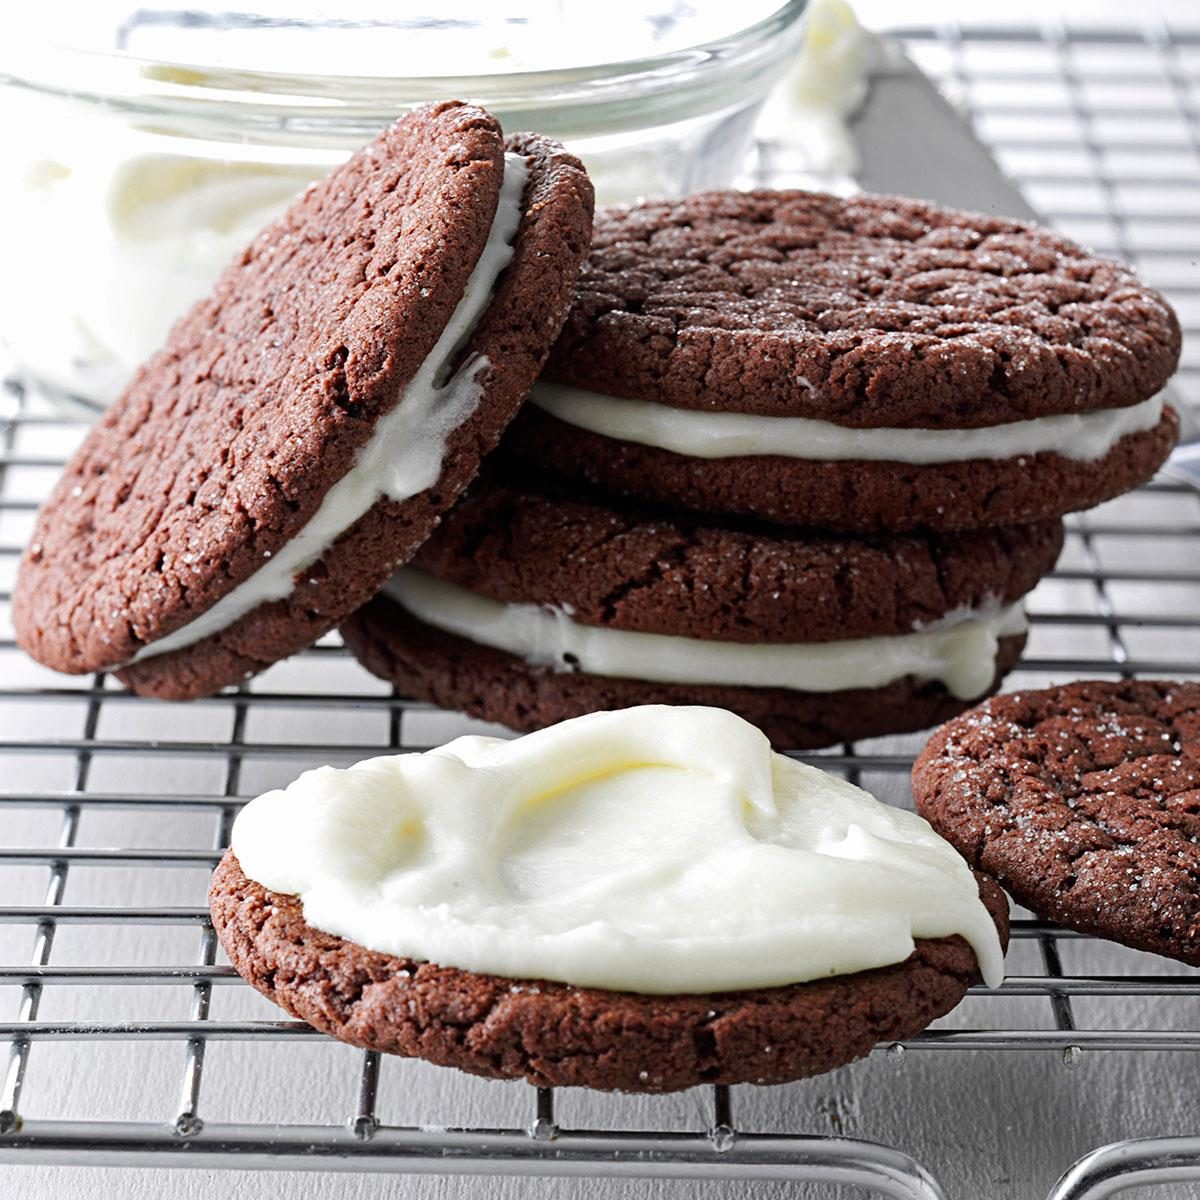
Cream softened margarine and cream cheese until smooth and fluffy using an electric mixer. Gradually add sifted confectioners’ sugar, beating gently until combined, but don’t overbeat to avoid thinning. Stir in vanilla extract and toasted pecans for added texture.
Step 8: Assemble the Cake (15 minutes)
Place one cake layer on a serving plate. Spread a generous amount of cream cheese frosting evenly over the top. Repeat with remaining layers. Finish by frosting the sides and top of the cake smoothly. Chill briefly if desired before serving.

Variations & Substitutions
- Gluten-Free Version: Swap all-purpose flour with a 1:1 gluten-free baking flour blend. Slight adjustments in baking time may be needed due to different moisture levels.
- Oil-Free Alternative: Replace canola oil with unsweetened applesauce in equal parts for a lighter, lower-fat cake. This may slightly change the texture, making it more cake-like than velvety.
- Vegan Adaptation: Use flax eggs (1 tbsp ground flaxseed + 3 tbsp water per egg) and plant-based cream cheese and margarine. Use a plant-based milk mixed with vinegar as a buttermilk substitute.
- Nut-Free Frosting: Omit pecans and add a touch of lemon zest to the cream cheese frosting for a fresh twist without nuts.
- Chocolate Lovers’ Boost: Add ½ cup mini chocolate chips between layers for bursts of melty chocolate.
Storage & Shelf Life
Store the fully assembled Red Velvet Cake tightly covered in the refrigerator. It will stay fresh for up to 4 days. Keep it on a cake stand with a dome or wrapped in plastic wrap to prevent drying.
For longer storage, freeze unfrosted cake layers tightly wrapped in plastic wrap and aluminum foil; they will last up to 3 months. Thaw completely in the fridge before frosting and serving.
Signs your cake is no longer fresh include a sour smell, visible mold, or dryness/crumbling texture. Discard if these appear.
Pro Tips for Perfect Red Velvet Cake
- Use room temperature eggs and buttermilk to ensure even mixing and avoid batter curdling.
- Alternating dry ingredients and buttermilk prevents the batter from becoming too dense and results in a tender crumb.
- Do not overbake; a few moist crumbs on the tester mean it‘s done. Overbaking will dry out your cake.
- Red food coloring can stain skin and clothes easily—wear an apron and use gloves if needed.
- For a polished look, chill your cake between frosting layers to make spreading easier and neater.
When is the best time to enjoy Red Velvet Cake Recipe?
Red Velvet Cake shines at celebrations like birthdays, holidays, or special occasions. Its vibrant color and rich texture make it ideal for dessert after dinner or festive gatherings. Serving it slightly chilled brings out the cream cheese frosting’s tang, enhancing the overall experience.
Can I make this Red Velvet Cake recipe ahead of time?
Yes, you can bake the layers up to two days in advance and keep them covered in the fridge. Assemble and frost the cake on the day you plan to serve for best freshness.
What is the role of vinegar in Red Velvet Cake?
Vinegar reacts with baking soda to create carbon dioxide bubbles that help the cake rise. It also enhances the cake’s tender crumb and subtly intensifies the red color in combination with the cocoa powder.
Is there a way to lighten the cream cheese frosting?
Use less confectioners’ sugar or replace margarine with whipped butter for a lighter texture. You can also fold in whipped cream for a fluffier topping, but this will reduce shelf life.
Can I substitute buttermilk with regular milk?
You can create a buttermilk substitute by adding 1 tablespoon vinegar or lemon juice to 1 cup of milk. Let it sit for 5 minutes before using. This works well to activate the baking soda.
How can I avoid the cake layers from sinking?
Make sure not to overmix the batter and bake immediately after mixing. Overbeating incorporates too much air, causing collapse. Also, avoid opening the oven door during baking.
Is Red Velvet Cake naturally red?
The reddish hue comes from a reaction between natural cocoa powder and acidic ingredients like buttermilk and vinegar, but modern recipes usually include red food coloring to achieve that vivid, signature shade.
Can I add nuts inside the cake batter?
Yes, toasted chopped pecans or walnuts can be folded into the batter for added crunch. However, add them sparingly to avoid weighing down the cake layers.

More Recipes You Will Love
If you enjoy this rich, creamy Red Velvet Cake, you might want to try other delightful desserts like our Macadamia coconut cookie bars recipe 2013510 for a crunchy, tropical snack. Or refresh your palate with the light and herbal notes of the Chilled strawberry and mint soup recipe 1918025, a perfect balance to indulgent sweets.
Conclusion
This Red Velvet Cake recipe brings a harmonious blend of silky cocoa flavor and tangy cream cheese frosting into a stunning layered dessert. Its moist texture, deep red color, and nutty frosting offer a memorable experience with every bite. Give this recipe a try and personalize it with the easy variations shared here. When you do, come back to share your thoughts or tips—we’d love to hear your baking stories!
FAQs
When is the best time to eat Red Velvet Cake Recipe?
Red Velvet Cake is perfect for celebrations, special occasions, or anytime you want a rich, moist dessert. It’s especially popular for birthdays, holidays, and cozy gatherings with family and friends.
Can I make the Red Velvet Cake Recipe gluten-free?
To make this cake gluten-free, substitute the all-purpose flour with a gluten-free blend designed for baking. Ensure all other ingredients are gluten-free to maintain flavor and texture.
How should I store leftover Red Velvet Cake?
Store leftover cake in an airtight container in the refrigerator to keep the cream cheese frosting fresh. It’s best enjoyed within 3 to 4 days for optimal taste and texture.
Can I freeze the Red Velvet Cake Recipe?
Yes, you can freeze the cake layers tightly wrapped in plastic wrap and foil. Freeze for up to 2 months. Thaw in the refrigerator before frosting and serving for best results.
Is it necessary to use red food coloring in this recipe?
While red food coloring gives the cake its signature vibrant color, you can use natural alternatives like beet juice or omit it for a milder hue, but the classic red look will be less pronounced.