Knowing how long to cook chicken breast in Dutch oven at 400F unlocks perfectly juicy, tender results every time. Cooking chicken breast in a Dutch oven at this temperature strikes the ideal balance between a crispy golden crust and a moist interior. This method saves you from the common chicken breast cooking mistakes that lead to dry, chewy meat. Whether youre trying a new Dutch oven chicken breast recipe or refining your oven-baked chicken breast method, timing is everything for delicious results.
Introduction
Why Knowing How Long to Cook Chicken Breast in Dutch Oven at 400 Ensures Perfect Results
Cooking chicken breast just right is crucial for juicy, tender meat. Dutch ovens offer even heat distribution that gently warms the chicken and retains moisture. At 400F, the cooking time is short enough to prevent dryness yet long enough to cook through. This ensures a golden crust with a soft, flavorful center every time. Understanding these timing details removes any guesswork from your roasting sessions.
Who This Recipe Is For Beginners to Experienced Cooks Looking for a Reliable Baking Technique
This guide fits home cooks at any level. Beginners will find the clear instructions reassuring, while experienced cooks can master the perfect baking chicken breast at 400 degrees. Its especially handy for busy families needing a fast, healthy dinner option or for keto chicken recipes Dutch oven style. The method is naturally gluten-free and dairy-free too.
What Makes This Version Different from Other Recipes Online
Many recipes give vague timing like 20-30 minutes that can lead to overcooking. This post zeroes in on exact cooking time chicken breast Dutch oven settings, adds important safety reminders, and highlights flavor tips. It also explains why a Dutch oven works better than other cookware for juicy chicken every time a detail often overlooked.
Key Highlights
Even Heat Distribution for Tender, Juicy Chicken Breast
A Dutch ovens thick cast-iron walls promote even heat around the chicken breasts. Unlike a typical baking dish, this steadiness eliminates hot spots that dry out edges. The lid traps steam, which helps seal in juices for a tender bite. This uniform heat is a game changer when baking chicken breast at 400 degrees for consistent results.
Quick Cooking Time Balances Texture and Flavor
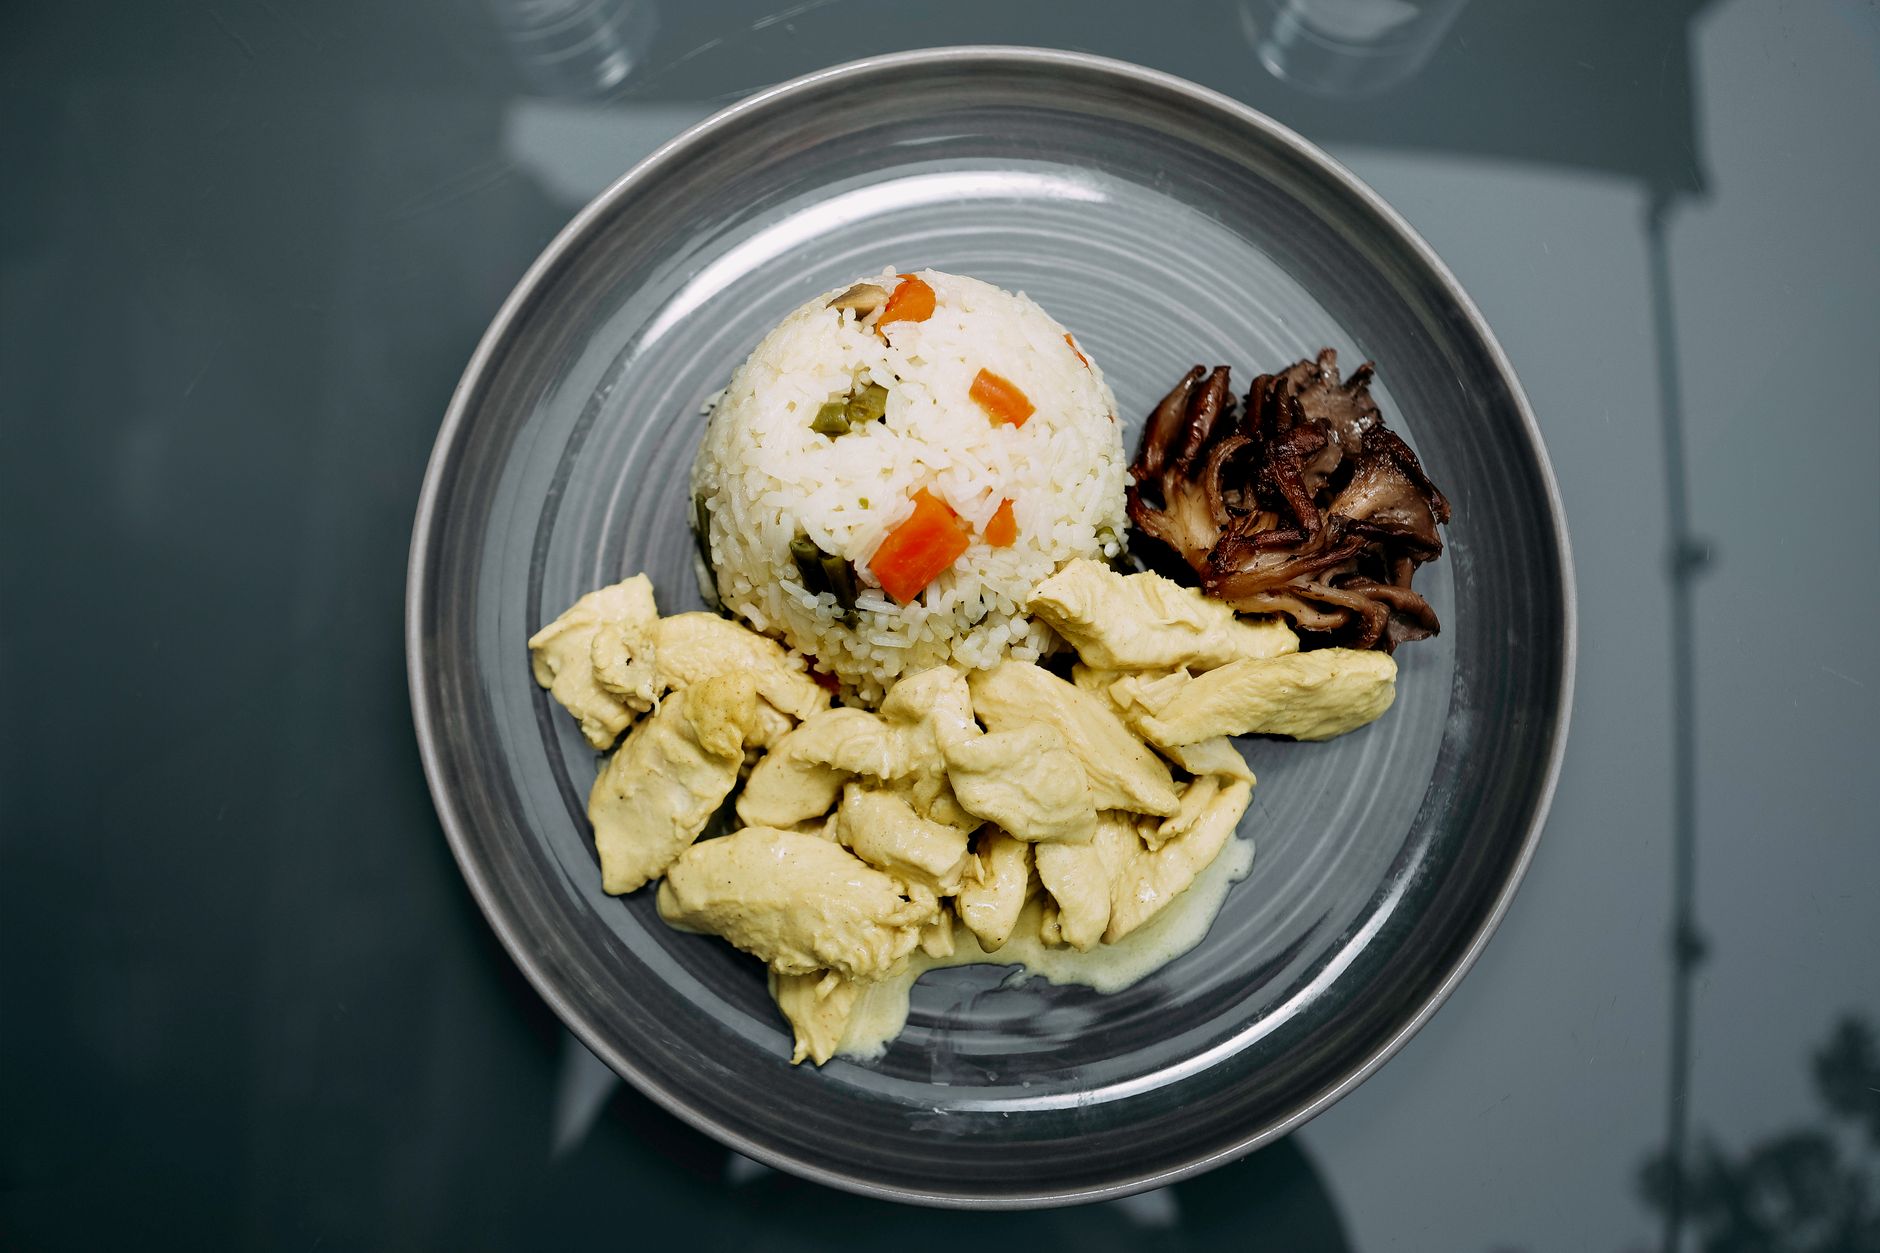
At 400F, an average 6-ounce chicken breast cooks in about 2025 minutes. This faster baking time locks in flavor and achieves that crave-worthy golden crust without drying out the meat. Its an ideal temperature for weeknights or meal prep since it delivers results quickly without sacrificing taste or texture.
Caution for Undercooking Use a Meat Thermometer for Safety
Though the baking time is timed precisely, always check doneness with a meat thermometer. Chicken must reach an internal temperature of 165F (74C) to be safe. Undercooked chicken risks foodborne illness and is one of the common chicken breast cooking mistakes that can ruin a meal. A quick probe before serving gives peace of mind and perfect results.
Ingredients & Preparation
| Prep time | Cook time | Total time | Servings | Calories | Diet tags |
|---|---|---|---|---|---|
| 10 minutes | 2025 minutes | 35 minutes | 4 | ~220 per serving | Gluten-Free, Keto, Dairy-Free |
Full Ingredient List with Quantities and Substitutions
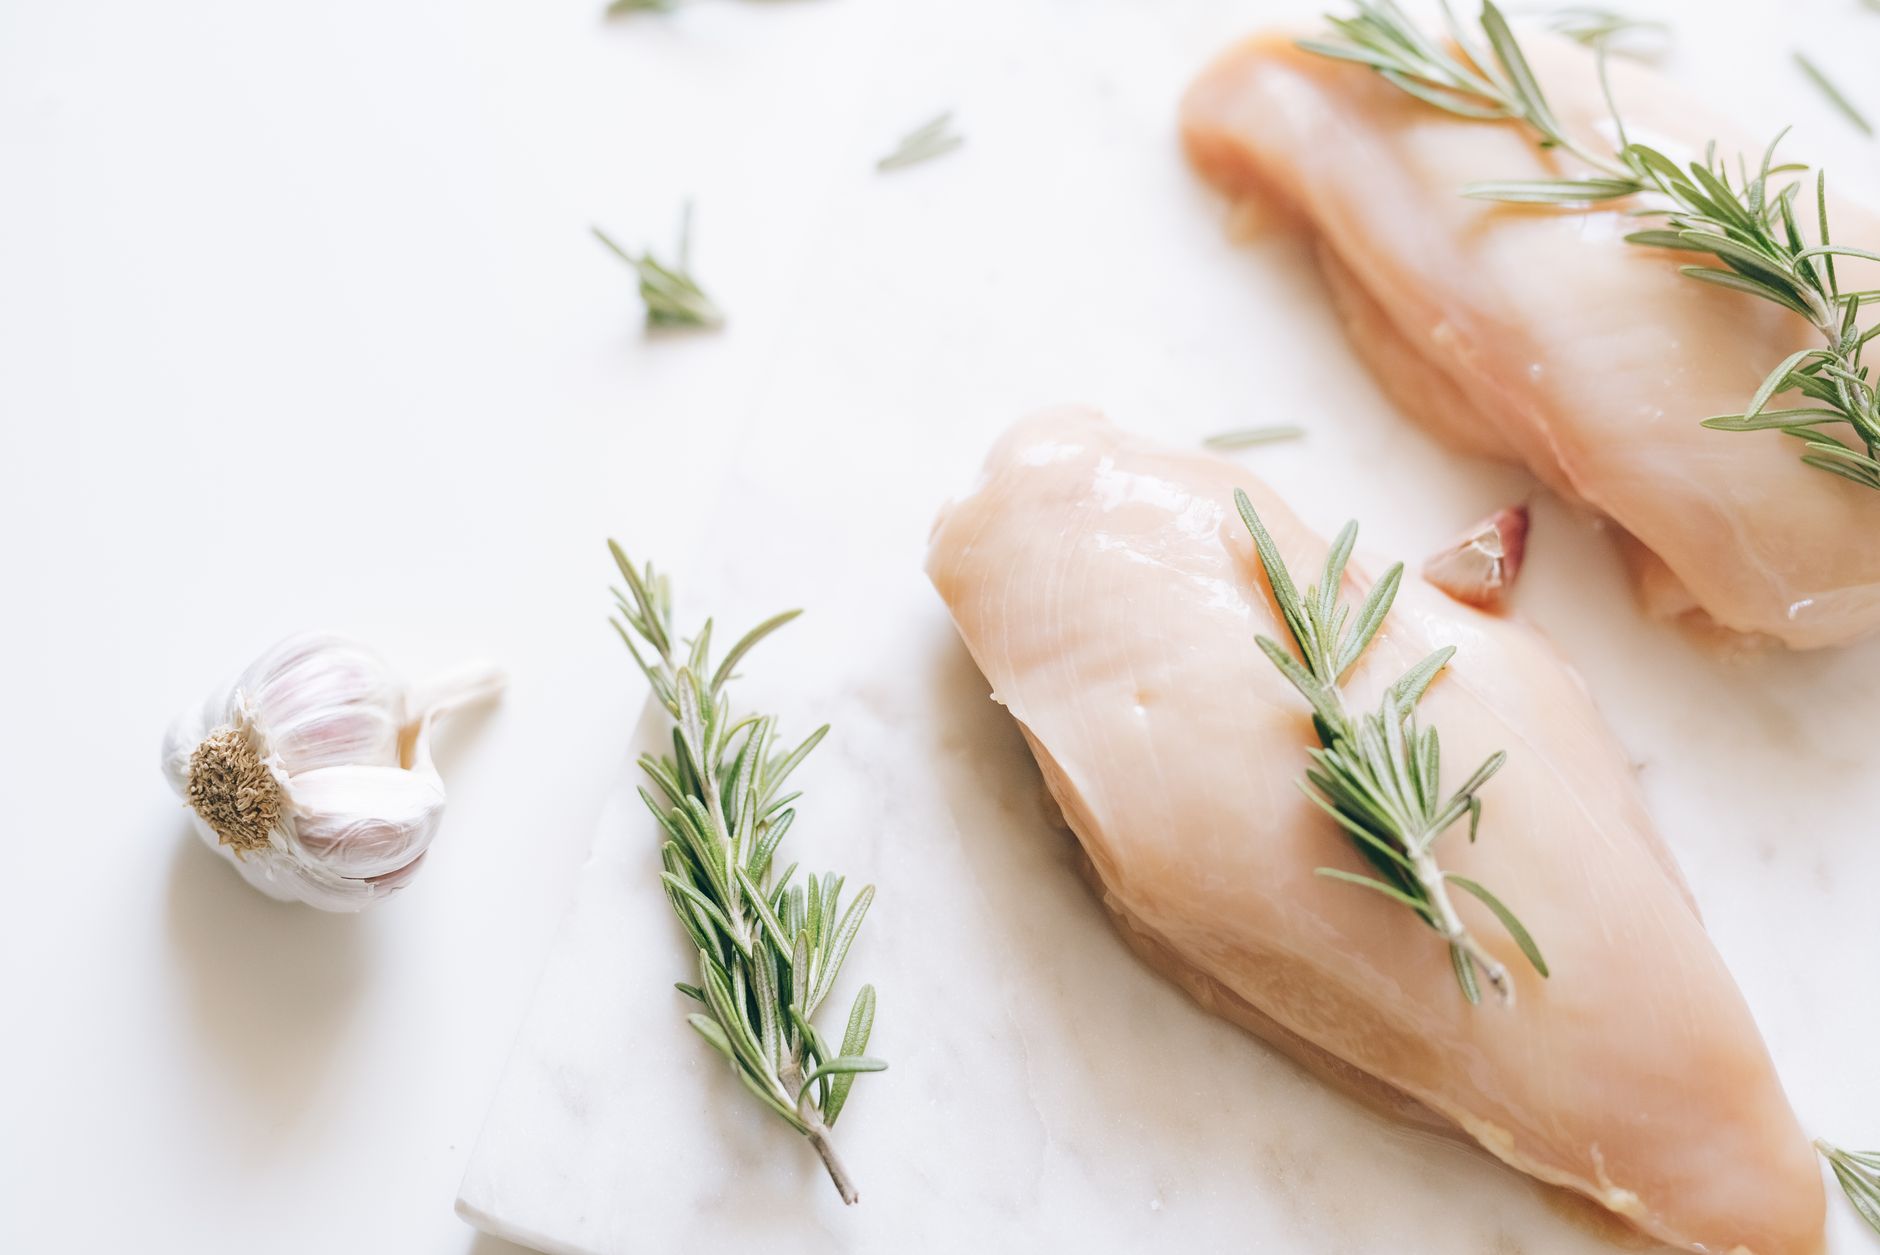
- 4 boneless, skinless chicken breasts (~6 oz each)
- 2 tablespoons olive oil (or avocado oil for higher smoke point)
- 1 teaspoon salt (kosher or sea salt works well)
- teaspoon black pepper
- Optional: teaspoon garlic powder, teaspoon paprika, or fresh herbs (thyme, rosemary) for extra flavor
Equipment Needed Dutch Oven vs. Baking Dish
A cast-iron Dutch oven creates even cooking thanks to its thick walls and tight lid. This helps the chicken cook evenly without drying out. Compared to glass or metal baking dishes, the Dutch oven retains heat better and produces moist, tender chicken with a slightly crisp crust. Its lid traps steam, which keeps the meat juicy during the quick baking time.
Tips for Choosing Quality Ingredients
Select fresh chicken breasts that are firm, with no discoloration or strong odor. Organic or free-range chicken often has more flavor and better texture. Use fresh spices and high-quality olive oil with a fruity aroma to enhance the dish naturally. These little ingredient upgrades make a big difference in the final taste.
Step-by-Step Cooking Instructions
Step 1: Preheat Oven and Prepare Chicken
Preheat your oven to 400F (204C). Pat chicken breasts dry with paper towels to help seasoning stick and promote a golden crust. Rub the chicken with olive oil, then sprinkle salt, pepper, and optional garlic powder or paprika evenly over all sides.
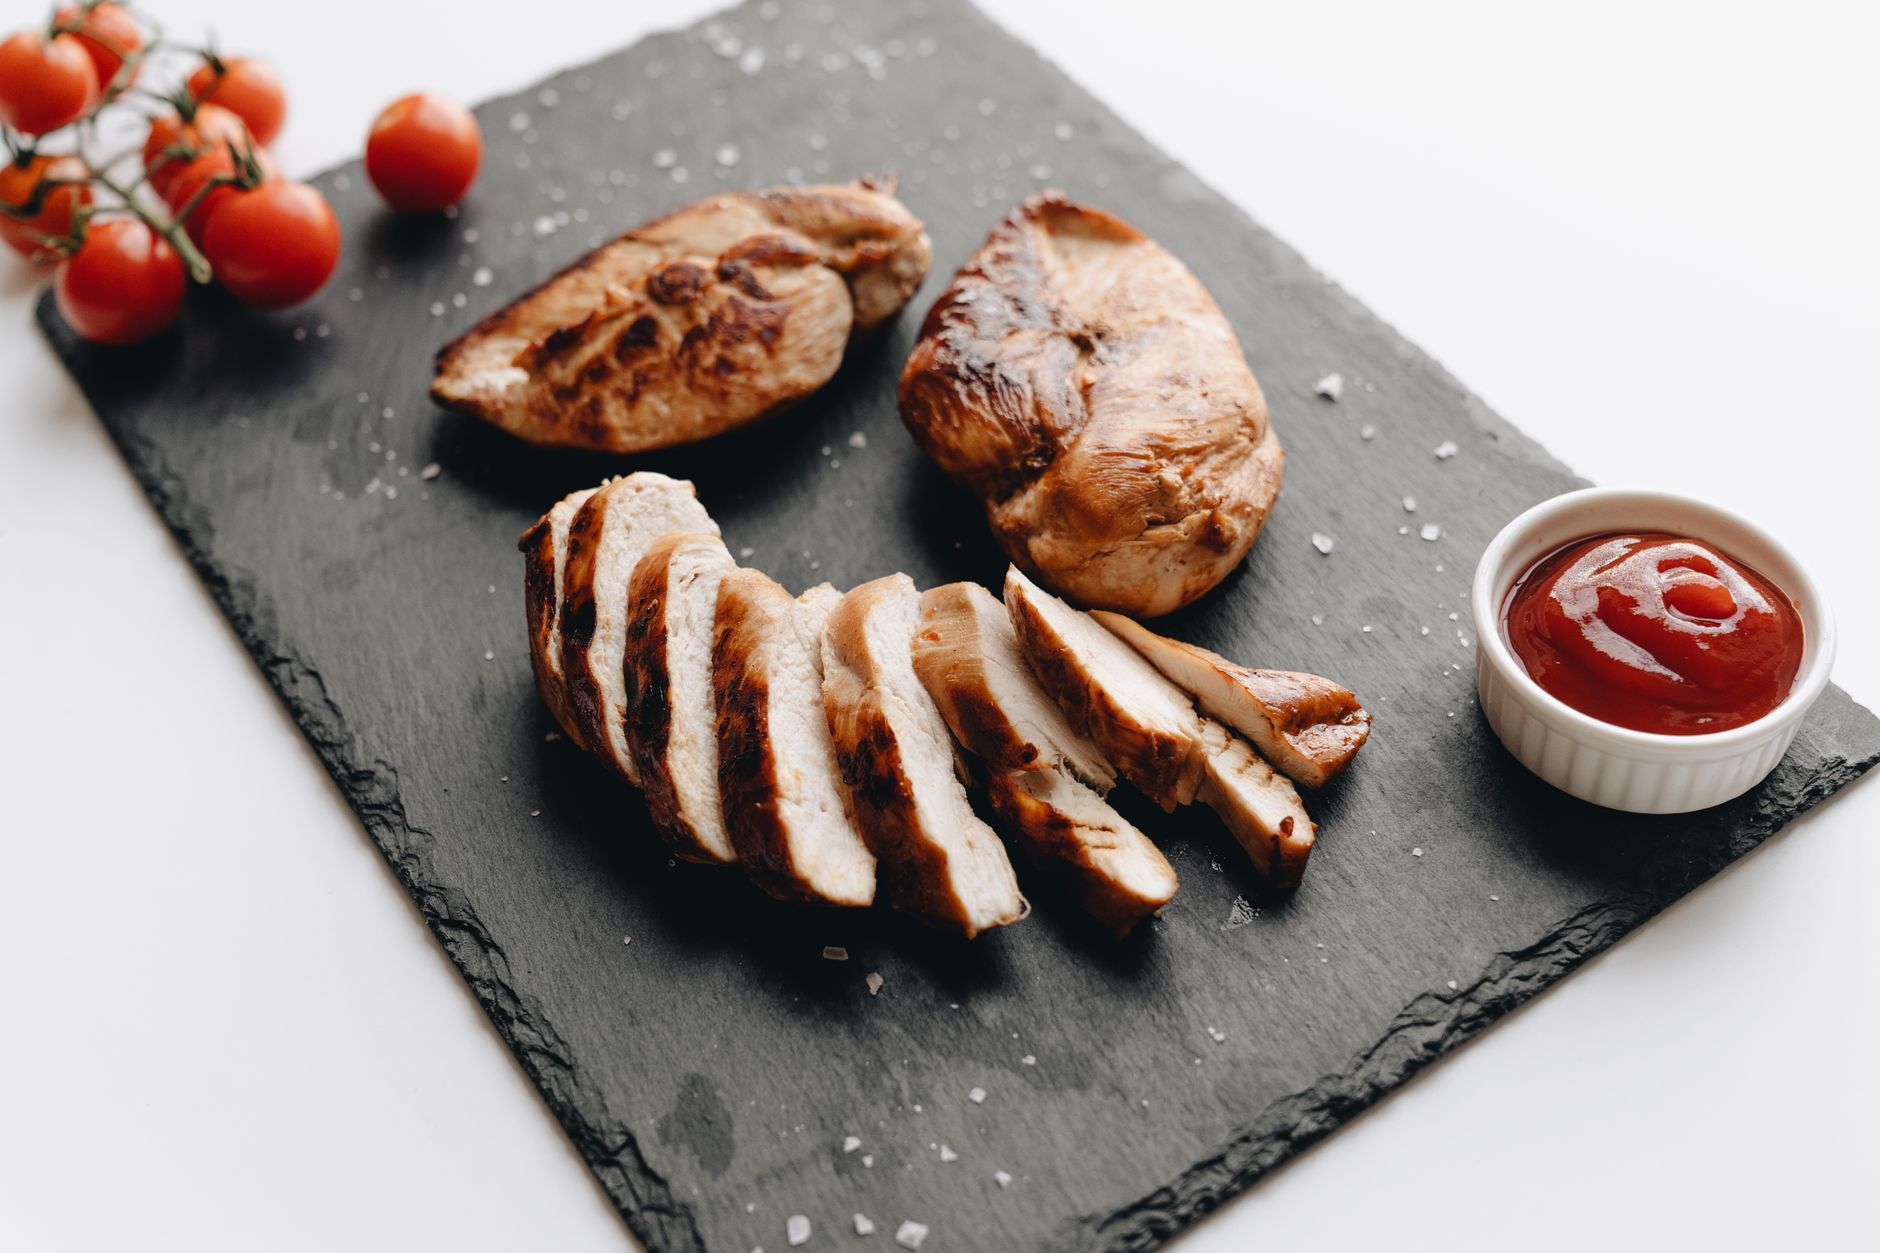
Step 2: Sear Chicken Breasts (Optional but Recommended)
Heat your Dutch oven on the stovetop over medium-high heat. Add a tablespoon of oil and sear the chicken breasts for 2 minutes per side until golden brown. This step adds flavor and texture but can be skipped if short on time.
Step 3: Bake Chicken Breasts in Dutch Oven
Cover the Dutch oven with its lid and transfer it to the preheated oven. Bake the chicken breasts for 20 to 25 minutes. The exact time depends on the size and thickness of your chickenyou want an internal temperature of 165F. Use an instant-read meat thermometer inserted into the thickest part for accuracy.
Step 4: Rest Before Serving
Remove the Dutch oven from the oven and let the chicken rest, covered, for 5 minutes. Resting lets juices redistribute for moist, tender results. After resting, your juicy chicken breast is ready to serve.

Storage and Reheating
How to Store Leftover Chicken Breast
Place cooled chicken breasts in an airtight container. Refrigerate for up to 4 days. For longer storage, freeze in a freezer-safe bag for up to 3 months. Label with the date for freshness.
Best Way to Reheat for Juicy Results
Reheat chicken breasts gently in a 300F oven covered with foil to prevent drying. Heat for 1015 minutes or until warmed through. Alternatively, cut into slices and warm in a skillet with a splash of broth or water to maintain moisture.

Pro Tips
Use a Meat Thermometer to Nail Doneness
Investing in a reliable instant-read meat thermometer saves guesswork. Insert it into the thickest part without touching bone. The USDA recommends 165F for safe chicken, but pulling it at 163F before resting helps avoid overcooking.
Try Brining for Extra Juiciness
A quick 30-minute brine in saltwater helps meat retain moisture during baking. Use cup salt dissolved in 4 cups cold water. Pat dry thoroughly before seasoning and cooking.
Sear for Flavor and Color
Searing the chicken breasts in the Dutch oven locks in savory flavors and creates a crispy crust. Although optional, this step elevates the aroma and adds depth to the final dish.
Balance Flavors with Herbs and Citrus
Adding fresh thyme or rosemary during baking complements the chickens natural flavor. A squeeze of lemon juice just before serving brightens the dish and balances the savory notes.
More Recipes You May Like
Curious about similar techniques? Check out this how long to cook chicken breast in le creuset guide for another Dutch oven approach with a famed brand.
Need a sweet treat after dinner? Try our fluffy 3 ingredient banana bread with oats for an easy homemade dessert.
Or, for something savory and moist, you might like our popular Zucchini bread 3470722a great way to sneak in veggies.
When is the best time to cook chicken breast in Dutch oven at 400?
The best time to cook chicken breast in Dutch oven at 400F is when you want a quick and flavorful meal, typically around 20 to 25 minutes after searing. This timing suits busy weeknights or anytime you crave tender, juicy chicken without long prep.
How can I prevent chicken breast from drying out in the oven?
Prevent dryness by cooking chicken breasts until they reach 165F internal temperature, using a meat thermometer. Brining beforehand and resting after baking also help lock in moisture. Avoid overcooking and high heat without coverage.
Is it necessary to sear chicken breasts before baking in a Dutch oven?
Searing is optional but recommended. It develops a golden, crispy crust and adds depth of flavor. Without searing, chicken will still cook well but won‘t have the same appealing texture or aroma.
Can I cook frozen chicken breasts directly in the Dutch oven at 400F?
Cooking frozen chicken breasts at 400F isn‘t recommended as it leads to uneven cooking and dryness. Thaw completely before baking to ensure even heat distribution and proper internal temperature.
What are common chicken breast cooking mistakes to avoid?
Common mistakes include overcooking, skipping the meat thermometer, under-seasoning, and neglecting to rest the chicken. Each can cause dry, bland chicken lacking juiciness and flavor.
Can I use this Dutch oven cooking method for chicken thighs?
Yes, chicken thighs can be cooked similarly but may require extra baking time due to thicker size and higher fat content. Adjust baking time by 510 minutes and check internal temperature accordingly.
Are keto chicken recipes Dutch oven style suitable for meal prep?
Definitely. Dutch oven cooked chicken breasts stay juicy and reheat well, making them excellent for keto meal prep. Store leftovers refrigerated up to 4 days or freeze for longer.
Conclusion
Getting the timing right for how long to cook chicken breast in Dutch oven at 400 ensures delicious, juicy results without fuss. This simple method suits all skill levels and fits neatly into busy lifestyles. Id love to hear how your chicken turns out or any tweaks you try. Feel free to leave a comment or rate the recipe. And when youre ready for more, try one of the linked recipes for easy, tasty meals.
FAQs
When is the best time to cook chicken breast in Dutch oven at 400?
The best time to cook chicken breast in a Dutch oven at 400°F is typically 20 to 25 minutes after optional searing. This timing delivers juicy, tender chicken with a golden crust, perfect for quick meals or busy weeknights.
How can I prevent chicken breast from drying out in the oven?
Prevent dryness by cooking the chicken until it reaches an internal temperature of 165°F using a meat thermometer. Brining beforehand, searing, and resting after baking also help lock in moisture and keep the meat tender.
Is it necessary to sear chicken breasts before baking in a Dutch oven?
Searing is optional but recommended. It creates a flavorful, crispy crust and enhances aroma. Without searing, chicken still cooks properly but lacks the depth of texture and rich color.
Can I cook frozen chicken breasts directly in the Dutch oven at 400°F?
Cooking frozen chicken breasts at 400°F is not recommended because it leads to uneven cooking and dryness. Always thaw chicken completely before baking to ensure even heat distribution and safe internal temperature.
What are common chicken breast cooking mistakes to avoid?
Common mistakes include overcooking, not using a meat thermometer, under-seasoning, skipping resting, and using high heat without coverage. These errors often result in dry, bland chicken lacking juiciness and flavor.