Introduction
Cooking over an open flame is an art that cowboy campfire cooking equipment makes truly enjoyable and straightforward. With the right gear, you can create meals that are full of smoky, golden flavor without fuss. This equipment blends tradition with practicality, helping you prepare easy campfire meal prep that anyone can master. Whether youre new to outdoor cooking or a seasoned camper, the best campfire cooking gear will elevate your meals and streamline your time around the fire.
Key Highlights
Durable Materials Enhance Flavor and Safety
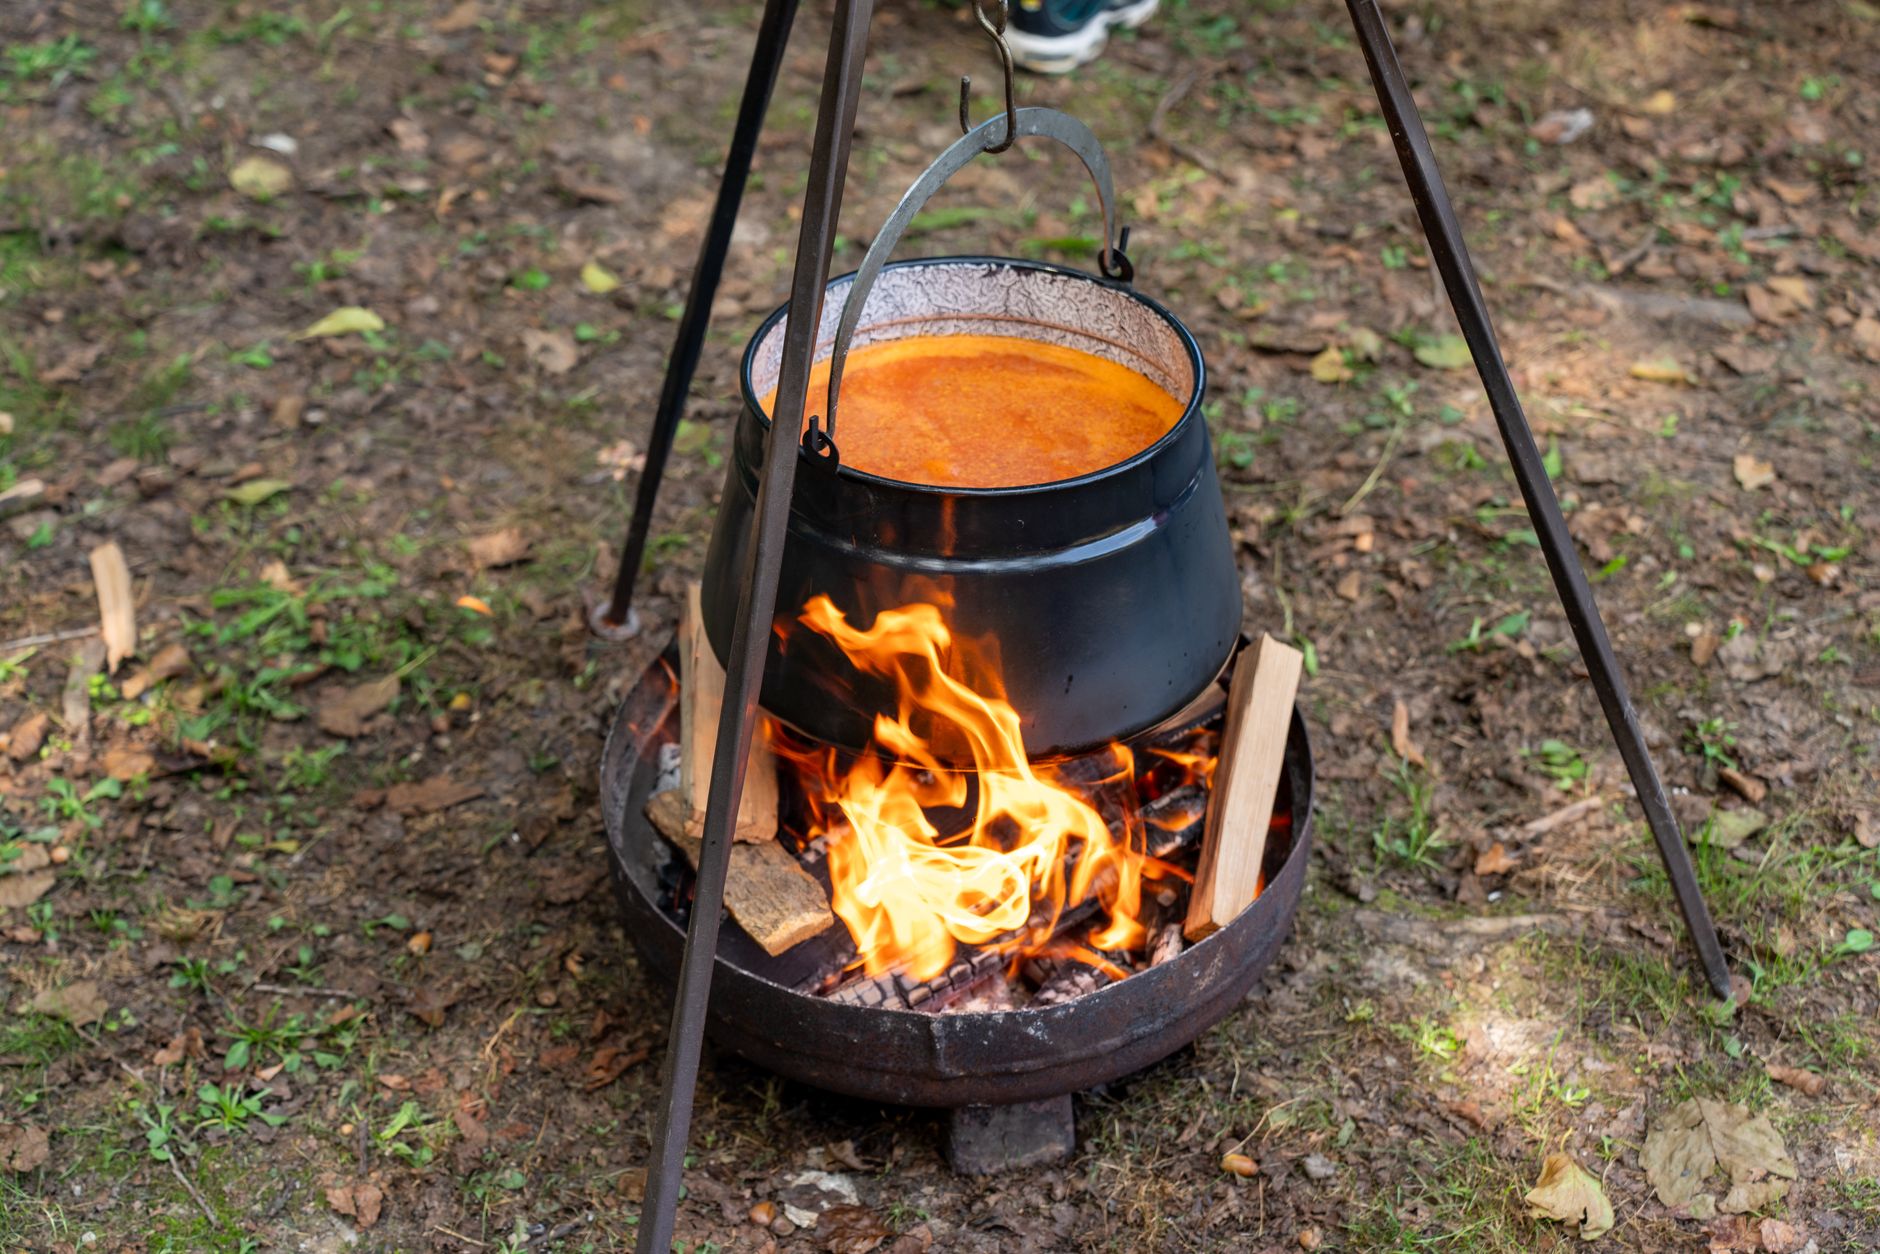
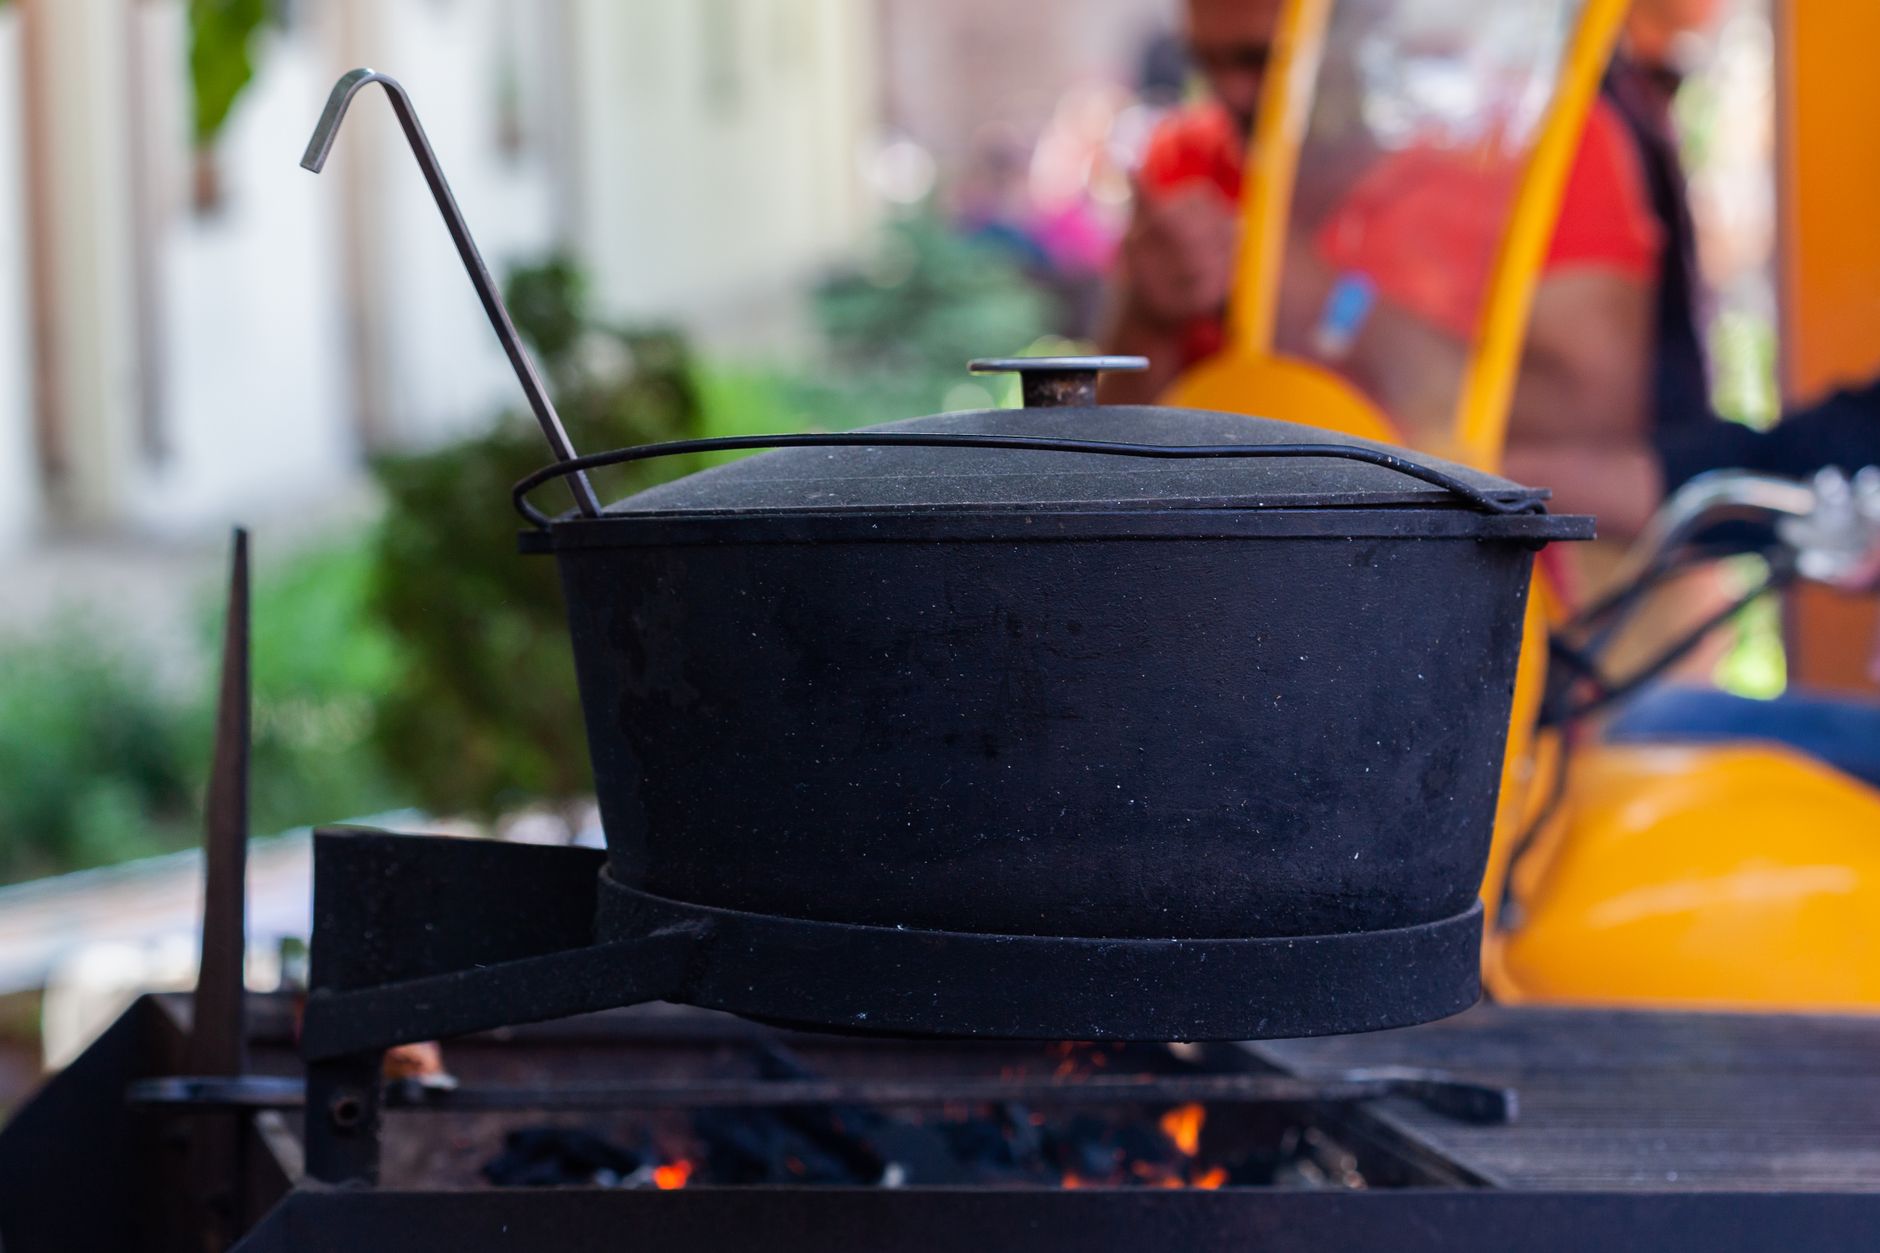
One defining feature of cowboy campfire cooking equipment is its rugged durability. Tools crafted from cast iron or heavy steel provide excellent heat retention and even cooking, a must for campfire meals. Cast iron cooking methods add that earthy, deep flavor while ensuring your gear lasts season after season. Avoid flimsy metals that warp under heat or coatings that peel over open flames. These durable materials also keep you safe by resisting warping and reducing flare-ups caused by thin, uneven surfaces.
Versatility Supports Various Cooking Styles
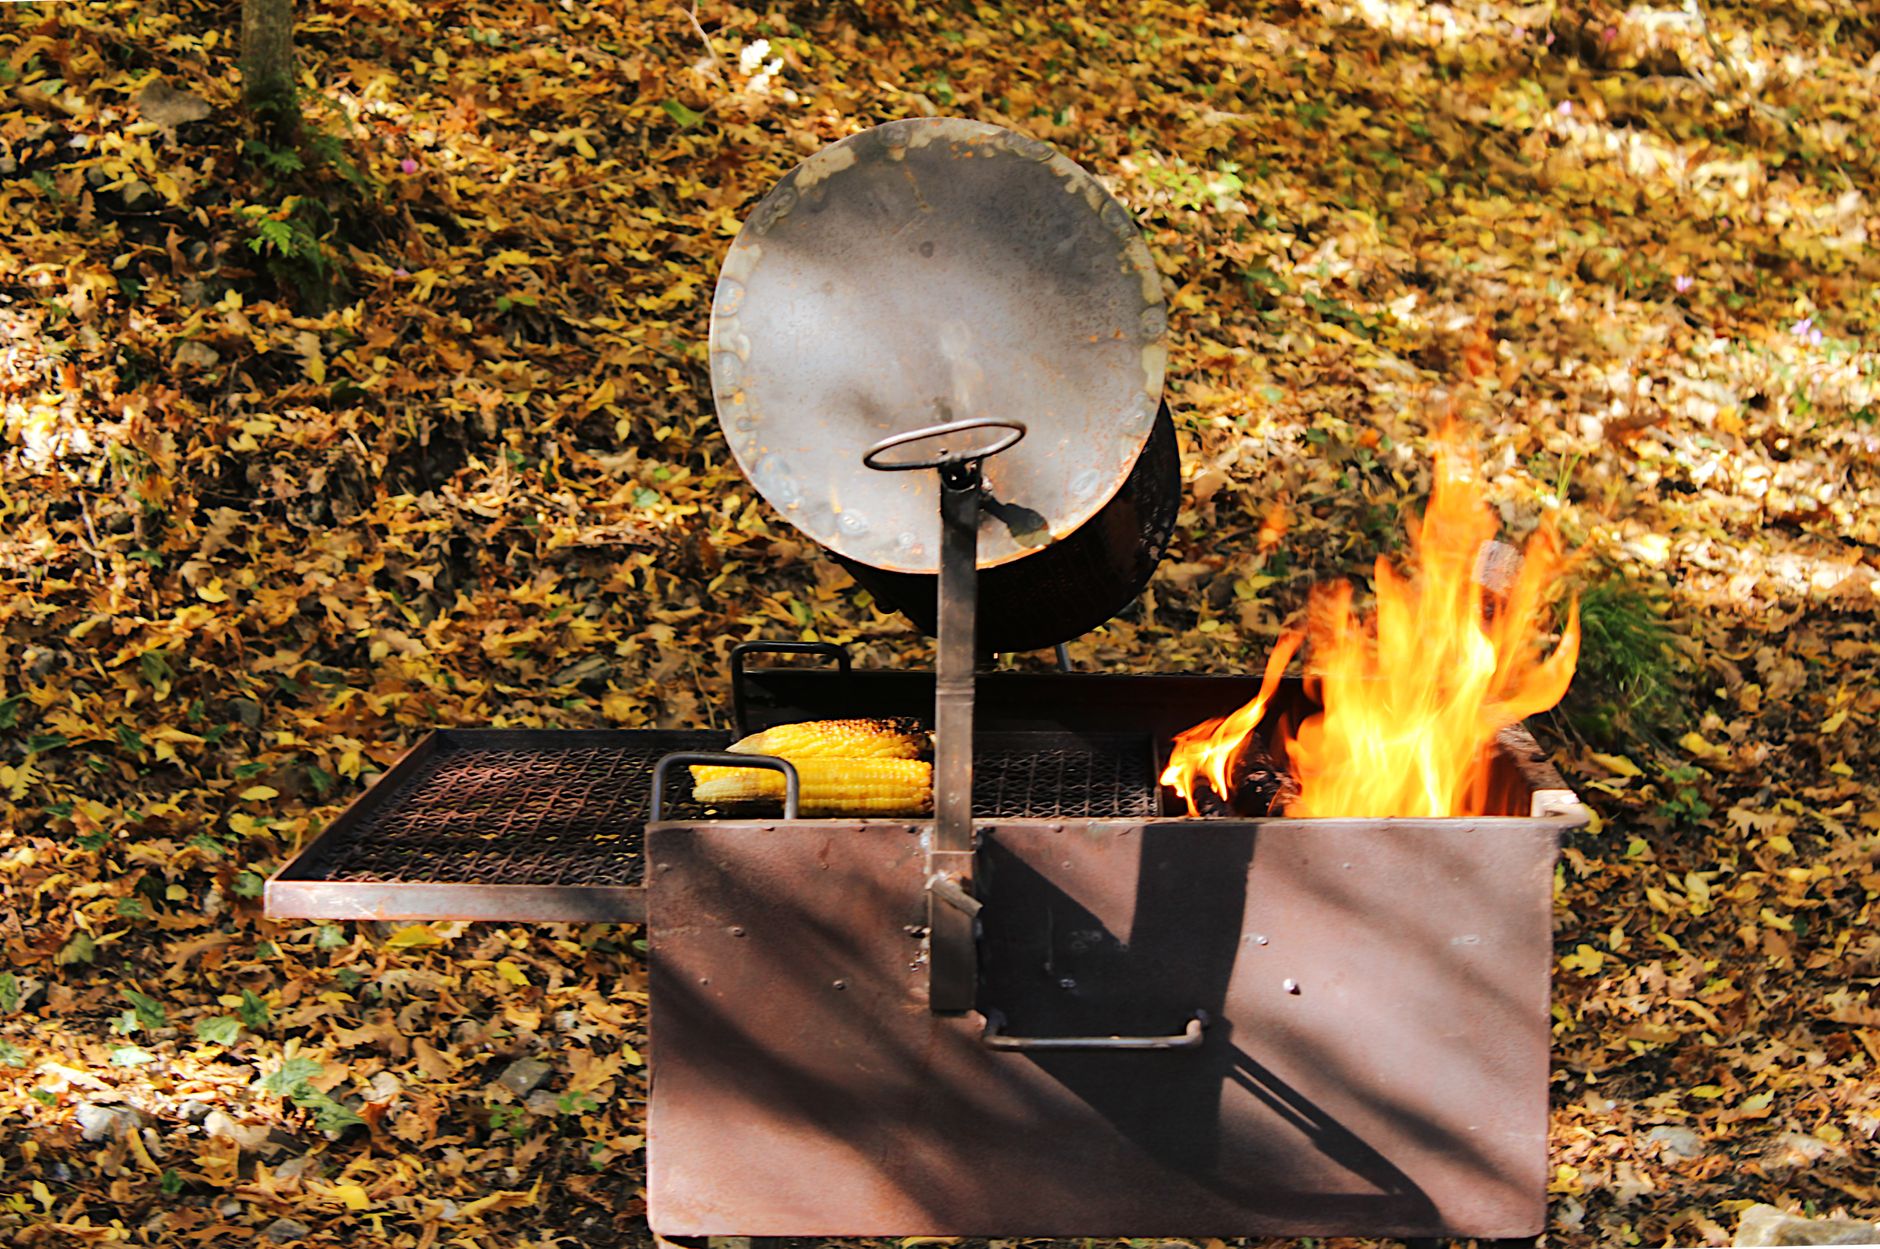
Good campfire cooking gear allows you to fry, grill, boil, and roast with ease. Whether you prefer sizzling steaks or simmering stews, these tools adapt to multiple cowboy cooking style techniques. For example, a cast iron skillet lets you sear crispy edges while a Dutch oven braises meals tenderly. Adding a grill grate over your campfire opens options for charred veggies and smoky proteins. This versatility makes it easier to cater to dietary needs like gluten-free campfire recipes without extra hassle.
Safety Tips for Open Flames
Working with fire always requires vigilance. Position your cooking setup where wind wont scatter embers, and keep a bucket of water nearby. Use tools with long handles to avoid burns and wear protective gloves. Never use plastic utensils or gear, which can melt and release toxins. Control your fires heat by shifting coals or adding wood carefully. These steps minimize common campfire cooking problems like flare-ups or uneven heating, keeping your meal prep safe and smooth.
Ingredients & Preparation
| Prep time | Cook time | Total time | Servings | Calories | Diet tags |
|---|---|---|---|---|---|
| 5 minutes | 15 minutes | 20 minutes | 24 | Varies | Gluten-Free, Dairy-Free, Paleo |
Full Ingredient List and Substitutions
Typical cowboy campfire cooking equipment supports meals with simple, wholesome ingredients. A basic list might include 12 pounds of beef or plant-based protein, 2 cups chopped fresh vegetables (peppers, onions, tomatoes), 2 tablespoons cooking oil, and spices like smoked paprika, garlic powder, and salt. For gluten-free campfire recipes, swap any wheat-based seasonings for certified gluten-free blends. Vegetarians can substitute beans or mushrooms for meat without losing that smoky richness.
Essential Equipment Explained
Cowboy campfire cooking equipment shines with a few staples: a cast iron skillet, Dutch oven, and grill grate. The skillet is perfect for frying bacon or sauting vegetables with a crispy finish. Dutch ovens excel at stews and cobblers, keeping heat steady even on hot coals. Grill grates provide direct flame contact for searing meats or grilling vegetables to golden perfection. Each tool offers unique cast iron cooking methods that bring out different flavors and textures.
Tips for Choosing Quality Tools
When shopping for campfire cooking gear, look for seasoned cast iron with an even black finish free from cracks or rust. Handles should be sturdy and preferably coated with heat-resistant paint or covered with grip sleeves. Lightweight aluminum or thin metals are prone to warping and wont withstand rugged outdoor use. Portable, stackable designs make packing easier. A well-built set will last for decades, becoming your trusted companion for countless camping trips.

Step-by-Step Instructions
Step 1 Prepare Your Gear and Ingredients
Start by cleaning your cast iron skillet or Dutch oven with hot water only, avoiding soap that can strip seasoning. Season lightly with cooking oil if needed. Chop vegetables into uniform pieces for even cooking. Preheat your cookware over hot coals for 5 minutes to ensure steady heat before adding ingredients.
Step 2 Cook Using Proper Fire Management
Maintain medium heat around 350F by adjusting coals or adding small wood pieces. Sear proteins for 57 minutes per side until golden and cooked through. Add vegetables and stir frequently for 78 minutes until tender but still crisp. Use ash or wood placement to control heat intensity and avoid scorching.
Step 3 Finish with Seasonings and Rest
After removing the skillet from the fire, sprinkle spices like salt, pepper, and smoked paprika to enhance aroma. Cover cookware with lid or foil for 3 minutes to let juices redistribute, producing tender, flavorful bites.
Step 4 Serve or Transfer to Heat-Safe Containers
Serve your meal immediately for a crispy, fresh experience. If you need to keep food warm, transfer it into insulated, heat-safe containers until ready to eat. Avoid leaving food sitting on hot coals for prolonged periods to prevent dryness.
Variations & Substitutions
Popular Variations for Vegetarian and Gluten-Free Meals
Vegetarian options can swap beef for black beans or hearty portobello mushrooms, offering that robust cowboy cooking style flavor. Gluten-free campfire recipes remain delicious by using gluten-free spice blends and naturally gluten-free grains like quinoa. These swaps keep meals inclusive without altering traditional smoky notes.
Ingredient Swaps and Their Effects
Swapping smoked paprika for chipotle adds a tangy, smoky kick, while fresh garlic replaces garlic powder for more pungency. Using plant-based protein changes texture to a softer, creamier bite but pairs well with bold spices. Adjust oil amounts to maintain a desirable crispy edge.
Adjusting Spices and Cooking Times
Want more heat? Increase chili powder by 25%. Prefer tender veggies? Reduce cook time by 34 minutes. Always adjust based on your fires strength to avoid common campfire cooking problems such as burning or uneven cooking.
Storage & Shelf Life
Refrigerator Storage
Store leftovers in airtight glass containers. Refrigerate between 3440F and consume within 4 days for optimal freshness and safety. Cool food quickly by placing containers in shallow water baths before refrigeration.
Freezer Storage
Freeze campfire meals in sealed heavy-duty bags or reusable containers for up to 3 months. Thaw in the refrigerator overnight before reheating gently over your campfire or on a stove to preserve texture and flavor.
Make-Ahead Batch Tips
Scale recipes to produce larger quantities for longer trips. Use stackable containers and label each with the date and contents. Pack efficiently to save space and keep meals organized for quick heat-ups after a long day outdoors.
Pro Tips & Troubleshooting
Avoid Rust and Preserve Seasoning
Clean your cast iron cookware immediately after use with hot water only. Avoid soap, which can strip seasoning. Dry thoroughly over low heat and apply a thin coat of oil to the surface before storing. This prevents rust and maintains the non-stick coating.
Fixing Common Issues
If your food tastes dull, check your seasonings freshness and cooking temperature. Too-low heat results in soggy meals; too-high causes a bitter, burnt flavor. Re-season your cookware regularly to maintain ideal cooking surfaces.
Expert Upgrade
Adding a cast iron lid holder or tripod to your gear enhances versatility. These tools allow even heat distribution and provide adjustable heights over the flames. They expand your cooking styles and offer safer, more convenient setups.

When is the best time to eat cowboy campfire cooking equipment meals?
The best time to enjoy meals made with cowboy campfire cooking equipment is during daylight or early evening. This gives you a solid 20 minutes to prepare and cook safely in natural light. Early meals also let you savor the aroma and color better while avoiding the chill that sometimes comes after sunset outdoors.
Can I make a big batch ahead of time?
Yes, you can cook larger portions ahead and store leftovers refrigerated for 4 days or frozen for 3 months. Reheat gently over a campfire or stove before serving to retain flavors and textures. This strategy saves time on busy camping days.
Cast iron or aluminum which is best for campfire cooking?
Cast iron is the preferred option because it retains heat evenly, offers durability, and adds flavor through seasoning. Aluminum heats quickly but is prone to warping and often cant handle rough outdoor use as effectively.
Is this equipment safe for beginners or children around campfire?
With proper supervision, beginners can safely use cowboy campfire cooking equipment. Children should never be left unattended near open flames. Teaching fire safety and using tools with heat-resistant handles reduce risks.
How often should I replace or re-season my cast iron cookware?
Re-season cast iron every few months or after heavy use to maintain its non-stick surface and rust protection. Replace only if cookware shows cracks or irreparable warping.
Why does my food sometimes taste bitter or burnt?
Bitter or burnt flavors usually mean the fire is too hot or insufficient oil was used. Lower the flame and preheat skillet properly with oil to prevent sticking and burning.
What dishes pair well with cowboy campfire cooking gear?
Stews, grilled vegetables, cornbread, and baked beans make perfect companions for cowboy campfire cooking gear. Each complements the smoky, rustic flavors developed using cast iron tools and direct fire.
More Recipes You Will Love
Check out cowboy dutch oven recipes for hearty options that fit your outdoor adventures perfectly.
For a creamy twist on campfire cuisine, try the Shrimp and cauliflower grits 3801474, a satisfying dish easy to prepare with campfire equipment.
Explore flavor boosters in the wild with Herbs and spices good for diabetes, which guide seasoning your meals healthily and deliciously.
Conclusion
Cowboy campfire cooking equipment makes outdoor meals simple, flavorful, and enjoyable. With the right gear, youll face less hassle and create tastier dishes around the fire every time. Try these equipment picks on your next trip, then share your experiences or star rating below. Dont miss our cowboy beans recipe for more campfire inspiration and delicious tradition.
FAQs
When is the best time to eat cowboy campfire cooking equipment meals?
The best time to enjoy meals made with cowboy campfire cooking equipment is during daylight or early evening, allowing about 20 minutes for safe preparation and cooking in natural light, while savoring the aroma and warmth before nighttime chill sets in.
Can I make a big batch ahead of time when using cowboy campfire cooking equipment?
Yes, cooking larger portions ahead is possible. Store leftovers refrigerated for up to 4 days or frozen for 3 months, then reheat gently over the campfire or stove to preserve flavors and textures for busy camping days.
Is cast iron or aluminum better for cowboy campfire cooking equipment?
Cast iron is preferred due to its even heat retention, durability, and flavor-enhancing seasoning. Aluminum heats faster but is prone to warping and is less effective for rugged outdoor cooking compared to cast iron.
Is cowboy campfire cooking equipment safe for beginners or children?
With proper supervision and fire safety education, beginners can safely use the equipment. Children should never be left unattended near open flames. Using heat-resistant handles and safe setups minimizes risks during cooking.
How often should I re-season or replace my cast iron campfire cookware?
Re-season cast iron cookware every few months or after heavy use to maintain its non-stick surface and prevent rust. Replace only if you notice cracks or irreparable warping to ensure safe, effective cooking.