Why Chocolate-Dipped Ice Cream Cones?
Imagine biting into a crispy cone, its innermost surface enveloped in a glossy, crackling chocolate shell that gives way to creamy, melting ice cream. Chocolate-dipped ice cream cones offer that perfect harmony of textures and flavors, combining the rich bitterness of chocolate with the sweet chill of your favorite frozen treat. This classic dessert is easy to personalize and elevates simple ice cream into a delightful experience. Whether by the pool on a sunny day or as an after-dinner indulgence, these cones satisfy cravings with their irresistible crunch and luscious taste.
Health Benefits & Nutrition
While chocolate-dipped ice cream cones are a treat, they can also offer a few surprising benefits when enjoyed in moderation. Dark chocolate contains antioxidants, which support heart health by reducing inflammation and improving blood flow, according to research published in the Journal of Nutrition. Coconut oil, often used to harden the chocolate shell, is rich in medium-chain triglycerides that may boost metabolism. Ice cream provides calcium and protein, essential for bone and muscle health. However, be mindful of allergies to nuts or dairy, and those with cholesterol concerns should enjoy this dessert sparingly. Gluten-sensitive individuals should select gluten-free cones for safety.
Ingredients & Preparation
Recipe Card
| Prep Time | 15 minutes |
|---|---|
| Total Time | 50 minutes |
| Servings | 8 cones |
| Calories (per serving) | 319 |
| Diet Tags | Vegetarian, Gluten-Free option* |
Ingredient List
- 4 ounces semisweet chocolate, finely chopped
- 1/4 cup coconut oil or vegetable shortening
- Pinch of kosher salt
- 8 small sugar cones (or gluten-free cones)
- 2 pints your favorite ice cream flavors
- 1/4 cup chopped nuts, toasted coconut, or other toppings
Equipment Needed
- Small saucepan
- Rubber spatula
- Conical cone holder or sturdy frozen-safe box with cutouts
- Microwave-safe bowl (optional)
- Small bowls for toppings
Tips for Choosing Quality Ingredients
Use high-quality semisweet chocolate with at least 50% cacao for a rich flavor that isn’t overly sweet. Opt for fresh, creamy ice cream from trusted brands or homemade batches—homemade ice cream allows you to control sugar and fat content. Choose fresh, crunchy cones without cracks to avoid sogginess. If allergies are a concern, pick toppings sensitively or substitute with fruit pieces like freeze-dried strawberries or crushed cereal flakes.
Step-by-Step Instructions
Step 1: Prepare Your Cone Holder (10 minutes)
Find a small, sturdy box that fits in your freezer. Turn it upside down and carefully cut eight X-shaped slits, spaced about 2 inches apart, to cradle the cones upright. Open each slit wide enough to hold a sugar cone securely.
Step 2: Melt Chocolate Mixture (4 minutes)
Combine chopped semisweet chocolate, coconut oil (or shortening), and a pinch of kosher salt in a small saucepan. Heat over medium-low heat, stirring constantly with a rubber spatula until smooth and melted, approximately 4 minutes. Transfer the mixture to a heat-safe bowl.
Step 3: Coat Cone Interiors (10 minutes + chilling)
Pour about 1 tablespoon of the melted chocolate into each cone. Tilt and rotate the cone to fully coat the inside walls. Pour out any excess chocolate back into the bowl. Place cones upright in your cone holder and freeze for 10 minutes to allow chocolate to harden completely.
Step 4: Fill Cones with Ice Cream (5 minutes + 30 minutes chilling)
Scoop your preferred ice cream into each cone, filling to the top. Add a second smaller scoop for a rounded top. Return cones to the holder and freeze for 30 minutes to firm the ice cream for dipping.
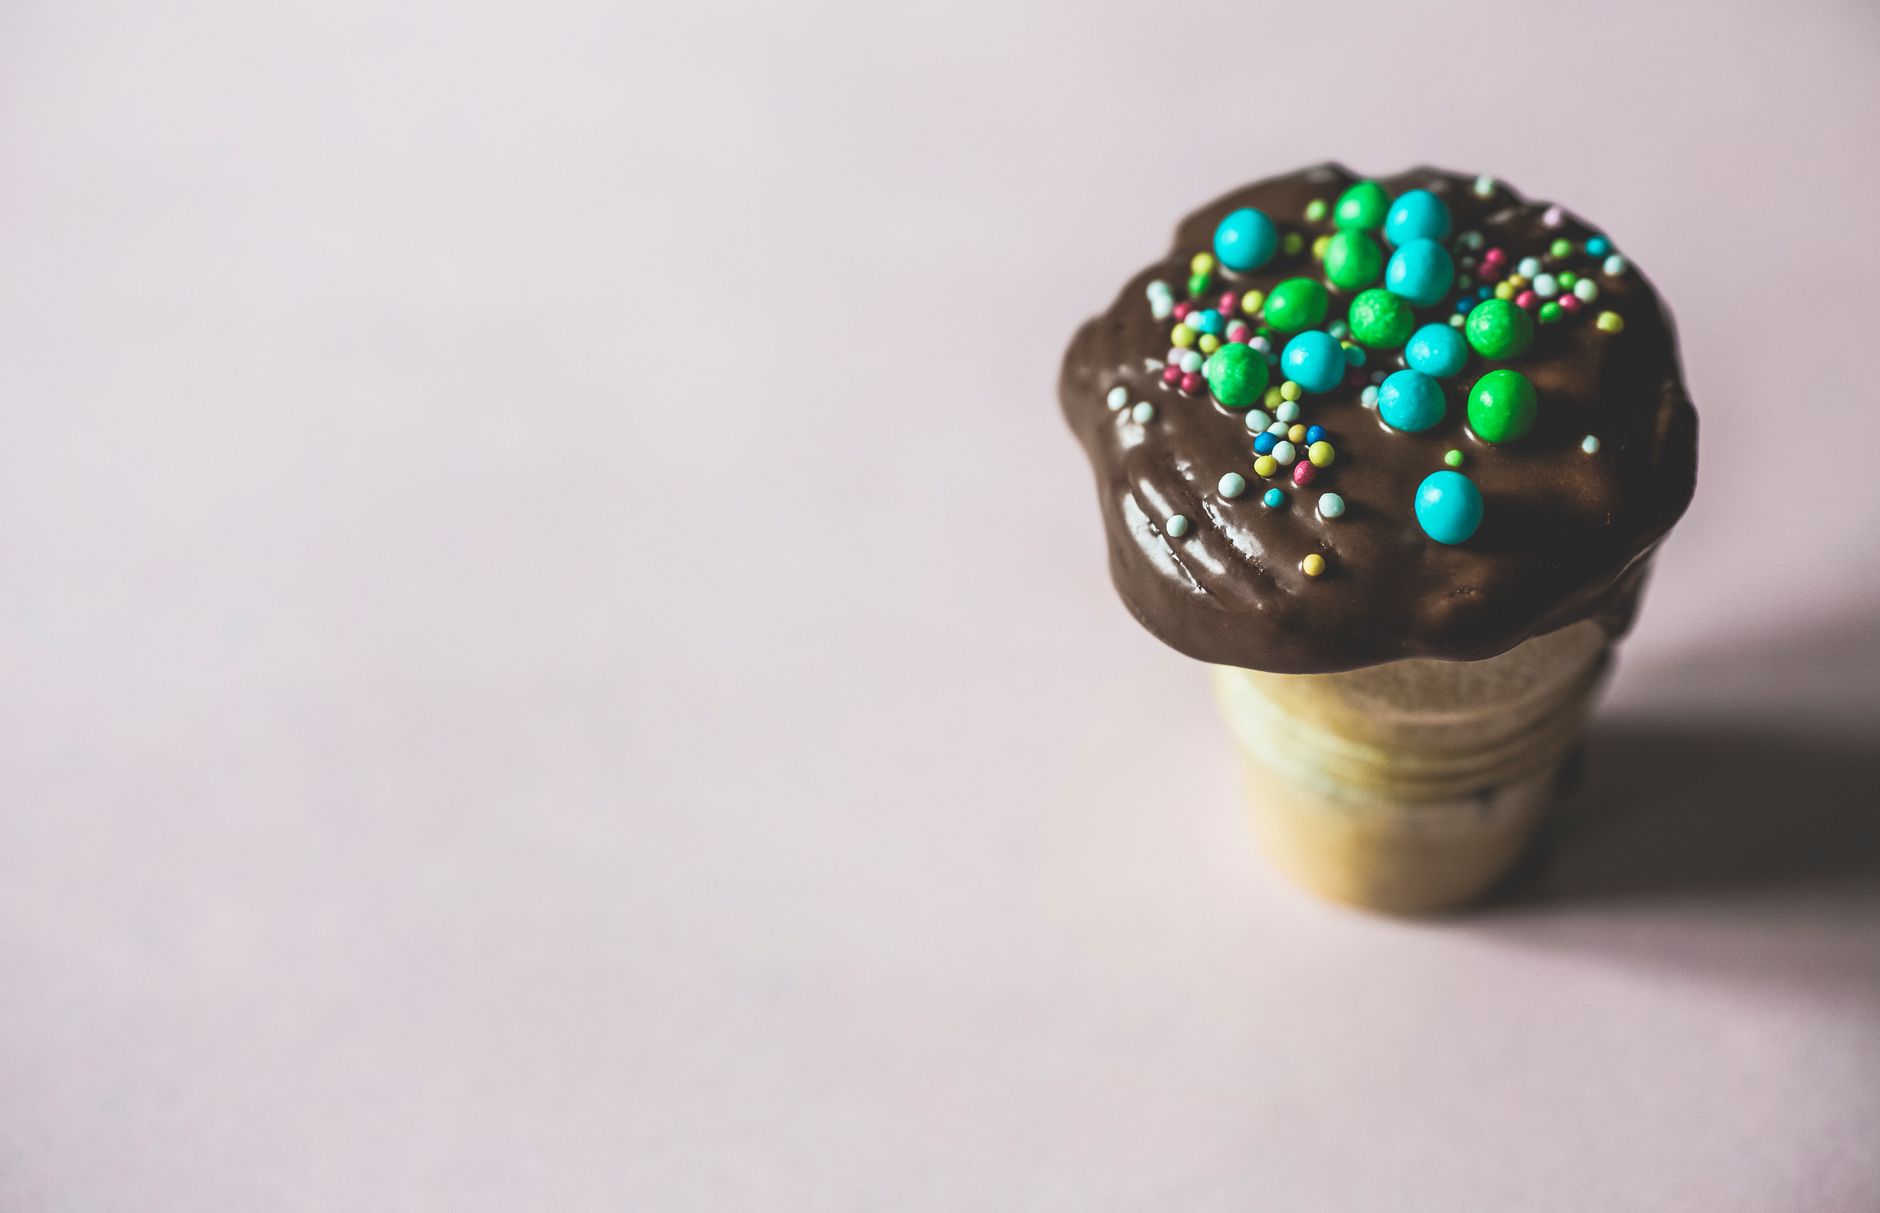
Step 5: Dip Ice Cream Tops & Add Toppings (5 minutes)
Place your toppings in a shallow bowl. Reheat any solidified chocolate gently in 10-second microwave bursts, stirring until molten. Dip the ice cream tops into the chocolate, covering most of the surface but allowing a little ice cream to show. Let excess chocolate drip, then quickly press the dipped ice cream into your topping. The shell sets in seconds.
Step 6: Serve or Store
Serve cones immediately for best texture, or store in the freezer in an airtight container if needed.
Variations & Substitutions
- Chocolate Types: Swap semisweet chocolate for dark (70% cacao) for a more intense flavor or white chocolate for a sweeter, creamier coating.
- Oils: Use vegetable shortening if you prefer a neutral taste or vegan-friendly coconut oil to add subtle tropical notes.
- Cones: Replace sugar cones with waffle cones for a softer texture or gluten-free cones for dietary restrictions.
- Ice Cream Flavors: Try strawberry ice cream with crushed pistachios or salted caramel gelato topped with flaky sea salt for an elevated experience.
Storage & Shelf Life
Store chocolate-dipped ice cream cones in the freezer immediately after preparation. Keep them upright in a container lined with parchment paper to prevent sticking. Properly stored, they remain fresh for up to 3 days.
Avoid refrigeration, as this causes ice cream to melt and refreeze, leading to ice crystals and loss of texture. Look for discoloration, off-smells, or frost buildup as signs the cones are past their prime.
Pro Tips
- Warm chocolate gently to avoid burning; use low heat and constant stirring for silky texture.
- Ensure cones are completely dry before coating to prevent sogginess.
- For a glossy finish, add a teaspoon of instant coffee powder to the melting chocolate for enhanced depth without a coffee taste.
- Dipping quickly is key—the chocolate sets rapidly on cold ice cream; work in small batches.
- Create your own cone holder from a sturdy box to keep cones upright during freezing.
When is the best time to eat Chocolate Dipped Ice Cream Cones?
The best time is whenever you crave a refreshing, crunchy, and creamy treat, especially on warm days. They’re perfect for summer afternoons, poolside relaxation, or as a festive dessert to impress guests at a gathering.
Can I prepare chocolate-dipped cones in advance?
Yes, you can prepare the chocolate-coated cones ahead and freeze them. Fill and dip the ice cream just before serving to maintain the best texture and prevent premature melting.
What toppings work best with chocolate-dipped cones?
Chopped nuts, toasted coconut, crushed cookies, sprinkles, or freeze-dried fruit all add texture and flavor contrast. Choose toppings that complement your ice cream flavor to balance sweetness and crunch.
Can I make this recipe vegan or dairy-free?
Absolutely. Use dairy-free chocolate, coconut oil, and vegan ice cream alternatives made from almond, coconut, or oat milk. Choose vegan-friendly cones and toppings to keep it fully plant-based.
How can I prevent cones from becoming soggy?
The chocolate lining acts as a moisture barrier, keeping the cone crisp. Make sure to coat the interiors well and allow the chocolate to set fully before adding ice cream.
Is coconut oil necessary for the chocolate shell?
Coconut oil helps the chocolate harden quickly and gives it a shiny finish. Vegetable shortening works as a neutral substitute if you prefer to avoid coconut flavors.
Can I use homemade ice cream for this recipe?
Yes, homemade ice cream works beautifully. If you want to try making ice cream from scratch, check out our guide on how to make ice cream without ice cream maker and condensed milk for simple methods.
What should I do if the chocolate starts to harden during dipping?
Reheat the chocolate gently in short 10-second bursts in the microwave, stirring well between each burst to restore a smooth, dippable consistency.
More Recipes You Will Love
Once you’ve mastered chocolate-dipped ice cream cones, why not explore other creative desserts? Try how to make a campfire cake for a fun, rustic treat perfect for cozy nights. For those eager to experiment with frozen desserts, our detailed guide on how to make ice cream without ice cream maker and condensed milk expands your homemade ice cream repertoire.
Conclusion
Chocolate-dipped ice cream cones blend crunchy texture with creamy, cold delight, making them a timeless favorite. With simple ingredients and straightforward techniques, your homemade cones can rival any ice cream truck favorite. Experiment with toppings and flavors to create your perfect version. If you try this recipe, share your experience or variations in the comments – your feedback helps others enjoy this frozen dessert treat even more.
FAQs
When is the best time to eat Chocolate Dipped Ice Cream Cones?
Chocolate Dipped Ice Cream Cones are perfect any time you crave a refreshing sweet treat. They’re especially enjoyable on warm days, at parties, or as a fun dessert after meals. Their crispy chocolate shell and creamy ice cream create a satisfying experience whenever you want a delightful indulgence.
Can I use different types of chocolate for dipping the cones?
Yes, you can use semisweet, dark, or milk chocolate depending on your preference. Semisweet or dark chocolate provides a richer, less sweet flavor, while milk chocolate is creamier and sweeter. Choose high-quality chocolate for best results and a smooth, glossy coating.
How should I store Chocolate Dipped Ice Cream Cones if I want to prepare them in advance?
Prepare and coat the cones with chocolate, then freeze them upright in a sturdy cone holder. Once hardened, add ice cream just before serving for best texture. Store fully assembled cones in the freezer covered loosely to prevent frost but enjoy within a day or two for optimal freshness.
Are there gluten-free options for making Chocolate Dipped Ice Cream Cones?
Yes, gluten-free sugar cones are widely available and work perfectly for this recipe. Be sure to check all toppings and ice cream ingredients for gluten content if dietary restrictions are a concern, ensuring a safe and enjoyable treat for gluten-sensitive individuals.
What toppings work best with Chocolate Dipped Ice Cream Cones?
Chopped nuts, toasted coconut flakes, sprinkles, or crushed cookies add texture and flavor. For allergy concerns, try freeze-dried fruit pieces or crushed cereal flakes. Choose toppings that complement your ice cream flavor and chocolate coating for a personalized and delicious dessert.