Why Choose a Birthday Cake Freezer Kit?
There’s something magical about a birthday cake that’s both decadent and conveniently ready to assemble. The Birthday Cake Freezer Kit offers a clever way to enjoy a moist, rich chocolate layer cake topped with creamy buttercream and colorful sprinkles—all prepared ahead of time. Imagine the aroma of freshly baked chocolate wafting from your oven, followed by the smooth spread of luscious frosting, ready to be layered whenever the celebration begins. This freezer-friendly kit lets you create a show-stopping dessert without last-minute rush, making birthdays stress-free and delicious.
Health Benefits & Nutrition
While a birthday cake is an indulgent treat, understanding its nutritional impact helps in balancing enjoyment with wellness. This cake provides an energy-dense source with high-calorie content from fats and sugars. The butter supplies saturated fat and cholesterol, important to monitor for heart health (American Heart Association). Cocoa powder contributes antioxidants called flavonoids, linked with improved cardiovascular health in studies by the Harvard School of Public Health. Additionally, eggs enrich the cake with protein and essential vitamins like B12.
Keep in mind that this dessert is best enjoyed in moderation, particularly if you have conditions like diabetes or cholesterol concerns. If you have food allergies, watch for dairy, eggs, and gluten. Pregnant individuals should consume sugary treats mindfully and ensure all ingredients are properly handled for safety.
Ingredients & Preparation
Recipe Card
| Prep Time | 40 minutes |
|---|---|
| Total Time | 4 hours 55 minutes (including cooling & thawing) |
| Servings | 12 to 16 |
| Calories | 967 per serving |
| Diet Tags | Contains gluten, dairy, eggs, and nuts (optional) |
Full Ingredient List
- Nonstick baking spray
- 2 cups all-purpose flour
- 2 cups granulated sugar
- 1/4 teaspoon kosher salt
- 2 sticks salted butter
- 4 heaping tablespoons cocoa powder
- 1/2 cup buttermilk
- 1 teaspoon baking soda
- 1 teaspoon vanilla extract
- 2 large eggs, beaten
- 2 pounds powdered sugar (sifted)
- 1 pound salted butter (softened)
- 1 cup sprinkles
- 1 cup caramel syrup
- 1 cup chocolate syrup
Equipment Needed
- Large mixing bowls
- Electric mixer with paddle or blade attachment
- Sheet pan (approximately 9x13 inches)
- Parchment paper
- Measuring cups and spoons
- Resealable plastic bags
- Spatulas and whisk
- Plastic wrap
Tips for Choosing Quality Ingredients
For the best birthday cake, select fresh, high-quality cocoa powder that packs rich chocolate flavor. Use real buttermilk for moisture and tanginess—if unavailable, mix 1/2 cup milk with 1/2 teaspoon white vinegar as a substitute. Choose unsalted butter to control salt levels, and always check the expiration dates on baking soda and powders to ensure proper leavening. Opt for real vanilla extract, not imitation, for deeper aroma. When picking sprinkles, choose vibrant, allergen-safe options if needed to suit your guests.
Step-by-Step Instructions
Step 1: Prepare and Bake Cake (20 minutes at 350°F)
Preheat your oven to 350 degrees Fahrenheit. Line your sheet pan with parchment paper, then spray it generously with nonstick baking spray. In a large bowl, whisk together the flour, granulated sugar, and kosher salt until evenly combined.
Bring 1 cup of water to a boil. In a saucepan, melt the butter over medium heat. Stir in the cocoa powder until smooth, then carefully add the boiling water. Stir and allow the mixture to come to a gentle boil for 30 seconds before removing it from heat.
Pour this warm cocoa mixture over the dry ingredients. Stir lightly to cool the mixture slightly.
Step 2: Mix Wet Ingredients and Combine (5 minutes)
In a separate container, whisk buttermilk, baking soda, vanilla extract, and beaten eggs together. Add this wet mixture to the cooled chocolate batter. Stir gently but thoroughly until you have a smooth, velvety batter.
Step 3: Bake and Cool (20 minutes baking + cooling time)
Pour the batter into the prepared pan, spreading evenly. Bake for 20 minutes or until a toothpick inserted in the center comes out clean. Remove from oven and let the cake cool completely in the pan on a wire rack.
Step 4: Prepare Buttercream Frosting (approx. 10 minutes)
While the cake cools, combine the sifted powdered sugar, softened butter, and vanilla extract in the bowl of your electric mixer. Beat on medium-low speed for about 3 minutes, or until the frosting is light, creamy, and fluffy.
Transfer the frosting to a large resealable plastic bag. Flatten the bag as much as possible and place it on a tray or flat surface.
Step 5: Assemble and Freeze Cake Kit (approx. 10 minutes prep)
Once cooled, cut the cake into four even rectangles. Wrap each piece tightly in plastic wrap. Place the wrapped cake layers alongside the flattened bag of frosting on a tray. Include separate small resealable bags filled with sprinkles, caramel syrup, and chocolate syrup.
Freeze the entire kit for up to one month, ready to thaw and assemble as needed.
Step 6: Thaw and Assemble (2 to 3 hours thawing)
Remove the kit from the freezer and let it thaw for 2 to 3 hours at room temperature. Lay out the layers, then spread buttercream generously between each. Drizzle caramel and chocolate syrup on the layers for extra flavor. Cover the cake fully with remaining frosting and decorate with sprinkles for a festive finish.
Variations & Substitutions
- Gluten-Free Version: Replace all-purpose flour with a 1:1 gluten-free baking flour blend. Ensure baking powder is gluten-free and check sprinkles for gluten ingredients.
- Dairy-Free Buttercream: Use vegan butter and powdered sugar for frosting. Substitute buttermilk with almond or oat milk mixed with 1/2 teaspoon lemon juice for acidity.
- Flavor Twist: Swap cocoa powder for equal amounts of ground espresso powder to create a mocha birthday cake kit, enhancing the rich chocolate flavor with coffee notes.
- Nutty Crunch: Add 1/2 cup finely chopped toasted nuts like pecans or walnuts between the cake layers for texture and earthy flavor.
Storage & Shelf Life
Refrigeration: If you plan to use the cake kit soon, it will keep well in the refrigerator for 3 to 4 days once thawed. Keep it tightly wrapped to prevent drying out.
Freezing: This kit is designed for freezing and will last up to 1 month when stored properly. Wrap each cake layer and frosting separately in airtight containers or plastic wrap.
Signs of Spoilage: Watch for off smells, discoloration, or mold on cake or frosting. Buttercream that becomes grainy or separated is a sign it may have spoiled.
Pro Tips for Perfect Birthday Cake Freezer Kit
- For an extra moist cake, do not overmix the batter; mix just until ingredients are combined to avoid gluten development that toughens cakes.
- Use room temperature eggs and butter for better emulsification and smoother batter.
- When frosting, use an offset spatula to spread buttercream evenly without tearing the cake layers.
- To keep your frosting bright and creamy after freezing, whip it again briefly before assembling to revive texture.
- Prevent frosting stains on your fingers by working with a piping bag or plastic bag for controlled application.
When is the best time to eat Birthday Cake Freezer Kit?
The Birthday Cake Freezer Kit is best enjoyed within 2 to 3 hours after thawing when the layers are soft and the frosting is creamy. This allows the flavors to fully meld and provides the ideal texture for slicing and serving. If you prefer, you can assemble the layers slightly chilled to keep the cake firmer for transport.
Can I freeze the assembled cake after decorating?
It’s possible but not recommended, as freezing an assembled frosted cake can cause the buttercream to lose its smooth texture and the sprinkles may fade. Freezing the kit components separately ensures optimal freshness and presentation.
Can I use this recipe for cupcakes instead?
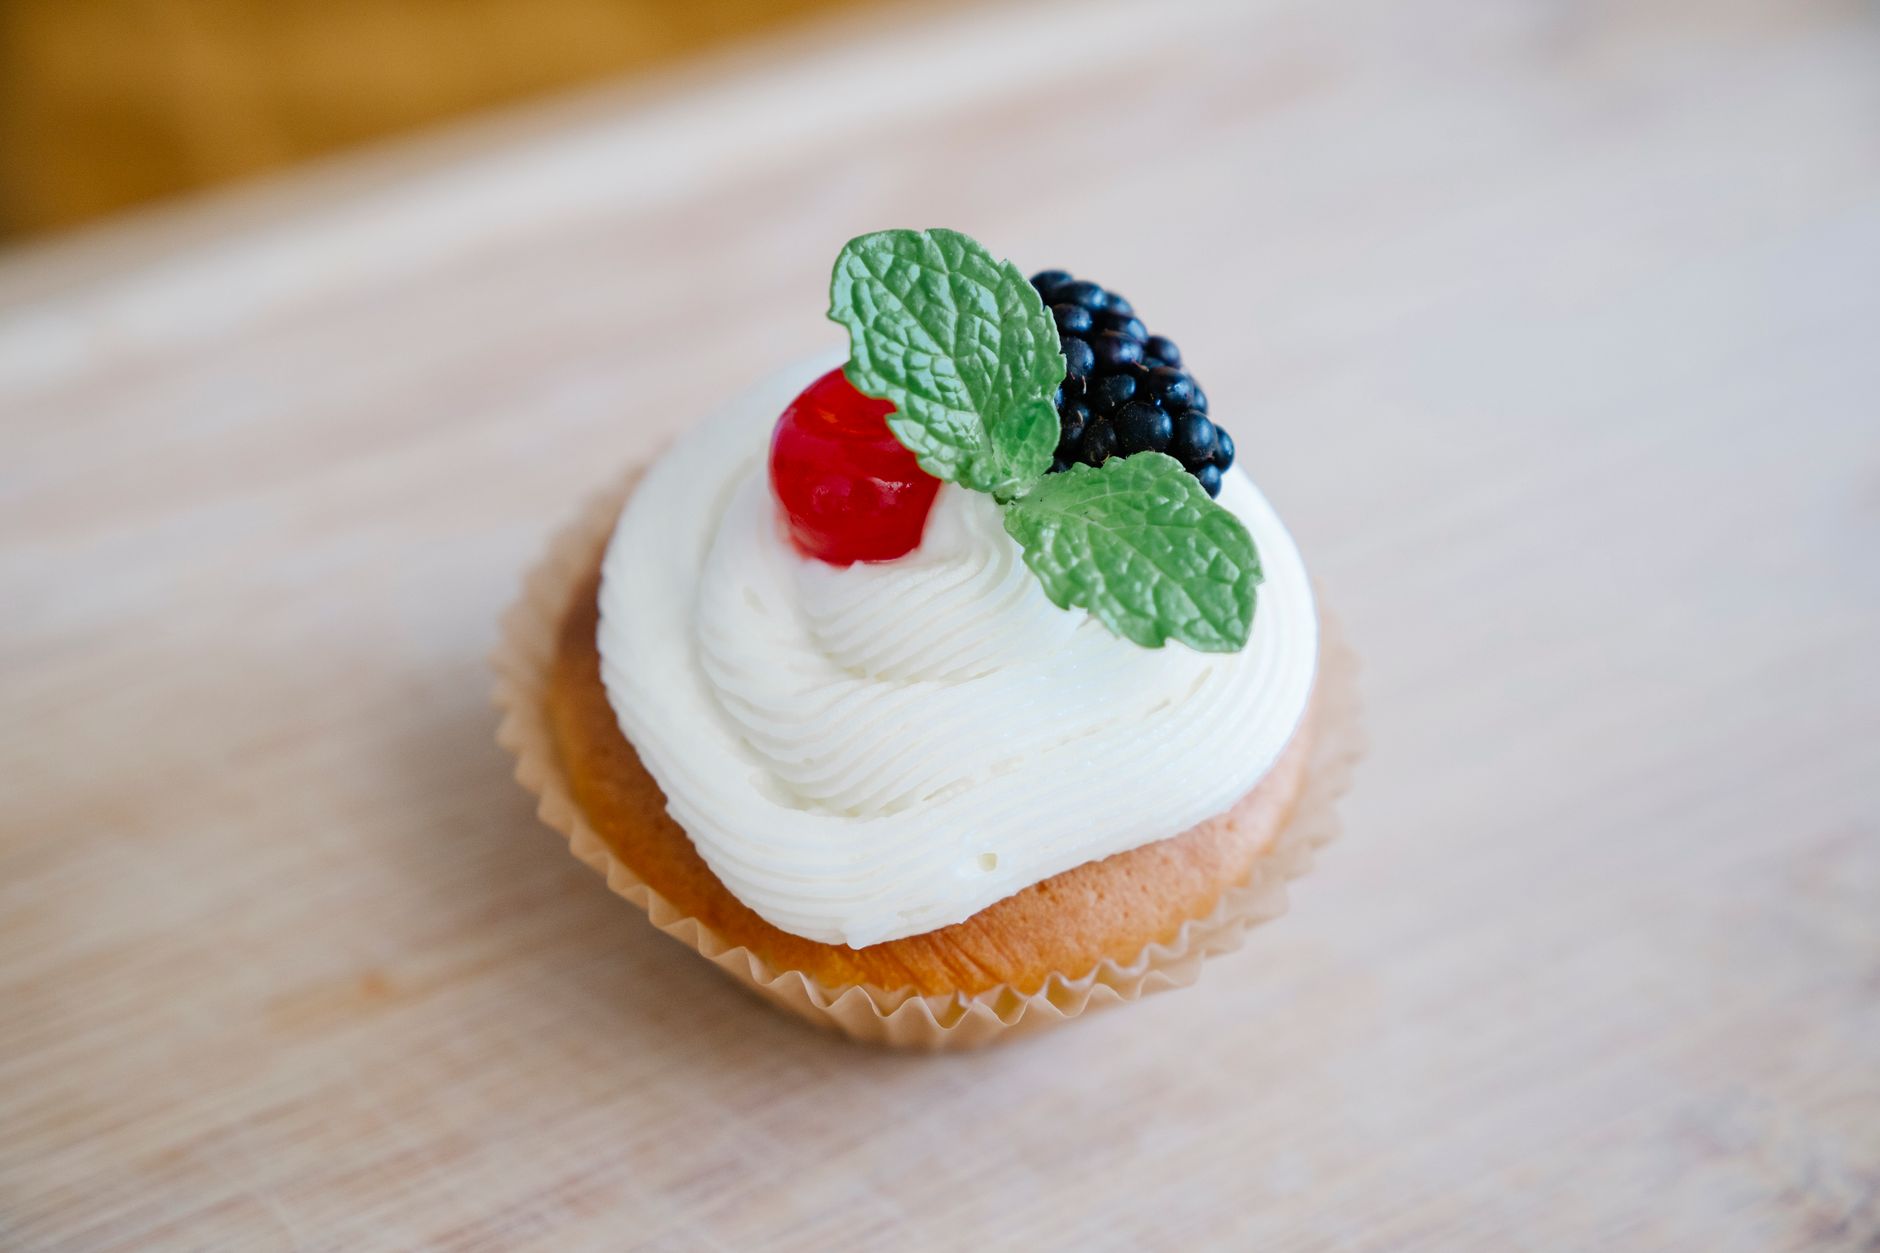
Yes! This batter works wonderfully for cupcakes. Simply fill muffin tins two-thirds full and bake at 350°F for about 18-20 minutes. Adjust frosting amounts as needed and decorate with sprinkles for festive treats.
Is the cake suitable for dietary restrictions?
This cake contains gluten, dairy, and eggs. However, it can be adapted to gluten-free or dairy-free versions using suitable substitutes. For vegan adaptations, replace eggs with flax eggs and use dairy-free buttermilk alternatives.
How long can I keep the buttercream frosting at room temperature?
Buttercream can safely remain at room temperature for up to 2 hours during serving. For longer times, keep it refrigerated to avoid spoilage.
What are some good decorations besides sprinkles?
Consider edible flowers, chocolate shavings, fresh berries, or colored sugar crystals. These options add personality and texture without overpowering the cake’s rich flavor.
Can I make this birthday cake kit ahead of a party?
Absolutely, the whole purpose of this freezer kit is to prepare in advance. Freeze it up to a month and assemble on the day of your event for hassle-free celebration.
More Recipes You Will Love
If you like the idea of make-ahead frozen desserts, you’ll enjoy the refreshing Frozen watermelon pops with dipping prosecco. This treat is perfect for warm-weather occasions and is easy to prepare ahead.
For a lush yet simple dessert, try the Jamie oliver cheesecake 5 ingredients, a creamy delight you can whip up quickly with few ingredients. It complements birthdays beautifully.

Conclusion
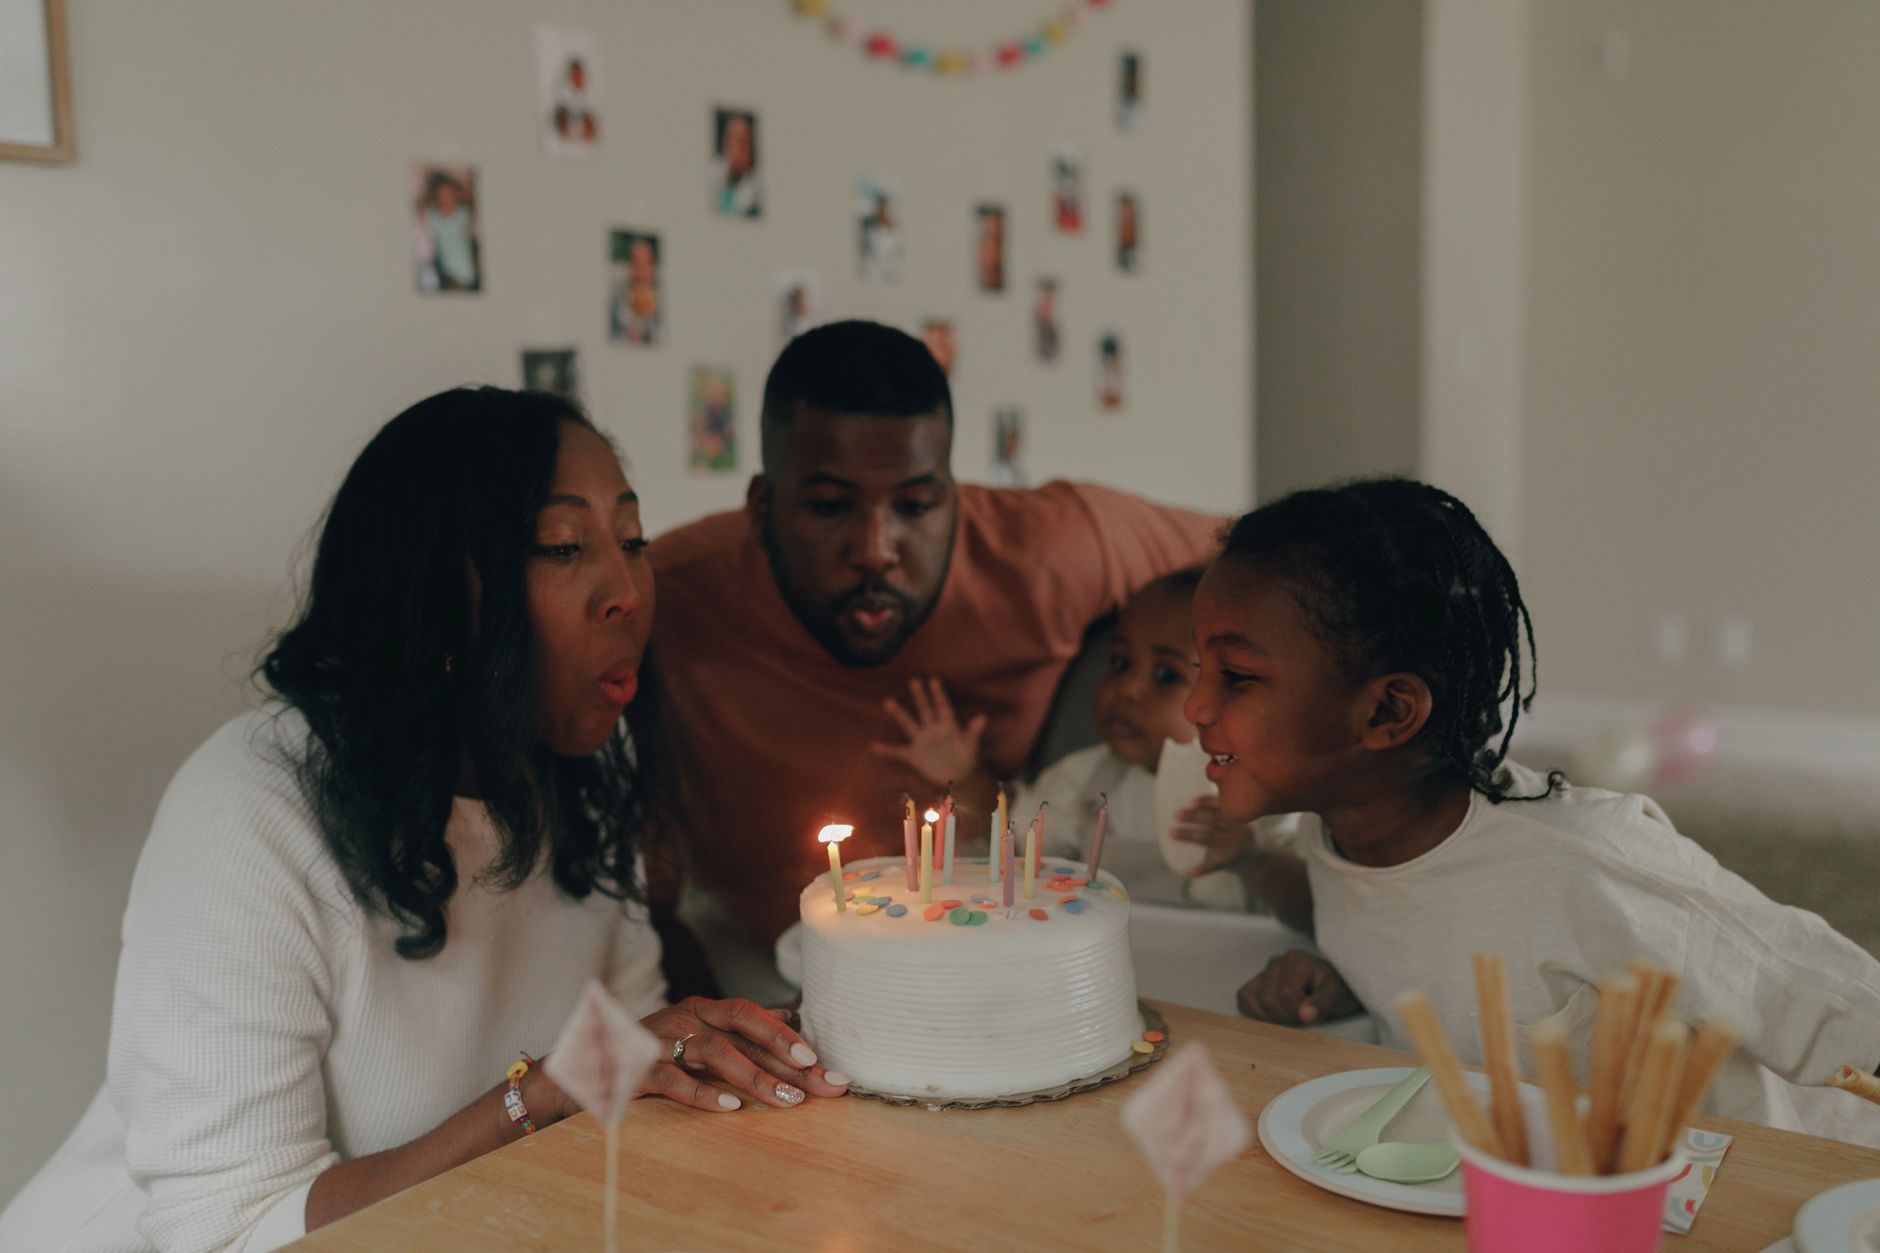
The Birthday Cake Freezer Kit is a game-changer for anyone who cherishes convenient, delicious celebrations. It allows you to prepare moist chocolate layers and luscious buttercream in advance, so you can enjoy stress-free birthday moments. With vibrant sprinkles and sweet syrup drizzles, this dessert brings joy and indulgence to your table. Try this kit for your next party, and don’t forget to share your decorating tips or flavor twists in the comments below!
FAQs
When is the best time to eat Birthday Cake Freezer Kit?
The best time to enjoy the Birthday Cake Freezer Kit is during birthday celebrations or special occasions when you want a convenient, delicious dessert ready to serve. It’s perfect after thawing the frozen layers and assembling, ensuring fresh taste with minimal effort.
Can I prepare the Birthday Cake Freezer Kit in advance?
Yes, this kit is specifically designed to be made ahead of time. You can bake and freeze the cake layers and prepare the frosting in advance, then assemble the cake just before serving to save time and reduce party day stress.
How should I store the Birthday Cake Freezer Kit?
Store the baked and cooled cake layers wrapped tightly in plastic wrap and placed in resealable plastic bags before freezing. Keep the frosting and sprinkles refrigerated separately. Thaw layers in the fridge overnight before assembling for best results.
Is the Birthday Cake Freezer Kit suitable for people with allergies?
This recipe contains common allergens like gluten, dairy, eggs, and optionally nuts. People with allergies should check ingredient labels carefully or consider substitutions to accommodate dietary restrictions safely.
What equipment do I need to make the Birthday Cake Freezer Kit?
You will need standard baking equipment such as mixing bowls, an electric mixer, sheet pans, parchment paper, measuring tools, spatulas, whisk, plastic wrap, and resealable bags for freezing. These tools help prepare and store the components effectively.