Why Tuna Melt Bread Boxes Are Worth Making
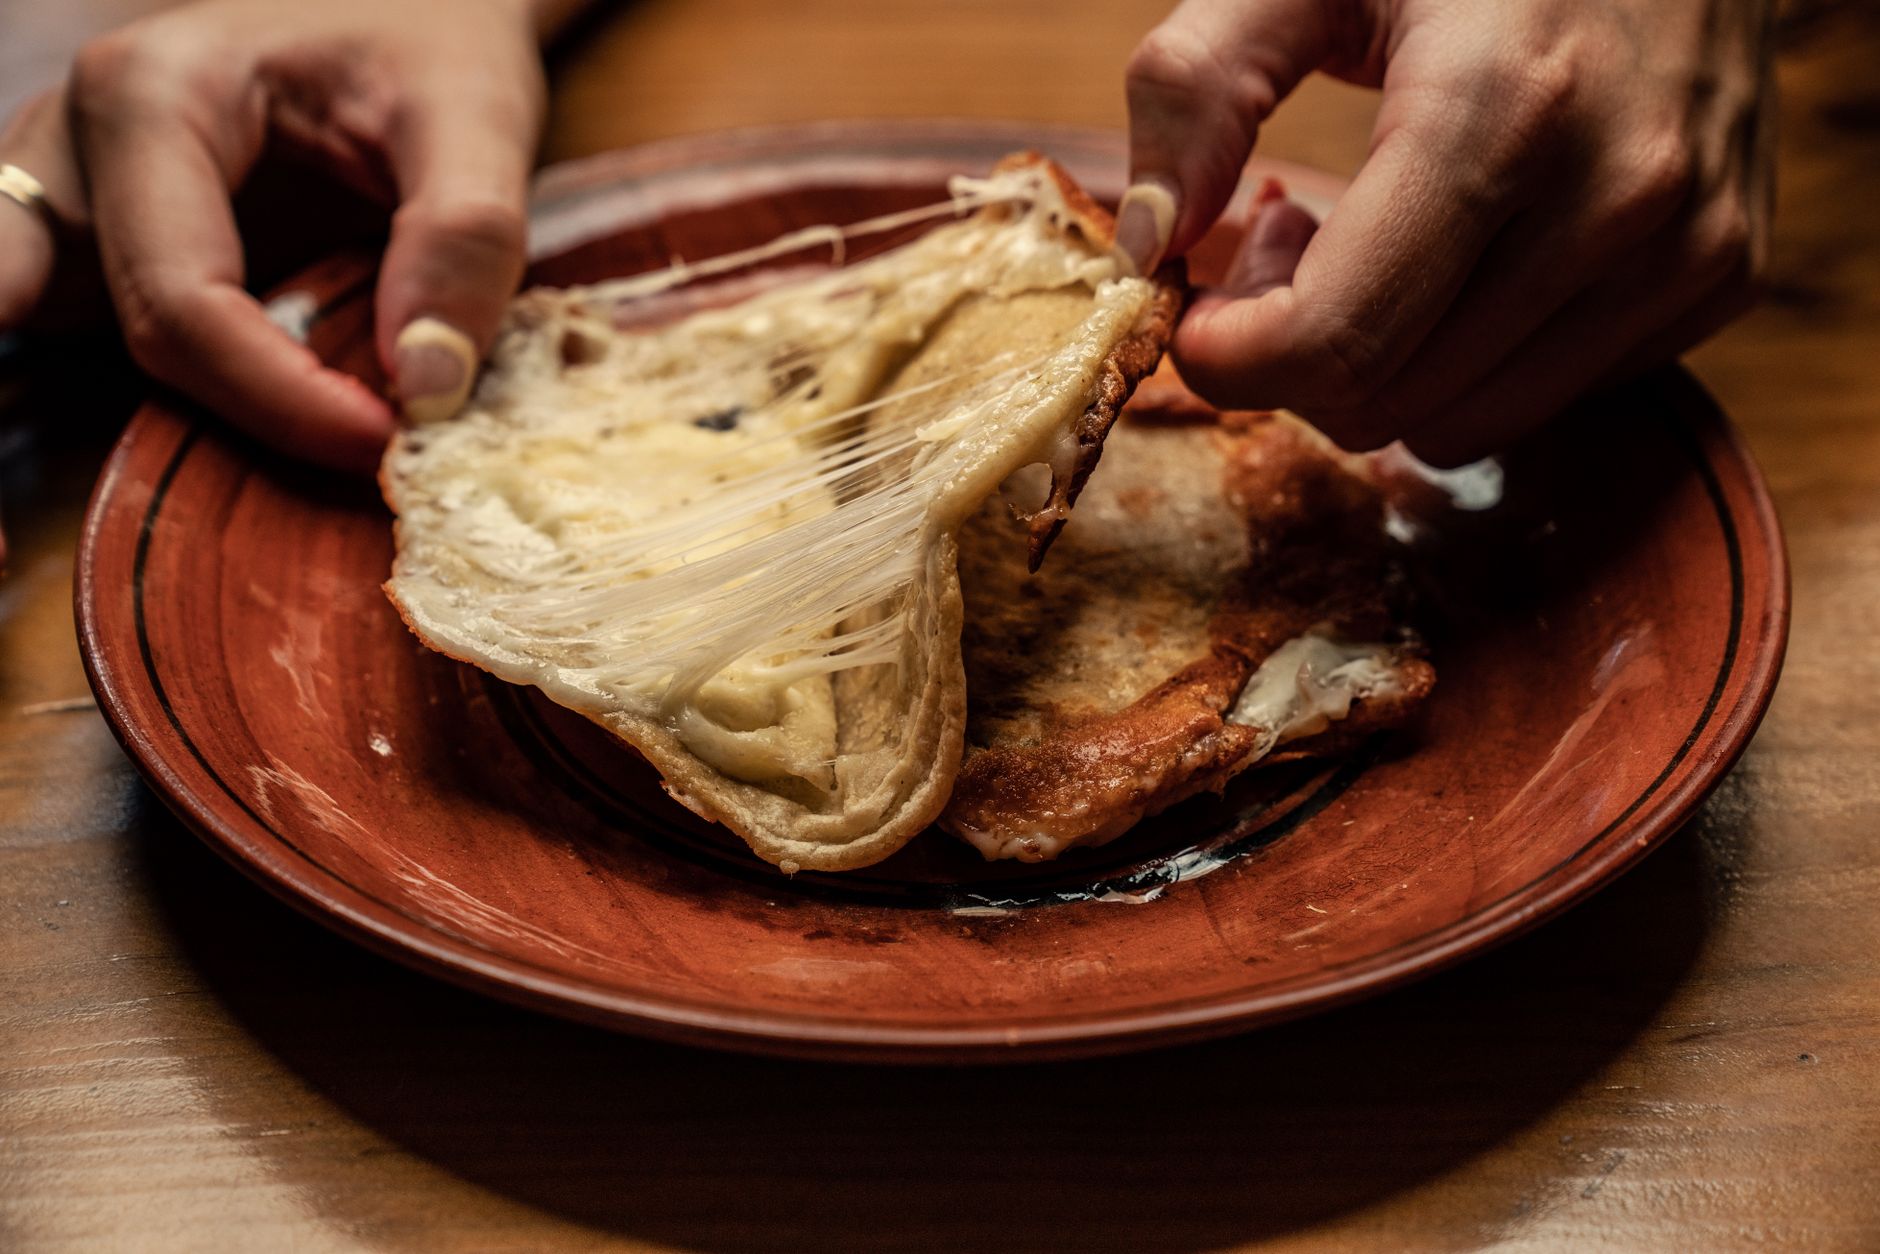
The first time I pulled one of these out of the oven, the cheese had melted down into the bread and the potato chips on the bottom had turned golden and crackly. The whole kitchen smelled like a diner grill.
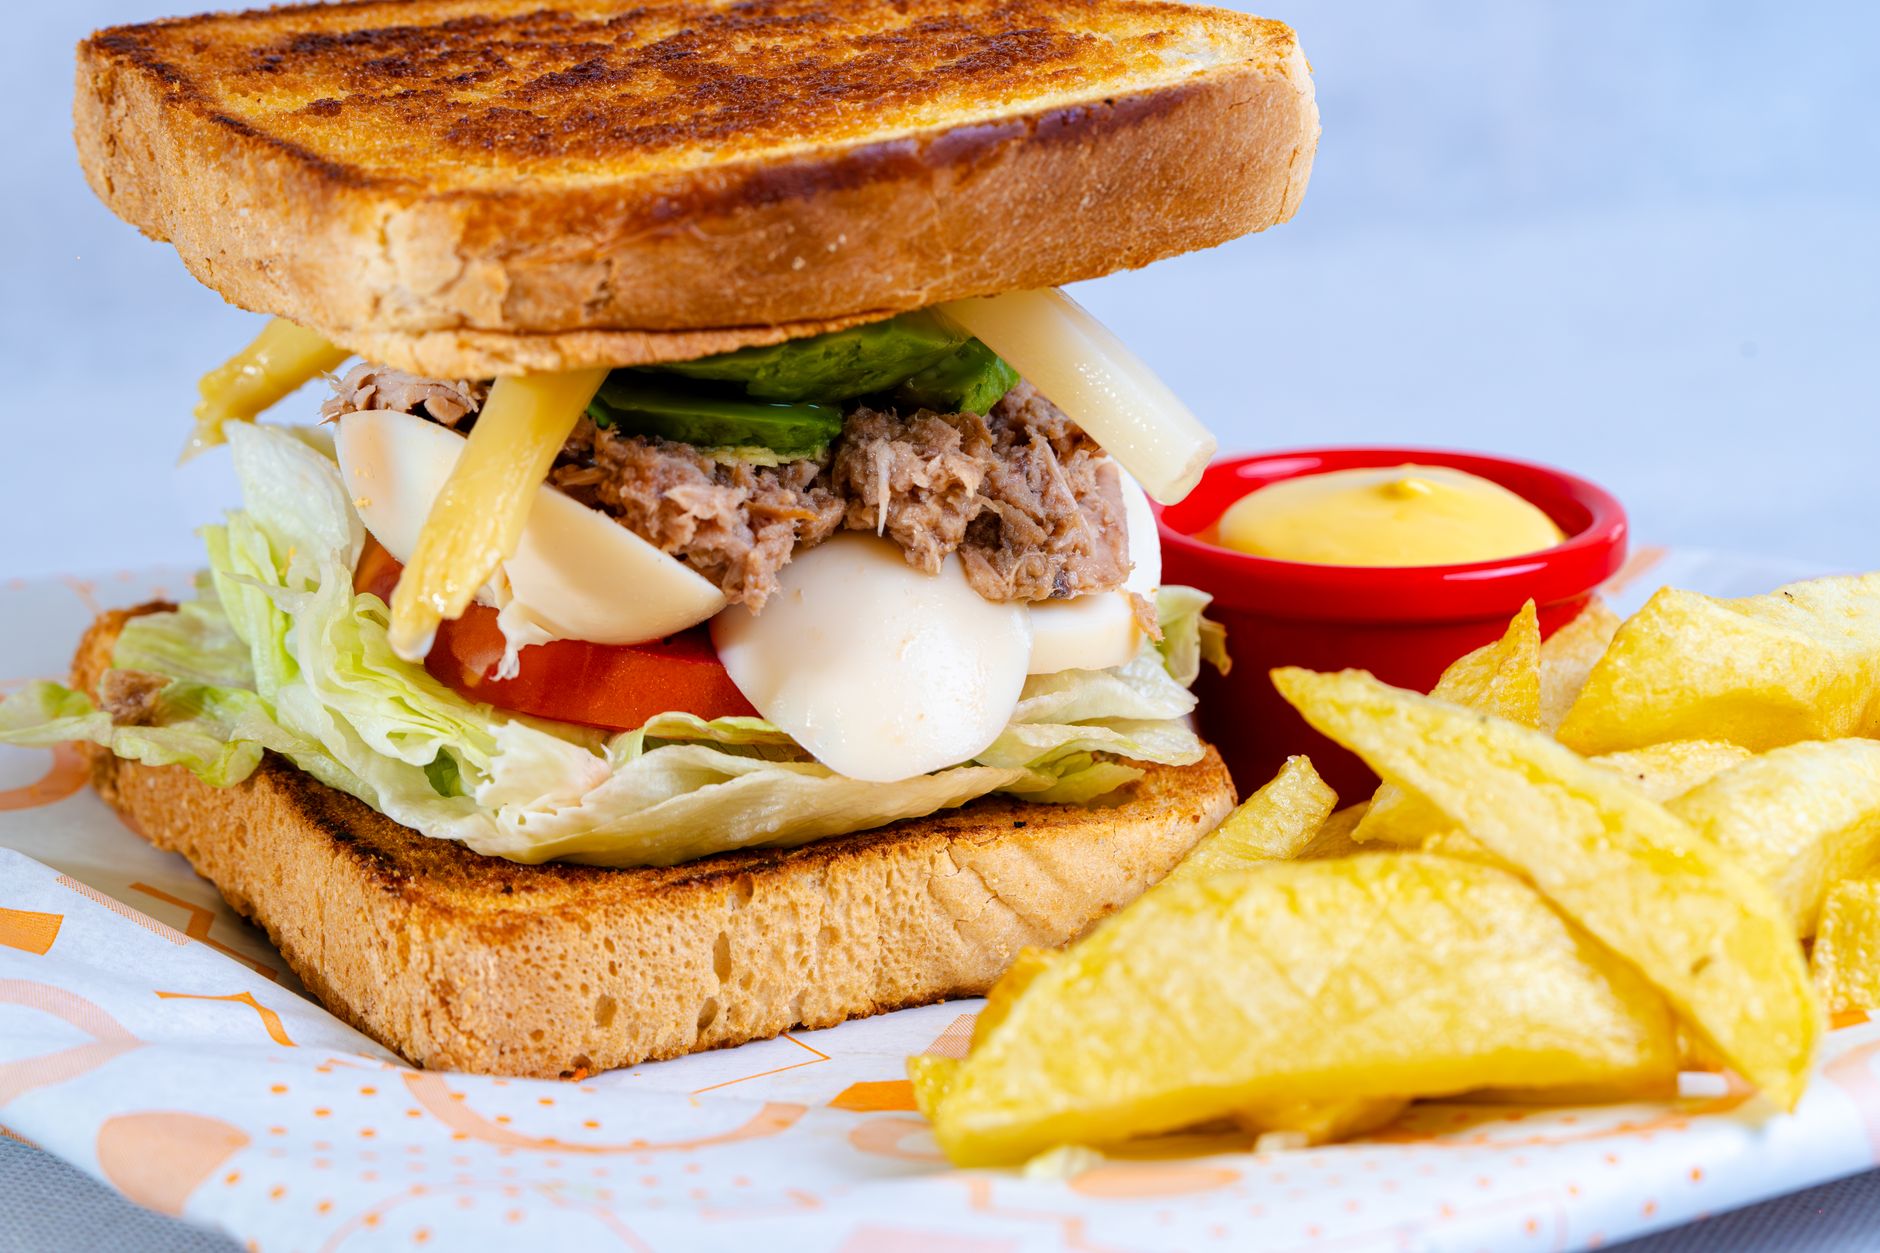
Tuna melt bread boxes are a lunch made by hollowing out thick slices of white bread and filling them with tuna salad, American cheese, pickles and tomato. The bread is brushed with butter, lined with crushed potato chips and toasted before filling, then baked until the cheese melts. Four servings take about 35 minutes from start to finish.
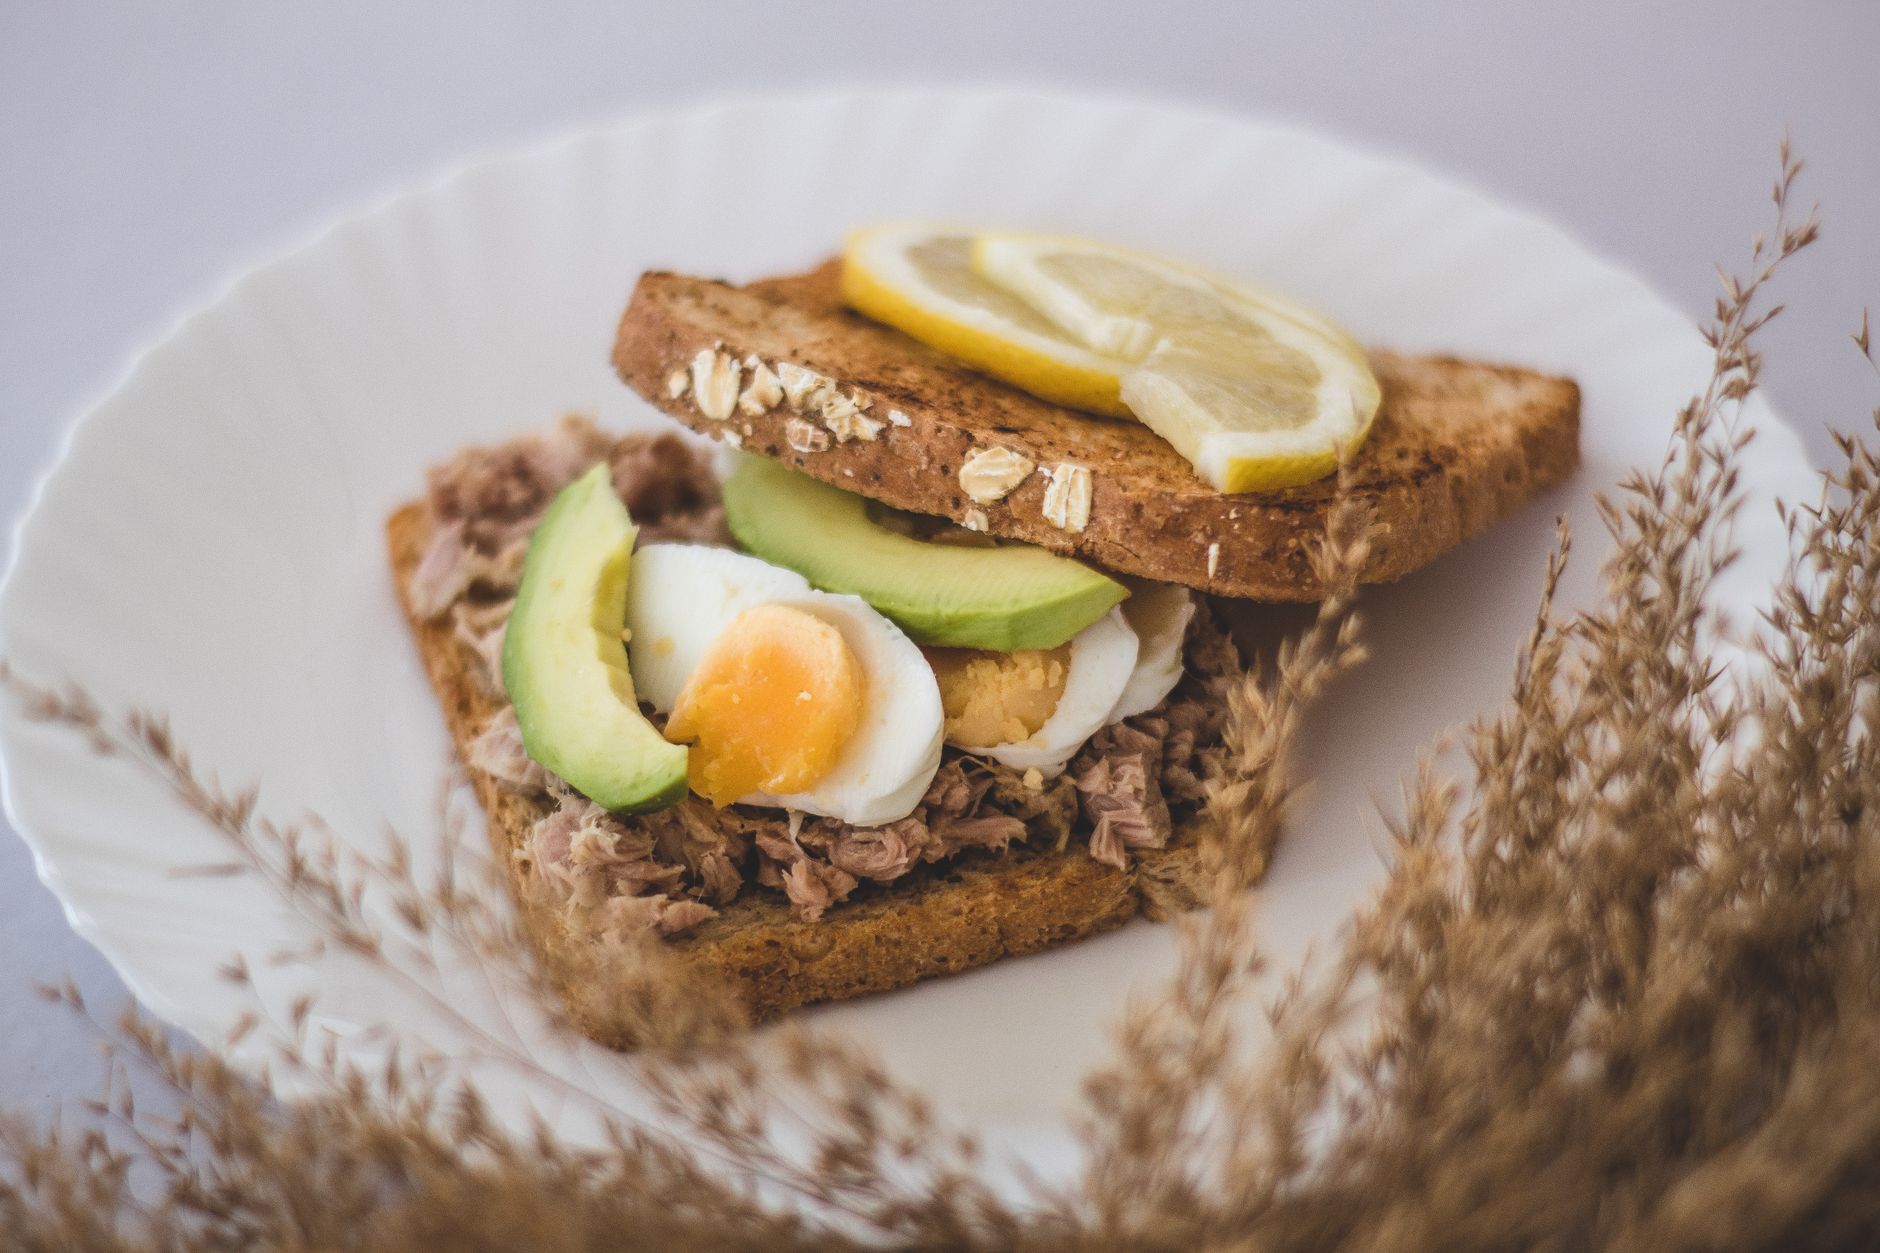
Think of it as a classic tuna melt turned into a edible bowl. You get toasty, buttery bread on the outside and creamy, tangy tuna salad inside. The pickle and tomato keep every bite lively, so it works for a weekend lunch or a casual dinner.
Health Benefits and Nutrition
This is a rich, filling lunch, and it has some useful nutrients alongside the indulgence. Tuna and American cheese both bring protein, which helps a meal keep you satisfied for longer. Protein also supports normal muscle repair and daily body functions.
Canned tuna contains omega-3 fatty acids, though the amount depends on the type of fish. Light tuna generally has less than albacore. Cheese adds calcium, and celery, tomato and sprouts contribute small amounts of vitamins, minerals and fiber.
The main thing to watch is sodium and saturated fat. The recipe‘s published nutrition estimate is roughly 1,050 calories, about 66 g of fat and about 1,950 mg of sodium per serving. Those figures are approximate and will shift with brands, portion sizes and how much hot sauce or salt you add. If you manage blood pressure or follow a low-sodium plan, please check with your doctor or a registered dietitian before eating this regularly.
This recipe contains fish, milk, egg (in the mayonnaise), and wheat. Anyone with an allergy to these ingredients should skip it. If you are pregnant or breastfeeding, ask your healthcare provider how much canned tuna fits your personal guidelines.
Ingredients and Preparation
Recipe Card
| Prep time | Cook time | Total time | Servings | Calories (approx) | Diet tags |
|---|---|---|---|---|---|
| 20 minutes | 15 minutes | 35 minutes | 4 | About 1,050 per serving | High protein; contains dairy, egg, fish, wheat |
Full Ingredient List
- 1 loaf unsliced white bread (preferably Pullman), at least 12 inches long
- 6 tablespoons unsalted butter, cubed
- Kosher salt (a large pinch, plus more to taste)
- 1 1/3 cups kettle-style potato chips
- 12 slices American cheese
- 1/2 cup mayonnaise
- 2 tablespoons Dijon mustard
- 3 stalks celery, cut into small dice (about 1 heaping cup)
- 1 large shallot, finely chopped (about 1/3 cup)
- Hot sauce, as needed
- Four 5-ounce cans tuna in water, well drained
- 1 dill pickle, drained, cut into 16 slices and patted dry
- 4 thin slices beefsteak tomato
- 1 cup sprouts, optional
Equipment Needed
You will need a long serrated bread knife, a small paring knife or fork for hollowing, a small microwave-safe bowl, a medium mixing bowl, a pastry brush, a rimmed baking sheet and parchment paper. A cutting board and a stack of paper towels will save you a lot of cleanup.
Tips for Choosing Quality Ingredients
Look for a sturdy, square loaf of Pullman or sandwich bread with a tight crumb. Soft, airy loaves collapse when you hollow them out. Kettle-style chips hold their crunch better than thin, delicate chips, which turn soft under the tuna salad.
Buy tuna packed in water if you want a lighter, cleaner flavor. Tuna packed in oil is richer, but you will need to drain it very well. For cheese, deli-sliced American melts more smoothly than the individually wrapped slices, which can feel rubbery when baked.
Step-by-Step Instructions
Step 1: Shape the Bread Boxes
Set an oven rack in the center of the oven and preheat to 375 degrees F. Trim 1/4 inch from one end of the loaf and enough from the other end to make a 12-inch loaf, then cut it crosswise into 4 even pieces. Use a fork to score one cut end of each piece, then dig a square hole into each, leaving a 1/2-inch layer of bread on the walls and bottom.
The first time I made these, I pressed too hard and punched through the bottom of two boxes. Go slowly and scrape out the crumbs in small bites. Your walls should feel firm when you press them, not paper-thin.
Step 2: Butter and Add the First Layer
Microwave the butter and a large pinch of salt in a small microwave-safe bowl until melted, about 1 minute. Brush the bread boxes inside and out with the melted butter. Put 1/3 cup of the potato chips and 1 slice of American cheese in the bottom of each box, set open-side up on a baking sheet, and bake about 10 minutes until the cheese melts and the inside of the bread is lightly browned and crispy in parts.
You are done when the bread inside turns the colour of pale toast and the cheese looks glossy and bubbling. If the chips smell sharp or dark, pull the boxes out a minute early. I once let them go too long, and the chips tasted bitter under the creamy filling.

Step 3: Make the Tuna Salad
Stir together the mayonnaise, Dijon mustard, celery, shallot, some hot sauce and a large pinch of salt in a medium bowl until combined. Fold in the well-drained tuna, then taste and add more salt or hot sauce if needed.
Drain the tuna longer than you think you need to. Press it against the side of the can with a fork, then blot it with a paper towel. Wet tuna turns the salad soupy and makes the bread soggy within minutes.
Step 4: Fill the Boxes
Fill each bread box in this order: 1/2 cup of the tuna salad, 4 pickle slices, another 1/2 cup of the tuna salad, 1 slice of tomato and 2 additional slices of American cheese. Return the boxes to the oven and bake about 5 minutes until the cheese is melted.
Pat the pickle slices dry before layering them. Damp pickles leak liquid into the filling and make the bottom layer slide. Layering in this exact order keeps the tomato from sitting in the cheese and sliding out when you pick the box up.
Step 5: Finish and Serve
Top each box with sprouts if using, and serve warm while the bread is still crisp.
Lift the boxes with a wide spatula, since the filling is heavy. Let them rest on the baking sheet for one minute before serving so the cheese sets slightly and does not run all over the plate.
Variations and Substitutions
Once you have the basic method down, the filling is easy to change. Keep the bread and butter steps the same so the boxes still crisp properly. The swaps below are ones I have tested in my own kitchen.

- Swap the cheese: Use provolone or Swiss in place of American, one slice for one slice. Provolone melts nicely. Swiss adds a nutty note and pairs well with the mustard.
- Use canned salmon: Replace the tuna with the same weight of drained canned salmon, flaked and checked for bones. It gives a richer, slightly sweeter filling.
- Lighten the mayo: Swap half of the mayonnaise for plain Greek yogurt, using 1/4 cup mayonnaise and 1/4 cup yogurt. The salad stays creamy, but it will be a little tangier and less rich.
- Make a meatless version: Mash about 1 1/2 cups of drained chickpeas with a fork in place of the tuna. Keep the celery, shallot and mustard so the flavour stays familiar. Mashed chickpeas do not melt the same way, so the texture is softer.
I tried a gluten-free sliced loaf once, and it fell apart as soon as I hollowed it. Sandwich bread without a firm crumb cannot hold a box shape. If you need gluten-free options, look for a sturdy, dense loaf and test one box before making all four.
Storage and Shelf Life
Store leftover bread boxes in an airtight container in the refrigerator for up to 2 days. Keep the tuna salad and bread separate if you can, since the bread softens quickly once it touches the filling. Refrigerate leftovers within 2 hours of cooking.
To reheat, place the boxes open-side up on a baking sheet and warm them in a 350 degree F oven for about 10 minutes until hot through and the cheese is soft again. A microwave works in a pinch, but the bread will turn chewy rather than crisp.
Freezing is not recommended. Mayonnaise-based tuna salad separates when thawed, and the bread turns soggy and crumbly. Instead, make the tuna salad ahead and keep it chilled for up to 2 days, then assemble and bake just before serving.
Throw out any leftovers that smell sour, look slimy, or show any signs of mold. If the tuna salad has an off smell or the cheese has changed colour, do not taste it to check.
Pro Tips for Better Bread Boxes
Line your baking sheet with parchment paper. Butter and melted cheese run over the edges as the boxes bake, and parchment makes cleanup far easier than scrubbing a stuck sheet.
Save the bread crumbs you scoop out of each box. Dry them in a low oven, then blitz them into breadcrumbs for coating chicken or topping a casserole. Nothing needs to go to waste.
Season in stages. Taste the tuna salad before you fill the boxes, because the cheese and pickles add salt as the dish bakes. A small squeeze of extra mustard or a few more drops of hot sauce can lift a flat-tasting batch quickly.
For a crisper base, press the potato chips down gently with the back of a spoon before adding the cheese. This packs them into an even layer and gives you more crunch in every bite.
Questions and Answers
When is the best time to eat Tuna Melt Bread Boxes?
The best time to eat tuna melt bread boxes is right after baking, while the bread is still crisp and the cheese is stretchy. Aim to serve them within 15 minutes of coming out of the oven. Once they cool, the bread softens and the chips lose their crunch, though the flavour still holds up well.
Can I make tuna melt bread boxes ahead of time?
Yes, but do the work in stages. Make the tuna salad up to 2 days ahead and keep it covered in the refrigerator. You can also hollow the bread a few hours in advance and keep it wrapped at room temperature. Butter, fill and bake just before serving so the bread stays crisp.
What is the best bread to use for tuna melt bread boxes?
A firm, unsliced white loaf such as Pullman works best. It holds its shape when hollowed and crisps evenly in the oven. Soft sandwich bread collapses under the filling, and dense artisan loaves can be too tough to bite through cleanly.
Can I make tuna melt bread boxes in an air fryer?
You can, but you will need to work in batches and watch the bread closely. Air-fry the buttered boxes at 350 degrees F for about 5 minutes, then add the filling and cook until the cheese melts. Check often, since the bread can darken quickly in a small basket.
Is canned tuna safe to eat often?
Canned tuna is a common, affordable source of protein for many people. How often you should eat it depends on the type of tuna and your personal health needs. If you are pregnant, breastfeeding, or feeding a young child, talk to your doctor or a dietitian about how much fish fits your situation.
How do I keep the bread from getting soggy?
Drain the tuna well, pat the pickles dry, and bake the boxes open-side up before filling them. Buttering the inside creates a moisture barrier that helps the bread stay crisp. Serve the boxes as soon as they come out of the oven for the best texture.
Can I freeze leftover tuna melt bread boxes?
Freezing is not recommended for this recipe. The mayonnaise in the tuna salad can separate after thawing, and the bread turns soggy and crumbly. Refrigerate leftovers in an airtight container and eat them within 2 days, reheating in a 350 degree F oven.
More Recipes You Will Love
If you enjoy this kind of hearty, handheld lunch, you may also like our simple, satisfying lunch ideas. For a lighter option built around a comforting casserole, try our Diabetic lunch casserole, which is designed with lower sugar in mind.
When you want something sweet to balance the savory bread boxes, our Strawberry pretzel salad is a bright, crunchy dessert that works well for picnics and potlucks.
Keep the tuna salad in mind for other lunches, too. It spreads well on toasted rye, rolls well into a wrap, and makes a quick filling for a crisp green salad.
Conclusion
Tuna melt bread boxes turn a familiar lunch into something you can serve with real pride. Crispy bread, melted cheese, tangy tuna and crunchy pickles come together in every bite. Once you have shaped a few boxes, the method becomes quick and easy. If you make this recipe, I would love to hear how it turned out for you. Leave a comment below, give it a rating, or share it with a friend who loves a good tuna melt.
FAQs
When is the best time to eat Tuna Melt Bread Boxes?
Tuna Melt Bread Boxes are best eaten right out of the oven, while the cheese is melted and the bread and potato chips are still crisp. They suit a weekend lunch or a casual dinner. Serve them with pickles or a simple green salad. Their texture drops off as they cool, so plan to serve them soon after baking.
Can you make Tuna Melt Bread Boxes ahead of time?
You can make the tuna salad a day ahead and keep it chilled in an airtight container. Hollow, butter and toast the bread shortly before filling it. Filled boxes left sitting before baking will soften, so assemble and bake them just before serving for the crispiest result.
Can I substitute something for American cheese in Tuna Melt Bread Boxes?
Yes, sliced cheddar, Swiss or provolone can replace American cheese. American cheese melts the smoothest and stays creamy. Sharper cheeses add more flavor but can turn oily or slightly grainy when baked, so check the bread for browning partway through baking.
How do you keep the bread from getting soggy in Tuna Melt Bread Boxes?
Brush the hollowed bread with butter and toast it before adding the filling, which creates a crisp barrier. Drain the tuna thoroughly, pat the pickle slices dry and line the base with kettle-style potato chips. These steps help the bread stay firm under the creamy filling.
How do you store leftover Tuna Melt Bread Boxes?
Refrigerate leftover Tuna Melt Bread Boxes in an airtight container within two hours of baking, and eat them within one to two days. Reheat them in the oven rather than the microwave, which makes the bread soft and can leave the filling unevenly warm.