Why Our Favorite Fried Chicken Works
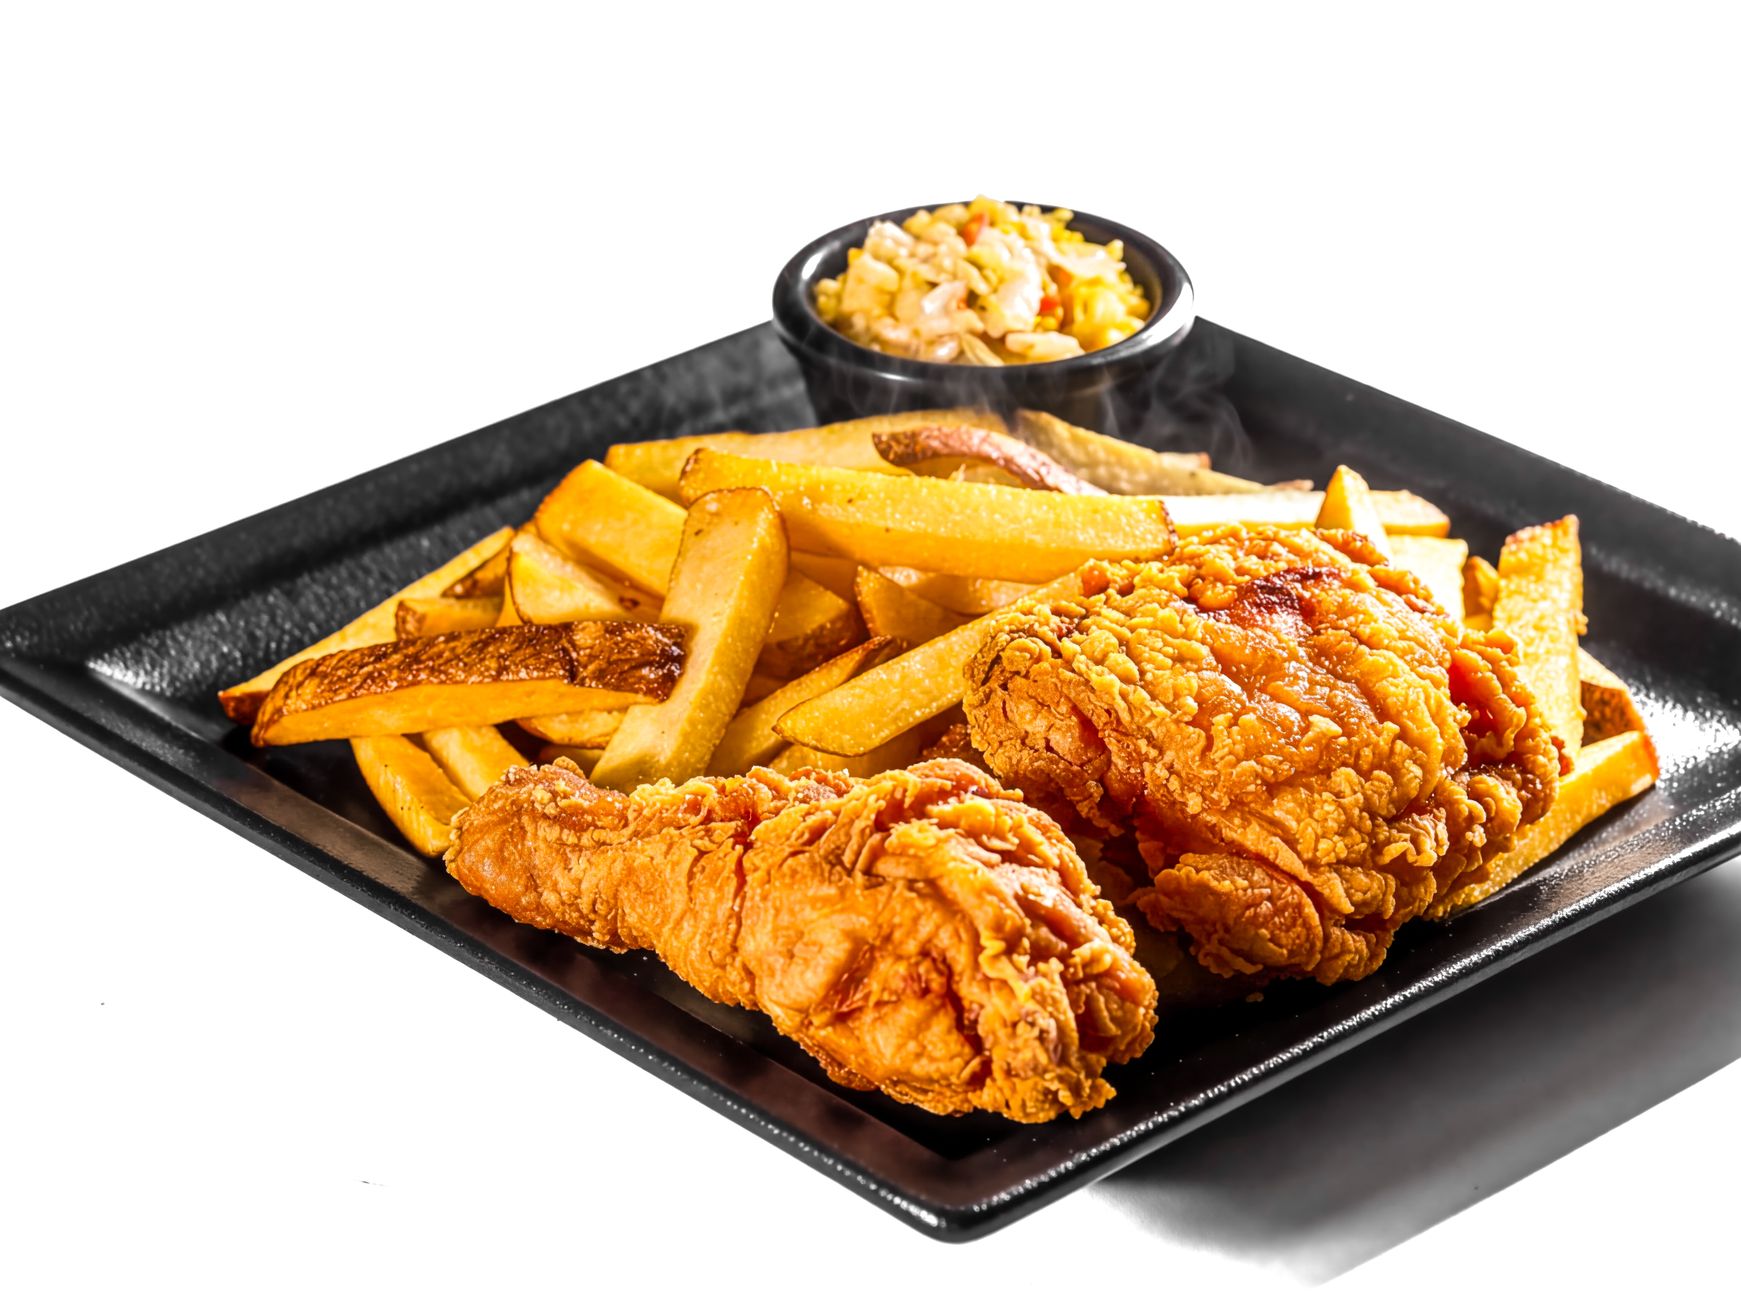
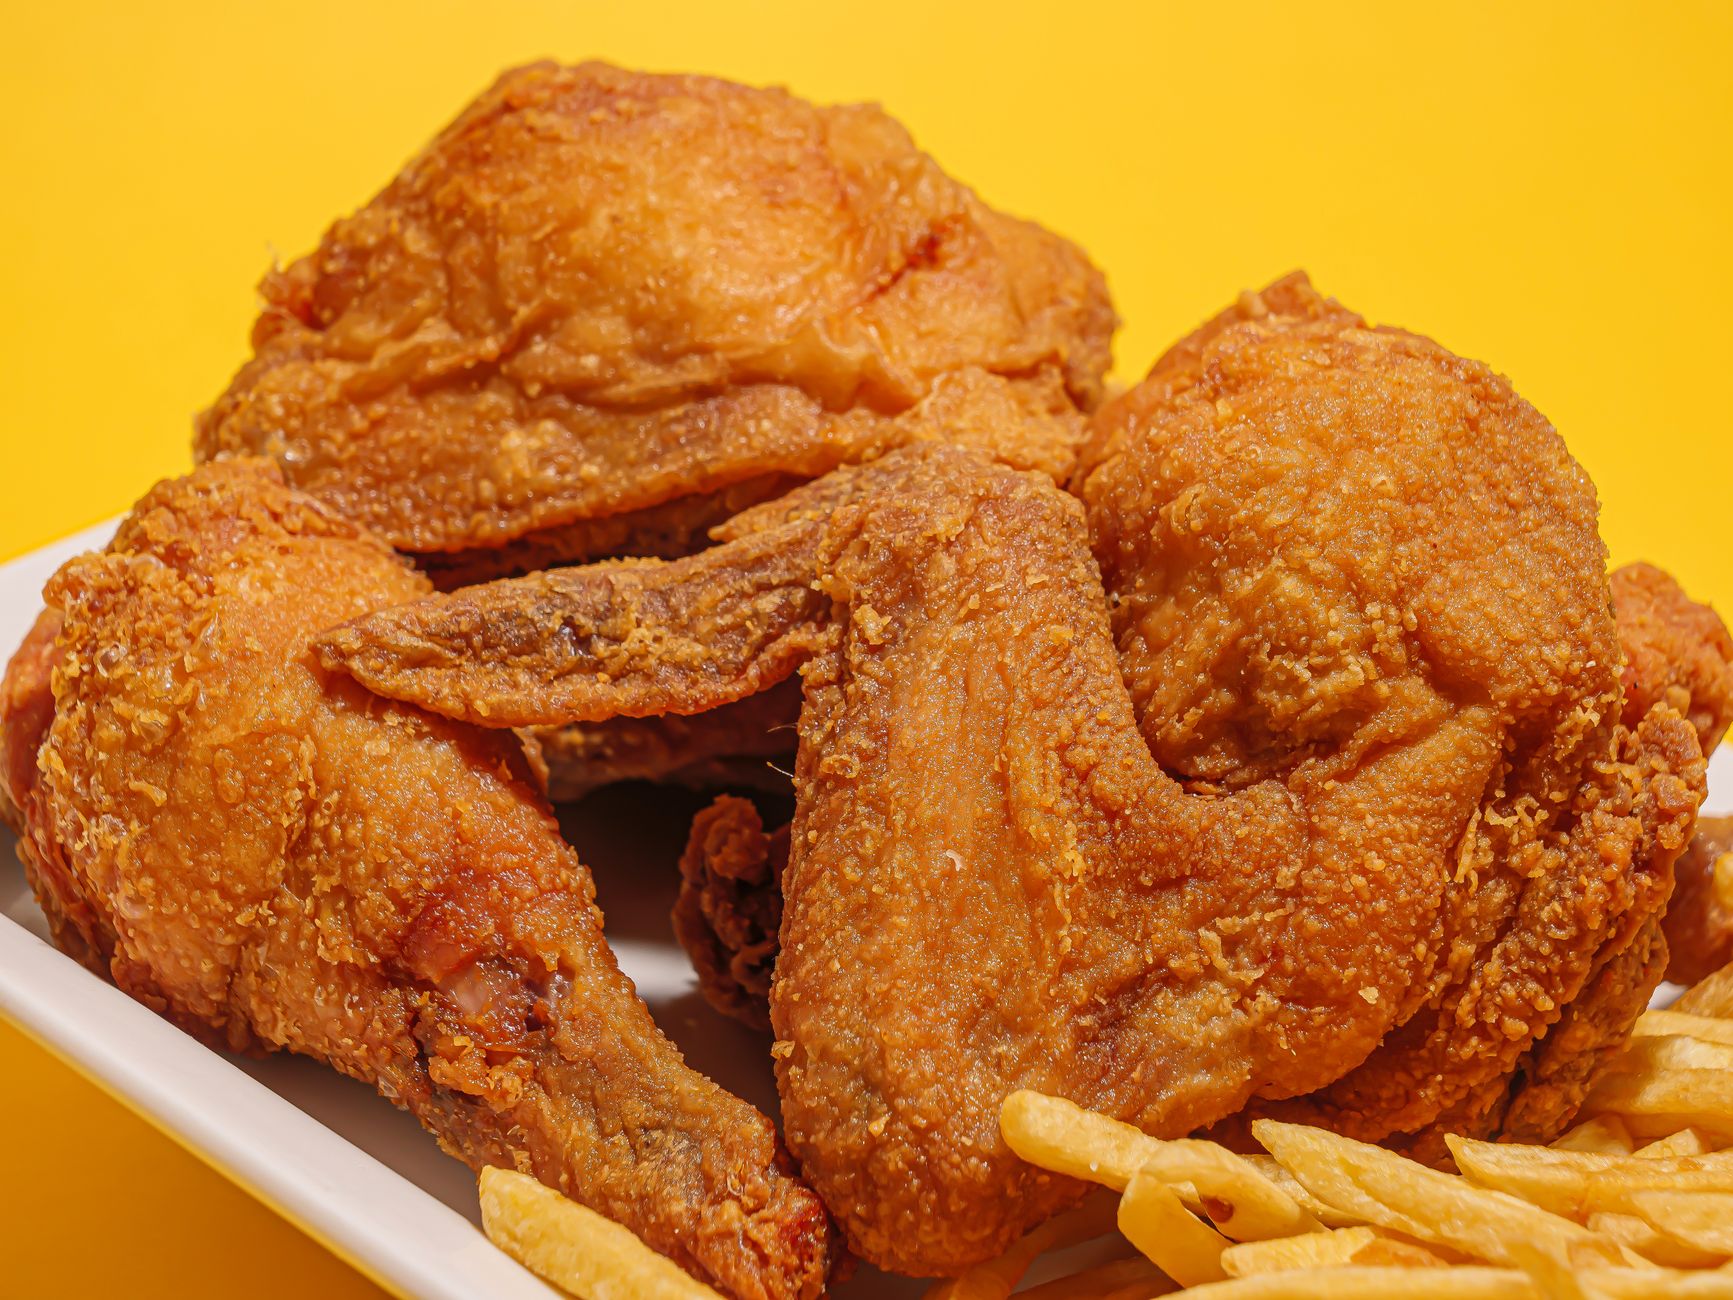
The crust crackles when you cut through it, while the chicken stays tender underneath. That contrast is what makes this recipe so satisfying.
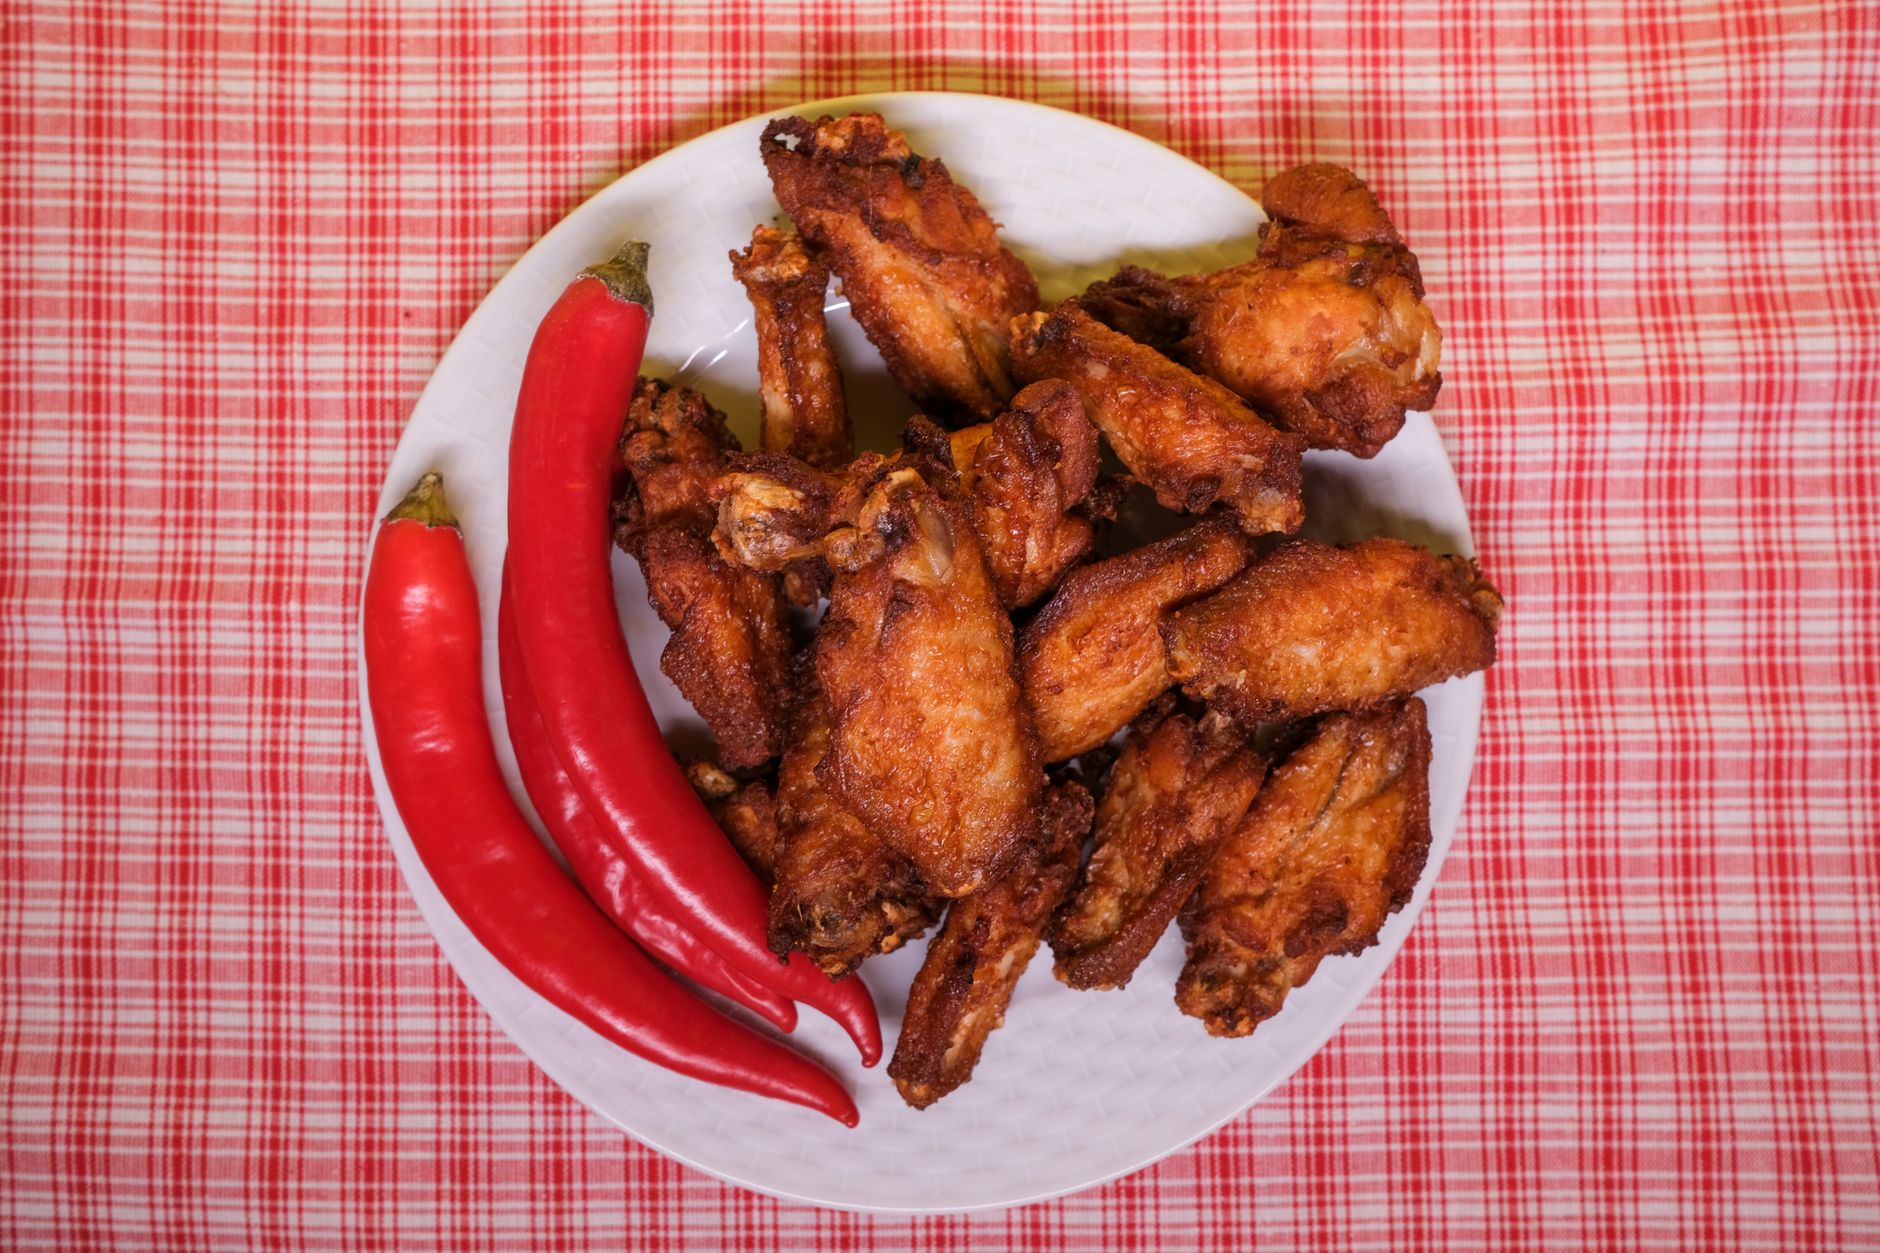
Our Favorite Fried Chicken uses an overnight buttermilk marinade, a seasoned flour coating, and a carefully controlled frying temperature. The buttermilk seasons and tenderizes the chicken, while frying in two batches helps the coating turn deeply golden without making the meat greasy. The finished chicken is crisp, savory, juicy, and delicious hot or at room temperature.
I tested this recipe with both shortening and vegetable oil. Shortening gave the crust a slightly more old-fashioned flavor, while neutral vegetable oil produced a lighter-tasting result. Both worked well when the oil temperature was monitored closely.

Health Benefits & Nutrition
Fried chicken is a hearty comfort food, not an everyday light meal. Still, preparing it at home gives you control over the ingredients, frying fat, seasoning, and portion size.
- Chicken provides protein: Chicken contributes protein, which helps make the meal filling and satisfying.
- Buttermilk adds nutrients: Buttermilk provides some calcium and protein, although the amount in the finished serving depends on how much marinade remains on the chicken.
- Herbs add flavor without extra sugar: Thyme, oregano, garlic, paprika, and black pepper create a full flavor profile without relying on a sweet sauce.
- Homemade preparation gives you more control: You can choose a neutral oil, trim excess skin, and serve smaller pieces with vegetables or a fresh salad.
Because the marinade contains a generous amount of salt and the chicken is fried, the finished dish can be high in sodium, calories, and fat. The approximate nutrition per serving is 850 calories, 52 grams of protein, 42 grams of carbohydrates, and 52 grams of fat. Actual values vary with the chicken pieces, flour retained, and oil absorbed during frying.
This recipe contains dairy, wheat, and chicken. Use a certified gluten-free flour blend only if you need to avoid wheat, and check that your chosen ingredients are made in a facility suitable for your dietary needs. For personal medical or dietary guidance, consult a doctor or registered dietitian.
Ingredients & Preparation
Recipe Card
| Prep time | 8 hours 40 minutes, including marinating |
|---|---|
| Cook time | 40 minutes |
| Total time | 9 hours 20 minutes |
| Servings | 4 |
| Calories | Approximately 850 per serving |
| Diet tags | High-protein; contains dairy; contains gluten |
Full Ingredient List
- 4 cups buttermilk
- 2 tablespoons dried thyme
- 2 tablespoons dried oregano
- 1 tablespoon hot sauce
- 2 garlic cloves, smashed
- 1/4 cup kosher salt, for the marinade
- 1 tablespoon freshly ground black pepper, for the flour
- 1 whole chicken, 3 1/2 to 4 pounds, cut into 8 pieces
- 4 cups all-purpose flour
- 1 tablespoon sweet paprika
- 6 to 8 cups solid vegetable shortening or neutral vegetable oil, as needed for frying
Equipment Needed
- Large nonreactive bowl with a lid or plastic wrap
- Large colander
- Large resealable plastic bag or clean paper bag
- Wire rack and rimmed baking sheet
- 5- to 6-quart Dutch oven or heavy, deep pot
- Deep-frying thermometer
- Long tongs
- Paper towels
Tips for Choosing Quality Ingredients
Choose a chicken with intact skin and pieces that are similar in size. Evenly sized pieces finish closer together, which makes frying easier. If you buy a whole chicken, ask the butcher to cut it into eight pieces, or separate the breasts, thighs, drumsticks, and wings at home.
Use fresh buttermilk with a clean, tangy aroma. Full-fat buttermilk gives the marinade a slightly richer texture, but low-fat works too. For the flour, regular all-purpose flour creates the most reliable crust. Sweet paprika adds warm color without overwhelming the herbs.
For frying, choose shortening or a neutral oil with a high smoke point. I found that strongly flavored oils distracted from the chicken, while vegetable oil, canola oil, or shortening kept the seasoning in focus.
Step-by-Step Instructions
1. Marinate the chicken for 8 hours or overnight
Whisk the buttermilk, thyme, oregano, hot sauce, smashed garlic, and 1/4 cup kosher salt in a large nonreactive bowl. Add the chicken and turn each piece until coated. Cover and refrigerate for at least 8 hours, or up to 12 hours.
The marinade should smell tangy, herbal, and lightly spicy. The first time I made this, I used a shallow dish that left the top pieces partly exposed. Turning the chicken once halfway through marinating gave every piece better seasoning.
2. Coat the chicken and rest it for 15 minutes
Set a wire rack over a rimmed baking sheet. Stir the flour, paprika, and 1 tablespoon black pepper in a large resealable bag. Drain the chicken in a colander for 2 to 3 minutes, then shake two or three pieces at a time in the flour mixture.
Shake off loose flour and place the coated chicken on the rack. Let it rest at room temperature for 15 minutes while the oil heats. The flour should look slightly damp and cling firmly to the skin rather than falling away in a dry cloud.
3. Heat the frying fat to 350°F
Pour 6 to 8 cups of shortening or vegetable oil into a 5- to 6-quart Dutch oven. The fat should reach about halfway up the sides of the pot. Set the pot over medium-high heat and heat the oil to 350°F, checking with a deep-frying thermometer.
Do not fill the pot more than halfway with oil. Hot fat expands and bubbles vigorously when the chicken is added, so leaving headroom is essential for safer frying.
4. Fry the chicken in two batches for 20 to 25 minutes
Carefully lower half of the chicken into the 350°F oil using long tongs. The temperature will fall quickly, usually to about 250°F. Adjust the burner to keep the oil close to 250°F while the chicken fries.
Fry white-meat pieces for about 20 minutes and dark-meat pieces for about 25 minutes, turning once or twice if needed for even browning. The oil should bubble steadily but not violently. The coating is ready when it is deep golden brown and sounds crisp when tapped lightly with the tongs.
5. Drain and check the chicken before serving
Transfer the fried chicken to a paper towel-lined platter or a clean wire rack. Let it drain for 3 to 5 minutes, then check the thickest piece with an instant-read thermometer. Chicken should reach 165°F in the thickest part without touching the bone.
Fry the second batch, allowing the oil to return to 350°F before adding it. Serve the chicken immediately or let it cool to room temperature. I found that a wire rack keeps the underside crispier than a plate lined only with paper towels.
Variations & Substitutions
Make it mildly spicy
Replace the 1 tablespoon of hot sauce with 1 teaspoon for gentle heat. You can also leave the marinade unchanged and reduce the black pepper in the flour from 1 tablespoon to 2 teaspoons.
Use a gluten-free coating
Replace the 4 cups of all-purpose flour with 4 cups of a 1-to-1 gluten-free flour blend. Choose a blend that contains a binder such as xanthan gum, and allow the coated chicken to rest for 20 minutes so the flour can adhere properly.
Add a peppery Southern-style crust
Keep the 4 cups of flour, then add 2 teaspoons onion powder, 1 teaspoon garlic powder, and 1 teaspoon cayenne pepper. The extra spices make the crust more assertive without changing the frying method.
Use chicken pieces instead of a whole bird
You can use 4 pounds of bone-in, skin-on thighs and drumsticks. Dark meat is forgiving and stays juicy, but it usually needs 25 to 30 minutes in the oil. Avoid boneless, skinless pieces because they cook faster and do not provide the same crisp skin.
Make a smaller batch
For two servings, halve every ingredient and use about 2 pounds of chicken. Fry in a smaller heavy pot, but still keep the oil below halfway up the sides and cook in batches rather than crowding the pan.
Storage & Shelf Life
Refrigerate leftover chicken within 2 hours of cooking. Store it in a shallow airtight container for up to 3 days. Letting the chicken cool completely before sealing prevents excess condensation from softening the crust.
For the crispest reheating, place the chicken on a wire rack over a baking sheet and heat it at 375°F for 15 to 20 minutes. Smaller wings may need less time, while thick breasts may need longer. Reheat until the center reaches 165°F.
To freeze the chicken, cool it completely, wrap individual pieces in parchment or foil, and place them in a freezer bag with as much air removed as possible. Freeze for up to 2 months. Reheat from thawed at 375°F for about 20 minutes, or until hot throughout.
Discard chicken with a sour or unpleasant smell, sticky or slimy coating, visible mold, or unusual discoloration. Do not taste food to decide whether it is safe.
Pro Tips for a Crisp Coating
- Use enough salt in the marinade: The salt seasons the meat throughout the marinating period, not just the outside crust.
- Drain before flouring: Excess buttermilk creates gummy patches. A short drain in the colander leaves enough moisture for the flour to stick without flooding the coating.
- Rest the coating: The 15-minute rest allows the flour to hydrate. Skipping it can cause the crust to slide off when the chicken enters the oil.
- Watch the thermometer: Starting at 350°F and frying near 250°F prevents the outside from burning before the bone-in meat cooks through.
- Never cover the fried chicken: Trapped steam softens the crust. Keep finished pieces uncovered on a rack instead.
- Avoid crowding: Too many pieces sharply lower the oil temperature and make the coating absorb more fat. Two batches give the chicken room to fry evenly.
- Use separate tools: Keep the tongs used for raw chicken away from the cooked pieces, or wash them thoroughly before serving.
For a lighter meal, serve the chicken with crunchy cabbage, cucumber salad, or roasted vegetables. If you prefer a spoonable comfort dish on another night, try this Creamy chicken noodle soup.

Questions & Answers
When is the best time to eat Our Favorite Fried Chicken?
The best time to eat it is within a few minutes of frying, while the crust is crisp and the meat is still hot. It is also enjoyable at room temperature for picnics or casual meals. If serving later, keep the chicken uncovered on a rack rather than sealing it while warm.
Can I marinate the chicken for longer than 12 hours?
Marinate the chicken for no more than about 12 hours for the best texture. The buttermilk and salt continue seasoning the meat, but a much longer soak can make the surface overly soft and salty. Eight hours overnight gives the chicken plenty of flavor.
Why does my fried chicken coating fall off?
The coating usually falls off because the chicken is too wet, the flour did not rest, or the pieces were moved too much in the oil. Drain the chicken for several minutes, shake off excess flour, and rest the coated pieces for 15 minutes before frying.
Can I fry the chicken in a cast-iron skillet?
You can use a deep cast-iron skillet, but choose one large enough to hold the oil and chicken safely. Keep the oil below halfway up the sides and fry in batches. A Dutch oven holds heat more steadily and provides taller sides to reduce splattering.
How do I know when the oil is ready without a thermometer?
A thermometer is the most reliable option, but a small pinch of flour should sizzle immediately without smoking when dropped into the oil. This test cannot tell you whether the oil is exactly 350°F, so reduce the heat if the flour browns instantly or the oil smokes.
Can I use boneless chicken breasts?
You can use boneless breasts, but the result will be less juicy and have less crisp skin. Cut them into thick, even strips and begin checking them after about 8 minutes. Fry until the center reaches 165°F, then drain promptly.
What should I serve with fried chicken?
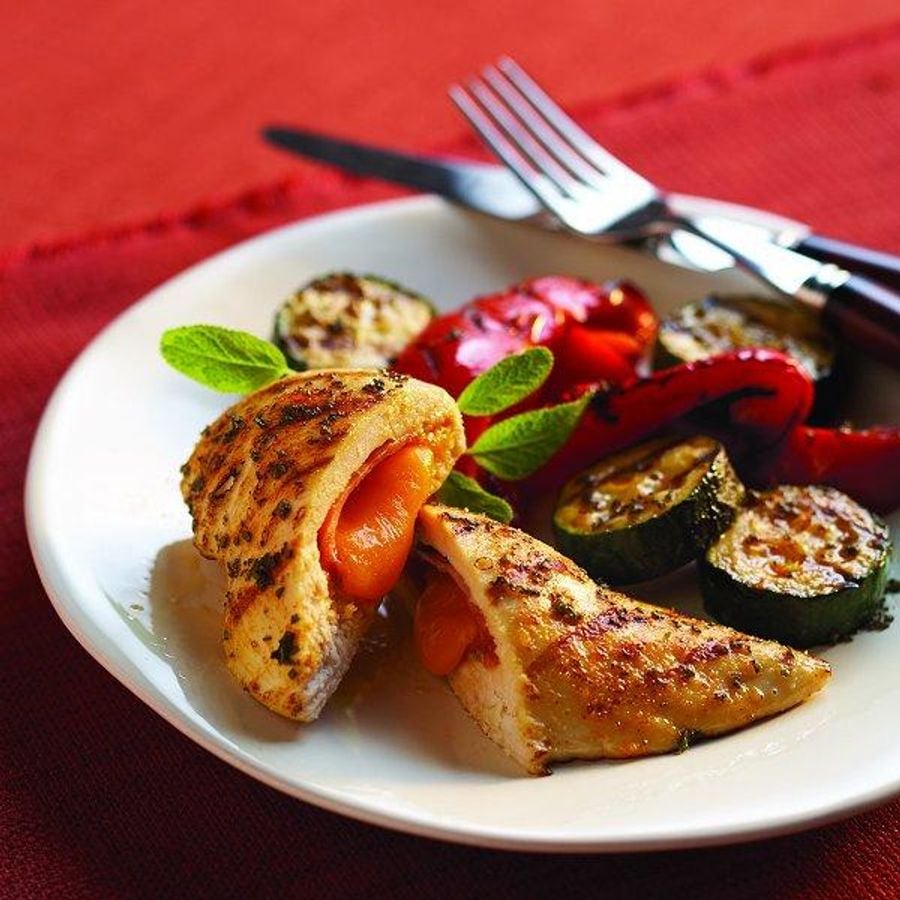
Serve it with crisp slaw, green beans, cornbread, potato salad, or roasted vegetables. Pickled vegetables also balance the richness with acidity. For another chicken dinner with a different texture, try this Broiled chicken thighs with fennel onions and roasted red peppers recipe.
More Recipes You Will Love
If you enjoy tender chicken with a rich, comforting texture, Creamy chicken noodle soup makes a cozy follow-up meal. It uses the same familiar ingredients in a completely different way.
For a lighter preparation, the Broiled chicken thighs with fennel onions and roasted red peppers recipe brings together tender chicken, sweet roasted vegetables, and savory herbs.
Conclusion
Our Favorite Fried Chicken rewards patience. The overnight buttermilk marinade seasons the meat, the short coating rest helps the crust cling, and careful temperature control creates that deeply golden finish. Keep the pieces uncovered after frying so the crust stays crisp, and always check the thickest piece for doneness. Serve it with something fresh and crunchy, then share your results in the comments or leave a rating if you make the recipe.
FAQs
When is the best time to eat Our Favorite Fried Chicken?
Our Favorite Fried Chicken is best eaten hot from the fryer or at room temperature, when the crust is still crisp. The crust stays crunchy and the meat stays juicy, which makes it a good choice for picnics, lunches, and family dinners. Serve it with vegetables or a fresh salad to balance the richness.
Can I use gluten-free flour for Our Favorite Fried Chicken?
Yes, you can use a certified gluten-free all-purpose flour blend in place of the wheat flour in the coating. The crust may brown differently and feel slightly more delicate, so check the color closely while frying. Confirm that the marinade ingredients and seasonings are also gluten-free, since labels vary by brand.
How do I keep fried chicken crispy after frying?
Drain fried chicken on a wire rack instead of paper towels so steam does not soften the crust underneath. If you need to hold it, keep the pieces uncovered in a low oven, around 200°F, until ready to serve. Covering the chicken traps moisture and makes the coating soggy.
How long can you store leftover fried chicken?
Refrigerate leftover fried chicken in an airtight container within two hours of cooking, and eat it within three to four days. Reheat it in an oven or air fryer rather than the microwave to help the coating stay crisp. Discard any pieces that have been left out too long.
Can you use neutral vegetable oil instead of shortening?
Yes, neutral vegetable oil works in place of shortening for frying this chicken. It produces a lighter-tasting crust, while shortening gives a slightly more old-fashioned flavor. Either fat works best when you hold the oil at a steady temperature with a deep-frying thermometer.