Why Prevent Food From Sticking to Your Stainless Steel Skillet?
There’s something deeply satisfying about hearing that crisp sizzle the moment food hits a hot pan. Stainless steel skillets can deliver this magic like no other—offering a sear that locks in flavor and creates a golden crust. Yet, many cooks shy away from these versatile pans, fearing their dishes will stubbornly cling and tear. If you’ve struggled with sticky stainless steel, you’re not alone. The good news? How to make stainless steel nonstick boils down to understanding heat, timing, and technique. By mastering these simple steps, you can unlock the full potential of your skillet and enjoy perfectly cooked meals every time.
Health Benefits & Nutrition
Cooking with stainless steel has several advantages beyond just culinary performance. First, stainless steel is non-reactive, meaning it won’t leach chemicals or metals into acidic foods like tomatoes or citrus—a point especially important for food safety (FDA). Second, these pans don’t require synthetic coatings that can degrade and flake, which some studies suggest might affect health with prolonged use.
Third, stainless steel promotes fat reduction since it requires less oil once used correctly, helping you create lower-fat meals without sacrificing texture or flavor. Lastly, because stainless steel cookware withstands high temperatures without releasing harmful substances, it’s a safer choice for everyday cooking and suitable during pregnancy and for people with various dietary needs.
Ingredients & Preparation
Recipe Card
| Prep Time | Total Time | Servings | Calories | Diet Tags |
|---|---|---|---|---|
| 15 minutes (food rest) | 20 minutes | 4 servings | Varies by recipe | Gluten-Free, Dairy-Free Option, Paleo-Friendly |
Full Ingredient List
- High-quality stainless steel skillet (10–12 inches recommended)
- Protein or vegetables, brought to room temperature
- Neutral cooking oil with a high smoke point (e.g., avocado, grapeseed, or canola oil)
- Optional: unsalted butter or clarified butter for flavor
- Salt and fresh ground pepper for seasoning
Equipment Needed
- Stainless steel skillet
- Metal or silicone spatula
- Tongs or cooking forks
- Paper towels
- Instant-read thermometer (optional, for precision)
Tips for Choosing Quality Ingredients
Start with fresh, high-quality proteins or produce. Bringing them to room temperature before cooking ensures even heat distribution. Select oils with high smoke points; avoid extra virgin olive oil or butter for high-heat searing, as they burn quickly and can cause sticking. For your skillet, a heavier-bottomed pan retains and distributes heat evenly—key to preventing sticking.
Step-by-Step Instructions
Step 1: Bring Food to Room Temperature (15 minutes)
Remove your protein or vegetables from the fridge and let them rest for around 15 minutes until just shy of room temperature. This reduces temperature shock, which can cause uneven cooking and sticking.
Step 2: Preheat Skillet on Medium Heat for 2 Minutes
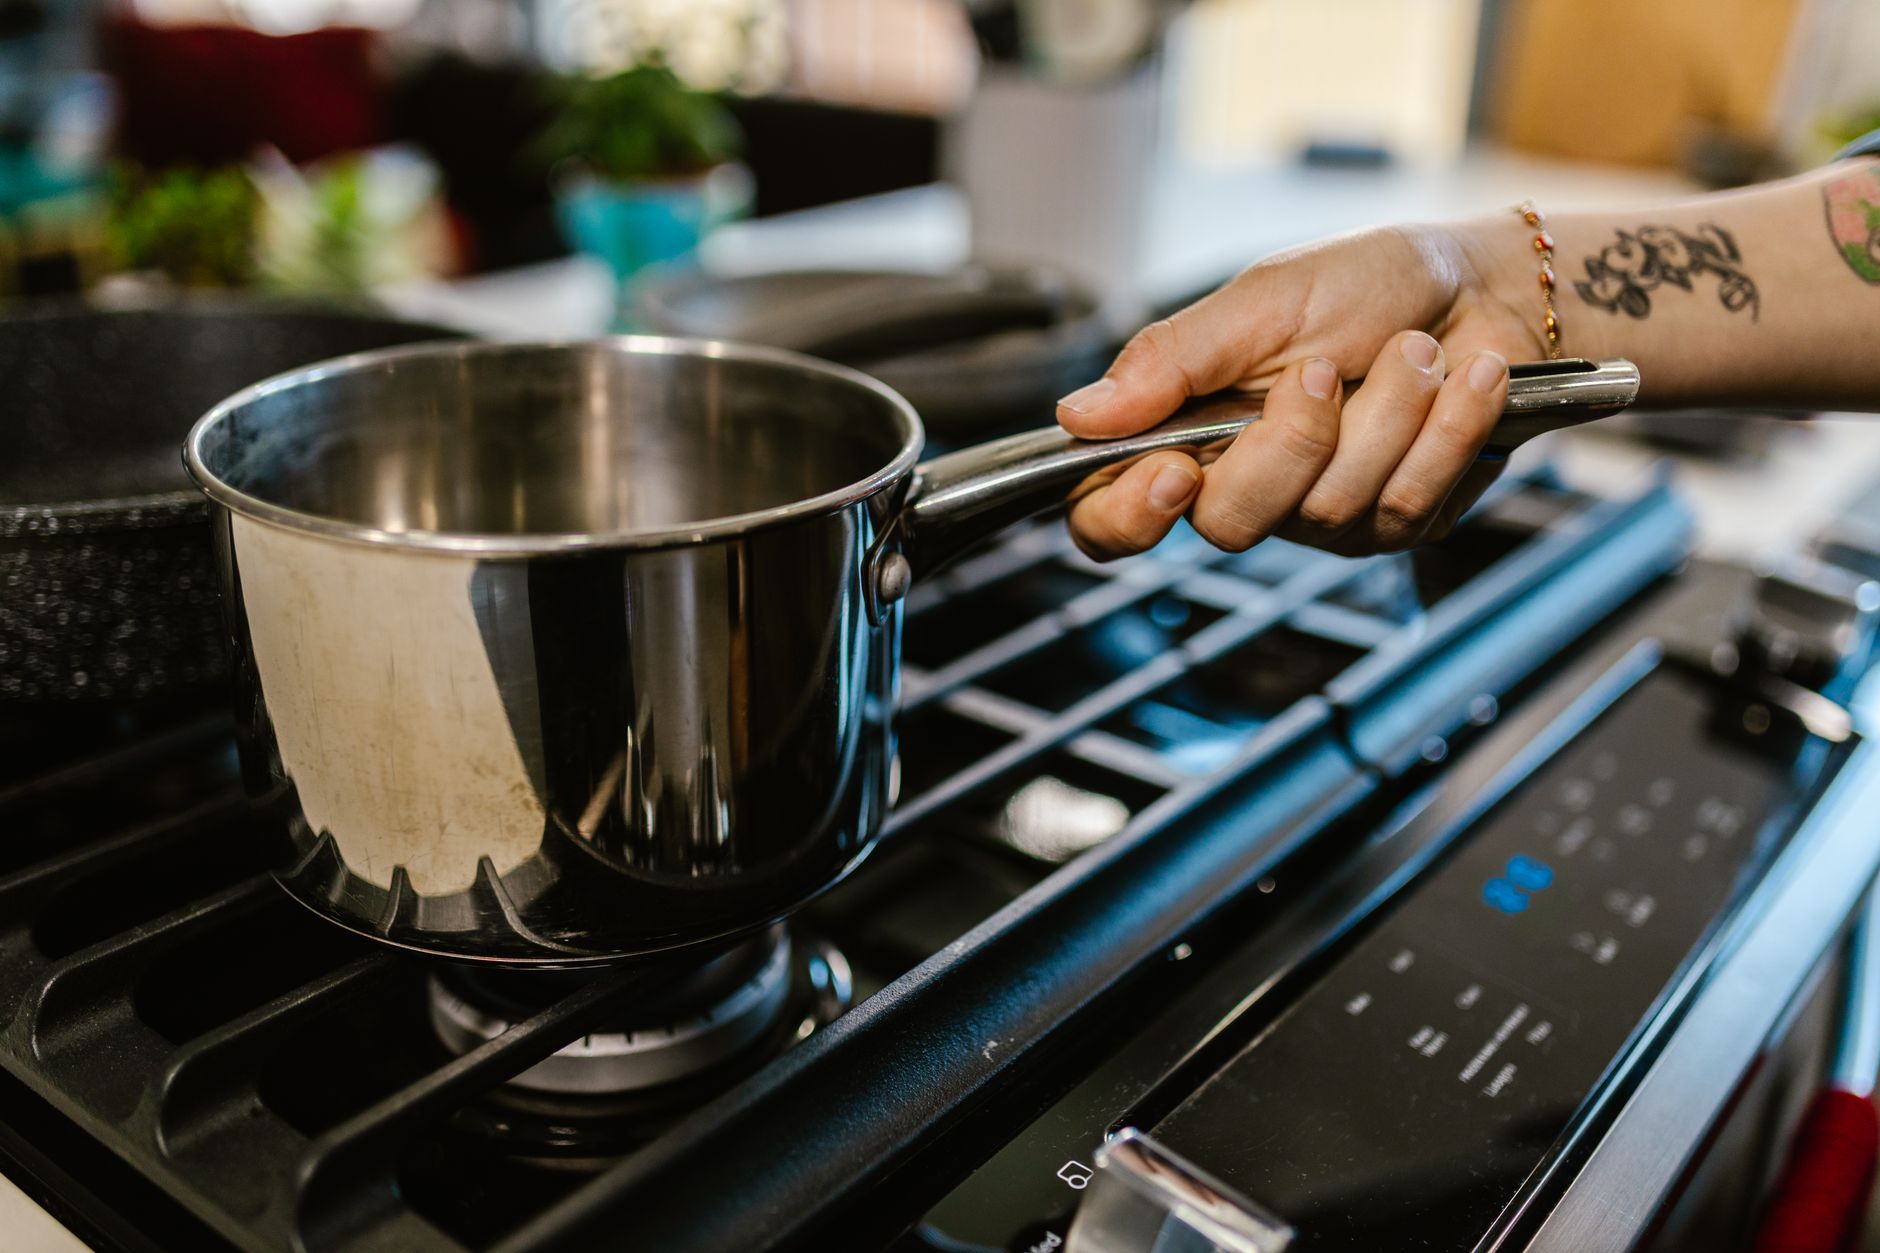
Place your empty stainless steel skillet on the burner at medium heat. Allow it to preheat gradually for 2 minutes. Avoid overheating or rushing this step—gently warming the pan is essential for creating a slick surface.
Step 3: Perform the Water Droplet Test
Sprinkle a few drops of water onto the hot skillet. If the droplets sizzle and evaporate immediately or sit still, adjust your heat accordingly. The ideal temperature is reached when water beads up into tiny spheres that glide smoothly across the pan.
Step 4: Add Oil and Heat Until Shimmering (30–60 seconds)
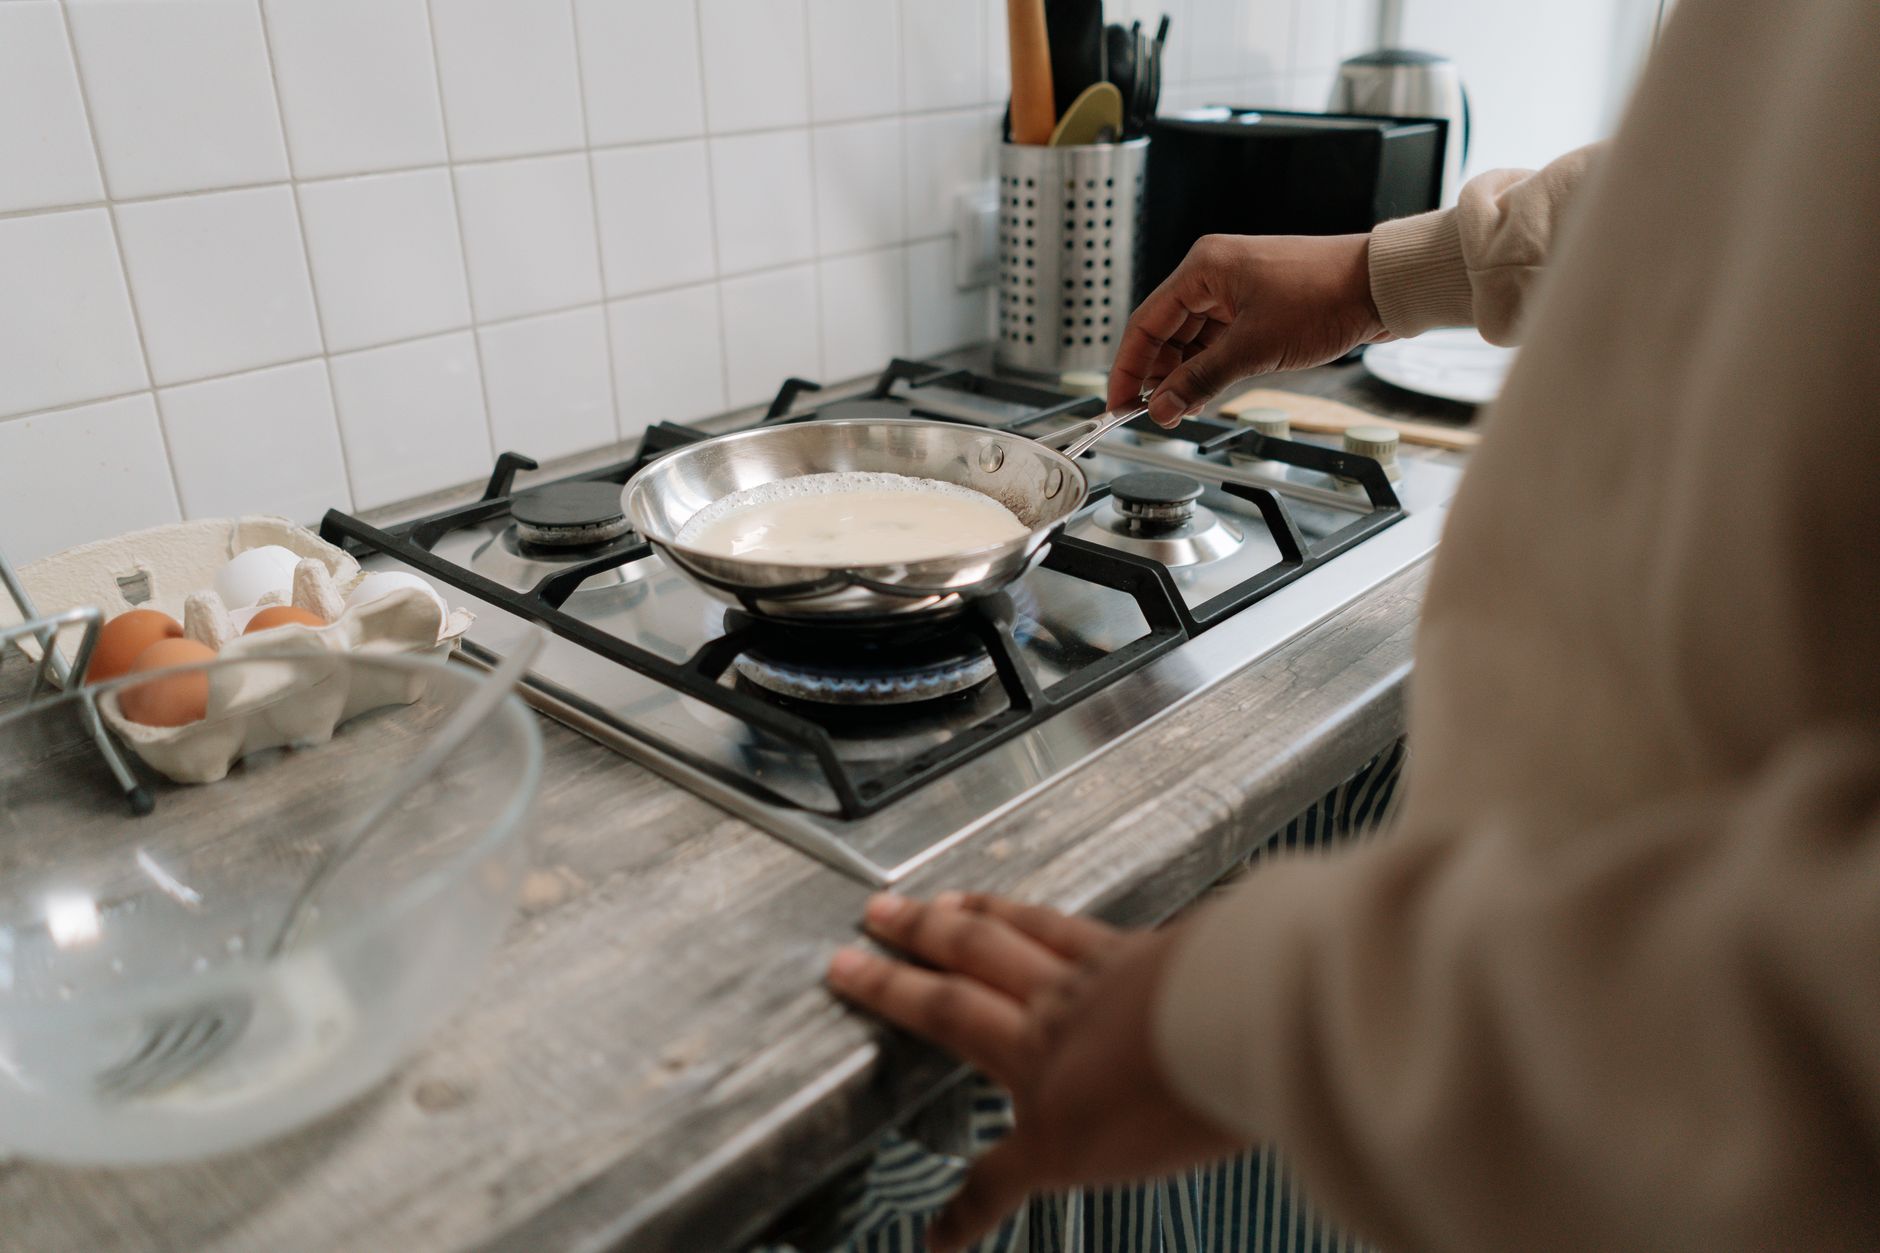
Pour in about 1–2 tablespoons of your chosen oil. Swirl it around to coat the surface evenly. Heat the oil until it shimmers and thins—this signals it’s hot enough to create a barrier between the pan and your food.
Step 5: Add Food and Avoid Moving Immediately
Place your food gently into the hot oil. Allow it to cook undisturbed for several minutes (typically 3–5 minutes, depending on thickness). The food will naturally release from the pan when it has developed a crispy crust. Resist the urge to flip too soon.
Step 6: Flip When Ready for Perfect Release
Use a spatula to test if your food lifts off easily. If it resists, give it a little more time—patience is key to prevent tearing. Once it releases, flip and continue cooking until done.
Variations & Substitutions
- Butter for Flavor: Swap half the oil with unsalted butter or clarified butter once the pan is hot to add a rich, nutty aroma. Clarified butter withstands heat better and reduces sticking.
- Acidic Marinades: Use acidic ingredients like lemon or vinegar in marinades confidently. Stainless steel won’t react as cast iron does, boosting flavors without imparting metallic notes.
- Vegetarian Options: This technique works for tofu or thick-cut vegetables. Press tofu to remove excess moisture before cooking to reduce sticking chances.
Storage & Shelf Life
Stainless steel pans require no special storage beyond keeping them dry and clean. After use, hand wash with warm, soapy water and dry thoroughly to avoid water spots or discoloration. For tougher residue, soak and use a nonabrasive scrubber.
Food cooked in stainless steel skillets can be stored in the fridge in airtight containers for 3–4 days. For longer storage, freeze leftovers in vacuum-sealed bags or freezer-safe containers for up to 2 months. Watch for off smells or textures as signs of spoilage.
Pro Tips
- Temperature Control: Avoid extremes—medium heat is your best friend. High heat can burn oil, causing smoke and tough sticky bits.
- Surface Dryness: Pat food dry before cooking. Excess moisture creates steam that promotes sticking.
- Use the Right Fat: Oils with high smoke points help maintain a slick barrier longer.
- Clean Up Smart: When stains appear, a paste of baking soda and water works wonders without scratching your skillet.
- Don‘t Overcrowd: Give food space to sear properly. Overcrowding lowers pan temperature and causes sticking.
When is the best time to use How To Make Stainless Steel Nonstick techniques?
The best time to use these techniques is right before cooking proteins or delicate foods on stainless steel. Prepare by bringing your ingredients to room temperature and follow the heating steps precisely. This ensures a smooth cooking experience with minimal sticking and maximum flavor.
Can I season a stainless steel pan like cast iron?
Unlike cast iron, stainless steel pans can‘t develop a permanently nonstick patina through seasoning. Their smooth surface doesn’t absorb oils the same way. Instead, success comes from preheating, oil temperature, and timing during each use.
What oils work best for stainless steel cooking?
Oils with high smoke points like avocado, grapeseed, canola, or refined sunflower oil work best. They tolerate heat without burning, maintaining the slick layer needed to prevent sticking.
Why does my food stick to my stainless steel pan?
Food sticks mostly due to incorrect pan temperature, moisture on the food, or using too low heat. If the pan isn’t hot enough when food is added, it won’t form a proper sear and will stick.
How do I clean stuck-on food from stainless steel pans?
Use warm water and a nonabrasive sponge. For tougher residue, soak with hot water and a drop of dish soap, or sprinkle a baking soda paste, then scrub gently. Avoid steel wool to protect the surface.
Can I use metal utensils on stainless steel without damage?
Yes, stainless steel pans are durable and designed to withstand metal utensils without scratching, unlike nonstick pans.
Does cooking acidic food damage stainless steel pans?
No, stainless steel is non-reactive and safe for cooking acidic foods like tomatoes, vinegar, and citrus, unlike cast iron or aluminum pans.
Are stainless steel pans dishwasher safe?
While many are dishwasher safe, hand washing is recommended to maintain shine and prevent potential water spots or discoloration over time.
More Recipes You Will Love
If you enjoy cooking with stainless steel pans, you might want to explore recipes that highlight their searing power. Try a pan-seared salmon for a delicate crispy skin or master a skillet-seared chicken breast for juicy, flavorful results. Also, if you‘re mindful of calories but crave indulgent flavors, checking out our detailed Cheesecake factory calories skinnylicious menu offers enlightening insights.
To balance your meal with something refreshing, consider the Tropical ginger cooler cheesecake factory recipe. It’s a lively way to complement your savory dishes.
Conclusion
Learning how to prevent food from sticking to your stainless steel skillet turns cooking from a frustrating chore into an enjoyable ritual. By warming your pan properly, using the right oil, and respecting timing, your stainless steel becomes a reliable tool for beautifully seared, flavorful food. Try these expert tips and share your results—your stainless steel skillet is ready to help you create stunning meals that impress every time.
FAQs
When is the best time to use How To Make Stainless Steel Nonstick?
The best time to use techniques for making stainless steel nonstick is each time you cook with a stainless steel skillet, especially when searing or cooking delicate proteins. Proper preheating and oiling ensure food releases easily for perfect results every time.
What type of oil is best for making stainless steel pans nonstick?
Oils with a high smoke point like avocado, grapeseed, or canola oil are best for stainless steel pans. These oils withstand higher temperatures without burning, which helps create a slick, nonstick surface and prevents food from sticking.
How does preheating the skillet help prevent sticking?
Preheating the skillet evenly creates a temperature barrier that allows food to release naturally once seared. When the pan is hot enough, proteins form a crust quickly, preventing sticking and making it easier to flip or move the food.
Can I use butter to make stainless steel nonstick?
Butter can add flavor but burns quickly due to its low smoke point. It’s best to use clarified butter or combine butter with a high smoke point oil to prevent sticking while avoiding burnt residues on your pan.
How do I know when to flip food in a stainless steel skillet?
Wait until the food releases easily on its own without resistance. When cooking proteins, this usually happens after a natural crust forms, which prevents sticking. Avoid moving it too soon to ensure a perfect sear and easy flipping.