Why Granola Peanut Butter Balls Recipe?
The first bite is chewy, nutty, and lightly crisp, with honey adding a gentle sweetness. These little breakfast bites need no oven and come together in one bowl.
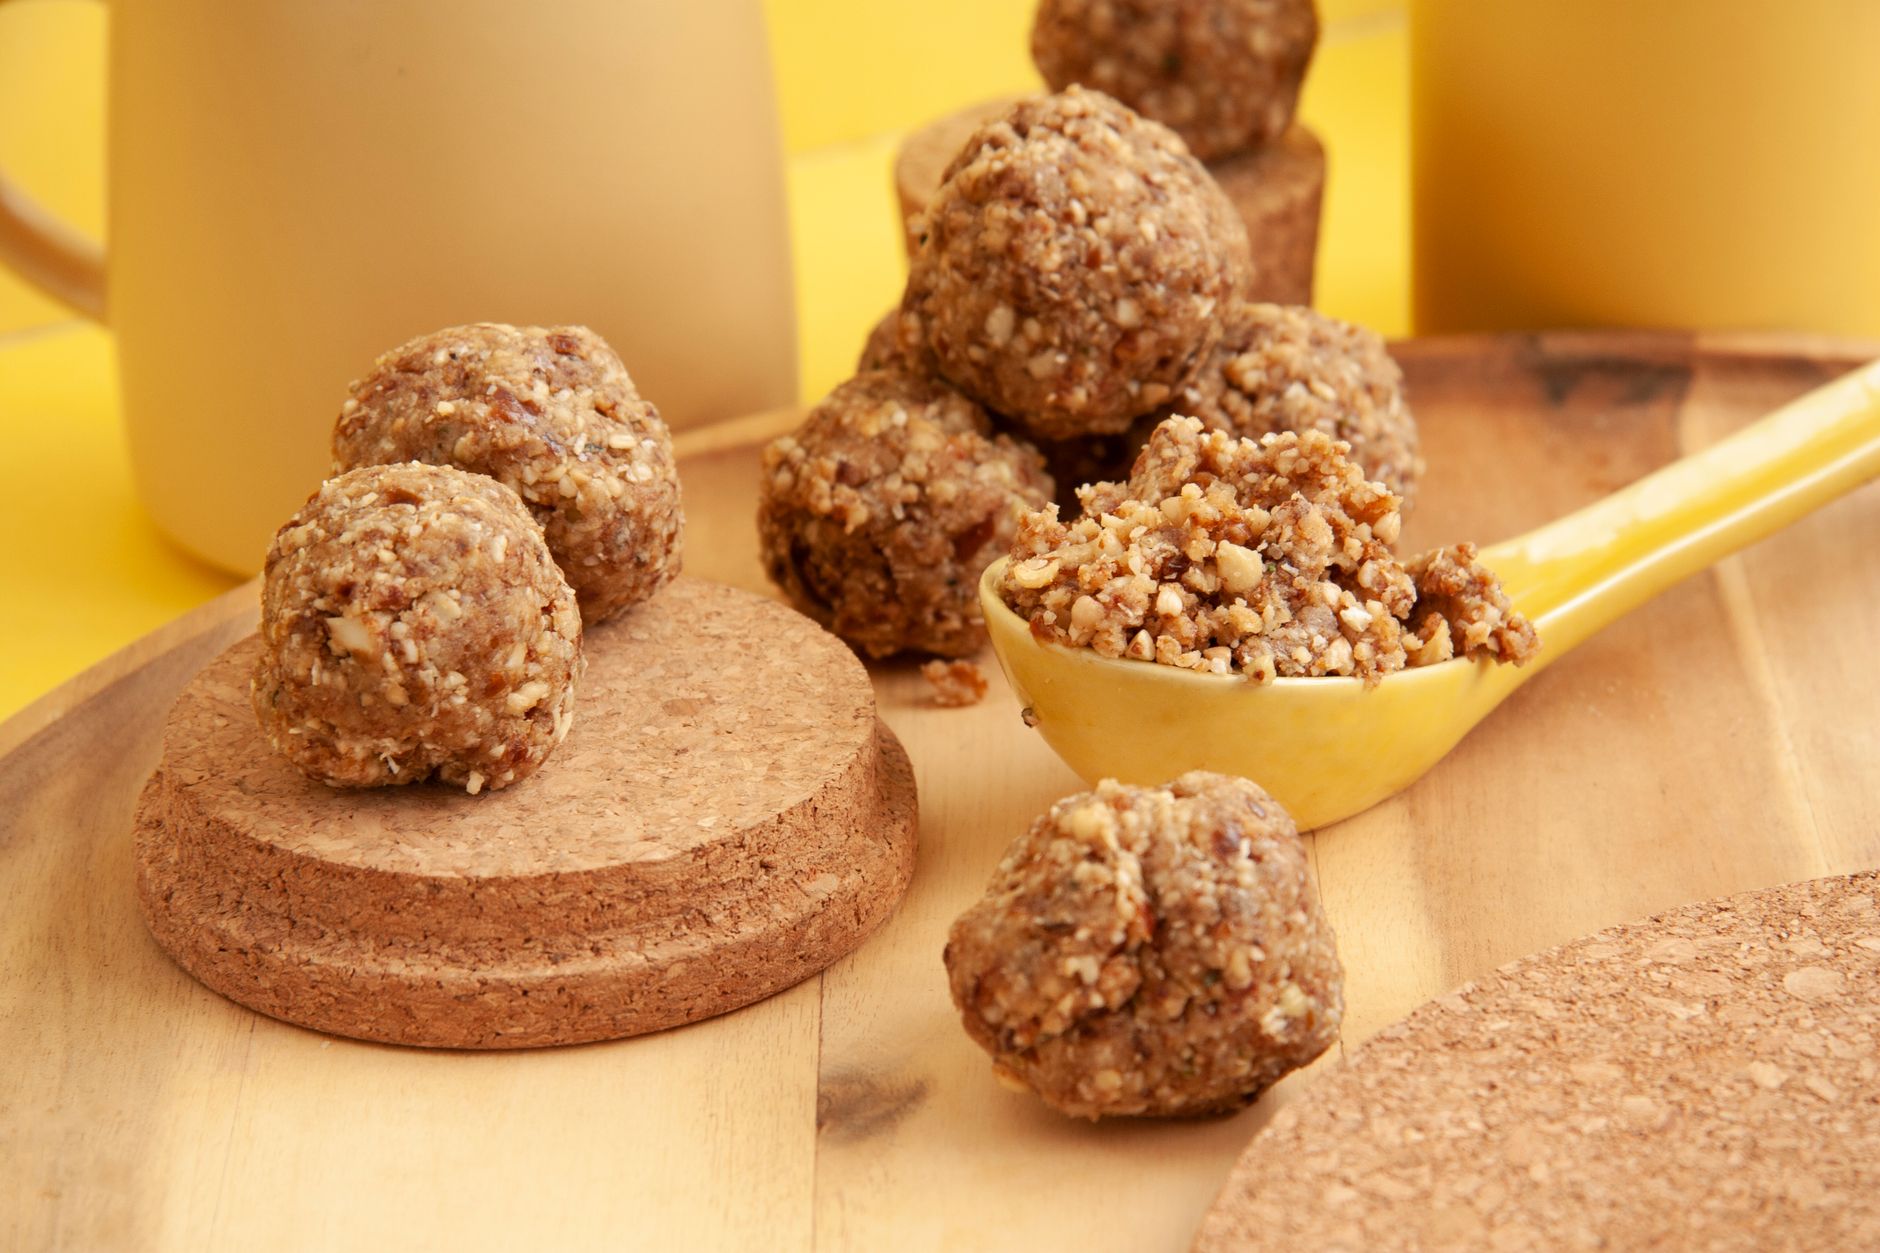
Granola Peanut Butter Balls are no-bake snack bites made by combining peanut butter, honey, granola, and enough milk to hold the mixture together. After a quick mix, shape the mixture into 16 balls and chill them briefly. They are easy to prepare for breakfast, lunchboxes, or an afternoon snack.
I like this recipe when I need something quick but more satisfying than a handful of cereal. The mixture is simple enough for children to help stir and roll, although sticky hands are part of the process. Keep the balls small so they hold their shape and are easy to eat.

Health Benefits & Nutrition
These snack balls offer a few useful qualities in a small serving:
- Peanut butter provides protein and fat. Together, they can make the bites feel more filling than plain granola alone.
- Granola contributes carbohydrates and some fiber. The exact amount depends on the brand and whether it contains oats, nuts, seeds, or dried fruit.
- Honey adds sweetness without refined table sugar. It is still an added sugar, so these balls are best enjoyed as a snack rather than unlimited treats.
- The portions are easy to manage. Forming 16 small balls gives you a clear serving size and makes the mixture convenient to pack.
Nutrition varies considerably with the granola and peanut butter you choose. The approximate estimate is 108 calories per ball, with about 3 grams of protein, 11 grams of carbohydrates, and 6 grams of fat.
Peanut butter is a common allergen. Check the granola label for peanuts, tree nuts, dairy, wheat, or other ingredients if you are cooking for someone with allergies. Honey should not be served to children under 12 months. For personal dietary or medical guidance, ask a qualified doctor or dietitian.
Ingredients & Preparation
Recipe Card
| Prep time | Cook time | Total time | Servings | Calories (approx) | Diet tags |
|---|---|---|---|---|---|
| 15 minutes | 0 minutes | 15 minutes | 16 balls | 108 per ball | Vegetarian, no-bake |
Full Ingredient List
- 2 tablespoons honey
- 4 tablespoons creamy peanut butter
- 2 cups granola
- 2 to 4 tablespoons milk, added as needed
Equipment Needed
- Large mixing bowl
- Rubber spatula or sturdy spoon
- Measuring spoons and measuring cups
- Small cookie scoop or tablespoon measure
- Small plate or airtight container for chilling
Tips for Choosing Quality Ingredients
Choose a granola with small clusters rather than very large, hard pieces. Smaller pieces make the mixture easier to shape and give each ball a more even texture. A lightly sweetened granola works best because the honey and peanut butter already add plenty of flavor.
Creamy peanut butter creates the smoothest mixture. Natural peanut butter can work, but stir it thoroughly first so the oil is evenly distributed. If the peanut butter is very runny, you may need slightly less milk.
Whole milk gives the mixture a richer texture, while low-fat or plant-based milk also works. Add it gradually. You are looking for a mixture that presses together, not a wet batter.
Step-by-Step Instructions
1. Combine the honey and peanut butter for 2 minutes.
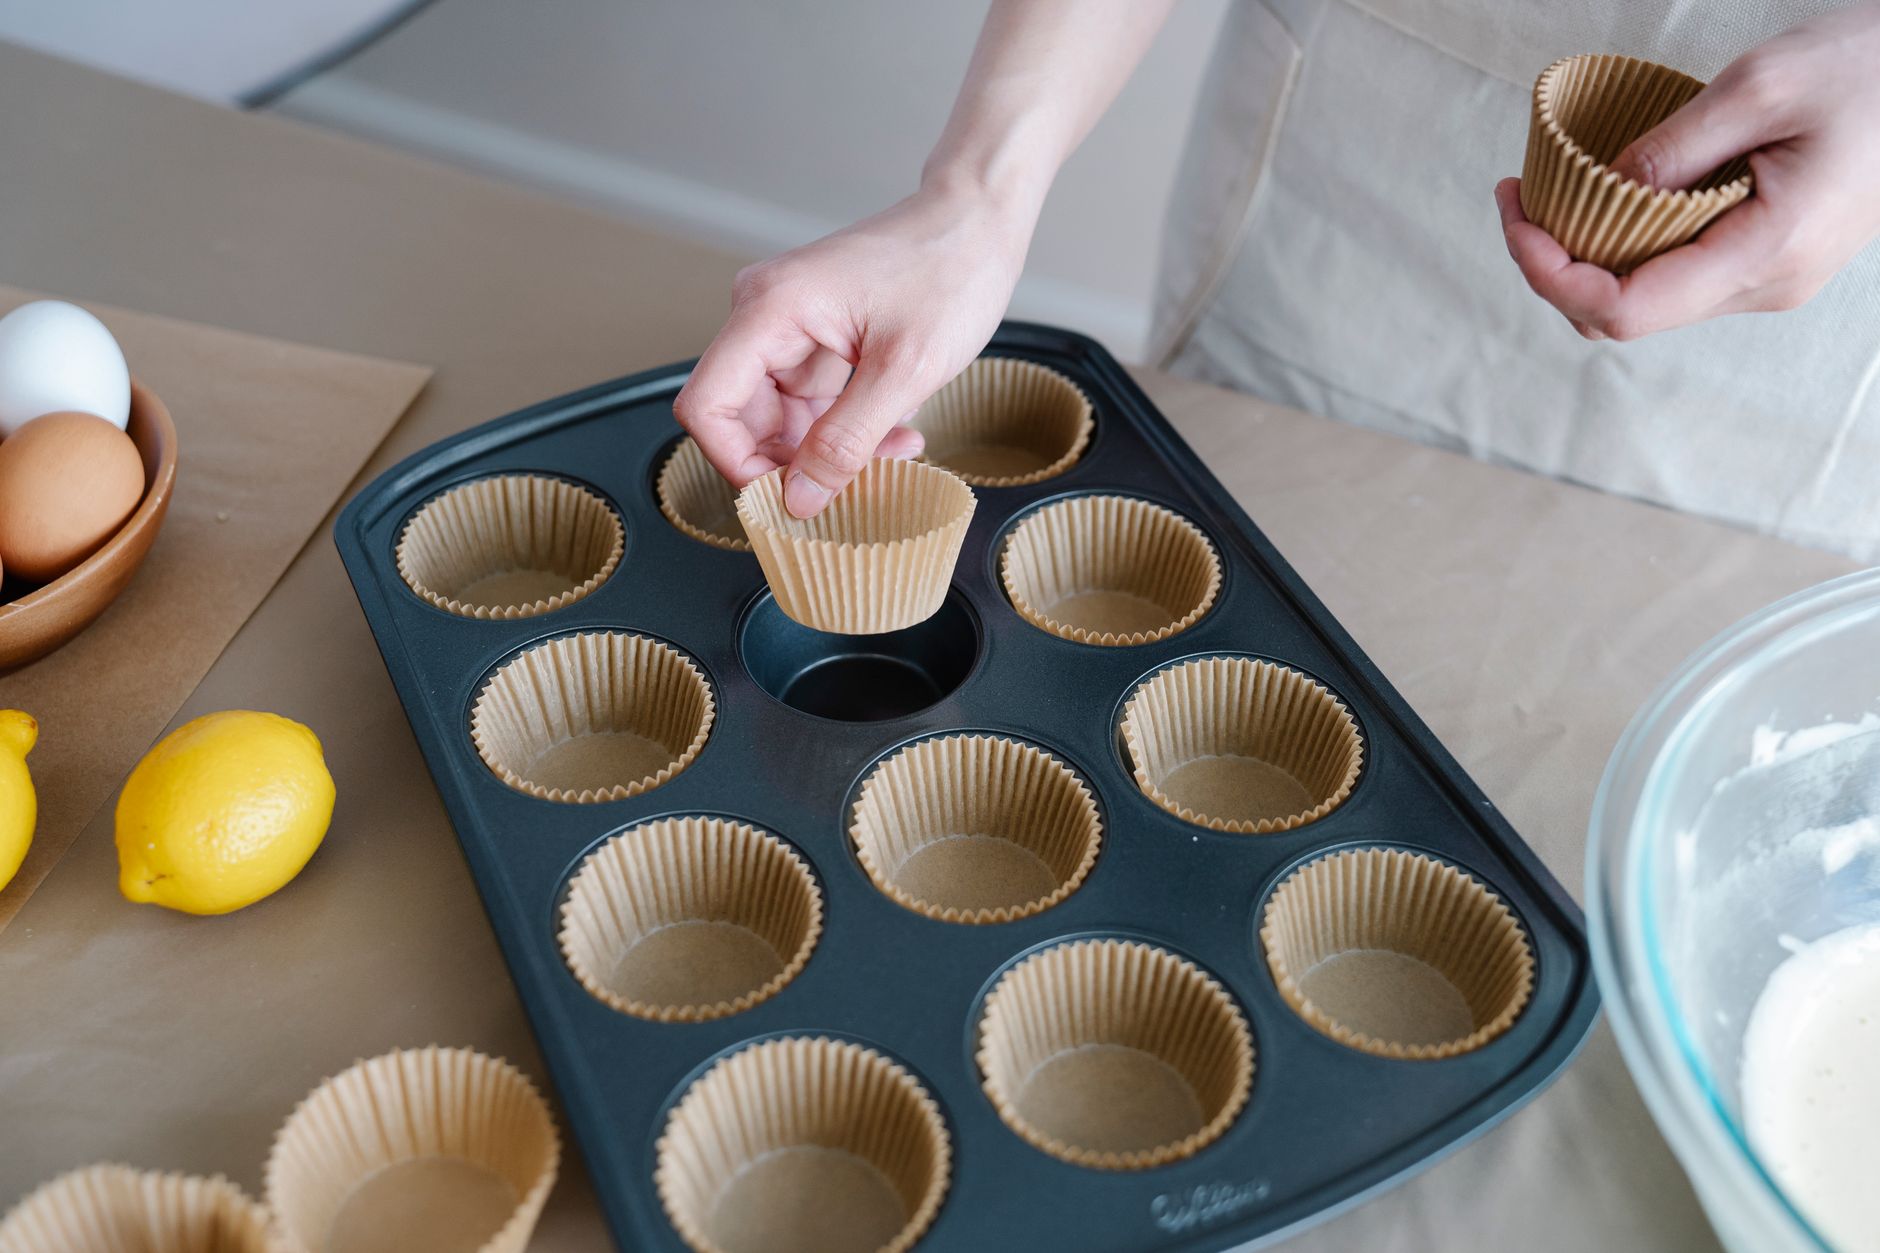
Add the honey and peanut butter to a large bowl. Stir with a spatula for about 2 minutes, pressing the peanut butter against the side of the bowl until the mixture looks glossy and mostly uniform. A few thin streaks of honey are fine.
2. Stir in the granola for 2 minutes.
Add the granola and fold for 2 minutes. Scrape the bottom and sides of the bowl so the peanut butter mixture coats the granola evenly. The mixture should look crumbly but begin clumping when pressed.
3. Add milk 1 tablespoon at a time.
Pour in 1 tablespoon of milk and mix for 30 seconds. Continue adding milk in 1-tablespoon amounts, mixing for 30 seconds after each addition, until the mixture sticks together when squeezed. Do not automatically add all 4 tablespoons.
4. Shape 16 balls over 5 minutes.
Scoop about 1 tablespoon of the mixture for each ball. Compress it firmly between your palms, then roll it gently until round. Arrange 16 balls on a plate or in a container. If the mixture crumbles when squeezed, add 1 teaspoon of milk and mix again.
5. Chill for 5 minutes before serving.
Refrigerate the formed balls for 5 minutes. They are ready when the surface feels less tacky and the balls hold their shape when lifted. Serve chilled or let them sit at room temperature for a few minutes for a softer bite.
The first time I made these, I poured in all the milk at once. The mixture became soft and difficult to roll, so gradual additions are now my standard method. I also found that pressing each portion firmly before rolling prevents loose granola from falling away.
Variations & Substitutions
- Chocolate peanut butter balls: Replace 2 tablespoons of granola with 2 tablespoons of unsweetened cocoa powder. Add 1 extra tablespoon of milk if the mixture becomes dry.
- Cranberry oat version: Use 1 3/4 cups granola plus 1/4 cup finely chopped dried cranberries. Chop the fruit small so it does not pull the balls apart.
- Seed-based option: Replace 1/4 cup of granola with 1/4 cup sunflower seeds or pumpkin seeds. Use finely chopped seeds for easier shaping.
- Maple variation: Replace the 2 tablespoons of honey with 2 tablespoons of pure maple syrup. Since maple syrup is thinner, begin with only 2 tablespoons of milk.
- Crunchy peanut butter: Use the same 4 tablespoons of crunchy peanut butter for extra texture. Break up any very large granola clusters before mixing.
- Dairy-free preparation: Use an unsweetened plant-based milk in the same 2-to-4-tablespoon range. Oat milk gives a mild flavor, while almond milk keeps the mixture lighter.
I tried using large dried fruit pieces in one batch, and the balls split around them. Finely chopping the fruit solved the problem. I would also avoid replacing all the granola with quick oats; the result is softer, denser, and lacks the toasted crunch that makes these bites enjoyable.
Storage & Shelf Life
Store the finished balls in an airtight container in the refrigerator for up to 5 days. Place parchment paper between layers if the granola coating feels sticky. The chilled texture is firmer on the first day and gradually becomes softer as moisture moves through the granola.
For longer storage, freeze the balls in a single layer on a parchment-lined plate for 1 hour. Transfer them to a freezer-safe bag or container, remove excess air, and freeze for up to 2 months. Thaw individual portions in the refrigerator for several hours.
Discard the balls if they develop an unpleasant sour smell, visible mold, unusual discoloration, or a slimy texture. If you used homemade granola containing ingredients that require refrigeration, follow the storage guidance for the most perishable ingredient.
Pro Tips
Measure the granola after breaking up oversized clusters. Very large pieces create weak spots, while small clusters distribute the peanut butter more evenly.
Use a light squeeze before rolling. Pressing the mixture firmly first gives the granola time to absorb moisture. Rolling immediately without compressing often leaves crumbly edges.
Keep your hands slightly cool and clean. Warm hands soften the peanut butter quickly and make the mixture more likely to stick. Rinse and dry your hands between batches if the coating becomes heavy.
Adjust moisture slowly. Granola brands vary in density and sweetness. Start with 2 tablespoons of milk, then add more only when the mixture refuses to hold together. A teaspoon at a time is safer than another full tablespoon once the mixture is nearly ready.
Balance sweetness with the granola you choose. If your granola contains dried fruit or a sugary coating, the finished bites may be quite sweet. Choose plain or lightly sweetened granola when you want the peanut butter flavor to stand out.
Use a tablespoon scoop for even portions. Uniform balls chill at the same rate and make the stated serving size easier to follow. A heaped tablespoon usually creates a ball that is too large for a 16-piece batch.
Questions & Answers
When is the best time to eat Granola Peanut Butter Balls Recipe?
The best time to eat these balls is at breakfast, after exercise, or during an afternoon snack. One ball provides a small, portable portion, while two can make a more substantial snack depending on your appetite and the rest of your meal. Keep them chilled until you are ready to eat them.
Can I make these peanut butter balls without milk?
Yes, you can make them without milk if the peanut butter and honey create enough moisture. Add the granola gradually and press a small amount in your hand to test it. If it will not hold together, use 1 teaspoon of water or milk at a time until the texture becomes cohesive.
Why are my granola balls falling apart?
Granola balls usually fall apart because the mixture is too dry or the portions were not compressed firmly. Add milk in 1-teaspoon increments, mix thoroughly, and squeeze each portion before rolling. Large granola clusters can also cause breaks, so crush them slightly before mixing.
Can children help make this recipe?
Yes, children can help stir, scoop, and roll the mixture with adult supervision. An adult should check the ingredient labels for allergens and handle storage. A small cookie scoop makes portioning easier, but children may still need help compressing the balls firmly enough to hold their shape.
Can I use almond butter instead of peanut butter?
Yes, replace the peanut butter with 4 tablespoons of smooth almond butter. Almond butter can be thinner or drier than peanut butter, so adjust the milk by adding only 1 teaspoon at a time. Check that the granola is free from ingredients that conflict with your dietary needs.
How can I make the mixture less sweet?
Use a plain or lightly sweetened granola and reduce the honey to 1 1/2 tablespoons. If the mixture becomes too dry after reducing the honey, add milk gradually. Do not reduce the honey and milk together at the start, because the balls may become difficult to bind.
Can I prepare these balls ahead of time?
Yes, prepare them up to 5 days ahead and keep them in an airtight container in the refrigerator. For longer storage, freeze them for up to 2 months. Freeze the balls separately first so they do not stick together, then transfer them to a sealed freezer container.
More Recipes You Will Love
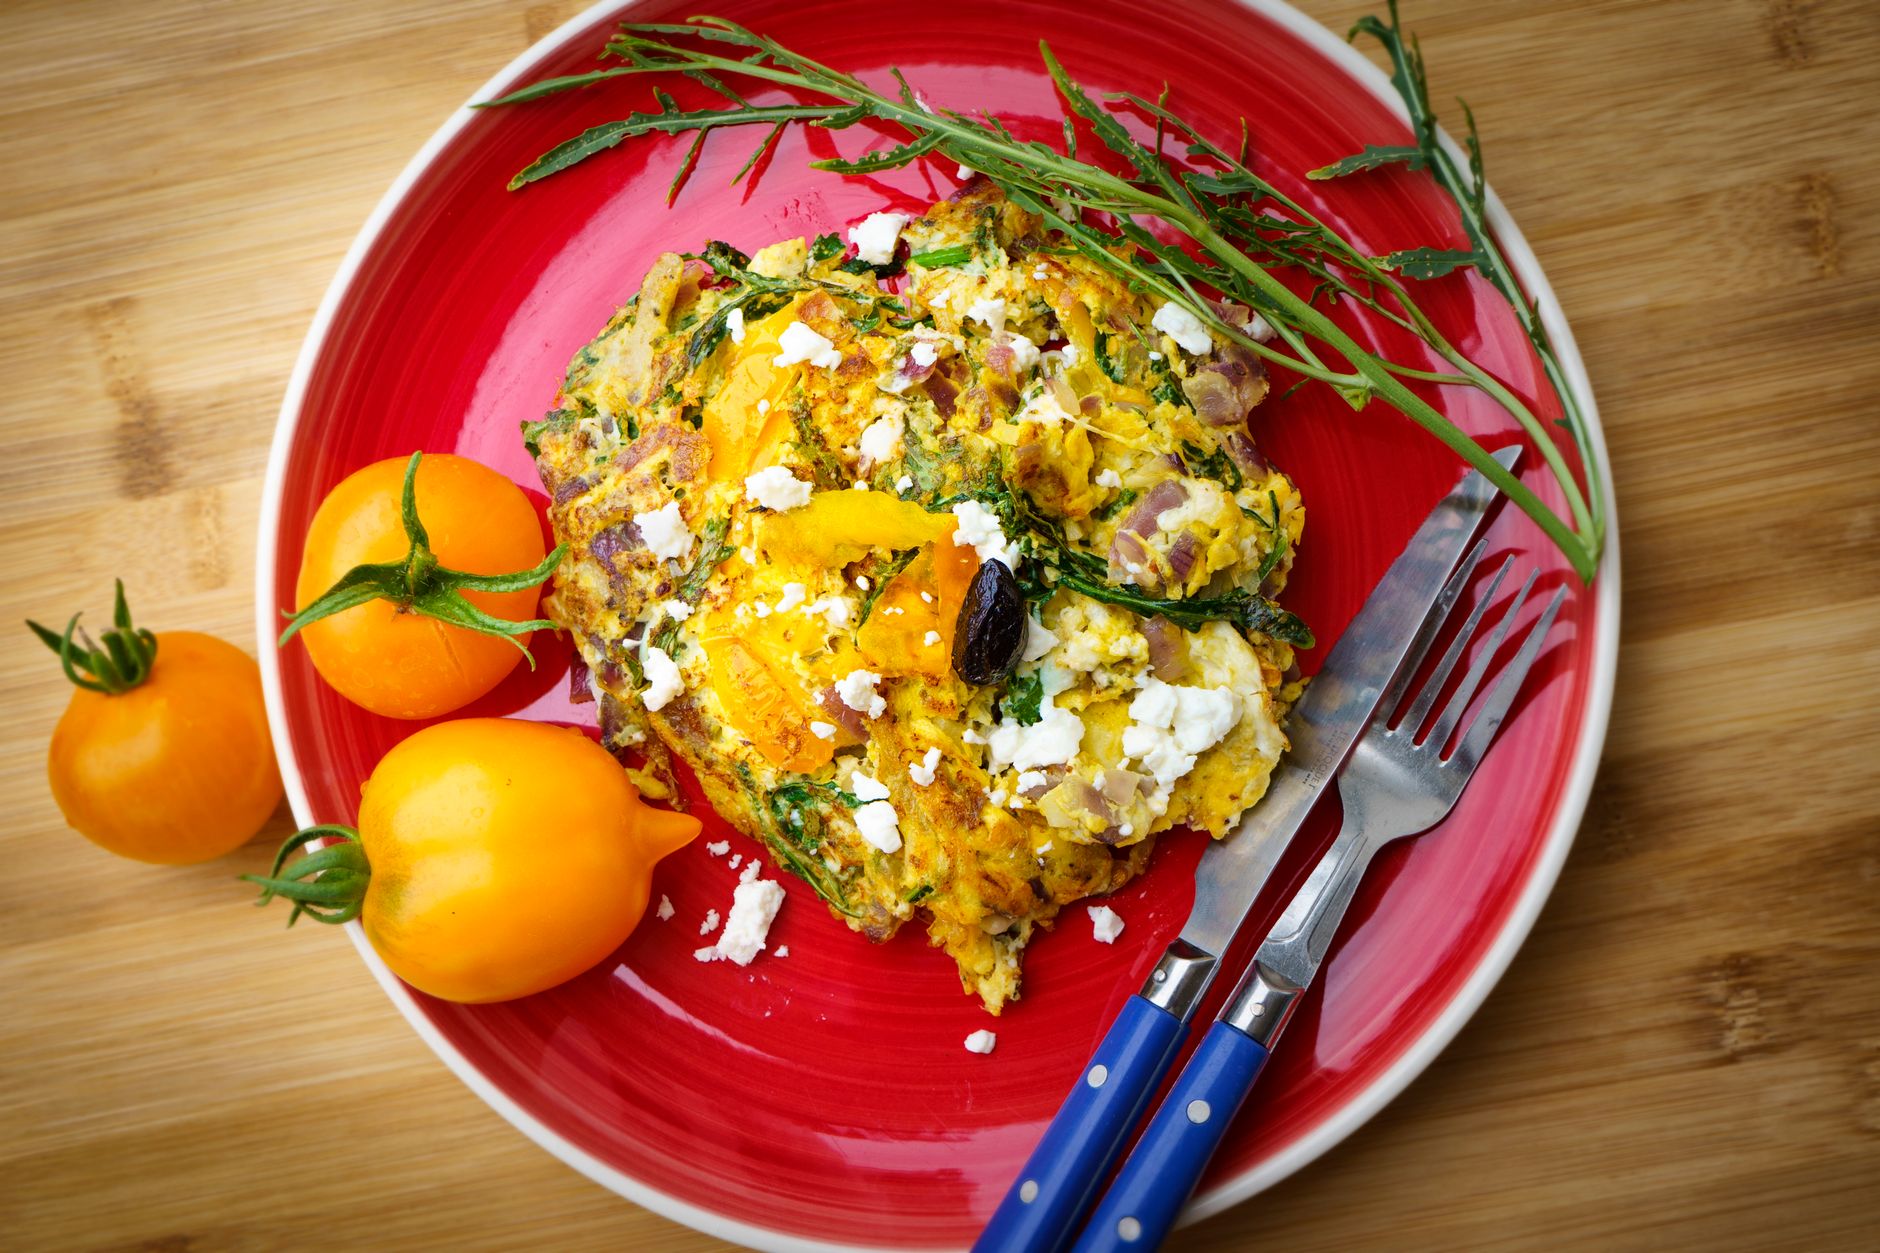
For a savory breakfast with hearty flavor, try Meat and potato scramble 3589762. It is a useful choice when you want a warm, filling meal rather than a portable snack.
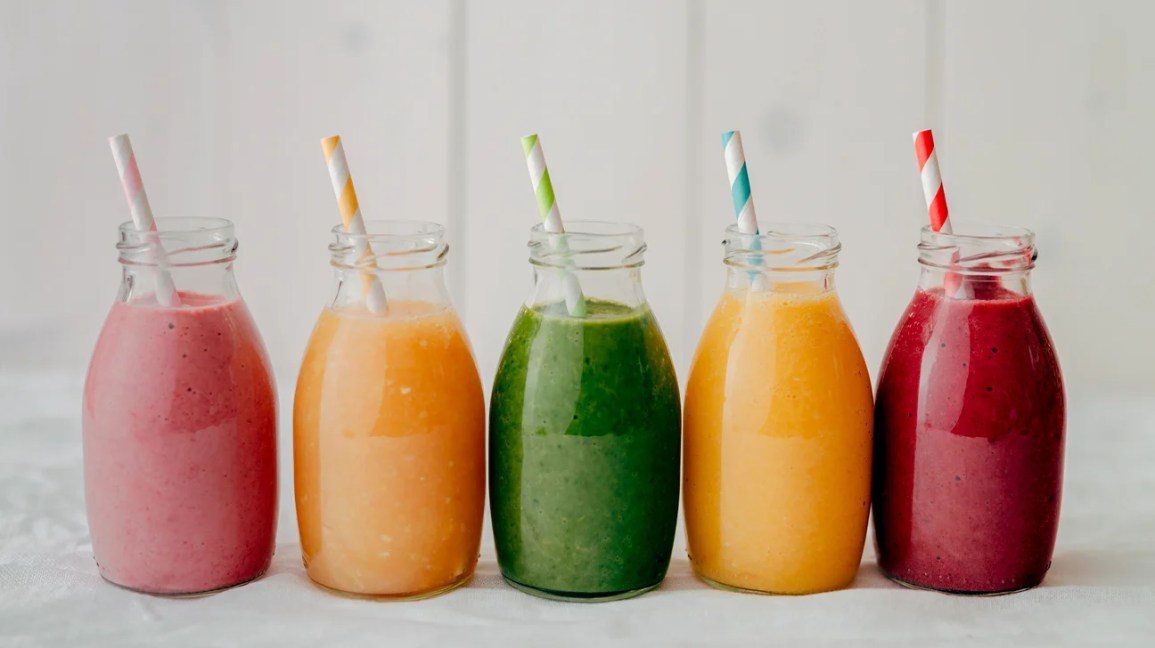
If you are planning a relaxed brunch, pair a small plate of these granola bites with an Orange cream mimosa recipe. The bright citrus flavor offers a pleasant contrast to the creamy peanut butter.
You can also prepare both the savory scramble and these no-bake bites for a mixed breakfast spread. The balls can be made first and chilled while you cook the hot dish.
Conclusion
This Granola Peanut Butter Balls Recipe is quick, flexible, and easy to shape into a convenient breakfast bite. The key is adding milk slowly and compressing each portion before rolling. Use your favorite granola, adjust the sweetness to suit your taste, and keep the finished balls chilled for the best texture. If you make a batch, leave a rating or share which variation worked best in your kitchen.
FAQs
When is the best time to eat Granola Peanut Butter Balls Recipe?
The best time to eat Granola Peanut Butter Balls Recipe is at breakfast or as a mid-morning or afternoon snack. Peanut butter and granola make them more filling than plain cereal, so they work well when you need something portable. Keep portions small, since honey adds natural sugar.
Can I substitute almond butter or sunflower seed butter in Granola Peanut Butter Balls?
Yes, you can swap in almond butter or sunflower seed butter for peanut butter, but the texture and flavor will change. Check the granola too, since many brands contain nuts. For a nut-free version, choose sunflower seed butter and a nut-free granola, and read labels carefully if you are serving someone with allergies.
How should I store Granola Peanut Butter Balls?
Store Granola Peanut Butter Balls in an airtight container in the refrigerator. If you stack them, place parchment paper between layers so they do not stick together. If you prefer a softer bite, let them sit briefly at room temperature before eating.
Why are my granola peanut butter balls too crumbly?
Crumbly balls usually need a little more liquid. Add milk one tablespoon at a time, mixing well after each addition, until the mixture presses together without becoming wet. Chilling the mixture briefly can also help the balls hold their shape.
Are Granola Peanut Butter Balls a healthy breakfast choice?
Granola Peanut Butter Balls can be a reasonable snack because peanut butter and granola provide protein, fat, and some fiber. Honey is still an added sugar, so portion control matters. Nutrition varies by brand, so check labels, and ask a doctor or dietitian for personal dietary advice.