Introduction
Easy Dutch oven camping recipes transform your outdoor meals with rich flavors and simple techniques. When you cook with a cast iron Dutch oven over a campfire, you unlock a campfire baking method that produces golden crusts and tender centers. These recipes bring both comfort and convenience to your camping baking techniques, making delicious meals possible without a complicated setup.
Using a Dutch oven outdoors is a fantastic way to enjoy hearty dishes that go beyond typical camping fare. Whether you‘re preparing gluten-free camping recipes or cast iron Dutch oven recipes with seasonal ingredients, these recipes help you savor every moment by the fire.
Key Benefits
Surprising Benefits of Easy Dutch Oven Camping Recipes
Easy Dutch oven camping recipes give you flavorful, evenly cooked meals by harnessing cast irons excellent heat retention. This cookware radiates warmth evenly, so food bakes thoroughly without burning edges or undercooked centersa common Dutch oven mistake among new campers. The result is a satisfying meal, easier to prepare than you might expect.
Who Should Try These Recipes
This collection suits campers of all levels, especially beginners aiming to impress with simple outdoor meals. It‘s also great for anyone interested in easy outdoor cooking that suits various dietary needs, including gluten-free camping recipes or vegetarian options. Versatility is a big plus when camping, and Dutch ovens cover savory and sweet dishes effortlessly.
What Sets This Version Apart
These recipes emphasize practical campfire baking techniques that campers often overlooklike managing coal placement and timing your heat exposure. This makes mastering a campfire baking method less intimidating and more rewarding. You‘ll gain confidence that can turn a rustic meal into a culinary highlight of your outdoor trip.
Ingredients & Preparation
| Prep time | Total time | Servings | Calories | Diet tags |
|---|---|---|---|---|
| 15 minutes | 60 minutes | 4 | ~350 | Gluten-Free, Dairy-Free (optional), Vegetarian (varies) |
Full Ingredient List and Substitutions
Typical ingredients include all-purpose or gluten-free flour, baking powder, salt, fresh or dried herbs, olive oil or butter, seasonal vegetables, and your choice of meat or plant-based protein. For gluten-free camping recipes, swap regular flour for almond or oat flour. Dairy-free versions use coconut oil or vegan butter instead of traditional butter. Keeping pantry staples light and adaptable helps with packing and fresh flavor.
Equipment Needed
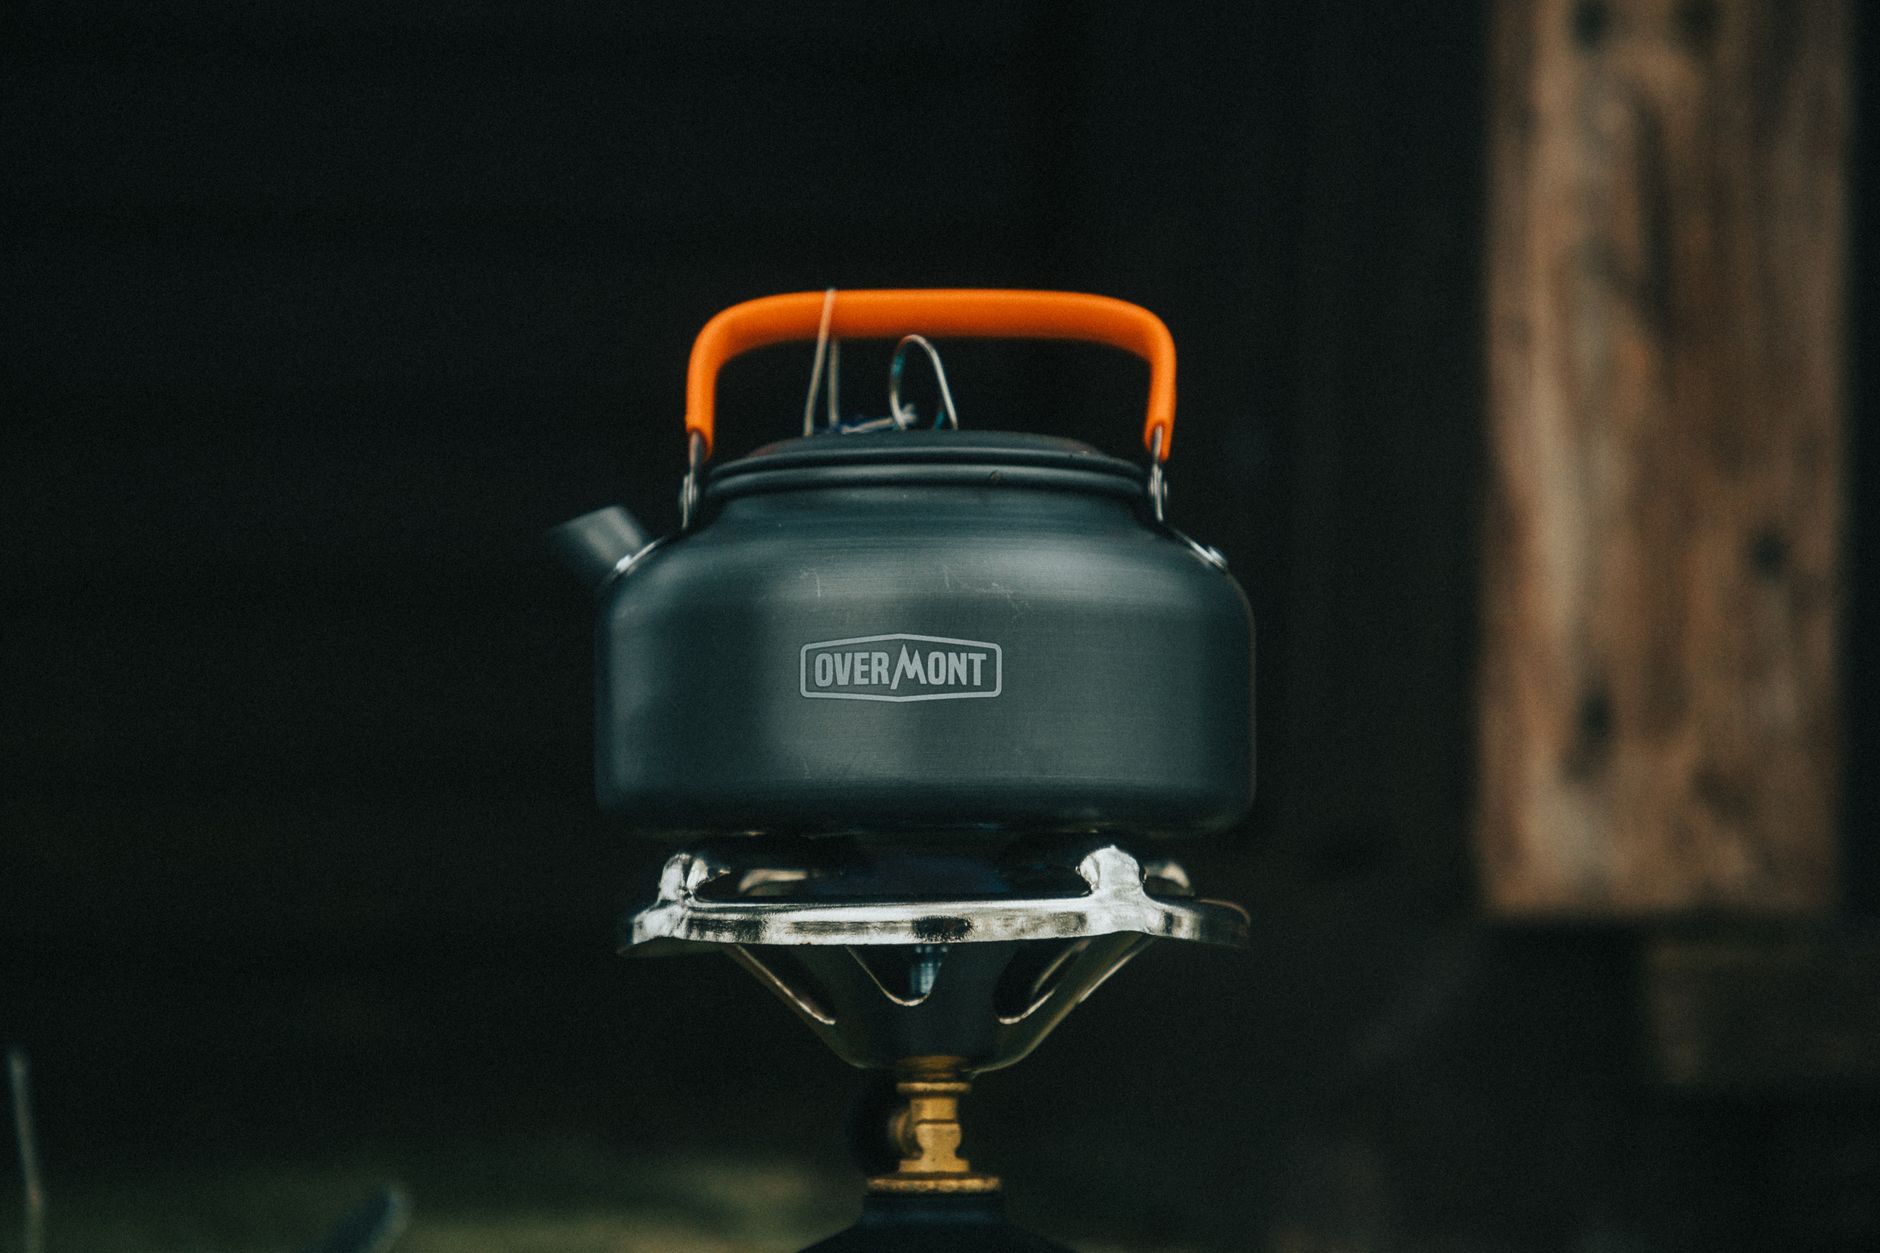
A well-seasoned cast iron Dutch oven is essential. Heat-resistant gloves and metal tongs protect your hands when handling hot cookware. Use charcoal briquettes or natural wood coals for steady heat. A thermometer designed for fire temperatures can help you maintain ideal baking heat, especially when mastering campfire baking method nuances.
Tips for Choosing Ingredients
Fresh, local produce enhances flavors and texture in your Dutch oven camping meals. Organic flours tend to give dough more structure and rise. Avoid pre-mixed baking blends containing preservatives, as they may affect the breads fluffiness and taste. Choose seasonal herbs and vegetables for a more vibrant aroma and earthy flavor.
Step-by-Step Instructions
Step 1 Prep Ingredients
Chop vegetables uniformly to ensure even cooking. Sift flour and leavening agents together for consistent baking results. Measure liquids precisely; cottage cheese or coconut milk work well in moist recipes. This prep step takes about 15 minutes and sets the stage for a smooth cooking process.
Step 2 Bake Over Coals
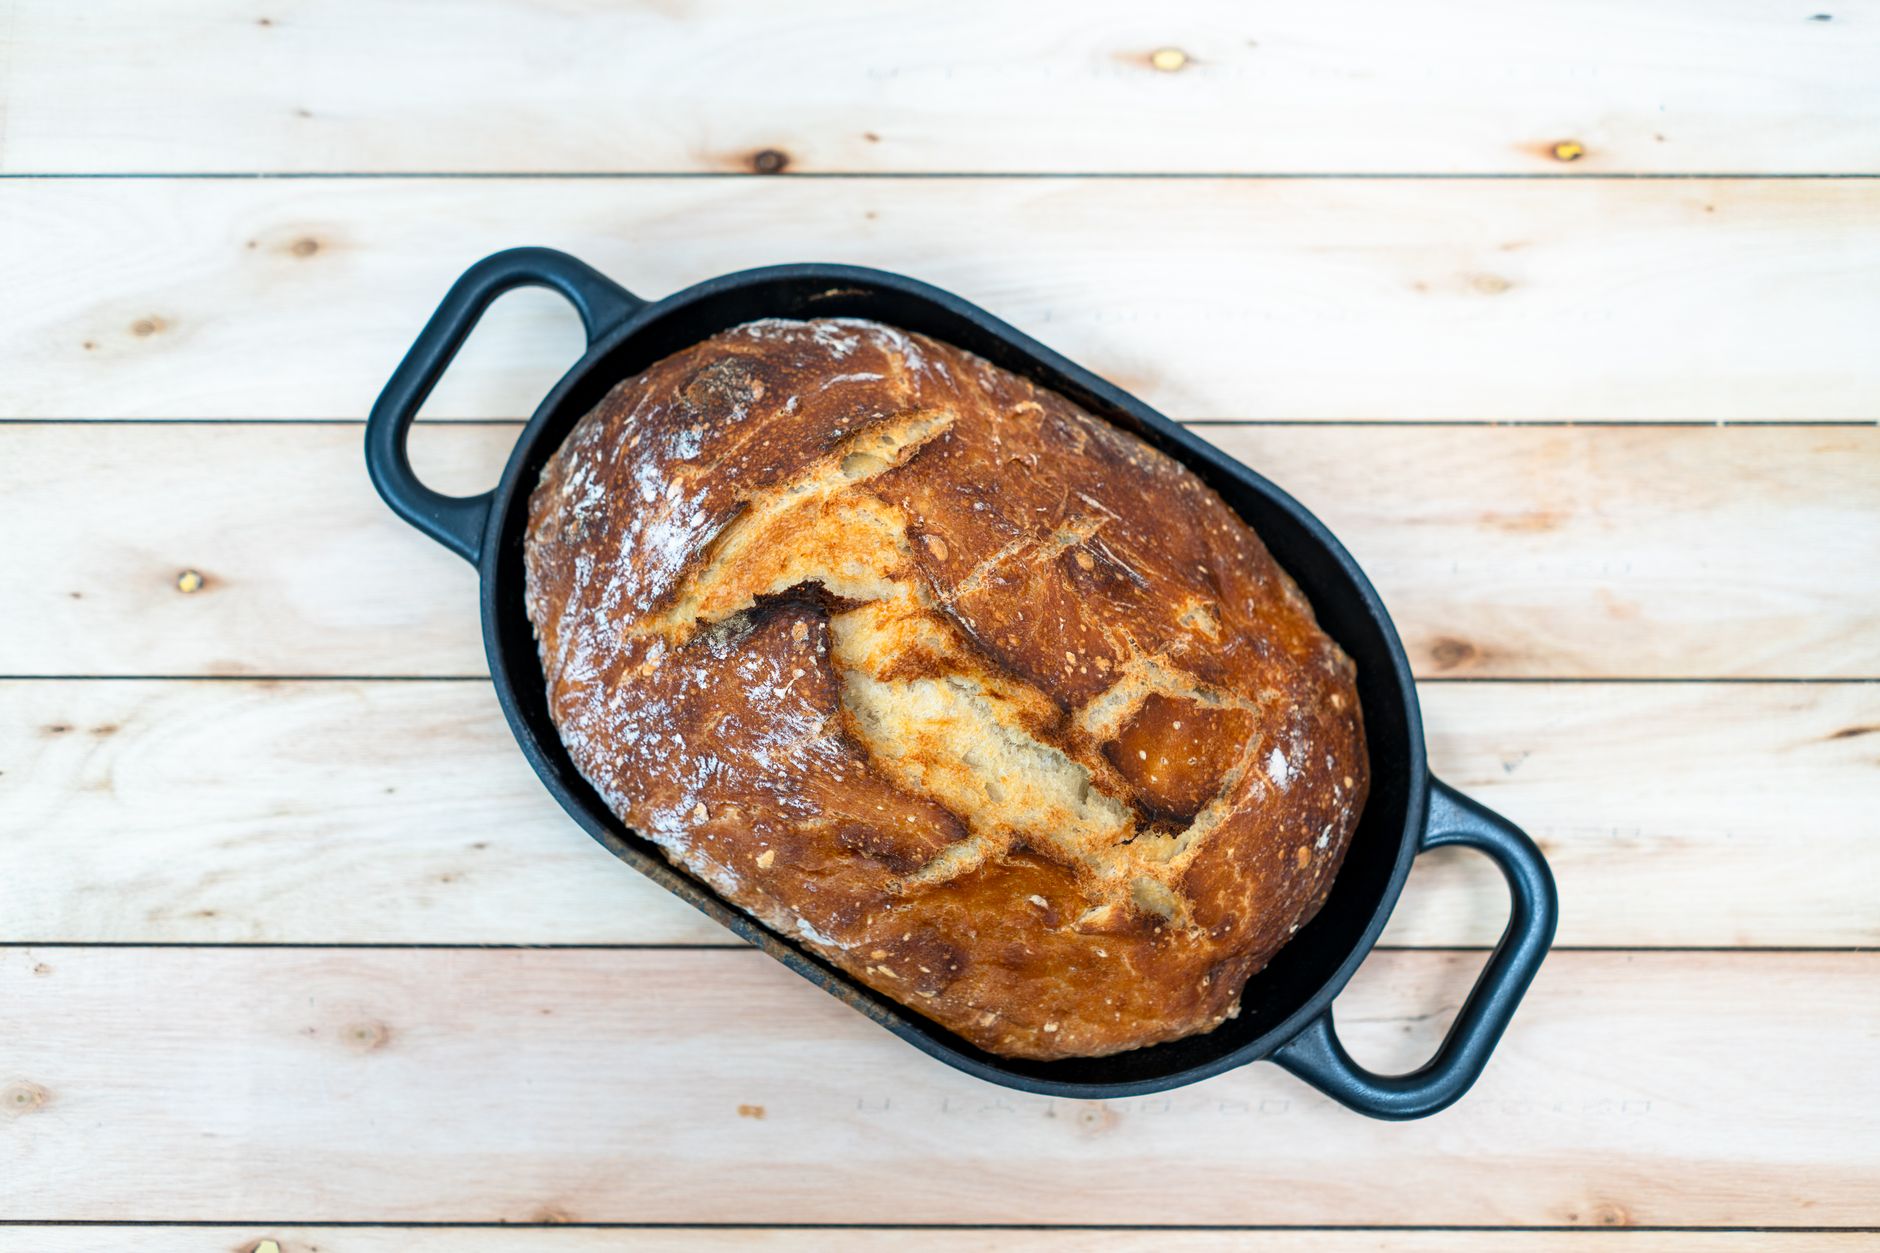
Arrange about 15 glowing coals under the Dutch oven and 10 atop its lid to maintain roughly 350F. Spread the coals evenly to allow gentle heat circulation. Adjust coal quantity every 10 to 15 minutes to prevent temperature dips or flare-ups. Maintaining this balance is key to a golden, crispy crust without burnt spots.

Step 3 Monitor & Finish
Check doneness around the 45-minute mark by inserting a toothpick into baked bread or casserole. If it comes out clean, the food is ready. After removing the Dutch oven from heat, brush melted butter or sprinkle fresh herbs over the surface to enhance aroma and flavor. Let the dish rest for 510 minutes before serving to allow flavors to settle.
Step 4 Serve or Store
Serve warm for the best texture and taste. For leftovers, pack airtight containers to preserve freshness. Let foods cool about 10 minutes before storage to avoid condensation, which can soften crusts. Store chilled items within 4 hours to remain safe for consumption.
Variations & Substitutions
Popular Variations
Try simple cast iron dutch oven recipes for camping that include gluten-free pizza crusts or layered vegetarian lasagna. These options are crowd-pleasers and easy to modify. For vegan-friendly meals, swap meat with beans, lentils, or tofu to maintain protein without compromising on texture or depth. These variations keep your camping baking techniques fresh and exciting.
Ingredient Swaps
Swap all-purpose flour with almond, oat, or chickpea flour to accommodate gluten-free diets. Use coconut oil or margarine if you need dairy-free fat options. For sweeter dishes, honey or maple syrup provide natural sugar substitutes. Adjust liquids accordingly if using denser flours to maintain dough consistency.
Adjusting Flavor & Texture
Increase herbs and spices to add bold notes. Cinnamon, nutmeg, or chili flakes work well depending on recipe style. Reduce sugar to tone down sweetness in desserts without losing moisture. Toast nuts or seeds before adding for extra crunchy texture and a nutty aroma that pairs well with campfire baking method results.
Storage & Shelf Life
Refrigerator Storage
Keep leftover Dutch oven camping meals in airtight containers. They stay fresh for 34 days chilled at 40F or below. Avoid moisture buildup by placing paper towels inside containers to absorb any condensation.
Freezer Method
Wrap dishes tightly in foil or freezer bags. Freeze up to 2 months without compromising texture or flavor. Defrost overnight in the refrigerator before reheating gently over low heat or in the Dutch oven to retain moisture balance.
Make-Ahead Tips
Prepare dough or spice mixes at home and refrigerate up to 24 hours ahead. For longer storage, freeze prepped ingredients separately and assemble onsite. Use durable glass or BPA-free plastic containers labeled with date and contents for simple tracking.
Pro Tips & Troubleshooting
Practical Tips
Use finely chopped charcoal for consistent heat distribution, especially when adjusting coals on the fly. Avoid stirring dough excessively to maintain a fluffy texture. Preheat your Dutch oven by warming it near the fire for a few minutes before adding food to prevent sticking and ensure even heat.
Fixing Common Issues
Gray or pale crust indicates your fires too cooladd more coals or increase heat duration next time. If the crust tastes bitter, herbs may have overcooked; add fresh herbs after baking instead. Dense bread typically means dough was overworked or heat was unevenly applied. Test your campfire baking method gradually to find perfect timing.
Expert Upgrade
Sprinkle coarse salt or sea salt flakes on the surface before baking to enhance crust texture and deepen flavor. For moist casseroles, add a small pan of water inside the Dutch oven to create steam and keep dishes tender. This technique improves the aroma and improves results that rival oven baking.

When is the best time to eat easy Dutch oven camping recipes?
Easy Dutch oven camping recipes fit perfectly at lunch or dinner during your camping trip. Their hearty nature makes them great as comfort meals after hiking or outdoor activities. You can also prepare some dishes ahead and reheat them for a warm, satisfying start or finish to your day outdoors.
Can I make a big batch ahead of time?
Absolutely. Prepare dough or mixes at home and store in the fridge for up to 24 hours. For longer storage, freeze components separately. This saves time onsite and reduces camp setup, letting you focus on the experience.
Should I use fresh or dried herbs for these recipes?
Fresh herbs provide brighter flavors and work well when added at the end of cooking. Dried herbs suit longer cooking times and add depth to hearty dishes without overpowering. Keeping both types on hand allows you to tailor your meals depending on freshness and recipe requirements.
Are these recipes safe for children and pregnant women?
Yes, when cooked thoroughly and handled carefully. Avoid raw dough or undercooked ingredients. Supervise children around hot cookware, and ensure foods reach safe internal temperatures for all family members.
How often can I enjoy Dutch oven camping recipes?
As often as you camp! These recipes are nutritious and versatile enough for regular outdoor meals. Rotating flavors and ingredients keeps things exciting, and mastering campfire baking method allows you to experiment without stress.
Why does my bread sometimes come out too dense or dry?
Dense bread often results from overworking the dough or uneven heat. Similarly, using too many coals or baking too long can cause dry crusts. Monitor your heat carefully and handle dough gently to avoid common Dutch oven mistakes.
What foods pair well with Dutch oven camping recipes?
Roasted seasonal vegetables, fresh herb salads, and warm campfire coffee or herbal teas complement baked meals beautifully. Simple sides enhance the overall experience and are easy to prepare alongside your main dish.
More Recipes You Will Love
Explore simple cast iron dutch oven recipes for camping to expand your outdoor cooking repertoire. Their straightforward instructions suit beginners and experienced campers alike.
For sweet treats, the Mary berry shortcrust pastry recipe offers a delicate base perfect for campfire desserts.
Try the Cranberry orange scones recipe 1917131 for a tangy, fragrant breakfast option that pairs well with your Dutch oven baking adventures.
Conclusion
Easy Dutch oven camping recipes bring reliable, delicious meals to your outdoor adventures. Using simple baking tips and mastering heat control, you can enjoy golden crusts and flavorful interiors every time. Try these recipes on your next trip, and feel free to share your experience or rate the dishes. For more inspiration, check out our campfire bread recipe next!
FAQs
When is the best time to eat easy dutch oven camping recipes?
Easy Dutch oven camping recipes are ideal for lunch or dinner during your camping trip. Their hearty and comforting nature makes them perfect after hiking or outdoor activities, and you can also prepare some dishes ahead to enjoy warm meals anytime.
Can I make a big batch of Dutch oven camping recipes ahead of time?
Yes, you can prepare dough or spice mixes at home and store them in the fridge for up to 24 hours. For longer storage, freeze ingredients separately to save time at the campsite and reduce your setup effort.
Should I use fresh or dried herbs in these recipes?
Fresh herbs provide brighter, more vibrant flavors and are best added near the end of cooking. Dried herbs work well for longer cooking times, delivering deep flavor without overpowering your dishes. Having both on hand offers recipe flexibility.
Are these recipes safe for children and pregnant women?
Yes, they are safe when cooked thoroughly and handled with care. Always avoid raw or undercooked ingredients, supervise children around hot cookware, and ensure foods reach safe internal temperatures before serving.
Why does my bread sometimes come out too dense or dry when using a Dutch oven camping recipe?
Dense bread often results from overworking the dough or uneven heat distribution. Dry or bitter crusts can be caused by too many coals or baking too long. Monitoring heat carefully and handling dough gently helps avoid these common issues.