


Introduction
Why dutch oven chicken breast and rice delivers tender, juicy results
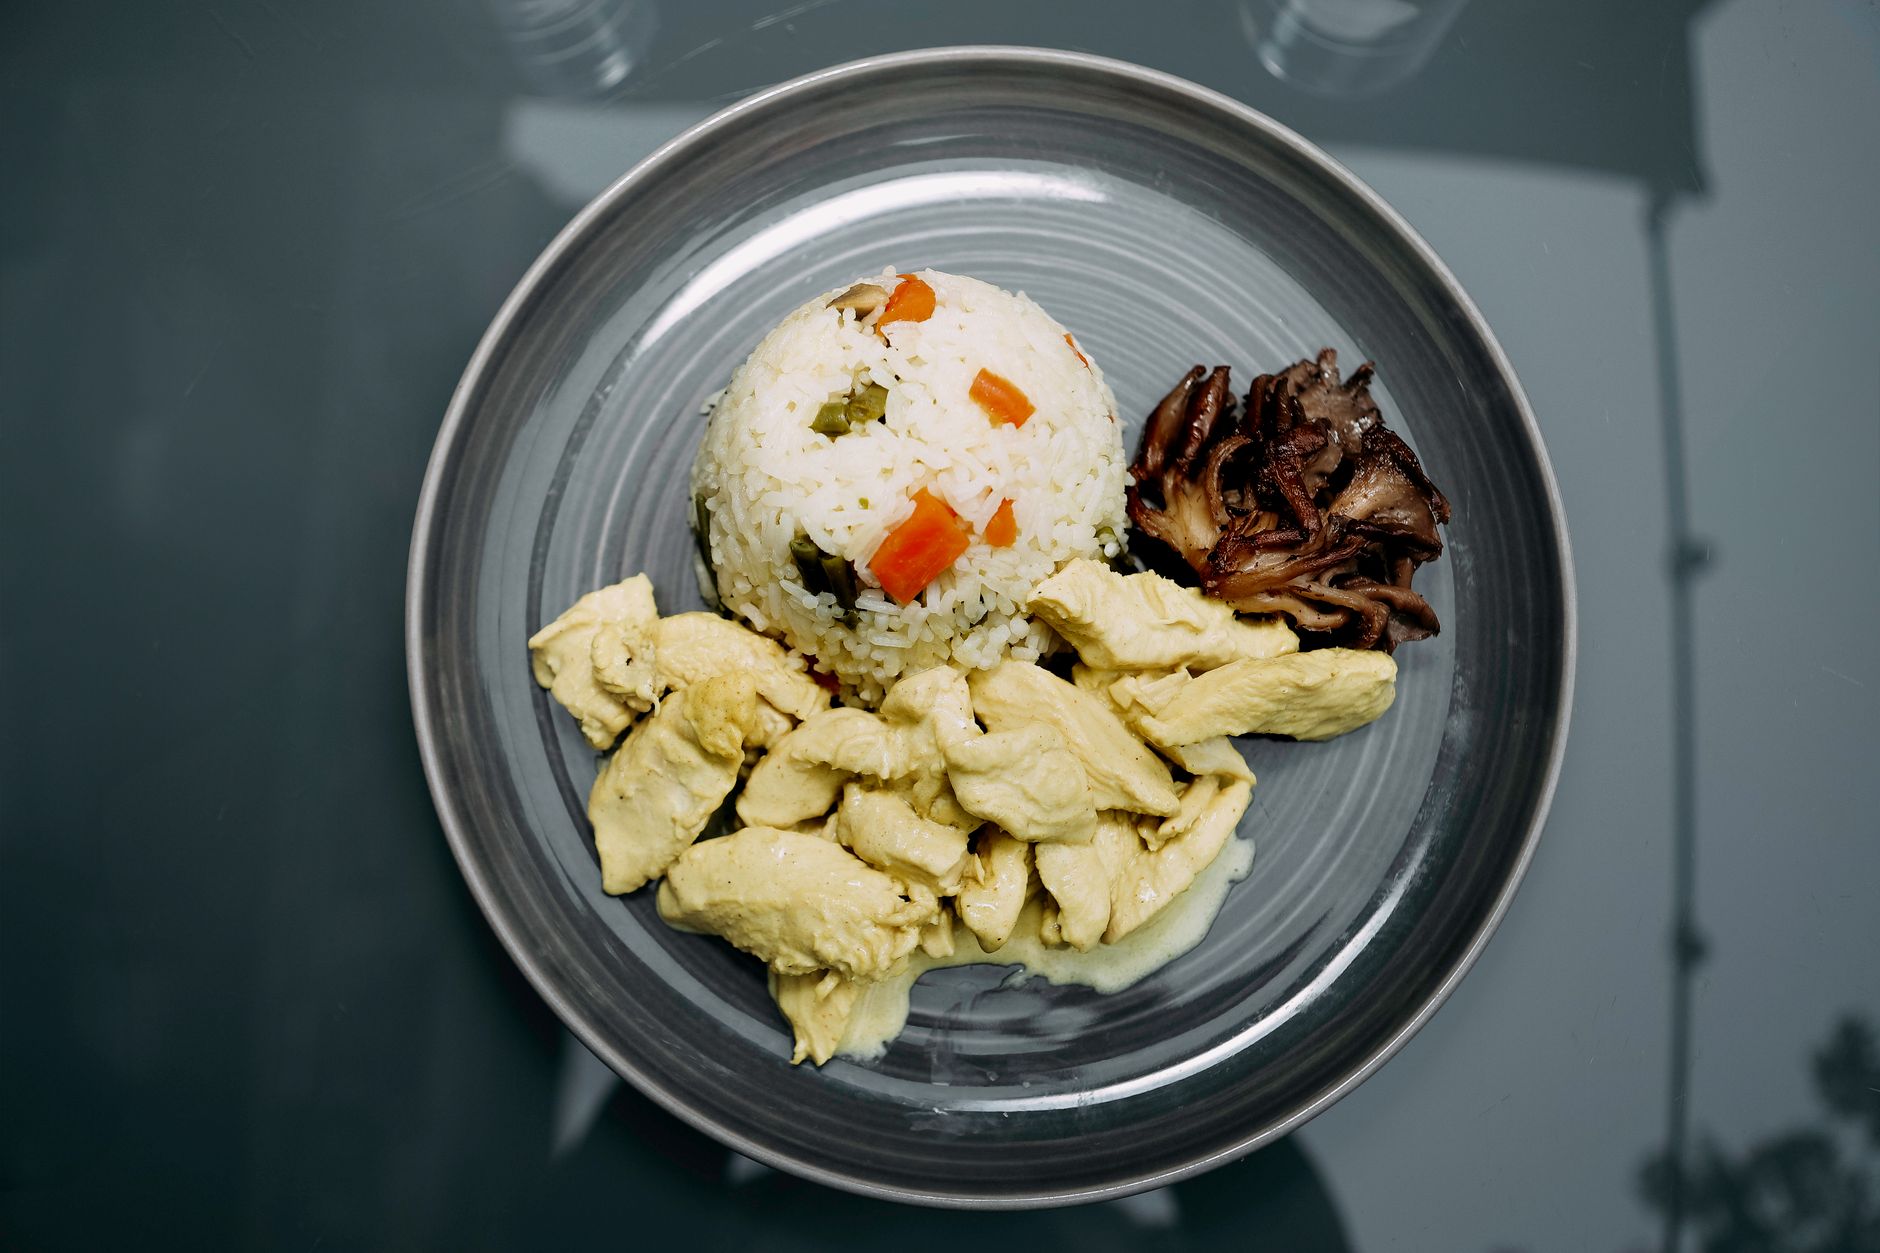
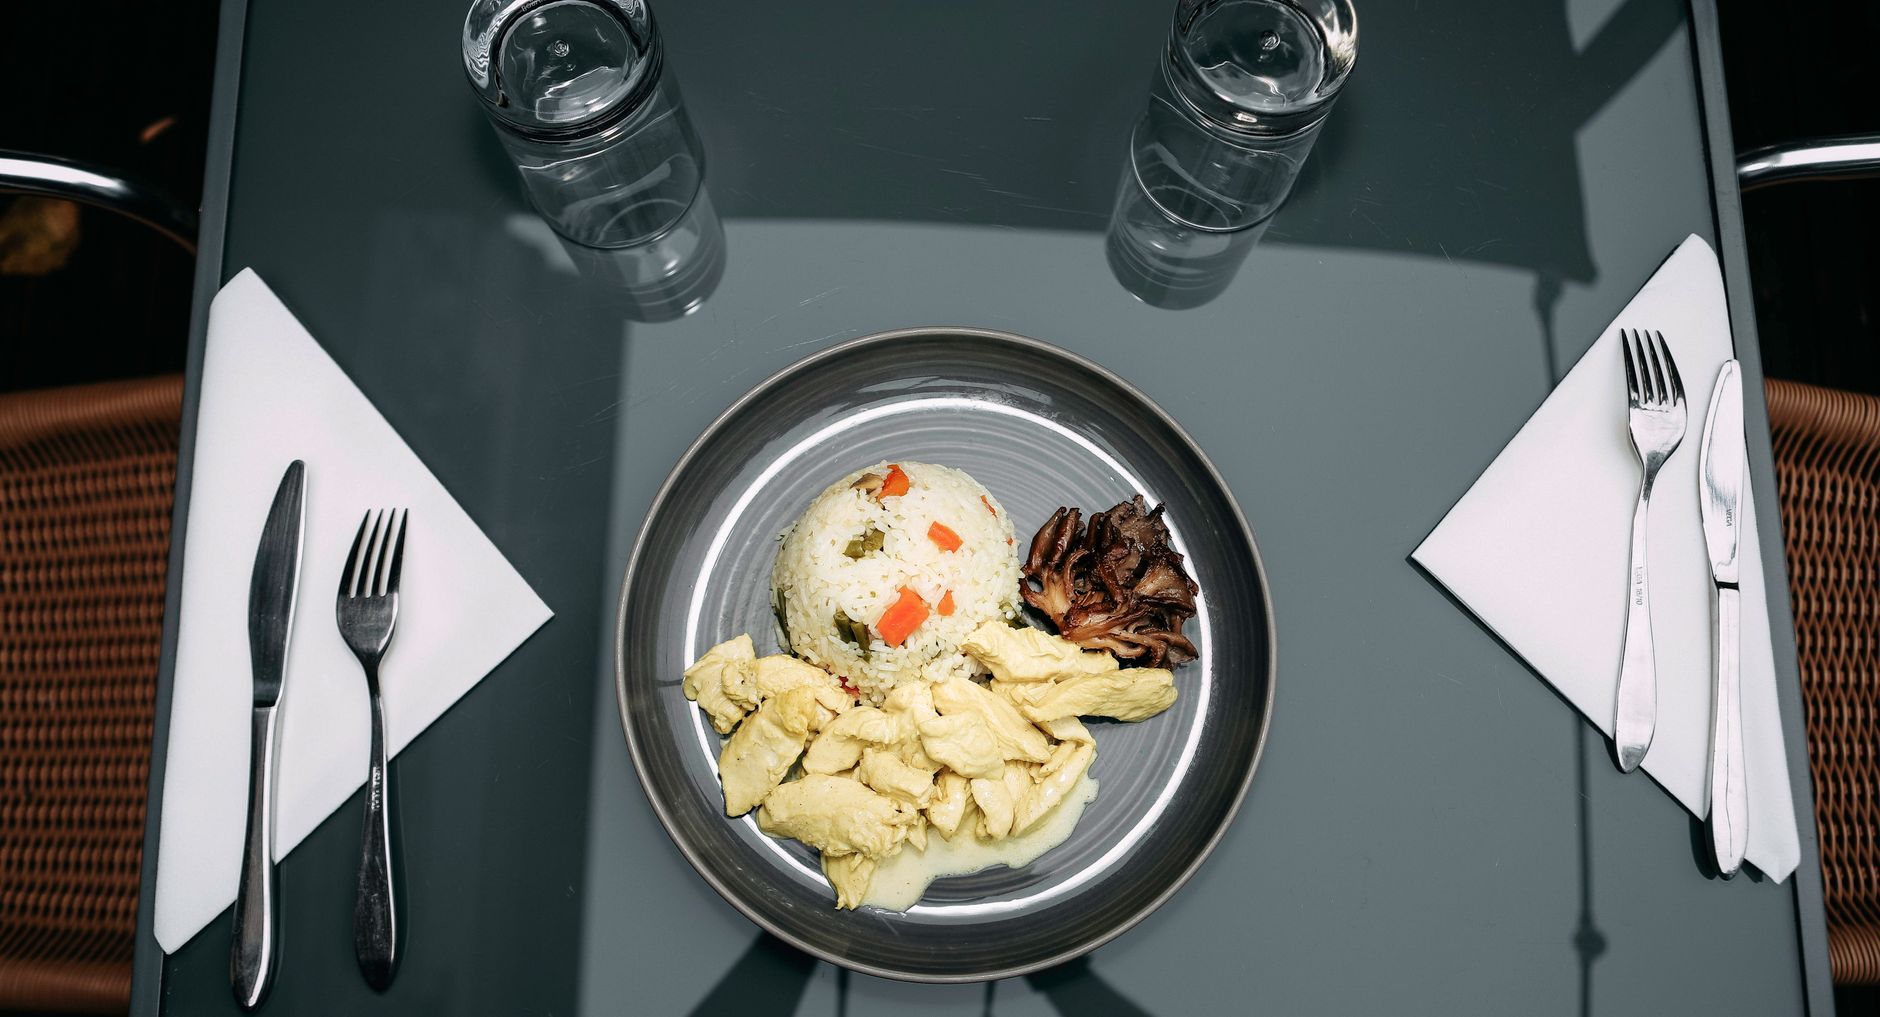
The dutch oven chicken breast and rice method locks in moisture and flavor using gentle baking and steam. Cooking in a heavy, sealed pot evenly distributes heat, creating tender chicken with fluffy rice beneath. This combination prevents dry chicken breasts by allowing the rice and broth to steam alongside, keeping everything perfectly moist. Its a cozy, satisfying meal perfect for busy weeknights when you want something simple but delicious.
Who this recipe suits skill level, lifestyle, and dietary needs
This baked chicken breast and rice recipe is ideal for cooks of any skill level. Beginners will appreciate the easy one-pot chicken dinner format, while more experienced cooks can enjoy customizing flavors. It fits well in gluten-free meal plans and suits those seeking reliable comfort food. Plus, this method frees up stove space and saves timegreat for families and busy schedules.
What sets this dutch oven chicken breast and rice apart from other recipes
Compared to stovetop or slow cooker versions, this oven-baked chicken and rice method delivers a slightly crisp, golden exterior on the chicken while steaming the rice perfectly underneath. Minimal stirring is required, so you can relax while it cooks. The dutch oven cooking technique also enhances flavor depth by sealing in aromas and juices, making this dish a dependable classic.
Key Highlights
Even heat and moisture retention create tender, juicy chicken and fluffy rice
The dutch oven traps steam and distributes heat evenly, preventing dry chicken breasts and clumpy rice. This environment cooks protein and starch in harmony, so each bite is tender with a melt-in-your-mouth texture. The sealed lid keeps moisture locked inside, which is key to the success of this recipe.
Simple ingredient base with room for versatile additions and seasonings
This recipe is built on a foundation of chicken, rice, broth, and aromatics, making it easy to prepare. You can add fresh herbs, vegetables, or spices for personalized flavor. The straightforward ingredients make it one of the easiest ways to enjoy tender chicken with fluffy rice without fuss.
Caution for those with dietary restrictions or sensitivities
While gluten-free by default when using appropriate broth and rice, those sensitive to rice should consider alternatives. Adjust salt levels for low-sodium diets and consult with healthcare providers if pregnant or nursing. Simple swaps can adapt the dish for various dietary needs.
Ingredients & Preparation
| Prep time | Total time | Servings | Calories | Diet tags |
|---|---|---|---|---|
| 10 minutes | 45 minutes | 4 | 380 per serving | Gluten-Free, Dairy-Free |
Complete ingredient list with quantities and substitution tips
- 4 boneless, skinless chicken breasts (about 6 oz each)
- 1 cups long-grain white rice (sub jasmine or basmati for aroma)
- 3 cups low-sodium chicken broth (sub vegetable broth for vegan variation with tofu)
- 1 medium onion, diced (sub shallots or green onions)
- 2 cloves garlic, minced (sub garlic powder if needed)
- 2 tablespoons olive oil or melted butter (use oil for dairy-free)
- 1 teaspoon smoked paprika (optional)
- Salt and pepper, to taste
Equipment needed Dutch oven vs other bakeware explained
A heavy cast-iron dutch oven is best for this recipe. Its heat retention and ability to seal moisture keeps chicken juicy with perfectly cooked rice. You can use ceramic or enameled cast iron pots as alternatives. Avoid shallow pans since they release steam quickly, which can dry out your chicken and rice.
Tips for choosing quality ingredients
Choose fresh, organic chicken breasts when possible for enhanced flavor and texture. Opt for broth without artificial additives to preserve a clean taste. Fresh garlic and onions provide a more aromatic base compared to dried or powdered variants, elevating the dishs overall flavor.
Step-by-Step Instructions
Step 1 Prep chicken and aromatics: rinse chicken, dice onion, mince garlic
Pat chicken breasts dry with paper towels to encourage browning. Dice the onion evenly to ensure uniform cooking. Mince garlic finely so the flavor distributes smoothly throughout the dish.
Step 2 Saut aromatics and brown chicken in dutch oven at medium heat for 5 minutes
Heat olive oil in the dutch oven over medium heat. Brown chicken breasts 3 minutes per side until golden and caramelized. Remove chicken and set aside. Saut onions and garlic in the same pan for 2 minutes or until translucent and fragrant.
Step 3 Add rice, paprika, broth; nestle chicken breasts atop. Cover and bake at 350F for 30 minutes
Stir rice and smoked paprika into the sauted aromatics, coating the grains well. Pour in chicken broth and bring to a simmer briefly on the stove, then arrange chicken breasts on top. Cover tightly and transfer to a preheated oven at 350F. Bake for exactly 30 minutes without lifting the lid to avoid steam loss. Check the rice near 28 minutes to prevent overcooking.
Step 4 Remove from oven, fluff rice gently; serve immediately or store in airtight container
Let the dutch oven rest for 5 minutes after removing from the oven. Fluff the rice carefully with a fork to separate grains. Serve right away for best texture. Store leftovers in airtight containers and refrigerate promptly.
Variations & Substitutions
Popular dietary variation make it keto by swapping rice with cauliflower rice (cook separately)
For a keto-friendly twist, substitute rice with cauliflower rice cooked stovetop. Since cauliflower releases moisture differently, avoid baking it with the chicken. Instead, roast chicken with aromatics in the dutch oven and serve atop sauted cauliflower rice.
Ingredient swaps use brown rice for nuttier flavor but increase baking time by 15 minutes
Switching to brown rice adds a hearty, earthy note but requires longer cookingabout 45 minutes total in the oven. The extra time ensures the grains soften fully.
Adjusting flavor add fresh herbs (thyme, parsley) or spice (cayenne, turmeric) to customize heat level
Fresh thyme or parsley added after baking brightens the dish. For more heat, sprinkle cayenne pepper with paprika or stir turmeric into the broth for an earthy, vibrant touch. Turmerics absorption is enhanced with fats like olive oil, according to a 2023 study in the Journal of Nutritional Biochemistry.
Storage & Shelf Life
Refrigerator storage keeps well for 34 days in a sealed glass or BPA-free plastic container
Place leftovers in airtight containers immediately after cooling. Store in the fridge for up to 4 days to maintain optimum freshness and safety.
Freezer storage freeze in portioned airtight containers for up to 3 months; thaw overnight in fridge
Divide the dish into meal-sized portions and seal tightly in freezer-safe containers. Freeze for up to 3 months. Thaw overnight in the refrigerator before reheating for best texture.
Make-ahead batch tips double ingredients; store in portion-size containers; label with date and reheating instructions
Prepare larger batches by doubling the recipe. Store in individual servings to speed up future meals. Label containers with the cooking date and reheating instructions for convenience.
Pro Tips & Troubleshooting
Prevent staining your hands and counters wear gloves or rinse immediately after handling paprika or turmeric
Smoked paprika and turmeric can leave stains on skin and surfaces. Wearing disposable gloves while seasoning or rinsing hands and countertops immediately helps prevent stubborn marks.
Fix dry or rubbery chicken check oven temperature accuracy; avoid overbaking
If your chicken turns out dry, your oven temperature might be too high or uneven. Use an oven thermometer to verify accuracy and follow baking times exactly. Removing the lid too often releases steam, leading to dryness.
Expert upgrade add a squeeze of fresh lemon juice or zest after baking to brighten flavors
A touch of fresh lemon juice or grated lemon zest right before serving cuts through richness. This simple step adds airy brightness to each bite and complements smoky paprika beautifully.
When is the best time to eat dutch oven chicken breast and rice?
This dish is perfect for lunch or dinner, especially after a busy day when you want a comforting, filling meal that requires little prep. Its versatility and ease make it a reliable choice any day of the week.
Can I make a big batch ahead of time?
Yes, this recipe scales well. Cooked portions store in airtight containers in the fridge for 34 days or freezer for up to 3 months. Reheat gently to preserve moisture and texture.
Fresh chicken or pre-cooked which gives better results?
Raw fresh chicken breasts baked with rice deliver juicier, more tender results. Pre-cooked chicken can dry out during the baking process, so its best to cook chicken fresh as per recipe instructions.
Is this recipe safe for pregnant women and children?
Fully cooked chicken and rice is safe for pregnant women and kids. However, limit or omit added salt if advised by a healthcare professional.
How often can I eat this dish?
This recipe can be enjoyed regularly as part of a balanced diet. Varying proteins and vegetables alongside helps keep meals nutritionally diverse.
Why does my chicken taste dry or bland?
Overbaking or insufficient seasoning often causes dryness or blandness. Monitor oven time closely and adjust salt and spices to your taste before baking.
What pairs well with dutch oven chicken breast and rice?
Try pairing this meal with steamed green beans, roasted Brussels sprouts, or a crisp garden salad. A light white wine also complements the flavors nicely for adults.
More Recipes You Will Love
Cozy up with the how long to cook chicken breast in le creuset guide, perfect for mastering different Dutch oven cooking technique details.
If youre in the mood for something sweet afterward, check out our 4 ingredient banana bread (no sugar), a quick baked treat.
Wondering how to use leftovers efficiently? Explore What to do with egg yolks for creative kitchen ideas.
Conclusion
This dutch oven chicken breast and rice recipe combines tender chicken with fluffy rice in one simple, oven-baked dish. Its easy steps and foolproof technique make it a handy go-to for quick, comforting meals. Try it tonight and enjoy the savory aroma filling your kitchen. Feel free to leave a comment or star rating to share how it turned out. For more warm classics, explore our other one-pot recipes anytime.
FAQs
When is the best time to eat dutch oven chicken breast and rice?
This dish is ideal for lunch or dinner, especially after a busy day when a comforting, filling meal is desired. Its ease and versatility make it a reliable choice any day of the week.
Can I make a big batch of dutch oven chicken breast and rice ahead of time?
Yes, this recipe scales well. Store cooked portions in airtight containers in the fridge for up to 4 days or freeze for up to 3 months. Reheat gently to preserve moisture and texture.
Is it better to use fresh or pre-cooked chicken breasts for this recipe?
Using fresh raw chicken breasts delivers juicier, more tender results since they bake with the rice. Pre-cooked chicken can dry out during baking, so cooking fresh is recommended.
Is dutch oven chicken breast and rice safe for pregnant women and children?
Fully cooked chicken and rice are safe for pregnant women and children. However, salt amounts should be limited or omitted if advised by a healthcare professional.
Why does my dutch oven chicken breast taste dry or bland?
Dryness or blandness usually results from overbaking or under-seasoning. Check oven temperature accuracy, follow baking times closely, and adjust salt and spices before cooking for best flavor.


