Why Crispy Potato Stacks Are a Must-Try
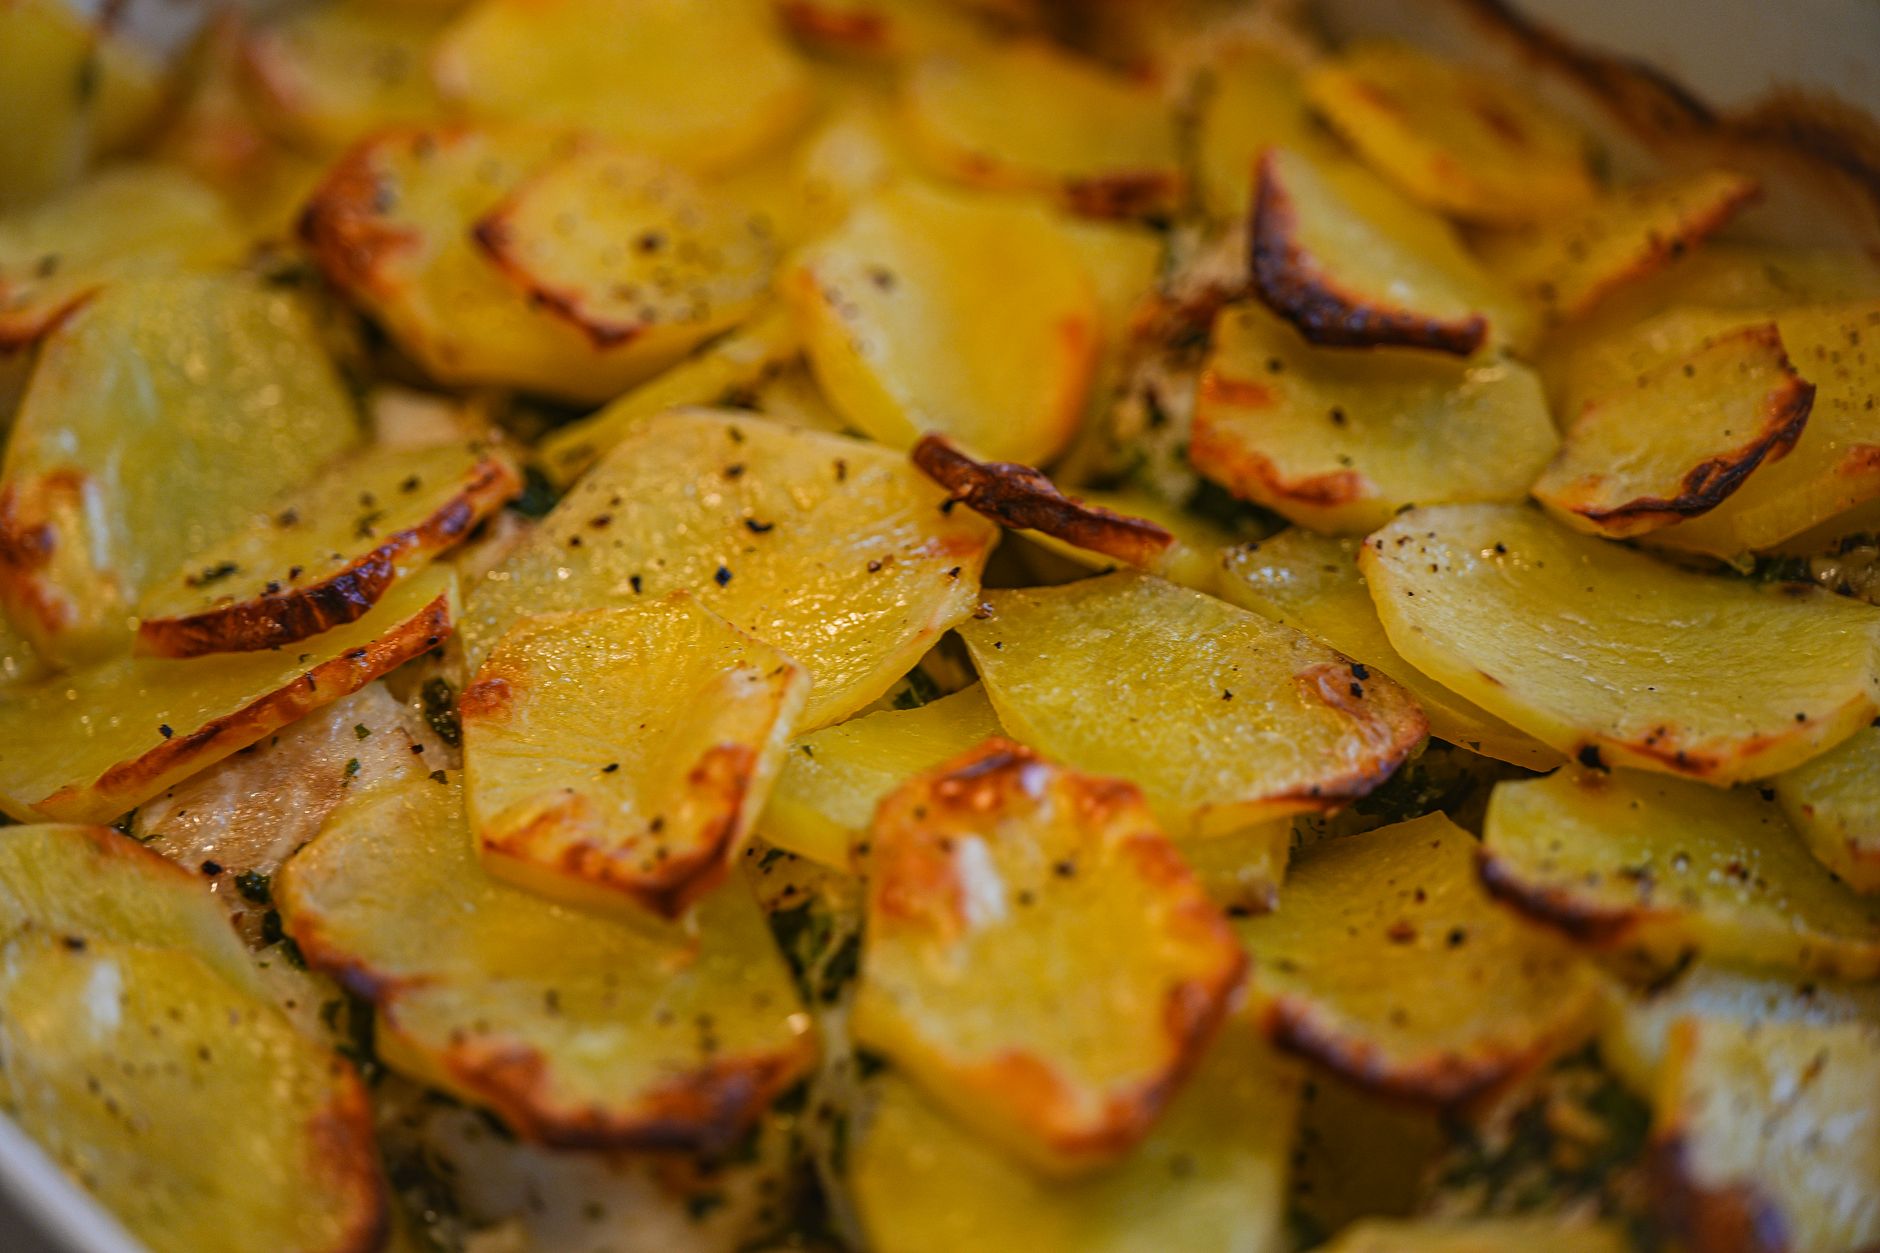
Imagine slices of potatoes, golden and crisped perfectly at the edges, layered with fragrant herbs and melted butter. Crispy potato stacks deliver that satisfying crunch alongside a tender, melt-in-your-mouth center. This side dish strikes a beautiful balance between rustic comfort and refined presentation, making it ideal for autumn dinners or any special occasion. Using both russet and sweet potatoes adds a subtle sweetness and earthy richness, while fresh sage and thyme lift the flavor with aromatic notes. Once you try these, they’ll quickly become a staple on your vegetable recipe rotation.
Health Benefits & Nutrition
Potatoes, when enjoyed thoughtfully, offer more than comfort—they come packed with nutrition. Russet and sweet potatoes provide ample dietary fiber, which supports healthy digestion and blood sugar control (Harvard T.H. Chan School of Public Health). Sweet potatoes are high in beta-carotene, an antioxidant converted to vitamin A that supports immune function and vision (NIH). Plus, both types contain potassium, essential for maintaining healthy blood pressure. The inclusion of fresh herbs like sage and thyme adds flavonoids with anti-inflammatory properties. Note, however, if you are watching sodium intake, adjust the salt added to fit your dietary needs.
Ingredients & Preparation
Recipe Card
| Prep Time | Total Time | Servings | Calories Per Serving | Diet Tags |
|---|---|---|---|---|
| 15 minutes | 55 minutes | 12 | 190 | Vegetarian, Gluten-Free |
Full Ingredient List
- 12 tablespoons (1 1/2 sticks) unsalted butter, melted
- 1 pound russet potatoes
- 1 pound sweet potatoes
- 1 tablespoon fresh sage, chopped
- 1 tablespoon fresh thyme, chopped
- 1 clove garlic, grated
- Kosher salt, to taste
- Freshly ground black pepper, to taste
- 1/4 cup grated Parmesan cheese
- Nonstick cooking spray
Equipment Needed
- Mandoline slicer (for thin, even potato slices)
- 12-cup muffin tin
- Microwave-safe bowl or small saucepan (for melting butter)
- Offset spatula or small butter knife
- Mixing bowl
Tips for Choosing Quality Ingredients
- Select firm russet and sweet potatoes without blemishes, sprouts, or soft spots—this ensures freshness and crisp texture.
- Use fresh aromatic herbs picked within the week to preserve vibrant flavor and fragrance.
- Opt for a high-quality unsalted butter to control seasoning and maximize creaminess.
- Choose Parmesan with a dusty rind for the best nutty aroma and melt.
Step-by-Step Instructions
Step 1: Prepare Oven and Muffin Tin (10 minutes)
Preheat your oven to 425°F (220°C). Generously spray a 12-cup muffin tin with nonstick cooking spray to ensure the potato stacks release easily after baking.
Step 2: Slice and Season Potatoes (10 minutes)
Using a mandoline on the thinnest setting (approximately 1/16 inch), slice both russet and sweet potatoes evenly. Transfer the slices to a large mixing bowl. Add melted butter, chopped fresh sage, thyme, grated garlic, 1 1/2 teaspoons kosher salt, and several grinds of black pepper. Toss gently but thoroughly until every slice is coated with the herb-infused butter mixture.
Step 3: Assemble the Potato Stacks (5 minutes)
Layer the potato slices vertically inside each muffin cup, alternating russet and sweet potatoes for visual contrast and flavor balance. Build the stacks until they rise roughly 1 inch above the muffin cup’s rim, packing fresh slices tightly together.
Step 4: Bake Until Golden and Crispy (25 minutes)
Bake the stacks in your preheated oven for approximately 25 minutes. The edges will turn a deep golden brown and become irresistibly crispy, while the centers remain tender and buttery.
Step 5: Rest and Release from Muffin Tin (5 minutes)
Remove the muffin tin and let the stacks cool for about 5 minutes. Use a small offset spatula or butter knife to carefully run around each stack’s edges, loosening them from the tin. Transfer to a serving platter.
Step 6: Garnish and Serve
Generously sprinkle the tops of each potato stack with grated Parmesan. Serve immediately to enjoy the contrast of crispy edges and creamy interiors.
Variations & Substitutions
- Cheese Options: Swap Parmesan for Asiago or Pecorino Romano to add a sharper, tangier note.
- Herb Mix: Replace sage and thyme with rosemary and oregano for a woodsy flavor twist.
- Butter Alternatives: Use olive oil infused with garlic and herbs for a dairy-free version, enhancing the stacks with a fruity aroma.
- Potato Combo: Experiment with purple potatoes or Yukon golds for striking colors and subtle flavor changes.
- Added Layers: Add thin slices of caramelized onions or sprinkle minced roasted garlic between layers for extra depth.
Storage & Shelf Life
Refrigerator: Store leftover crispy potato stacks in an airtight container in the fridge for up to 3 days. Reheat in a 375°F oven for 10–15 minutes to revive crispiness.
Freezer: While the stacks are best enjoyed fresh, you can freeze them tightly wrapped in foil and plastic wrap for up to 1 month. Reheat gently in the oven until hot and crisp.
Signs of Spoilage: Discard any potato stacks that develop off-odors, mold, or slimy texture. Also, if the surface turns mushy or excessively browned, it’s best to avoid consumption.
Pro Tips
- Uniform Slicing: Use a mandoline to slice potatoes evenly, which ensures uniform cooking and stacking stability.
- Dry Slices: After slicing, pat potatoes dry with paper towels if they feel wet; excess moisture can reduce crispness.
- Pack Tight: Press slices firmly when layering to encourage the stacks to hold shape and cook evenly.
- Butter Temperature: Melt butter just until liquid, avoiding browning before mixing with potatoes—this preserves the fresh herb flavors.
- Use an Offset Spatula: For easy release, gently loosen edges with a flexible offset spatula instead of forcing, preventing breakage.
- Golden Color: Swapping part of the butter for clarified butter intensifies browning without burning.
When is the best time to eat Crispy Potato Stacks?
These potato stacks shine as a special side dish for dinner parties, holiday meals, or cozy autumn suppers. They pair beautifully with roasted meats, poultry, or even a vegetarian main. Serve them hot and fresh from the oven to enjoy their peak crispiness and warm, buttery aroma.
Can I make Crispy Potato Stacks ahead of time?
You can assemble the stacks and refrigerate them for up to 24 hours before baking. Cover tightly with plastic wrap to avoid drying out. Bake from chilled, adding a few extra minutes to the cooking time to ensure full cooking and crisping.
Are there vegan alternatives for this recipe?
Absolutely! Replace butter with olive oil or a plant-based margarine and omit the Parmesan or use vegan cheese. Fresh herbs still amplify flavor beautifully, keeping stacks both crispy and delicious.
Can I use a different type of potato?
Yes, feel free to experiment with Yukon gold or fingerling potatoes for varying textures and colors. Keep in mind starchy russets create the crispiest edges, while waxier potatoes may yield a softer stack.
How do I prevent the potatoes from turning brown before cooking?
Soon after slicing, submerge the potatoes in cold water and rinse to remove excess starch. Pat dry quickly before tossing with butter and herbs. This process preserves their fresh appearance.
What is the best way to reheat leftovers?
Reheat in a preheated 375°F oven on a baking sheet for 10 to 15 minutes. This method restores crispiness better than microwaving, which can make the stacks soggy.
Can I add other vegetables to these stacks?
Yes, thinly sliced vegetables like carrots, parsnips, or zucchini can be layered between potato slices for color and flavor contrast. Adjust cooking time slightly to ensure all layers become tender.

More Recipes You Will Love
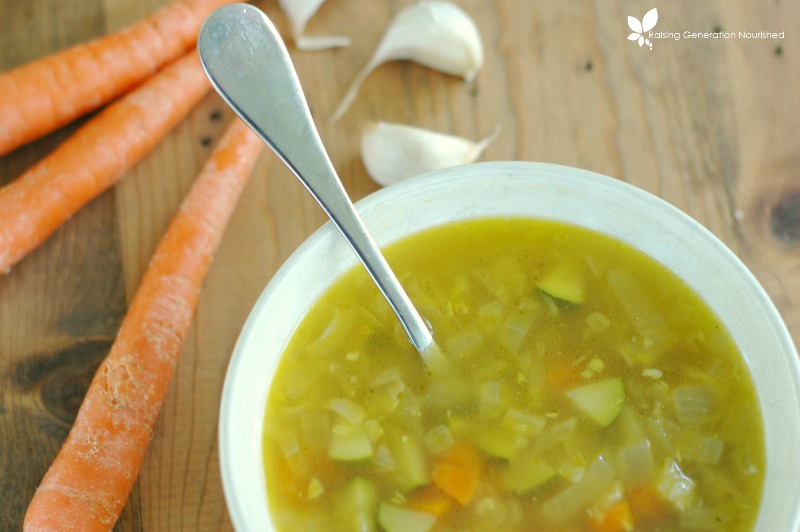
If you enjoy crispy, savory vegetable dishes, you’ll love these other easy recipes for seasonal vegetables. The Jamie Oliver 7-veg sauce uses offer creative ways to incorporate healthy veggies into your meals with bold, fresh flavors. For a comforting bowl packed with nutrition, try the 7 vegetable soup, a hearty, wholesome option perfect for chilly days.
Conclusion
Crispy potato stacks offer a delightful combination of texture, flavor, and visual appeal. Their ease of preparation and irresistibly golden crust make them a perfect side for elevating any meal. Whether you’re serving a holiday feast or a cozy family dinner, this recipe will impress your taste buds and your guests. Try making your own batch of crispy potato stacks soon, and don’t forget to share your experience or tips in the comments below — we’d love to hear how it went!
FAQs
When is the best time to eat Crispy Potato Stacks?
Crispy Potato Stacks are perfect for autumn dinners and holiday meals but can be enjoyed any time you want a simple yet impressive side dish. They work well alongside roasted meats, poultry, or on their own as a comforting vegetarian option.
Can I make Crispy Potato Stacks ahead of time?
Yes, you can assemble the potato stacks a few hours before baking and keep them covered in the refrigerator. Just bring them to room temperature before placing in the oven for best results, ensuring the stacks bake evenly and crisp up nicely.
What variations can I try with this recipe?
You can swap fresh herbs like rosemary or parsley for sage and thyme, sprinkle different cheeses such as cheddar or gruyere, or add thin slices of caramelized onions between layers to customize flavor while keeping the crispy texture.
Are Crispy Potato Stacks suitable for gluten-free diets?
Yes, this recipe is naturally gluten-free as it uses potatoes, fresh herbs, and butter without any flour or breadcrumbs. Just be sure all additional ingredients like cheese are gluten-free certified if sensitive.
What is the best way to get crisp edges on potato stacks?
Using a mandoline to slice potatoes thinly and evenly, coating them generously in melted butter, and baking in a well-greased muffin tin at a high temperature helps create perfectly golden, crispy edges while keeping the centers tender.