Why Christmas Tree Cupcakes Are a Holiday Must-Have
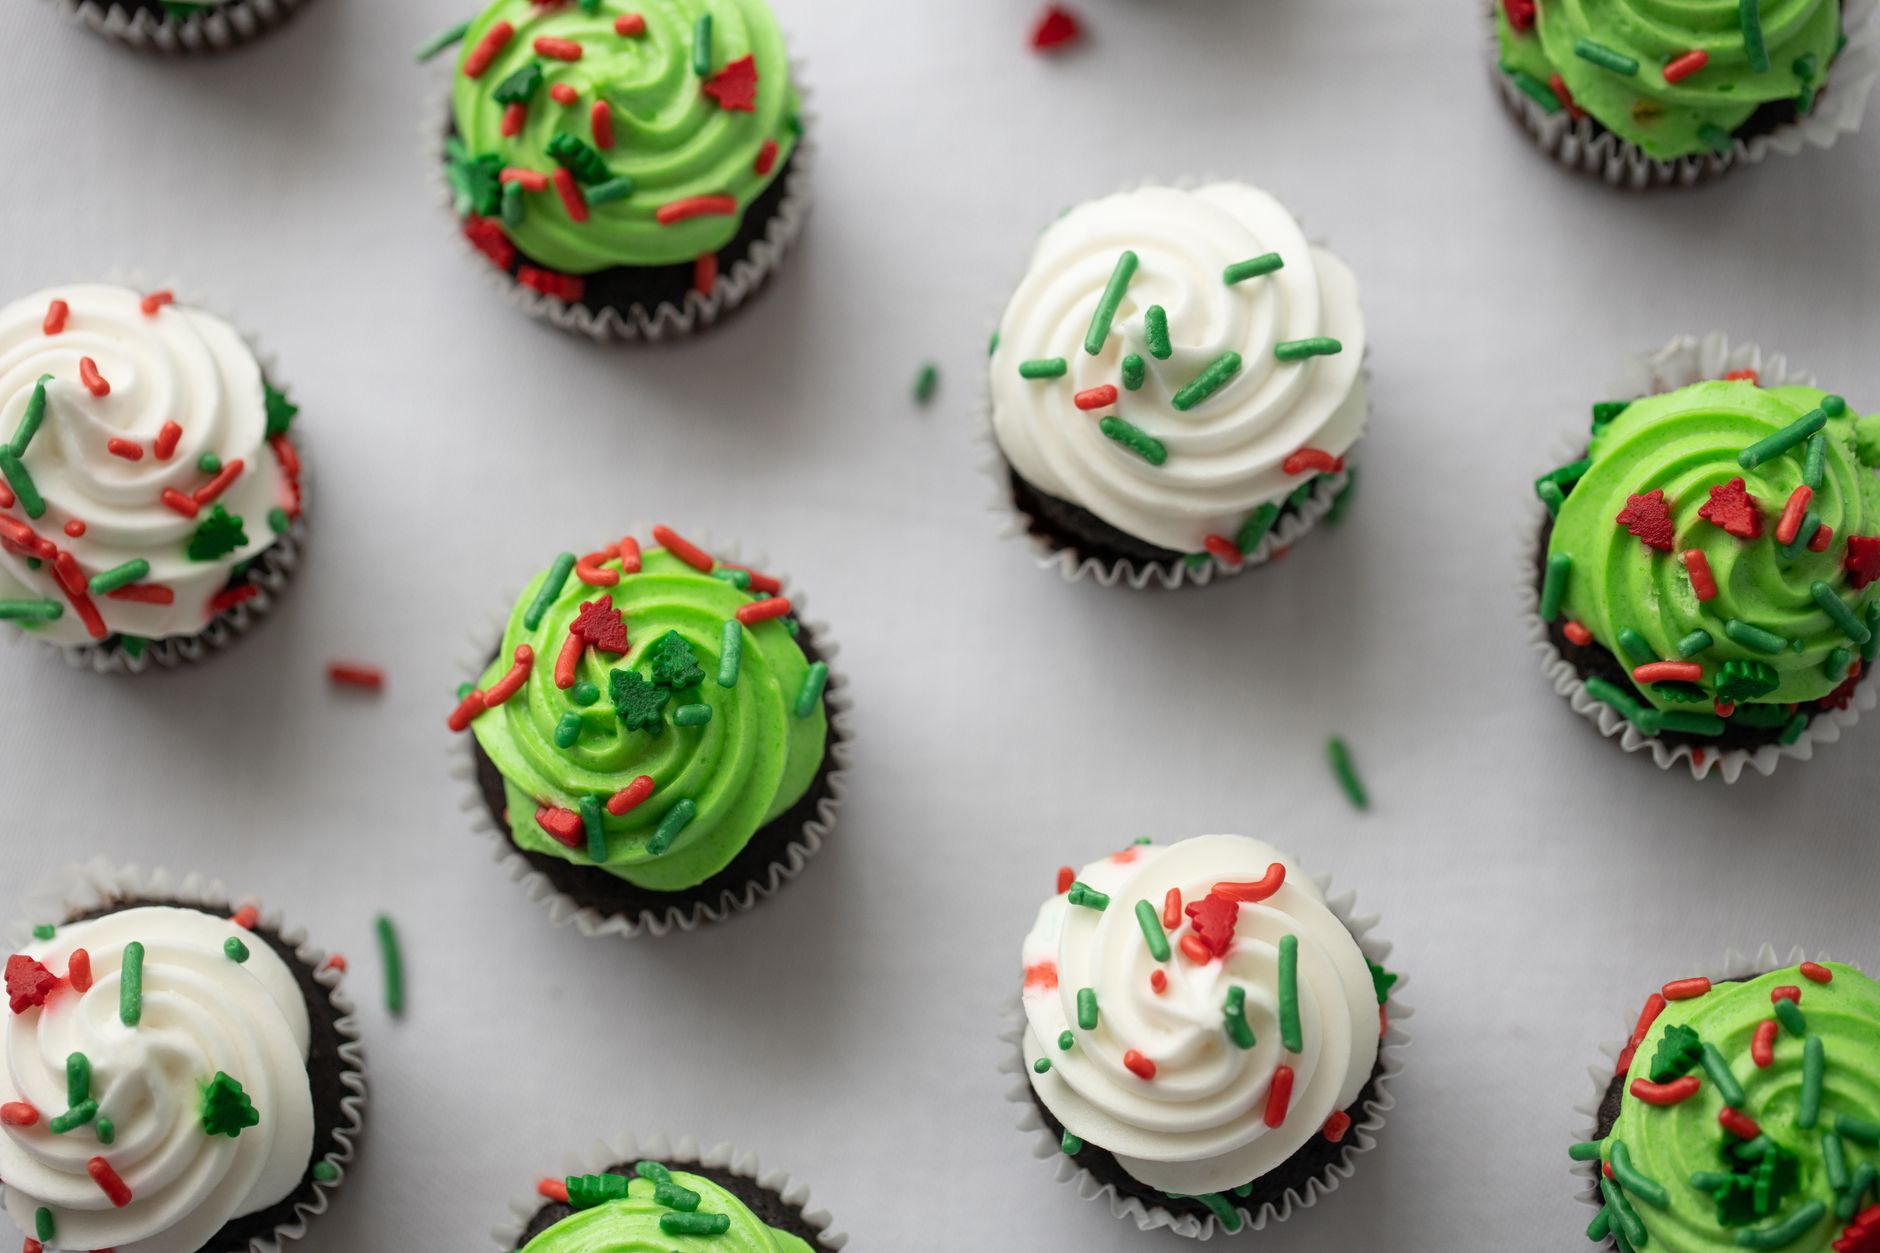
The sight of charming Christmas tree cupcakes instantly brings the warmth of the holidays to your kitchen. These delightful treats combine rich chocolate flavors with creamy frosting, topped off with festive candy decorations that sparkle like frosted pines. Christmas tree cupcakes aren’t just visually appealing—they engage your senses with their moist texture and sweet aroma. Perfect for holiday parties, they create a joyful centerpiece that kids and adults alike will love. Whether baked for a family gathering or gifted to friends, you’ll find these cupcakes hard to resist during the festive season.
Health Benefits & Nutrition
While Christmas tree cupcakes are a treat, a few of their components offer nutritional benefits worth noting:
- Cocoa: Rich in antioxidants called flavonoids, cocoa supports heart health and may reduce inflammation (Harvard T.H. Chan School of Public Health).
- Milk: Provides calcium and vitamin D, essential for strong bones and teeth.
- Eggs: Contain high-quality protein and important nutrients like choline, which supports brain health.
Keep in mind that these cupcakes contain moderate sugar and fat levels, so enjoy them in moderation. If you have allergies to dairy, eggs, or gluten, consider suitable substitutions to keep these cupcakes safe for your diet.
Ingredients & Preparation
Recipe Card
| Prep Time | Total Time | Servings | Calories | Diet Tags |
|---|---|---|---|---|
| 40 minutes | 1 hour 30 minutes | 12 cupcakes | 390 per serving | Vegetarian |
Full Ingredient List
- 1 cup all-purpose flour
- ½ cup malted milk powder (original flavor)
- ½ teaspoon baking soda
- ¾ cup whole milk
- ½ cup unsweetened cocoa powder
- ½ cup granulated sugar
- ¾ cup vegetable oil
- 1 large egg
- 1 teaspoon pure vanilla extract
- For the frosting:
- 4 tablespoons salted butter, room temperature
- 6 ounces cream cheese, room temperature
- 1 teaspoon pure vanilla extract
- 2 cups confectioners’ sugar
- White nonpareils or festive candy-melt Christmas trees for decoration (optional)
Equipment Needed
- 12-cup muffin pan
- Muffin liners (paper or foil)
- Mixing bowls (medium and large)
- Whisk and electric hand mixer
- Measuring cups and spoons
- Cooling rack
- Spatula or butter knife for frosting
Tips for Choosing Quality Ingredients
- Use fresh cocoa powder with rich color and aroma for deep chocolate flavor.
- Choose malted milk powder labeled "original" to maintain the unique nutty sweetness.
- Select room-temperature butter and cream cheese to achieve a smooth, creamy frosting.
- Pick high-quality vanilla extract for a natural, fragrant aroma.
- Opt for fresh eggs and whole milk for moist cupcakes with tender crumb.
Step-by-Step Instructions
Step 1: Prepare Your Oven and Dry Ingredients
Preheat your oven to 350°F (175°C). Line a 12-cup muffin pan with cupcake liners. In a medium bowl, whisk together 1 cup of all-purpose flour, ½ cup malted milk powder, and ½ teaspoon baking soda. Set aside.
Step 2: Blend Wet Ingredients with Cocoa
In a large bowl, heat ¾ cup whole milk until hot but not boiling, approximately 1-2 minutes in the microwave. Pour the warm milk over ½ cup unsweetened cocoa powder and whisk vigorously until smooth and slightly cooled.
Step 3: Combine Sugar, Oil, Egg, and Vanilla
Add ½ cup granulated sugar, ¾ cup vegetable oil, 1 large egg, and 1 teaspoon pure vanilla extract to the cocoa mixture. Whisk until uniformly smooth, about 1 minute.
Step 4: Incorporate Dry Ingredients
Gradually whisk the dry flour mixture into the wet ingredients. Stir until just combined—avoid overmixing to keep your cupcakes tender.
Step 5: Bake the Cupcakes
Divide the batter evenly into the muffin cups. Bake on the middle rack for 20 to 25 minutes, or until a toothpick inserted in the center comes out clean and the tops spring back when gently pressed. Cool in the pan for 5 minutes, then transfer to a wire rack to cool completely.
Step 6: Prepare the Cream Cheese Frosting
Using an electric mixer on medium speed, beat 4 tablespoons salted butter, 6 ounces cream cheese, and 1 teaspoon vanilla extract until creamy, about 1 to 2 minutes. Slowly add 2 cups confectioners’ sugar, mixing on medium-low until smooth. Increase speed to medium-high and beat until fluffy, about 2 more minutes.
Step 7: Decorate Your Cupcakes
Spread the frosting evenly on each cooled cupcake. Sprinkle white nonpareils for a snowy effect. Insert candy-melt Christmas trees firmly in the center for that wow factor.

Variations & Substitutions
- Gluten-Free: Substitute all-purpose flour with a gluten-free flour blend. Ensure baking powder is gluten-free.
- Dairy-Free: Use plant-based milk like almond or oat milk and swap cream cheese and butter with dairy-free alternatives.
- Flavored Frosting: Add a teaspoon of peppermint extract or almond extract to the frosting for seasonal twists.
- Nutty Surprise: Fold finely chopped toasted walnuts or pecans into the batter for added crunch and depth.
- Chocolate Ganache Topping: Replace frosting with a glossy dark chocolate ganache for an indulgent finish.
Storage & Shelf Life
Keep your Christmas tree cupcakes fresh by storing them in an airtight container in the refrigerator for up to 4 days. Let them return to room temperature before serving for the best flavor and texture.
For longer storage, freeze cupcakes (undecorated) in a single layer on a tray for an hour, then transfer to a freezer-safe container or bag. They’ll keep up to 3 months. Thaw overnight in the fridge and frost just before serving.
Discard cupcakes if you notice any off smell, mold, or an overly sticky texture—signs of spoilage.
Pro Tips for Perfect Christmas Tree Cupcakes
- Warm milk intensifies cocoa’s earthy notes; do not let it boil to avoid bitterness.
- Mix batter gently once flour is added to keep cupcakes tender and moist.
- Use room-temperature ingredients (butter, cream cheese, egg) to ensure smooth frosting and even mixing.
- Pipe frosting in a swirling motion if you want a polished look, using a large star tip.
- Place candy trees firmly to prevent tipping, and chill cupcakes slightly before decorating to help frosting set.
When is the best time to eat Christmas Tree Cupcakes?
Christmas tree cupcakes taste best the same day they’re frosted for maximum freshness and frosting fluffiness. However, they remain delightful for up to 4 days refrigerated. Serve them during holiday gatherings or after a festive meal— their rich chocolate and creamy frosting make a perfect holiday treat.
Can I make these cupcakes ahead of time?
Yes, you can bake the cupcakes up to 2 days in advance and freeze them unfrosted. Thaw in the fridge overnight before frosting them fresh. This helps preserve their moist texture and keeps frosting perfectly creamy upon serving.
What is malted milk powder, and why is it used?
Malted milk powder adds a subtle nutty sweetness and depth to baked goods. It also improves texture by contributing to tender crumb and moistness. Be sure to choose the original malt flavor—not chocolate—to preserve the cupcake’s chocolate intensity.
How can I make these cupcakes gluten-free?
Use a high-quality gluten-free all-purpose flour blend that includes xanthan gum for structure. Double-check your malted milk powder and baking soda for gluten-free labeling. Expect a slightly different texture but equally tasty results.
What alternatives work for cream cheese frosting?
You can use whipped buttercream for a sweeter, lighter finish or a dairy-free cream cheese substitute for lactose-sensitive guests. Adjust the sugar to taste, and whip frosting until fluffy for the best texture.
How do I prevent cupcakes from sinking in the middle?
Ensure your baking soda and flour are fresh and measured correctly. Don’t open the oven door during the first 15 minutes of baking. Also, avoid overmixing batter and bake at the correct temperature to maintain structure.
Can I add other decorations besides candy trees?
Absolutely! Try green-tinted coconut flakes for pine needles, sprinkles shaped like stars or snowflakes, or edible glitter for sparkle. Fresh rosemary sprigs make a fragrant and natural decorative touch too.

More Recipes You Will Love
Love festive desserts as much as these Christmas tree cupcakes? You might enjoy the elegant No bake chocolate mocha yule log, a smooth, coffee-flavored delight with layers of creamy goodness that perfectly complement holiday flavors.
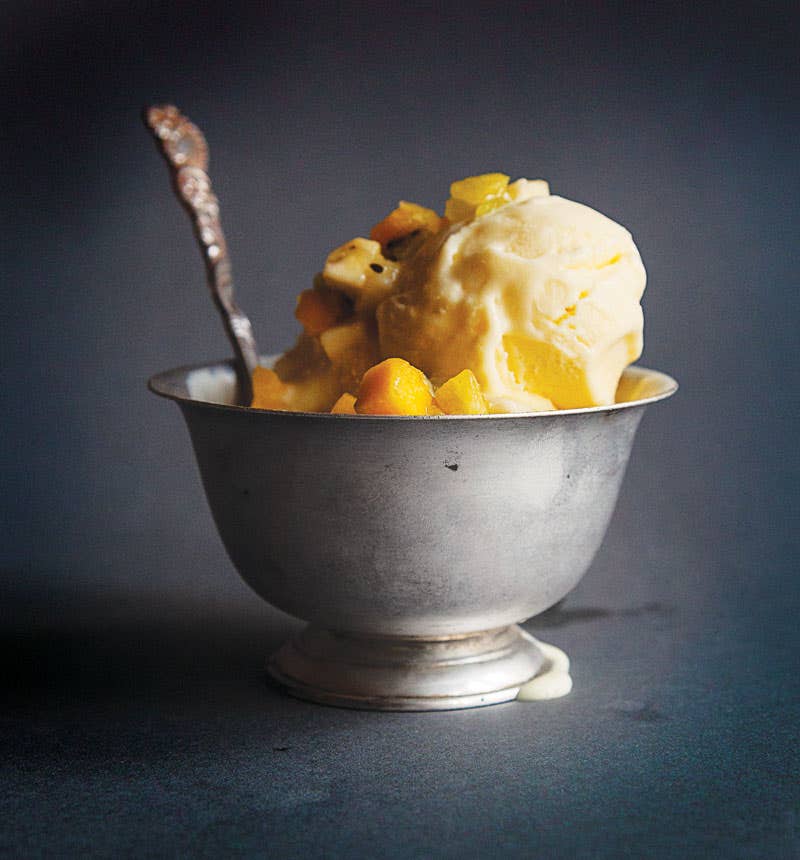
For a refreshing sweet treat on a chilly evening, try the luscious Nigella lawson ice cream with meringue, combining cool creaminess with crisp meringue bites.
Conclusion
Christmas tree cupcakes bring sparkle and warmth to any holiday table. Their rich chocolate base paired with creamy frosting and festive decorations make them a fun, crowd-pleasing dessert to bake and share. With simple ingredients and straightforward steps, you can create these delicious treats that fill your kitchen with holiday aromas. Enjoy making your own batch, and don’t forget to share your experience or photos in the comments below!
FAQs
When is the best time to eat Christmas Tree Cupcakes?
Christmas Tree Cupcakes are best enjoyed during the holiday season, especially around Christmas parties, family gatherings, or festive celebrations. They make a delightful dessert anytime during December to bring holiday cheer.
Can I make Christmas Tree Cupcakes ahead of time?
Yes, Christmas Tree Cupcakes can be baked a day or two in advance and stored in an airtight container. Frost and decorate them just before serving to keep the frosting fresh and visually appealing.
What decorations work best for Christmas Tree Cupcakes?
Traditional decorations include white nonpareils to mimic snow, festive candy melts shaped like Christmas trees, colored sprinkles, and edible glitter. These add a festive look and enhance the cupcake's holiday theme.
Are there any common substitutions for ingredients in this recipe?
Yes, for dietary restrictions, you can substitute dairy milk with plant-based milk, use egg replacers for vegan versions, and gluten-free flour instead of all-purpose flour. Adjust baking times slightly if needed.
How should Christmas Tree Cupcakes be stored?
Store cupcakes in an airtight container at room temperature for up to two days. For longer storage, refrigerate them but bring to room temperature before serving for the best taste and texture.