Why Butter and Jam Thumbprints Recipe2?
Imagine biting into a crisp, buttery cookie that melts in your mouth, crowned with a dollop of tangy, jewel-toned jam. Butter and Jam Thumbprints are one of those nostalgic treats that combine rich, creamy flavors with a perfect burst of fruity sweetness. This easy-to-make recipe delivers about two dozen golden, mouthwatering cookies that suit any occasion — from cozy afternoons with tea to festive gatherings. The buttery aroma and jewel-like jam centers make these thumbprint cookies an irresistible crowd-pleaser, perfect for both beginners and seasoned bakers.
Health Benefits & Nutrition
While thumbprint cookies are a treat, they contain ingredients with some surprising benefits. Butter, rich in fat-soluble vitamins like A, D, E, and K, supports eye health and immune function (Harvard T.H. Chan School of Public Health). Moderate sugar provides quick energy, but keeping portions in check avoids spikes. Jam, made from fruit, offers antioxidants and vitamin C, which support skin health and boost immunity. However, these cookies should be enjoyed mindfully, especially by those with dairy allergies or sensitive to sugar. Pregnant individuals should also check jam ingredients for any additives or preservatives that might cause reactions.
Ingredients & Preparation
Recipe Card
| Prep Time | Total Time | Servings | Calories (per cookie) | Diet Tags |
|---|---|---|---|---|
| 20 minutes | 1 hour 8 minutes | 24-30 cookies | 108 | Vegetarian |
Full Ingredient List
- 1 ¾ cups all-purpose flour
- ½ teaspoon baking powder
- ½ teaspoon fine salt
- ¾ cup unsalted butter (1 ½ sticks), softened
- ⅔ cup granulated sugar, plus extra for rolling
- 1 large egg
- ½ vanilla bean (seeds scraped) or 1 teaspoon pure vanilla extract
- ⅓ cup raspberry, cherry, or strawberry jam
Equipment Needed
- Mixing bowls
- Hand mixer or stand mixer
- Measuring cups and spoons
- Cookie or ice cream scoop (1-inch)
- Baking sheets
- Parchment paper or silicone baking mats
- Spoon for filling jam
Tips for Choosing Quality Ingredients
Opt for unsalted butter with at least 80% fat content for a rich, creamy texture. Fresh eggs make a difference in binding and flavor. Use vanilla beans or pure extract instead of imitation vanilla for a clean, aromatic taste. Select good-quality jams with minimal added sugars or preservatives to intensify the natural fruit flavors. If possible, pick seasonal or locally made jams for freshness and vibrant color.
Step-by-Step Instructions
Step 1: Preheat and Prepare (Prep time: 10 minutes, Oven: 350°F / 175°C)
Start by preheating your oven to 350°F (175°C). Line two baking sheets with parchment paper or silicone baking mats to ensure your cookies don’t stick and bake evenly.
Step 2: Combine Dry Ingredients (Time: 3 minutes)
In a medium bowl, whisk together 1 ¾ cups all-purpose flour, ½ teaspoon baking powder, and ½ teaspoon salt. Set aside to blend flavors.
Step 3: Cream Butter and Sugar (Time: 5 minutes)
Using a hand or stand mixer, beat ¾ cup softened unsalted butter with ⅔ cup sugar on medium-high speed until the mixture is light and fluffy, about 5 minutes. This step helps create a tender, crisp cookie.
Step 4: Add Egg and Vanilla (Time: 1 minute)
Beat in one large egg and the scraped seeds from ½ vanilla bean (or 1 teaspoon extract) just until incorporated. Avoid overmixing to keep the dough tender.
Step 5: Incorporate Dry Ingredients (Time: 2 minutes)
Gradually add the dry flour mixture in two parts, mixing on low speed after each addition just until combined. This prevents overworking the dough, which can toughen cookies.
Step 6: Shape and Fill Cookies (Time: 10 minutes)
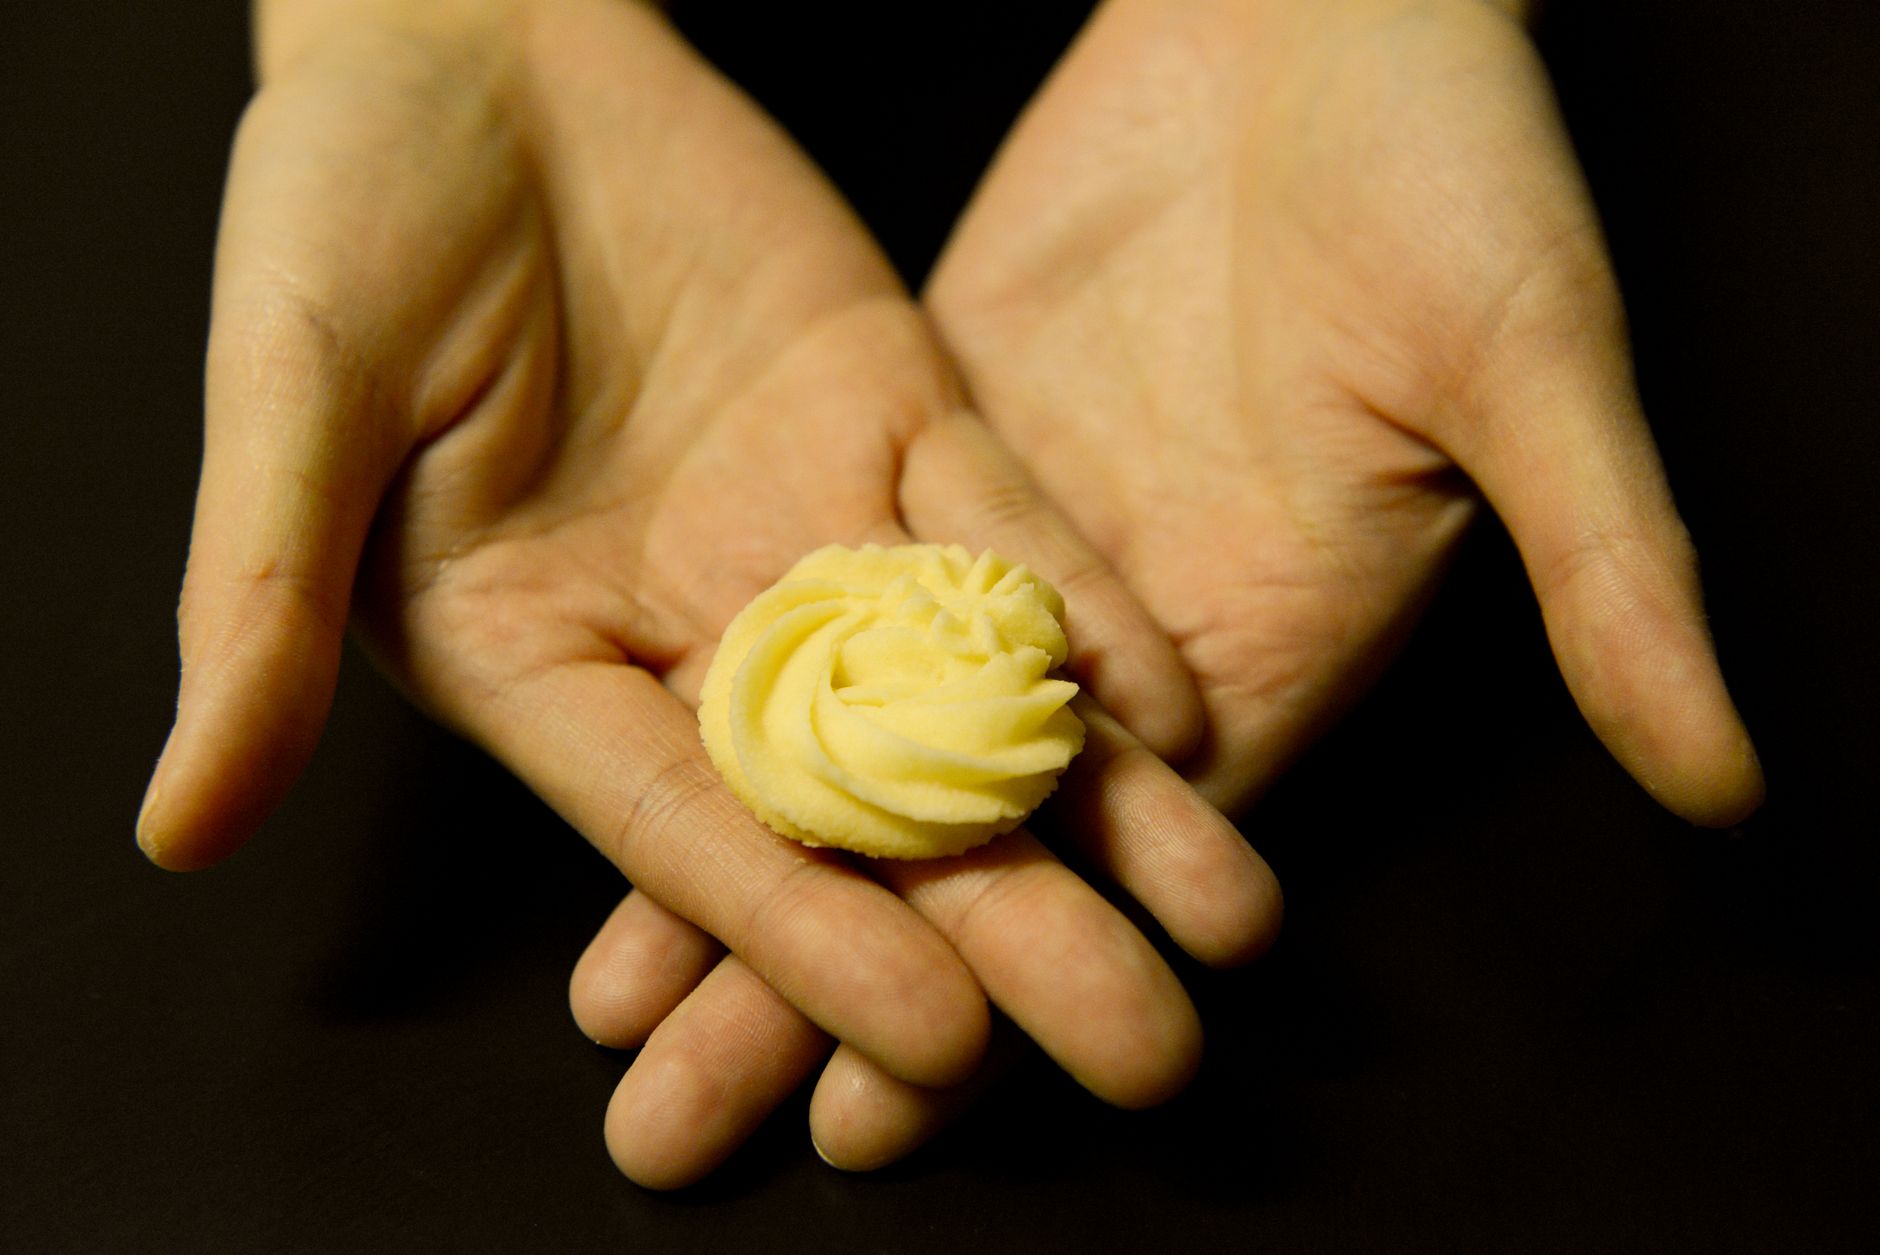
Scoop the dough into 1-inch balls using a cookie or ice cream scoop. Roll each ball in extra sugar for a sparkly finish, then place 2 inches apart on your baking sheets. Press a deep thumbprint about ½ inch into the center of each ball and fill with approximately ¾ teaspoon of your chosen jam.
Step 7: Bake and Cool (Bake time: 15 minutes)
Bake until the cookie edges turn golden, about 15 minutes. Rotate your baking sheets halfway through cooking for even browning. Let the cookies cool on the sheets to firm up before transferring.

Variations & Substitutions
- Gluten-Free: Replace all-purpose flour with a 1:1 gluten-free baking blend. Add ¼ teaspoon xanthan gum if your blend lacks it for better texture.
- Vegan: Use vegan butter and substitute the egg with a flaxseed or chia seed "egg" (1 tablespoon ground seeds mixed with 3 tablespoons water, rested for 5 minutes).
- Jam Alternatives: Experiment with apricot, blueberry, or fig jam for different fruity notes. You can also try citrus marmalade for a zingy twist.
- Nutty Delight: Add ½ cup finely chopped nuts (pecans, almonds) to the dough for added crunch and depth.
Storage & Shelf Life
You can store your Butter and Jam Thumbprints in an airtight container at room temperature for up to 5 days. To extend freshness, refrigerate cookies; they’ll keep well for 7 to 10 days but might lose some crispness.
For longer storage, freeze the baked cookies in a single layer on a baking sheet until firm, then transfer to a freezer bag. Freeze for up to 3 months. Thaw at room temperature before serving.
Watch for signs of spoilage such as mold growth, off-odors, or an unusually soft texture. If jam centers become sticky or ferment, discard promptly.
Pro Tips
- Temper your butter to room temperature but not too soft; overly soft butter can cause spreading and greasy cookies.
- For uniform cookie sizes and baking times, use a cookie scoop rather than scooping by hand.
- When pressing thumbprints, wet your thumb slightly or use the back of a small spoon to get consistent indentations without cracking the dough.
- Sugar rolling adds not only sparkle but also a subtly crunchy texture that contrasts beautifully with the soft cookie.
- Rotate baking sheets halfway through baking to ensure even coloring, especially if your oven has hot spots.
When is the best time to eat Butter And Jam Thumbprints Recipe2?
Butter and Jam Thumbprints are perfect anytime, whether as a sweet morning accompaniment to coffee, an afternoon tea snack, or a dessert after dinner. Their portable size makes them great for lunchboxes or festive gatherings. For maximum freshness and flavor, enjoy them within the first two days after baking.
Can I make the dough ahead of time?
Yes! The dough can be refrigerated for up to 2 days before baking. Wrap it tightly to prevent drying. Bring dough to room temperature before shaping for best results.
What type of jam works best for thumbprint cookies?
Thicker jams or preserves like raspberry, cherry, and strawberry hold up well during baking. Avoid very runny or watery jams, as they may leak and affect cookie texture.
Can I freeze unbaked cookie dough balls?
Absolutely. Freeze scooped dough balls on a baking sheet until firm, then store in a freezer bag for up to 3 months. Bake directly from frozen; just add a couple of extra minutes to the baking time.
How do I prevent the jam from bubbling over during baking?
Use just enough jam to fill the indentation without overflowing—about ¾ teaspoon per cookie. If jam seems too runny, warm it slightly to reduce thickness before filling.
What if my cookies spread too much while baking?
This often happens if the butter is too warm or the dough is overmixed. Chill shaped dough balls in the fridge for 15–20 minutes before baking to help maintain cookie shape.
Are thumbprint cookies suitable for freezing after baking?
Yes, baked and cooled cookies freeze well. Layer them between parchment paper inside an airtight container or freezer bag to prevent sticking. Thaw fully before serving for best taste.

More Recipes You Will Love
If you enjoy these buttery thumbprints, you might love exploring other comforting recipes that bring warmth and flavor to your kitchen. Try our best dutch oven camping recipes for hearty meals perfect for outdoor adventures. For something soothing, check out tips on sore throat at night for weeks to learn natural home remedies and gentle treats.

Conclusion
The Butter and Jam Thumbprints Recipe2 brings timeless joy with its tender, buttery crumb and vibrant jam centers. Easy to prepare yet impressive enough for any gathering, this recipe invites you to rediscover the simple pleasure of homemade cookies. Try it yourself, and be sure to share your baking success or favorite jam combo in the comments below. Your taste buds will thank you!
FAQs
When is the best time to eat Butter And Jam Thumbprints Recipe2?
Butter And Jam Thumbprints Recipe2 are perfect anytime – from a cozy afternoon tea, a festive holiday gathering, to casual snacking. Their tender texture and sweet jam center make them great for celebrations or everyday treats.
Can I use different types of jam in the Butter And Jam Thumbprints Recipe2?
Yes, you can customize the jam used in this recipe. Raspberry, cherry, or strawberry jams are popular choices, but any fruit jam with good flavor and consistency will work, so feel free to pick your favorite or seasonal jams.
How should I store Butter And Jam Thumbprints Recipe2 after baking?
Store thumbprint cookies in an airtight container at room temperature. They stay fresh for up to one week. For longer storage, refrigerate to keep the jam fresh or freeze for up to three months, thawing at room temperature before serving.
Is this Butter And Jam Thumbprints Recipe2 suitable for vegetarians?
Yes, this recipe is vegetarian-friendly as it uses butter, eggs, and no meat products. It’s important to ensure your jam doesn’t contain gelatin or non-vegetarian additives to keep it completely vegetarian.
Can I make Butter And Jam Thumbprints Recipe2 without a mixer?
Absolutely. While a hand or stand mixer helps with creaming butter and sugar quickly, you can use a sturdy spoon or whisk to cream ingredients by hand. Just be prepared for a bit more effort to achieve a light, fluffy dough.