Why Stuffed Red Velvet Cupcakes with Chocolate Glaze?
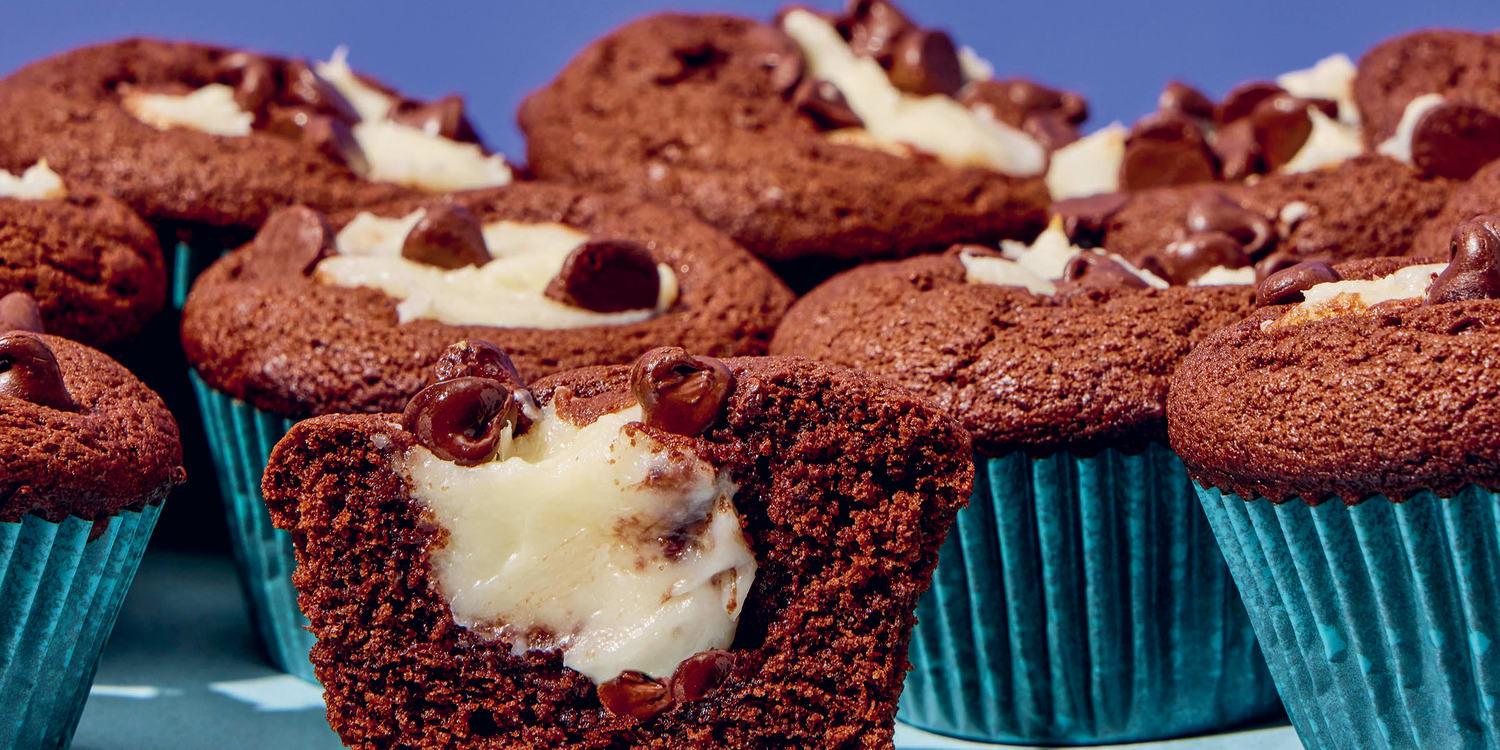
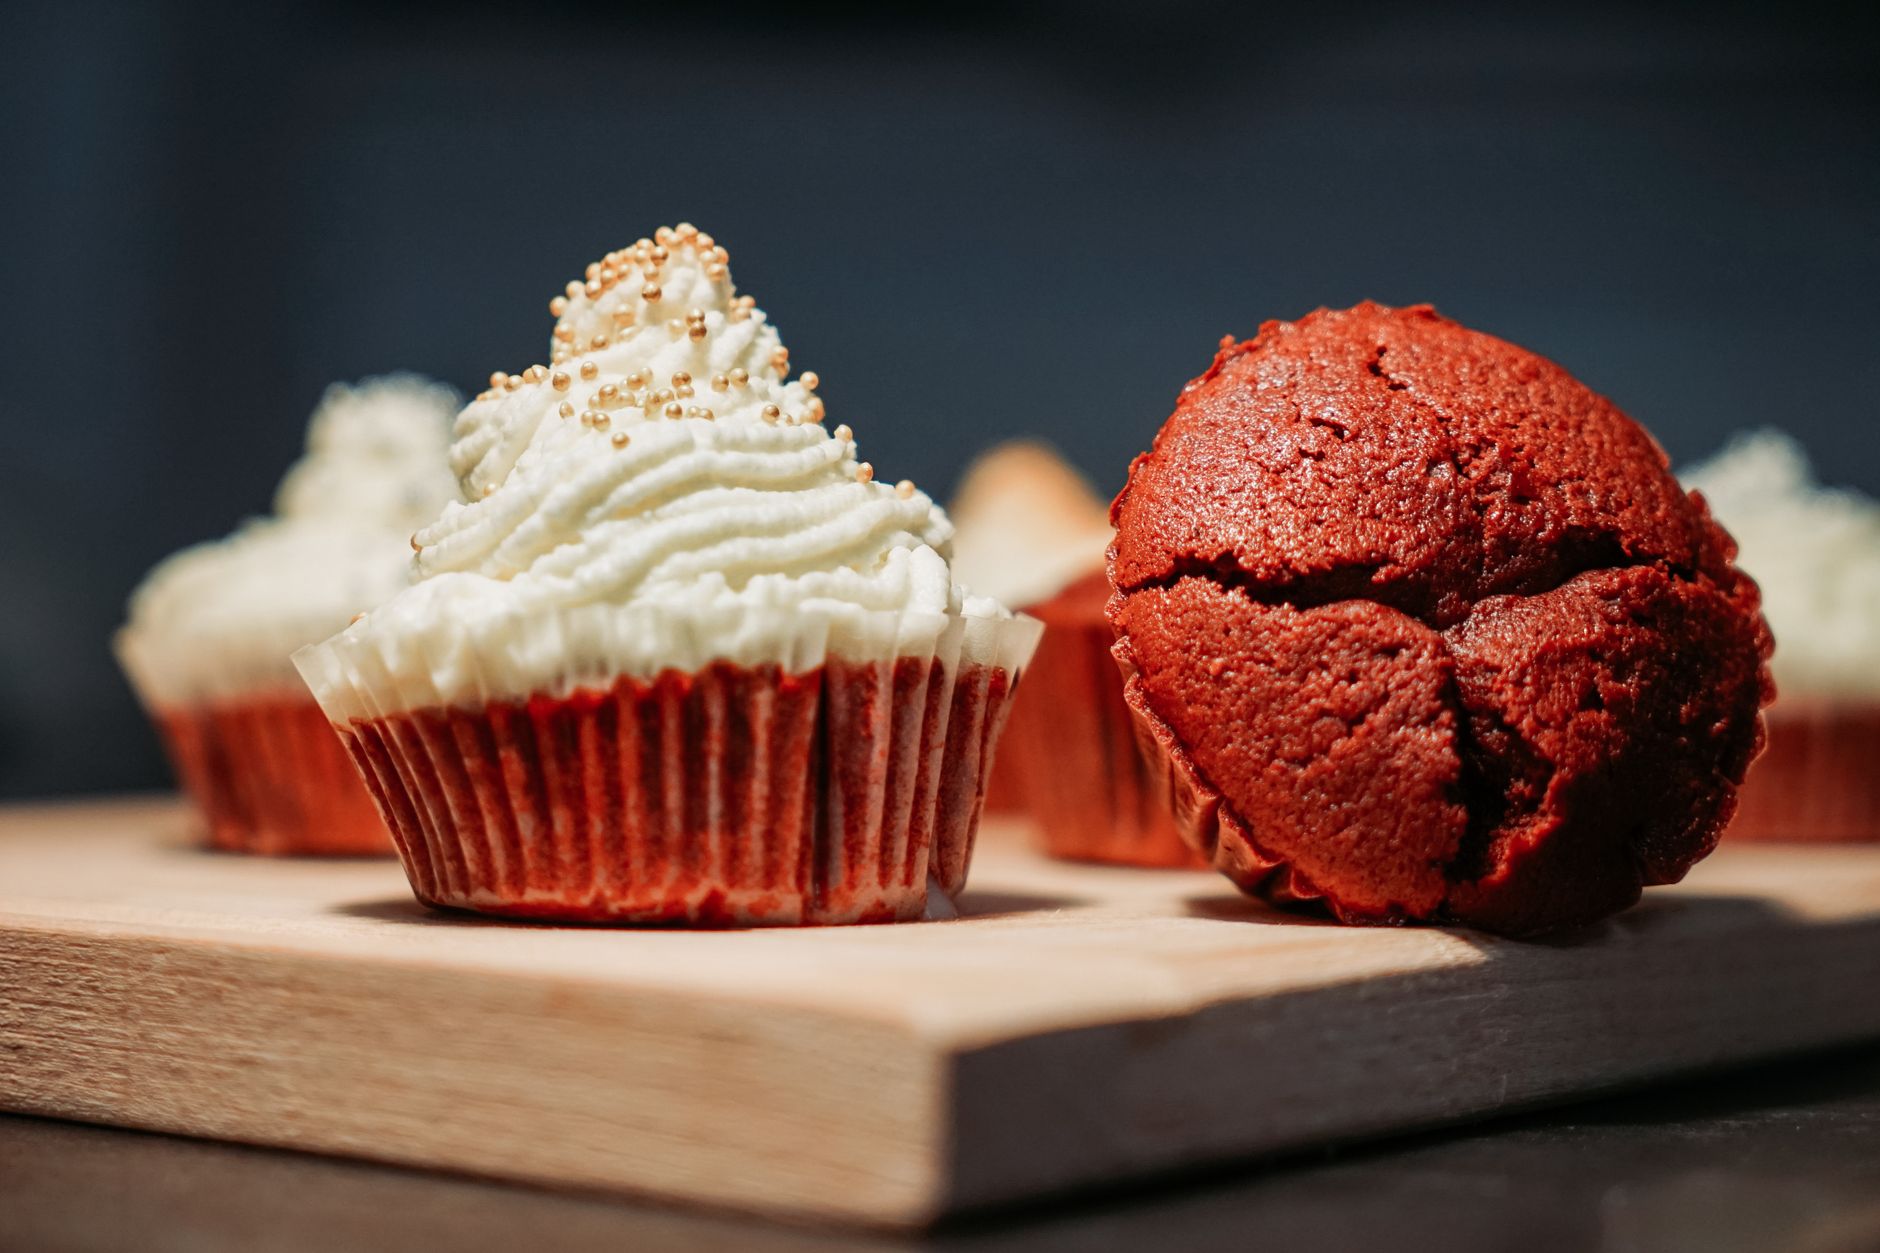
Imagine biting into a soft, moist red velvet cupcake that hides a creamy surprise inside, all topped with a shiny, rich chocolate glaze. Stuffed Red Velvet Cupcakes with Chocolate Glaze bring together the classic tangy flavor of red velvet and the indulgence of luscious cream cheese filling. The contrast between the tender crumb and the smooth glaze creates an irresistible dessert perfect for celebrations or any sweet craving. This recipe treats your senses with vivid colors, deep cocoa notes, and a melt-in-your-mouth texture that feels like a slice of velvet bliss.
Health Benefits & Nutrition
While red velvet cupcakes are often seen as a treat, some ingredients can contribute health benefits when enjoyed in moderation. Buttermilk, a key ingredient here, supports digestion and provides beneficial probiotics (Harvard School of Public Health). The cream cheese filling offers a good source of calcium and protein, essential for bone health. Incorporating cocoa powder adds antioxidants known as flavonoids, which may help lower blood pressure and improve heart health (American Heart Association). However, due to sugar and fat content, it’s best to enjoy these cupcakes occasionally. Individuals with dairy allergies or certain dietary restrictions should exercise caution.
Ingredients & Preparation
Recipe Card
| Prep Time | 20 minutes |
|---|---|
| Cook Time | 25 minutes |
| Total Time | 45 minutes |
| Servings | 12 cupcakes |
| Calories per Serving | 496 |
| Diet Tags | Vegetarian |
Ingredient List
- Cupcakes: 1 ¾ cups cake flour, 1 cup granulated sugar, ¼ cup Dutch-processed cocoa powder, ¾ teaspoon baking soda, ½ teaspoon salt, ¾ cup buttermilk, ½ cup vegetable oil, ½ cup sour cream, 1 tablespoon red food coloring, 2 teaspoons cider vinegar, 1 teaspoon pure vanilla extract, 1 large egg (room temperature)
- Cream Cheese Filling: 8 ounces cream cheese (room temperature), 4 tablespoons unsalted butter (cubed and room temperature), 1 cup powdered sugar, ½ teaspoon pure vanilla extract, 1/8 teaspoon salt
- Chocolate Glaze: 1 cup chopped semisweet chocolate, ½ cup heavy cream
Equipment Needed
- 12-cup muffin tin
- Paper cupcake liners
- Mixing bowls
- Electric mixer or hand whisk
- Sifter or fine mesh sieve
- Pastry bag with medium round tip
- Small saucepan
- Wire cooling rack
Tips for Choosing Quality Ingredients
- Use Dutch-processed cocoa powder for a smooth, rich chocolate flavor without bitterness.
- Pick fresh, high-quality cream cheese and unsalted butter at room temperature for a creamy filling.
- Fresh buttermilk adds moisture and a mild tang that lifts the cupcake’s flavor.
- Choose pure vanilla extract instead of imitation for natural aroma and better taste.
- Use semisweet chocolate with at least 60% cocoa content for a balanced, glossy glaze.
Step-by-Step Instructions
Step 1: Prepare the Cupcake Batter (10 minutes prep, 350°F)
Preheat your oven to 350°F (175°C) and line a 12-cup muffin tin with paper liners. In a large bowl, sift together 1 ¾ cups cake flour, 1 cup granulated sugar, ¼ cup Dutch-processed cocoa powder, ¾ teaspoon baking soda, and ½ teaspoon salt. In another bowl, whisk ¾ cup buttermilk, ½ cup vegetable oil, ½ cup sour cream, 1 tablespoon red food coloring, 2 teaspoons cider vinegar, 1 teaspoon vanilla extract, and 1 large egg until smooth. Slowly add wet ingredients to dry, mixing just until combined. Avoid overmixing to keep cupcakes tender.
Step 2: Bake the Cupcakes (18–20 minutes at 350°F)
Divide batter evenly among prepared liners, filling each about ⅔ full. Bake for 18 to 20 minutes, testing with a toothpick inserted in the center; it should come out with a few moist crumbs but no wet batter. Remove from oven and transfer cupcakes to a wire rack, cooling completely before filling.
Step 3: Make the Cream Cheese Filling (10 minutes)
In a mixing bowl, beat 8 ounces softened cream cheese until smooth and fluffy. Add 4 tablespoons cubed butter and mix until fully combined. Gradually add 1 cup powdered sugar, beating continuously until smooth. Stir in ½ teaspoon vanilla extract and a pinch of salt. Transfer filling to a pastry bag fitted with a medium round tip.
Step 4: Stuff the Cupcakes (5 minutes)
Using the tip, insert about 1 inch into the center of each cupcake from the top, and pipe in the cream cheese filling. Fill until you feel slight resistance. Wipe the tip clean between cupcakes for a neat finish.
Step 5: Prepare the Chocolate Glaze (8 minutes)
Place 1 cup chopped semisweet chocolate in a heatproof bowl. Heat ½ cup heavy cream in a small saucepan over medium heat until it just begins to simmer. Pour the hot cream over the chocolate and let sit for 1 minute. Stir gently until the glaze becomes smooth and glossy. Allow it to cool slightly but remain pourable.
Step 6: Glaze the Cupcakes (5 minutes)
Spread approximately 1 tablespoon of chocolate glaze on top of each filled cupcake or gently dip the cupcake tops in the glaze. Place cupcakes back on the wire rack and let the glaze set before serving.
Variations & Substitutions
- Filling Swap: Replace the cream cheese filling with a whipped mascarpone and honey blend for a richer, sweeter surprise.
- Flavored Glaze: Add a teaspoon of espresso powder to the chocolate glaze to deepen the chocolate flavor and add a subtle coffee kick.
- Diet-Friendly: Use coconut oil instead of vegetable oil and almond flour in place of cake flour to create a gluten-free version. Substitute cream cheese with dairy-free alternatives as needed.
- Color Twist: For extra flair, swirl white chocolate into the glaze before it sets for a marbled effect.
Storage & Shelf Life
Store your stuffed red velvet cupcakes in an airtight container in the refrigerator for up to 3 days. The cream cheese filling requires refrigeration to stay fresh. Before serving, bring to room temperature for the best flavor and texture.
For longer storage, freeze cupcakes wrapped individually in plastic wrap and placed in a freezer-safe bag for up to 1 month. Thaw overnight in the fridge, then glaze just before serving to maintain shine and freshness.
Signs of spoilage include sour smell from the cream cheese, visible mold, or a noticeably dried-out texture.
Pro Tips
- For a perfectly moist crumb, make sure not to overmix your batter. Mixing just until the ingredients come together keeps cupcakes tender.
- Allow cupcakes to cool completely before filling and glazing to prevent melting the filling or glaze.
- Use a small offset spatula or the back of a spoon to smooth chocolate glaze evenly over cupcakes for a professional finish.
- To avoid red food coloring staining your hands or clothes, use gloves or a small spoon to measure and add it carefully.
- If you want a deeper red hue without artificial colors, try beetroot powder as a natural alternative, but note it may affect moisture balance.
When is the best time to eat Stuffed Red Velvet Cupcakes With Chocolate Glaze Recipe?
These cupcakes shine best fresh within a day or two of making. They’re perfect for special occasions like birthdays, holiday gatherings, or any time you want a memorable dessert that feels indulgent and festive.
Can I make the stuffed cupcakes ahead of time?
Yes, you can bake and stuff the cupcakes a day ahead, then glaze just before serving to keep the chocolate shiny. Store them refrigerated and bring to room temperature for the best texture.
What if I don’t have buttermilk?
You can make a simple buttermilk substitute by mixing ¾ cup milk with 1 tablespoon lemon juice or white vinegar. Let it sit for 5 minutes before adding it to your batter.
Can I use regular unsweetened cocoa powder?
Regular cocoa powder works, but Dutch-processed cocoa produces a milder, less acidic flavor and brighter color, which enhances the taste of red velvet cupcakes.
How do I avoid the filling leaking out?
Pipe the filling gently into the center without overfilling. Using a sturdy cupcake liner and allowing cupcakes to cool completely helps maintain structure and prevent leaks.
Is there a way to make the chocolate glaze thicker?
To thicken the glaze, add a bit more chopped chocolate or let the glaze cool longer to firm up before spreading. Avoid overheating which can thin it out.
Can I freeze these cupcakes without the glaze?
Absolutely. Freeze them after stuffing but before glazing for best results. Then thaw and glaze before serving for fresh appearance and texture.
More Recipes You Will Love
If you adore the rich, creamy filling in these cupcakes, try the Philadelphia no bake cheesecake with condensed milk and sour cream. Its smooth texture complements your dessert cravings beautifully.
For another chocolate-centric delight, the Chocolate huckleberry mousse recipe 2103610 offers a light, fruity twist that pairs well with red velvet flavors.
Conclusion
Enjoying Stuffed Red Velvet Cupcakes with Chocolate Glaze is a sensory journey combining creamy filling, moist cake, and glossy chocolate topping. This recipe is rewarding, approachable, and ideal for sharing. If you give it a try, feel free to share your tips, ratings, or favorite variations in the comments below – your feedback keeps the kitchen buzzing with creativity!
FAQs
When is the best time to eat Stuffed Red Velvet Cupcakes With Chocolate Glaze Recipe?
Stuffed Red Velvet Cupcakes with Chocolate Glaze are perfect for celebrations, holidays, or anytime you crave a rich, indulgent dessert. They make a great treat for parties or special occasions.
Can I make Stuffed Red Velvet Cupcakes With Chocolate Glaze ahead of time?
Yes, you can bake and fill the cupcakes a day before serving. Store them refrigerated and apply the chocolate glaze just before serving to keep it glossy and fresh.
What is the best way to store these cupcakes?
Store the cupcakes in an airtight container in the refrigerator for up to 3 days. Bring them to room temperature before serving for the best flavor and texture.
Can I substitute the cream cheese filling for a dairy-free option?
You can use dairy-free cream cheese alternatives, but texture and flavor might differ slightly. Make sure the substitute is firm enough to hold inside the cupcakes.
Is it possible to make these cupcakes gluten-free?
To make gluten-free versions, replace cake flour with a gluten-free flour blend. Ensure all other ingredients are gluten-free and adjust baking time as needed.