Why Rustic Italian Bread Recipe is a Kitchen Essential
The comforting aroma of freshly baked bread can turn any meal into an experience. Rustic Italian bread, with its golden crust and tender crumb, delivers an authentic taste of Italy right from your oven. This Rustic Italian Bread Recipe combines simple ingredients to create a loaf that’s crispy on the outside and delightfully chewy inside. Whether you’re pairing it with olive oil or using it for hearty sandwiches, this bread is a versatile classic that brings warmth and satisfaction to your table.
Health Benefits & Nutrition
This Rustic Italian Bread Recipe isn’t just delicious—it offers some nutritional advantages as well. Made primarily from bread flour, it provides complex carbohydrates that fuel your body with sustained energy. The modest protein content supports muscle repair and satiety. The moderate amount of dietary fiber aids digestion and supports a healthy gut microbiome (Journal of Nutrition, 2021). The recipe’s low saturated fat and cholesterol content make it heart-friendly when enjoyed in moderation.
Note: Since it contains gluten and yeast, this bread is not suitable for those with celiac disease or yeast allergies. If you are pregnant or have specific dietary restrictions, consult your healthcare provider.
Ingredients & Preparation
Recipe Card
| Prep Time | 1 hour 20 minutes |
|---|---|
| Cook Time | 30 minutes |
| Total Time | 1 hour 50 minutes |
| Servings | 6 slices |
| Calories | Approx. 299 kcal per serving |
| Diet Tags | Vegetarian |
Full Ingredient List
- 1 cup warm water (120°F to 130°F)
- 2 tablespoons olive oil (Pure is preferable)
- 3 cups bread flour (high gluten content)
- 2 teaspoons sugar
- ½ teaspoon salt
- 1 packet (¼ oz) active dry yeast
- Cornmeal, for dusting
- 1 large egg white, beaten (for brushing)
Equipment Needed
- Mixing bowl
- Baking sheet or cookie sheet
- Sharp knife or lame (for scoring)
- Pastry brush
- Kitchen thermometer (optional but helpful)
- Clean kitchen towel or plastic wrap
Tips for Choosing Quality Ingredients
Choose bread flour with at least 12% protein for the ideal texture. Using fresh active dry yeast ensures a good rise—always check the expiration date on the packet. High-quality extra virgin olive oil adds a subtly fruity aroma and depth to your bread. When possible, use filtered or bottled water free of chlorine to avoid affecting yeast performance. Fresh eggs produce better results for the egg wash, creating a beautiful sheen on the crust.
Step-by-Step Instructions
Step 1: Combine and Activate Yeast (10 minutes)
Warm 1 cup of water to between 120°F and 130°F. Pour into a large bowl, sprinkle yeast and sugar over the surface. Let sit undisturbed for about 10 minutes, until foamy. This activates your yeast for a perfect rise.
Step 2: Mix Dough and Knead (10 minutes)
Add bread flour, salt, and olive oil to the yeast mixture. Stir gently until dough begins to form. Turn dough onto a lightly floured surface and knead for 10 minutes until smooth and elastic. Add small amounts of flour if the dough is overly sticky.
Step 3: First Rise (40 minutes)
Lightly oil a large bowl, place dough inside, and cover with plastic wrap along with a kitchen towel. Let rest in a warm spot (80°F to 85°F) undisturbed for 30 to 40 minutes until doubled in size.
Step 4: Shape and Rest (20 minutes)
Punch down the dough gently to remove air bubbles. Shape it into a baguette-like loaf about 12 inches long. Place loaf on a baking sheet sprinkled with cornmeal. Cover with a kitchen towel or inverted bowl and let rest for 15 to 20 minutes to relax gluten before the final rise.
Step 5: Second Rise (25 to 30 minutes)
Let the shaped loaf rise again in a warm place for 25 to 30 minutes until it doubles in volume and feels soft and airy when pressed gently.
Step 6: Bake (30 to 35 minutes)
Preheat the oven to 375°F. Score a deep lengthwise slash across the top with a sharp knife, then brush the loaf with beaten egg white for a golden crust. Bake on the middle rack for 30 to 35 minutes until the loaf sounds hollow when tapped.
Variations & Substitutions
- Whole Wheat Rustic Italian Bread: Substitute half of the bread flour with whole wheat flour for a nuttier texture and added fiber.
- Garlic and Herb Bread: Mix 1 teaspoon minced garlic and 2 teaspoons Italian herbs like oregano or rosemary into the dough during mixing.
- Olive-Stuffed Loaf: Fold ½ cup chopped Kalamata olives into the dough just before shaping for a tangy, Mediterranean twist.
- Gluten-Free Version: Use gluten-free bread flour blends and omit the egg wash or replace it with a milk substitute for shine.
Storage & Shelf Life
Refrigeration: Store bread wrapped in a clean kitchen towel or paper bag in the refrigerator for up to 3 days. Avoid plastic wrap as it traps moisture and softens the crust.
Freezing: For longer storage, slice the bread and place it in a freezer-safe bag, removing as much air as possible. Freeze for up to 2 months. Toast slices directly from frozen to revive crispness.
Signs of Spoilage: Discard bread if it smells sour or musty, develops mold spots, or feels unusually sticky.
Pro Tips for Perfect Rustic Italian Bread
- Maintaining the correct water temperature is crucial for yeast activation—too hot kills the yeast, too cold slows rising.
- Use cornmeal on your baking sheet to prevent sticking and add a subtle texture to the loaf’s bottom crust.
- Brushing egg white before baking creates a shiny, golden crust that enhances visual appeal and crunch.
- For a more artisan feel, create steam in the oven by placing a shallow pan of hot water on the bottom rack during the first 10 minutes of baking.
- Practice scoring with a sharp serrated knife or lame; deep slashes encourage oven spring and help control the loaf’s expansion.
When is the best time to eat Rustic Italian Bread Recipe?
This bread is delightful any time of day! It’s perfect fresh from the oven for breakfast with butter or as an accompaniment to soups and salads at lunch or dinner. For the crunchiest crust, enjoy it within a day of baking.
Can I make this recipe without a bread machine?
Yes, this Rustic Italian Bread Recipe works perfectly when kneaded by hand. The key is a thorough 10-minute knead to develop gluten properly, as detailed in the step-by-step instructions.
How do I know when the bread is fully baked?
Tap the bottom of the loaf—it should sound hollow when cooked through. You can also use an instant-read thermometer; the internal temperature should be around 190°F to 200°F.
Can I substitute all-purpose flour for bread flour?
While all-purpose flour can be used, bread flour’s higher protein content produces better gluten development, yielding a chewier and more elastic crumb typical of rustic Italian bread.
Is the egg wash necessary?
The egg wash isn’t mandatory but recommended. It produces a lovely golden shine and adds slight crispness to the crust, making your bread look bakery-worthy.
What if my dough is too sticky or dry?
Add flour or water gradually during kneading to reach a smooth, elastic dough that’s tacky but not sticky. Environmental humidity can affect dough hydration needs.
Can I add herbs or seasonings to the dough?
Absolutely. Fresh or dried herbs such as rosemary, thyme, or oregano can elevate the bread’s aroma and flavor. Mix them into the dough during initial mixing for even distribution.
More Recipes You Will Love
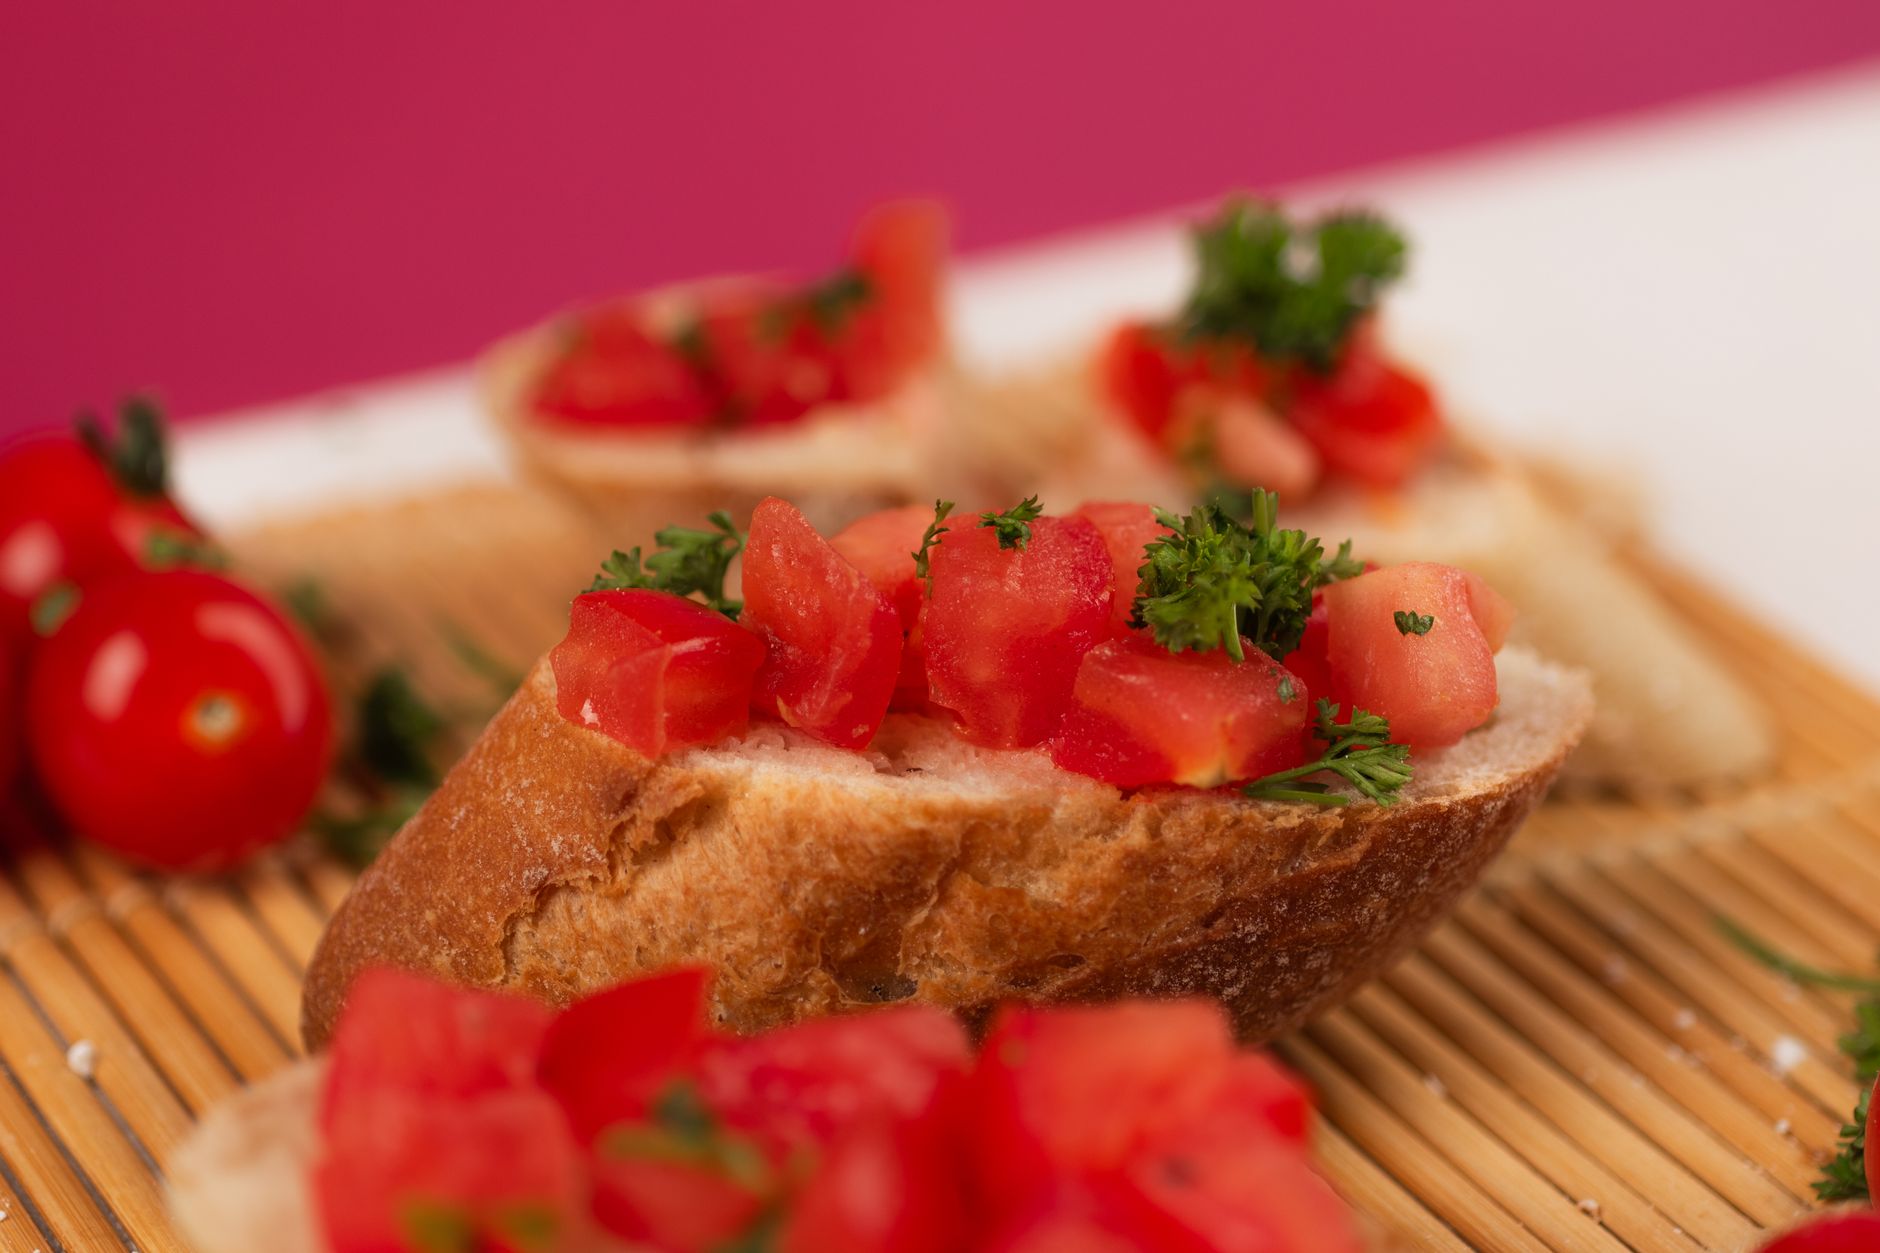
If you enjoy fresh-baked bread, you’ll surely appreciate the vibrant flavors in our Bruschetta with shrimp tarragon and arugula recipe. Its crispy base pairs flawlessly with the tender rustic loaf. For a heartier meal, try the robust and flavorful Sicilian stick to your ribs mealmeatloaf brasciole roll ups pasta broccolini and ricotta recipe—a perfect complement to homemade bread.
Conclusion
This Rustic Italian Bread Recipe offers you a straightforward path to baking a loaf that’s rich in flavor and character. The crispy crust and soft interior roll together to create a bread you’ll want to share at every meal. Try it yourself—the rewarding process and golden results will keep you reaching for this recipe time and again. Don’t forget to share your baking adventures, rate the recipe, or leave a comment with your favorite variations!
FAQs
When is the best time to eat Rustic Italian Bread Recipe?
Rustic Italian Bread is best enjoyed fresh and warm, ideally within a few hours of baking. It pairs wonderfully with meals such as soups and salads or can be used for sandwiches throughout the day.
Can I store leftover Rustic Italian Bread, and how?
Yes, store leftover bread in a paper bag or bread box at room temperature for up to two days to maintain its crust. For longer storage, wrap it tightly in plastic and freeze for up to one month.
Is Rustic Italian Bread Recipe suitable for vegetarians?
Yes, this recipe is vegetarian as it contains no meat or animal-derived ingredients beyond egg white used for brushing. It suits a vegetarian diet perfectly and adds wholesome flavor.
Can I substitute all-purpose flour for bread flour in this recipe?
While you can substitute all-purpose flour, bread flour is recommended for better gluten development, resulting in a chewier texture and improved rise. Using all-purpose may produce a softer crumb.
What is the purpose of scoring the bread before baking?
Scoring the bread allows controlled expansion during baking, preventing random cracks. It also creates the classic rustic look and a crispy crust that enhances both texture and appearance.