Why Try This Classic Lavash Recipe?
The allure of lavash lies in its delicate, paper-thin texture and warm golden hue. This traditional Armenian flatbread has graced tables for centuries, beloved for its soft chew and subtle flavor. When you bake your own lavash, you unlock an aromatic experience—the scent of warm dough and melted butter fills your kitchen, inviting you to tear off crispy, crackling shards. This lavash recipe is straightforward, designed for quick preparation and a satisfying homemade touch. It’s perfect for pairing with dips, wrapping hearty fillings, or enjoying as a snack on its own.
Health Benefits & Nutrition
Lavash offers a wholesome base for a variety of meals, combining moderate carbohydrates with healthy fats and protein. Its foundation of all-purpose flour provides energy-boosting complex carbs, while the addition of egg adds protein needed for muscle repair and overall bodily functions. Incorporating unsalted butter introduces essential fats, which help in vitamin absorption and hormone regulation. Studies have shown that moderate fat intake, when balanced in recipes like this, supports heart health and satiety (American Heart Association). This recipe contains no added sugars, making it a cleaner choice for mindful eaters. However, those with gluten sensitivities should avoid standard flour versions or substitute with gluten-free alternatives. Also, due to the egg and butter content, it‘s best to ensure freshness and proper storage to avoid food safety issues.
Ingredients & Preparation
Recipe Card
| Prep Time | Total Time | Servings | Calories (per serving) | Diet Tags |
|---|---|---|---|---|
| 15 minutes | 30 minutes | 10-12 pieces | 173 | Vegetarian |
Ingredients
- 14½ oz (approx. 2½ cups) all-purpose flour, plus extra for dusting
- 1 teaspoon table salt
- ½ teaspoon granulated sugar
- ⅔ cup water, plus additional if needed
- 1 whole egg
- 5 tablespoons unsalted butter, melted and cooled (divided)
Equipment Needed
- Medium mixing bowls
- Whisk and spoon
- Rolling pin
- Half sheet pan or baking tray
- Basting brush
- Tea towel or clean cloth
- Cooling rack
Tips for Choosing Quality Ingredients
Opt for fresh, high-quality all-purpose flour to ensure a smooth dough with good elasticity. Look for unsalted butter with a creamy texture; choosing a premium brand or Epicurean butter can elevate the flavor and mouthfeel. Use fresh eggs, as they improve dough binding and richness. Finally, always use clean, filtered water for the best dough consistency.
Step-by-Step Instructions
Step 1: Combine Dry Ingredients (5 minutes)
In a medium bowl, whisk together 2½ cups of all-purpose flour, 1 teaspoon salt, and ½ teaspoon sugar until well combined.
Step 2: Mix Wet Ingredients and Form Dough (5 minutes)
In a smaller bowl, whisk ⅔ cup water with 1 beaten egg and 2 tablespoons melted butter until smooth. Pour the wet mixture into the dry ingredients. Stir gently with a spoon until the dough begins to come together. If the dough feels dry, add water, a tablespoon at a time.
Step 3: Knead and Rest the Dough (10 minutes + 30 minutes rest)
Turn the dough onto a lightly floured surface. Knead for 5 to 6 minutes until the dough is smooth and elastic. Divide the dough into three equal balls. Cover with a clean tea towel and let it rest at room temperature for 30 minutes to relax the gluten.
Step 4: Preheat Oven and Prepare Baking Surface (5 minutes)
Set your oven to 375°F (190°C). Using a basting brush, lightly butter the back side of a half sheet pan. Place the pan upside down on a stable surface that won’t slip during rolling.
Step 5: Roll and Bake the Lavash (10-15 minutes per sheet)
Work with one dough ball at a time. Place the dough ball on the back of the pan and roll it out evenly to 1/8-inch thickness, gently stretching the edges to hang slightly off the pan‘s edge to hold it in place. Brush the surface with melted butter. Bake on the middle rack for 10 to 15 minutes or until the lavash is golden and crisp on the edges. Transfer to a cooling rack.
Step 6: Repeat and Store
Allow the pan to cool before repeating the process with the remaining dough balls. Once cooled, break each lavash sheet into desired shapes. Store in an airtight container for up to 5 days.

Variations & Substitutions
- Whole Wheat Lavash: Swap half or all-purpose flour for whole wheat flour. This adds a nutty flavor and increases fiber.
- Garlic Herb Lavash: Add 1 teaspoon mixed dried herbs and 1 minced garlic clove to dry ingredients for aromatic twists.
- Dairy-Free Option: Replace butter with olive oil or coconut oil and omit the egg for a vegan-friendly lavash, though texture may vary slightly.
- Spiced Lavash: Incorporate a pinch of smoked paprika or ground cumin into the dough to add subtle warmth and earthy notes.
Storage & Shelf Life
Store your baked lavash in an airtight container at room temperature for up to 5 days. For longer freshness, place it in the refrigerator, well wrapped, to last up to 7 days. To preserve beyond that, freeze lavash flat between parchment paper in a freezer-safe plastic bag for up to 3 months. Thaw at room temperature before use. Signs of spoilage include unpleasant sour smell, visible mold, or excessive hardness beyond crisp, indicating it is best discarded.
Pro Tips
- Resting the dough is crucial—it helps relax gluten strands, making rolling easier and yielding a tender crumb.
- Rolling on the back of the pan prevents the dough from sticking and provides a prepped surface that enhances browning.
- Lightly buttering the dough before baking adds a luscious golden sheen and subtle richness to the crust.
- Maintain an even thickness at about 1/8-inch for perfect crispness that still offers a soft pull.
- Let the pan cool between batches to avoid excessive dough sticking and uneven baking.
When is the best time to eat Lavash Recipe?
Lavash is versatile enough to enjoy any time—fresh out of the oven with warm family meals, as a quick snack with dips, or wrapped around your favorite fillings for lunch. Its crisp yet pliable texture shines best soon after baking but still tastes delightful when refreshed briefly in the oven.
Can I make lavash without an egg?
Yes, you can omit the egg to create an egg-free version. The dough will be slightly less rich and elastic but still bake into a tasty flatbread. Using a bit more water or oil can help maintain moisture.
What is the best flour to use for lavash?
Traditional lavash uses all-purpose flour for its balanced protein content, which helps develop the ideal chewiness. You can substitute half with bread or whole wheat flour for a heartier flavor.
How thin should I roll the lavash dough?
Roll to approximately 1/8-inch thick. This thickness allows the bread to crisp up nicely while maintaining enough softness to roll or tear easily.
Can I freeze baked lavash?
Absolutely. Freeze cooled lavash sheets flat, separated by parchment. They freeze well for up to 3 months. Thaw at room temperature before reheating or using.
Why does my lavash turn out tough?
Tough lavash typically results from overworking the dough or rolling it too thick. Ensure you knead gently, rest the dough for at least 30 minutes, and roll thinly for tender results.
What dishes pair well with lavash?
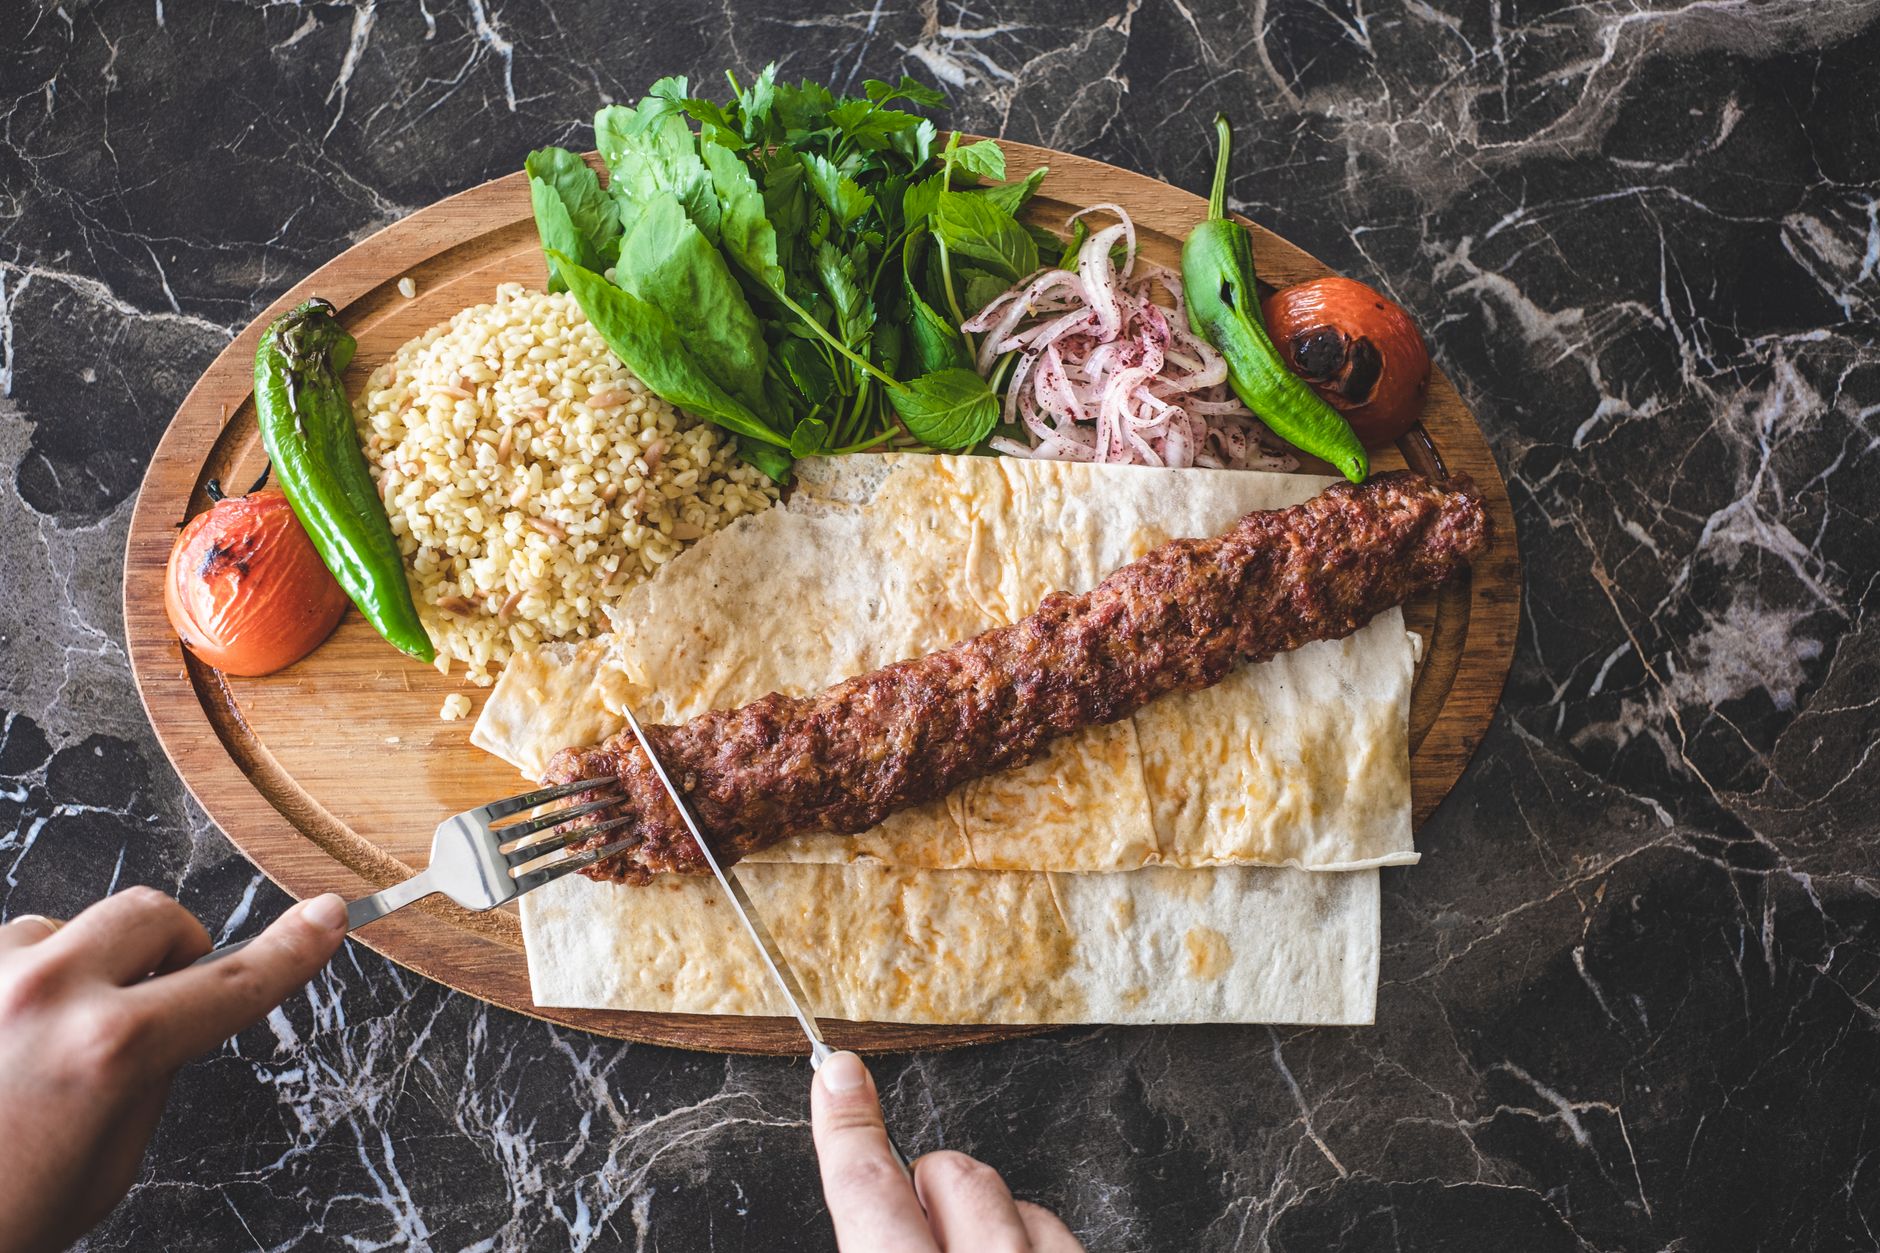
Lavash complements dips like hummus, baba ganoush, or tzatziki beautifully. It’s ideal for wraps filled with grilled meats, fresh veggies, or cheeses.
Can I adapt this recipe for a gluten-free diet?
Gluten-free lavash is achievable using specialty gluten-free flour blends. However, the texture will differ, often less flexible and more brittle than traditional lavash.

More Recipes You Will Love
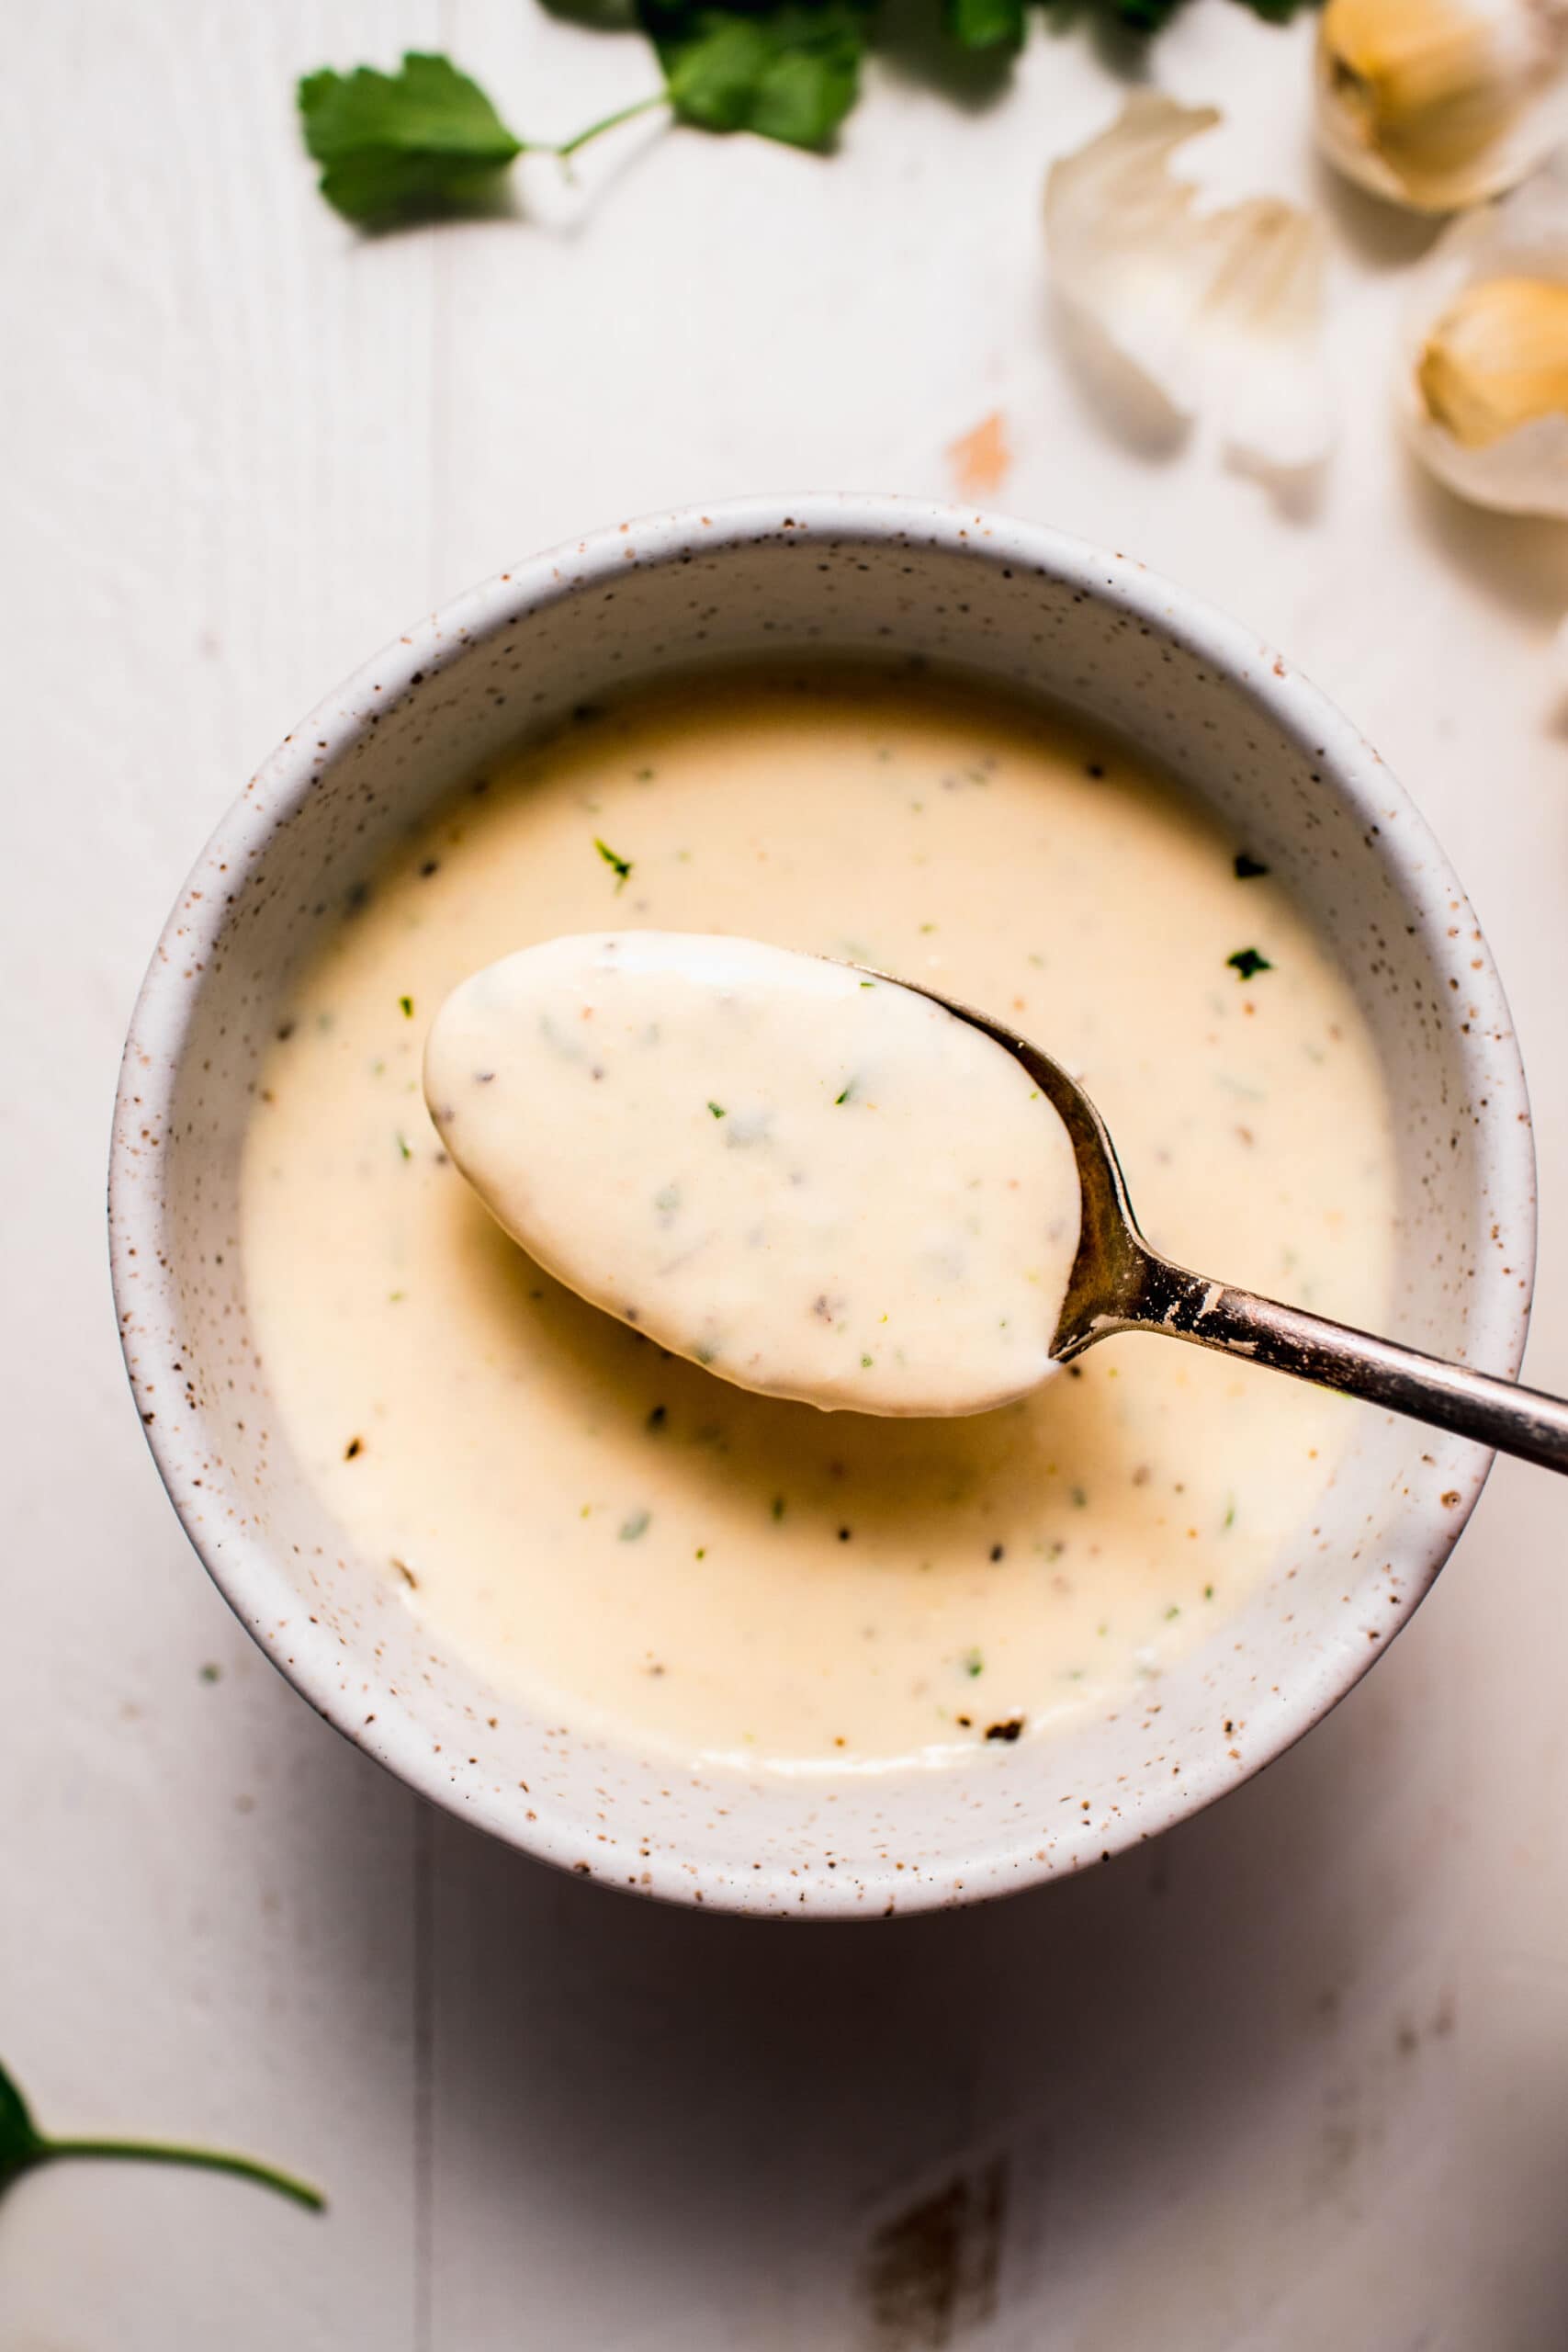
If you appreciate the simplicity and warmth of lavash, you might enjoy trying other flatbreads like pita or naan for your meals. For a twist on spreads, explore recipes that incorporate fresh herbs and creamy bases to pair with lavash’s crispy texture. Meanwhile, if you enjoy artisanal butters, the Epicurean butter guide offers fantastic ideas for elevating your bread accompaniments. And for a refreshing drink to serve alongside your meal, the tangy Grapefruit gimlet recipe is a sophisticated choice to balance the earthiness of your food.
Conclusion
This homemade lavash recipe delivers a golden, crisp flatbread that’s easy to master and endlessly adaptable. Its simple ingredients come together to create that signature texture and subtle buttered aroma you crave. Whether for wrapping, dipping, or snacking, this lavash is a kitchen staple you’ll return to again and again. If you try this recipe, I’d love to hear how it turned out—feel free to leave a comment, share your tips, or rate your experience!
FAQs
When is the best time to eat Lavash Recipe?
The best time to eat lavash is fresh and warm, right after baking, when the flatbread is soft and aromatic. It can be enjoyed anytime as a snack, wrapped around fillings for lunch or dinner, or served alongside dips for an appetizer.
Can I freeze homemade lavash bread?
Yes, you can freeze homemade lavash to preserve freshness. Cool it completely, wrap tightly in plastic wrap or foil, then place in an airtight freezer bag. Thaw at room temperature and reheat briefly before serving for best texture.
Is lavash suitable for a vegetarian diet?
Traditional lavash is vegetarian-friendly, containing flour, water, egg, and butter without any meat products. However, always check or customize the recipe if you want to avoid eggs or dairy for your specific dietary needs.
How do I achieve thin, soft lavash dough?
To get thin and soft lavash, knead the dough well to develop gluten and rest it for at least 30 minutes. Roll each piece very thin on a floured surface before baking at the right temperature to avoid toughness.
Can I substitute ingredients for gluten-free lavash?
Yes, gluten-free flours can replace all-purpose flour, but texture and elasticity will differ. You may need to add binding agents like xanthan gum or adjust water ratios. The end result will vary but can still be a tasty flatbread alternative.