


Introduction
Why simple boy scout dutch oven dessert recipes make camping more fun
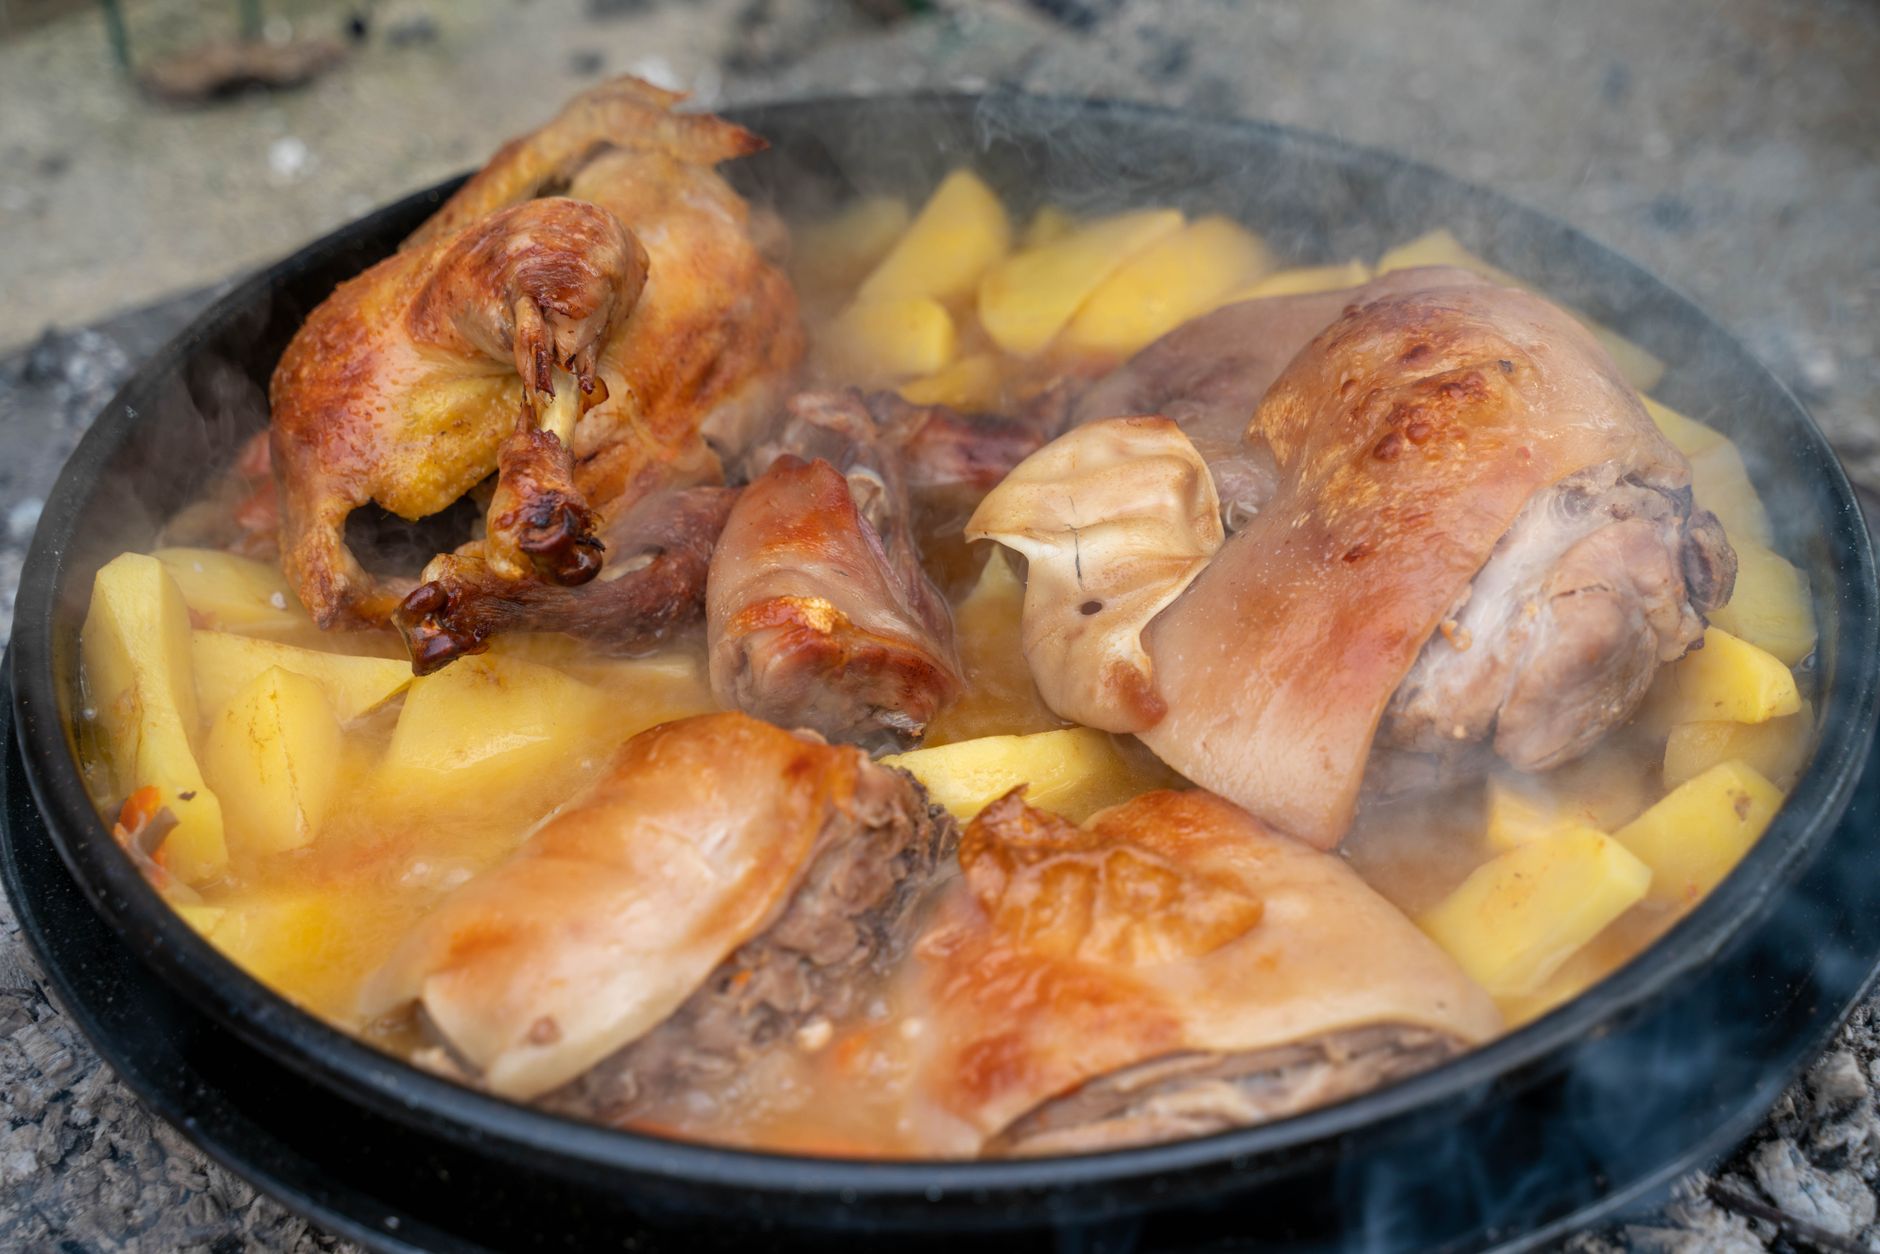
Nothing beats the warm aroma of a freshly baked dessert after a long day outdoors. Boy scout dutch oven dessert recipes offer easy campsite dessert recipes that transform simple ingredients into mouthwatering treats. Using the steady heat of your campfire and the classic dutch oven, these desserts bring joy without complicated steps. Theyre perfect for beginners and experienced campers who want a delicious reward with little fuss.
Who will enjoy these desserts skill level, camper type, and dietary needs
Whether youre camping with kids, camping solo, or feeding a hungry troop, these desserts suit all skill levels. Beginners find the simple outdoor dessert ideas easy to assemble, while seasoned campers appreciate the flexible recipes that adapt to available ingredients. Many can be tailored to fit gluten-free campfire desserts or other dietary preferences with minor swaps.
What sets this recipe collection apart from other dutch oven dessert guides
Many dutch oven camping recipes require precise timing and fancy ingredients. This collection keeps it approachable, focusing on reliable campfire baking techniques and practical tips. It highlights common dutch oven baking mistakes and how to avoid them. Plus, it features trusted boy scout traditions that have stood the test of time around campfires.
Key Highlights of Boy Scout Dutch Oven Desserts
Reliable outdoor baking using dry heat and charcoal science
Success with boy scout dutch oven dessert recipes depends on consistent dry heat from charcoal briquettes arranged both above and below your cast iron pot. This method applies even heat, baking desserts thoroughly without burning. Learning how to balance coal placement keeps your dessert golden and perfectly cooked every time.
Versatility to create various flavors and textures from simple staples
These recipes offer creative freedom. Use fresh fruit, canned goods, or chocolate chips to craft cobblers, brownies, or crisp-topped cakes. The cast iron dutch oven enhances flavors and textures, creating a crispy crust with a moist, tender interior. Adjust spices like cinnamon or nutmeg to your preference for extra warmth.
Who should exercise caution fire safety and food allergies
Campfire baking is fun but comes with risks. Always supervise children around hot briquettes and Dutch ovens. Use heatproof gloves and long-handled tools to move coals safely. If allergies are a concern, carefully review ingredient substitutions and avoid cross-contamination.
Ingredients & Preparation
| Prep time | Total time | Servings | Calories | Diet tags |
|---|---|---|---|---|
| 15 minutes | 45-55 minutes | 6 | ~300 per serving | Gluten-free options available |
Full ingredient list with exact amounts and substitution notes
- 2 cups all-purpose flour (or 2 cups gluten-free flour blend)
- 1 cup granulated sugar (or 3/4 cup maple syrup for less refined sugar)
- 1/2 cup butter, melted (use vegan margarine or coconut oil for dairy-free)
- 2 tsp baking powder
- 1/2 tsp ground cinnamon (optional)
- 1/4 tsp salt
- 2 cups fresh or canned fruit (apples, peaches, berries)
- 1/2 cup chocolate chips or nuts (optional)
- 1/2 cup water or fruit juice (adjust as needed)
Equipment needed cast iron dutch oven, charcoal briquettes, long-handled tongs
A quality cast iron dutch oven is essential for campfire baking. Charcoal briquettes provide steady, controllable heat. Long-handled tongs are needed to move hot coals safely. No electricity or additional gadgets are required, keeping your cooking truly back-to-basics.
Tips for selecting the best ingredients outdoors
Choose fresh, firm fruit when possible for the best flavor and texture. Canned fruit works well too but may increase moisture in your dessert; adjust dry ingredients accordingly. Pre-measure your dry ingredients at home and pack them in sealed bags for smoother campsite prep. Keep perishables cool in a well-insulated cooler.
Step-by-Step Instructions
Step 1 Prepare ingredients: wash fruit, chop if needed, pre-measure flour and sugar
Wash berries or firm fruit and chop larger fruits like apples or peaches into 1/2-inch pieces. Pre-measured dry ingredients speed up assembly and reduce mess at camp.
Step 2 Assemble and cook: layer ingredients in dutch oven, place briquettes (10 top, 15 bottom), cook for 3540 mins
Start your charcoal 20 minutes ahead for steady heat. Spray or butter the dutch oven interior. Layer half the fruit, sprinkle a bit of sugar and cinnamon, then half the batter. Repeat layers and spread evenly. Arrange 15 briquettes under the dutch oven and 10 on its lid for balanced heat. Bake for 35 to 40 minutes without lifting the lid, avoiding heat loss.
Step 3 Check doneness, add toppings if desired (nuts, marshmallows), allow to cool slightly
Insert a skewer in the center; it should come out clean when done. Add nuts or marshmallows on top during the last 5 minutes if desired for extra crunch or gooeyness. Let your dessert cool 10 minutes to set before serving.
Step 4 Serve hot or transfer to storage containers promptly to maintain moisture
Scoop warm servings directly from the dutch oven or transfer leftovers into airtight containers. Keeping desserts covered prevents drying out in the open air around camp.

Variations & Substitutions
Popular variations include vegan and gluten-free options
For vegan versions, swap butter for coconut oil or plant-based margarine. Gluten-free flour blends work well in equal measurements. Replace sugar with natural sweeteners like honey or maple syrup. These swaps keep your dessert inclusive without sacrificing taste.
Ingredient swaps and their taste impacts
Frozen fruit can replace fresh fruit if needed, but it adds moisture. Compensate by increasing flour or reducing water slightly. Powdered cake or brownie mixes speed prep but may change texture. Chocolate chips boost richness, while nuts add crunch and earthiness.
Adjusting sweetness and spice to preference
If your fruit is very sweet, cut back on sugar slightly. Add warm spices like cinnamon, nutmeg, or allspice for cozy depth. Vanilla extract lends a luscious aroma, boosting overall flavor with a simple splash.
Storage & Shelf Life
Refrigerator store in sealed airtight containers for up to 3 days
Cool desserts completely before sealing in containers. Use glass or BPA-free plastic for best freshness. Consume within 72 hours for optimal taste.
Freezer freeze in portions using freezer-safe containers or bags, up to 1 month
Wrap portions tightly to prevent freezer burn. Thaw overnight in the fridge and warm gently over low heat or in your dutch oven.
Make-ahead tips scale recipe by doubling; label with date and ingredients for easy camp use
Mix dry ingredients at home and pack them in resealable bags. Add fresh fruit or liquid at the campsite for the best texture. Label each bag with date and content if preparing for multiple trips.
Pro Tips & Troubleshooting
Avoid staining hands by wearing gloves and wipe spills immediately; maximize flavor by using ripe fruit
Campfire treats can stain skin or gear. Wearing latex or silicone gloves protects your hands. Quickly cleaning spills on gear or your hands with damp cloth prevents stubborn stains. Using ripe fruit brings out deeper, sweeter flavors and reduces the need for excessive sugar.
Troubleshooting off flavors or texture
Pale desserts usually mean insufficient heat; adjust briquette count. Burnt edges indicate too high heat or uneven coal distributionrotate your dutch oven every 15 minutes. Soggy desserts often result from too much fruit juice or liquid; next time, reduce liquid or add a tablespoon of extra flour.
Expert upgrade add a pinch of cinnamon or a splash of vanilla extract for a richer aroma
For a richer aroma, a half teaspoon of vanilla extract or a pinch of ground cinnamon elevates simple desserts. These small touches add warm, fragrant layers that campers rave about without complicating your process.

When is the best time to eat boy scout dutch oven dessert recipes?
The best time is right after baking when desserts are warm and slightly gooey. Serving hot enhances flavors and creates a comforting experience by the campfire. Leftovers reheat well and make a sweet nighttime snack under the stars.
Can I make a big batch ahead of time?
Yes, preparing dry mixes ahead is smart. Pack separate fruit to add fresh at camp for best texture. Avoid mixing wet and dry ingredients too soon to prevent mushy desserts.
Fresh fruit or canned which is better?
Fresh fruit offers brighter taste and texture but requires chopping. Canned fruit adds convenience and consistency, especially when camping far from grocery stores. Just adjust liquid amounts if using canned, as it tends to be juicier.
Is this safe for pregnant women, kids, or people on medication?
Generally, these recipes are safe if ingredients are allergy-friendly and cooking is thorough. Avoid unpasteurized dairy and check specific dietary restrictions with a healthcare professional to be certain.
How often can I have this dessert?
These treats are best enjoyed as occasional desserts while camping. Moderation keeps them a special reward without overwhelming your diet with sugar.
Why does my dessert taste bitter?
Bitterness often results from burnt sugar or overcooked edges. Lower your heat and check coal arrangement to prevent overcooking.
What pairs well with these desserts?
Try serving with campfire coffee, fresh berries, or a scoop of vanilla ice cream for a delightful contrast. These pairings bring out richer flavors in your freshly baked treat.

More Recipes You Will Love
Try the Campfire Peach Cobbler, a fruity dessert perfect for outdoor baking. For quick and no-fuss mornings, the No-Bake Berry Parfait is a fresh and easy campsite dessert. When you want cozy festive flavors, check out the Winter Holiday Dutch Oven Desserts for warm seasonal treats.
If you want to explore more options, our page on Best dutch oven camping recipes has plenty of savory and sweet ideas. For a fun twist, the Grilled sheet pan smores 7147017 add a crispy, melty campfire classic you won‘t want to miss.
Conclusion
Boy scout dutch oven dessert recipes bring simple, tasty campfire treats right to your outdoor table. Combining trusty methods with easy ingredients results in desserts both beginners and experts can enjoy. Give one a try on your next trip and share your experience in the comments. Dont forget to rate your favorites and check out our other camping recipes for more delicious inspiration.
FAQs
When is the best time to eat boy scout dutch oven dessert recipes?
The best time to eat these desserts is right after baking while they are warm and slightly gooey. Serving them hot enhances flavors and offers a comforting campfire experience. Leftovers can be reheated for a tasty nighttime snack under the stars.
Can I make a big batch of these desserts ahead of time?
Yes, you can prepare the dry mix ahead and pack it in sealed bags. Add fresh fruit or liquids at the campsite for optimal texture. Avoid mixing wet and dry ingredients too early to prevent sogginess.
Is fresh or canned fruit better for these dutch oven desserts?
Fresh fruit provides brighter flavor and better texture but requires chopping. Canned fruit offers convenience and consistency, especially when camping remotely. If using canned fruit, adjust the liquid to prevent excess moisture.
Are these recipes safe for kids, pregnant women, or those on medication?
Generally, these desserts are safe if ingredients are allergy-friendly and thoroughly cooked. Avoid unpasteurized dairy and consult a healthcare provider for specific dietary concerns, especially during pregnancy or medication use.
What should I do if my dessert tastes bitter or burnt?
Bitterness often comes from burnt sugar or overcooking. Lower the heat by adjusting coal placement, rotate the dutch oven regularly, and monitor cooking times closely to prevent burning.


