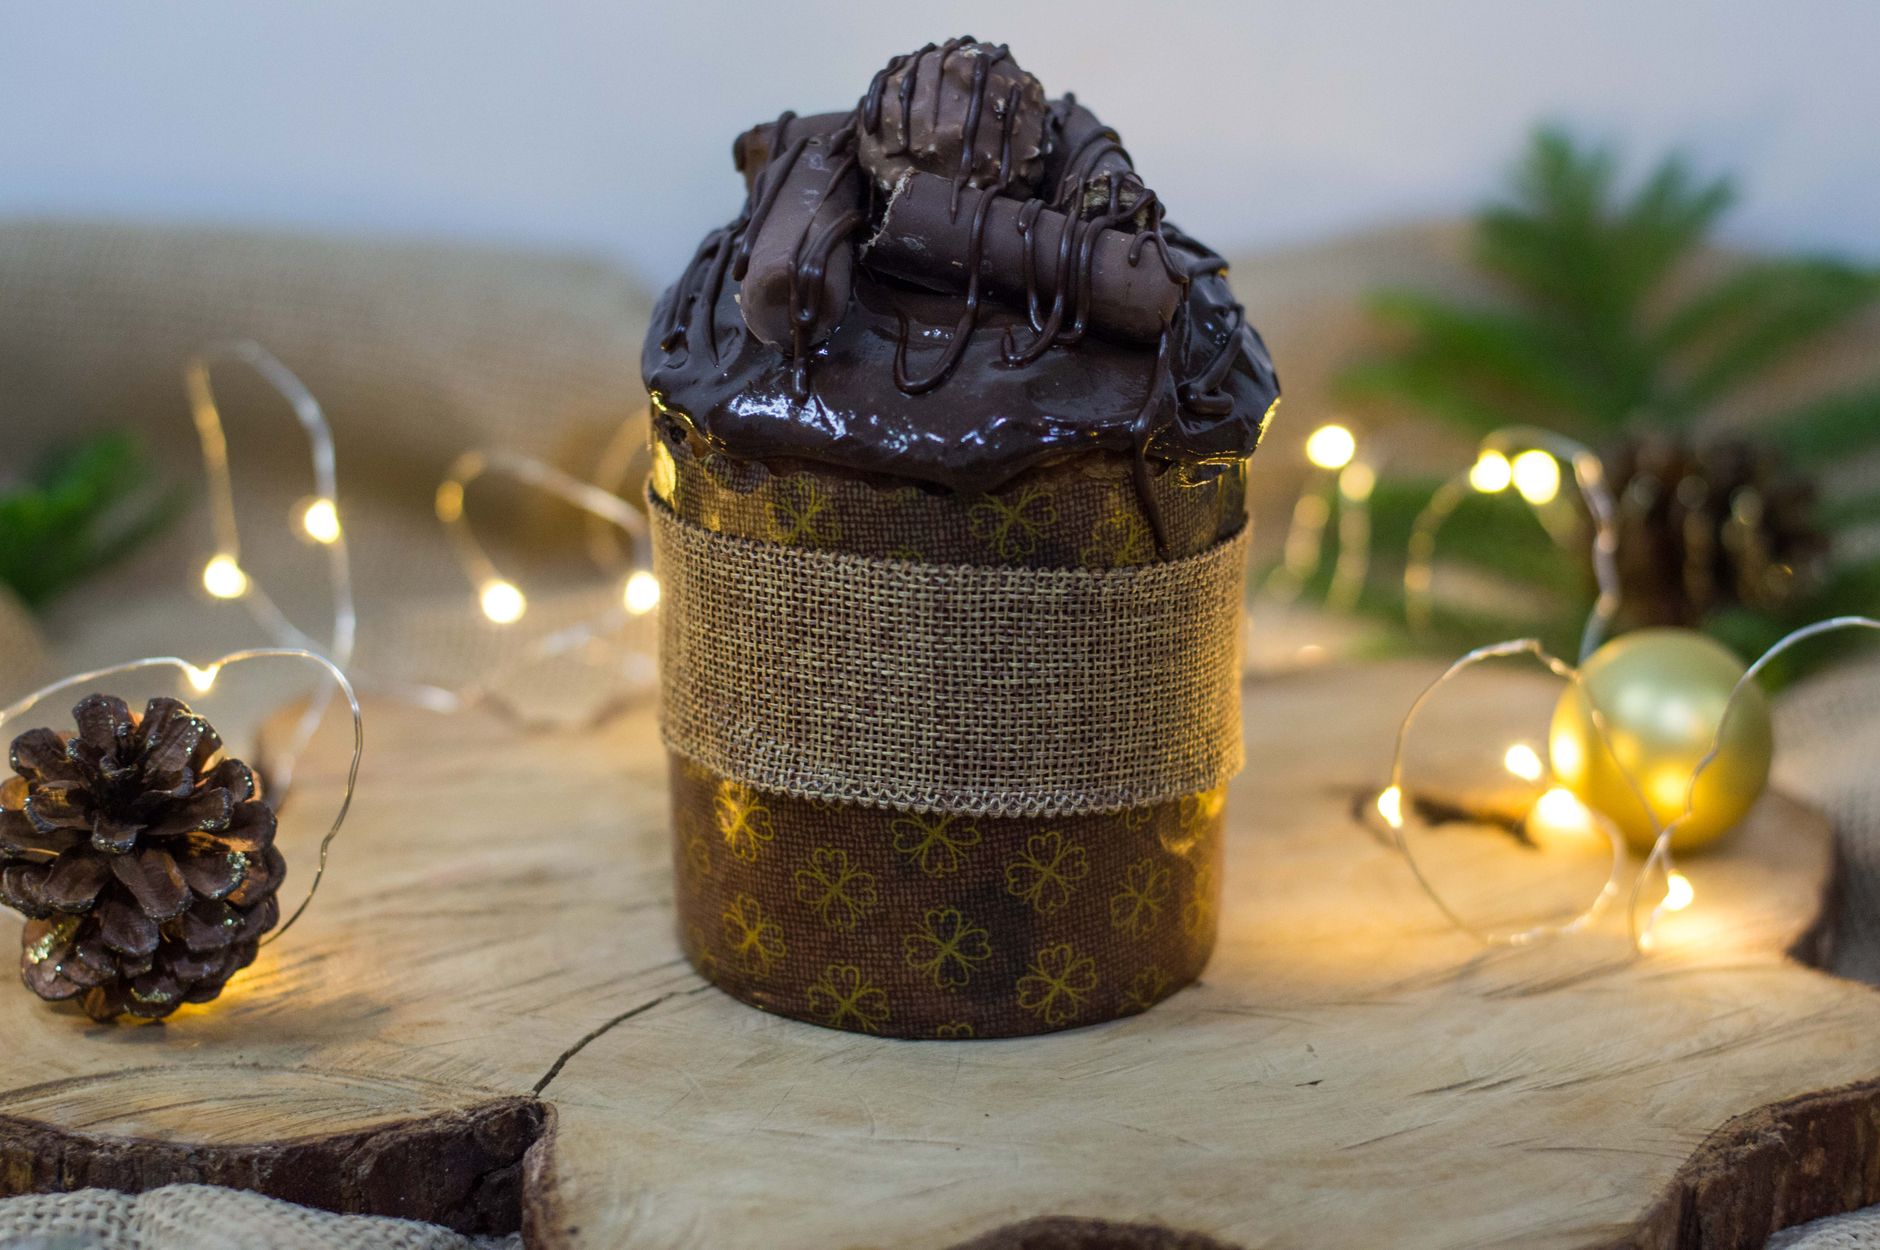
Why Yule Log Icebox Cake Works for Busy Holidays
Picture a chocolate log with bark-like ridges and pale cocoa spirals, and no oven anywhere near it. That is the charm of Yule Log Icebox Cake. It looks like a bakery centerpiece but comes together in one afternoon.
Yule Log Icebox Cake is a no-bake dessert made by stacking chocolate wafer cookies with sweetened peppermint whipped cream into a log shape. Chilling the log for several hours softens the cookies into cake-like layers. Expect about 45 minutes of hands-on work, roughly seven hours in the fridge, and eight servings.
I first made this on a cold December afternoon when a dinner guest asked for something chocolatey but not heavy. Traditional rolled sponge logs scared me a little, so I went looking for an easier route. This version uses only a handful of ingredients, and the chill time does most of the work for you.

Health Benefits and Nutrition
This dessert is best seen as a sweet treat rather than a nutritional food. Each serving contains roughly 370 calories, based on the nutrition estimate for the original recipe, so treat those numbers as approximate. Most of the energy comes from the heavy cream and the cookies.
Because the recipe has so few ingredients, you control exactly what goes in. You can check the labels on your cookies, choose a lighter sweetener, or adjust the sugar to suit your taste. Making it at home also means no preservatives you did not choose yourself.
Heavy cream contributes some calcium and vitamin A, while cocoa powder adds small amounts of iron and plant compounds called polyphenols. These are modest amounts, not a meaningful source of nutrients on their own. Each slice also provides a little protein, around 4 grams per serving.
Saturated fat is the main nutritional consideration here. Each serving has roughly 15 grams, which is a significant share for a single dessert. If you are managing cholesterol, blood sugar, or heart health, a slice now and then fits best, and a doctor or registered dietitian can help you decide how often it belongs in your eating pattern.
Safety and allergy notes matter too. Most chocolate wafer cookies contain wheat, and many also contain milk or soy ingredients. Check the package for allergen statements and possible cross-contact warnings before serving guests with food allergies or celiac disease. If you have a medical condition or take medication, speak with your healthcare provider about any dietary changes.
Ingredients and Preparation
Recipe Card
| Prep time | 7 hours 45 minutes (45 minutes hands-on plus about 7 hours chilling) |
|---|---|
| Cook time | 0 minutes (no oven) |
| Total time | 7 hours 45 minutes |
| Servings | 8 |
| Calories (approx.) | About 371 per serving (estimate) |
| Diet tags | Vegetarian, eggless (check cookie labels for allergens) |
Ingredient List
- 2 cups cold heavy cream
- 1/2 cup confectioners‘ sugar
- 3/4 teaspoon peppermint extract
- 1 9-ounce package chocolate wafer cookies (about 50)
- 1 tablespoon unsweetened cocoa powder
- 1 tablespoon warm water, plus more as needed
Equipment Needed
You will need a stand mixer or hand mixer, a large mixing bowl, and an offset spatula. A flat cutting board or serving platter works well as the base. You also need a small bowl and a small pastry brush for the cocoa paint, plus plastic wrap and a sharp knife for slicing.
Tips for Choosing Quality Ingredients
Choose heavy cream with at least 36 percent milkfat, labeled as heavy whipping cream. Lower-fat creams whip faster but collapse sooner, and the log will slump. Buy the cookies that are thin, crisp, and chocolatey, and check that the package is not stale, since old wafers can taste flat. Fresh peppermint extract smells sharp and clean. If the bottle has been open for a long time, the flavor fades, and you may need a little more than you expect.
Step-by-Step Instructions
Step 1: Whip the Cream
Beat 2 cups cold heavy cream and 1/2 cup confectioners‘ sugar in a large bowl on medium-high speed for about 3 minutes, until stiff peaks form. Beat in 3/4 teaspoon peppermint extract for 10 seconds. Stop as soon as the peaks hold their shape when you lift the beaters. The first time I made this, I kept going and the cream turned grainy and slightly separated, so watch for that point closely.
Step 2: Build the Base Log
Spread a thin 3-by-8-inch rectangle of whipped cream on a board or platter. Sandwich 2 cookies together with about 1 teaspoon whipped cream, then stand them upright on their edges at one end of the cream rectangle. Keep adding cookie pairs and cream until you have an 8-inch log, which takes about 36 cookies. Press each pair gently so it stays upright, and look for a log that feels firm and does not lean when you nudge it.

Step 3: Add the Branch
Sandwich 2 more cookies together with about 1 teaspoon whipped cream. Attach them to the side of the log at roughly a 45-degree angle, then continue adding about 8 more cookies to form the branch. Hold each piece for about 10 seconds so the cream grabs. Heavier branches tend to slide down, so keep the angle shallow if your cream is still soft.
Step 4: Frost and Decorate
Cover the log and branch with the remaining whipped cream. Drag an offset spatula lengthwise along the log to create long bark lines. In a small bowl, mix 1 tablespoon cocoa powder with 1 tablespoon warm water until the mixture flows like thin paint. Add a few drops of warm water at a time if it looks clumpy. Brush short lines across the cream for birch bark, then paint small spirals on the end of the log and branch.
Step 5: Chill Until Set and Softened
Refrigerate the cake uncovered for about 1 hour, until the cream feels firm when you touch it lightly. Then cover it loosely with plastic wrap and chill for at least 6 hours or overnight. The cookies are ready when they feel soft and cake-like at the edges, not crisp. Slice on an angle with a sharp knife, wiping the blade between cuts so the cream stays clean.
Variations and Substitutions
Peppermint is classic, but you can change the flavor without changing the method. Replace the 3/4 teaspoon peppermint extract with 3/4 teaspoon vanilla extract for a softer, more familiar taste. Adding 1 teaspoon instant espresso powder dissolved in the 1 tablespoon warm water for the cocoa paint gives a mocha flavor. I once tried orange extract at full strength, and it tasted like cleaning spray, so use no more than 1/2 teaspoon of any strong citrus flavor.
For a dairy-free version, chill a can of full-fat coconut cream overnight, scoop out the solid part, and whip it with the sugar and extract. I tested this once, and the texture was softer and less stable than dairy cream. Chill the log a little longer to firm it up. Check your cookie labels, since many wafers contain milk ingredients.
You can swap the chocolate wafers for gingersnaps at a one-to-one count. The result is spicy and warm, which works well at the end of a winter dinner. Avoid thick shortbread or very crisp graham crackers, because they do not soften in the fridge the way wafers do.
For a lighter version, some people replace part of the cream with whipped topping. I tried a half-and-half mix, and the log slumped within a few hours, so I do not recommend it. If you want less sugar, reduce the confectioners‘ sugar by 1 tablespoon at a time, keeping in mind that the cream may take a little longer to stiffen.
Storage and Shelf Life
Store the covered log in the refrigerator for up to 4 days. The cookies keep softening during this time, so the texture changes a little each day. Slice only what you plan to serve, and keep the rest wrapped tightly so the cut edges do not dry out.
To freeze, wrap the whole log tightly in two layers of plastic wrap and then in foil. It keeps for up to 1 month. Thaw it in the refrigerator for 12 to 24 hours before slicing. The cocoa decoration can smudge during freezing, so you may need to touch up the spirals afterward.
Discard the dessert if you see liquid pooling around the base, notice a sour or off smell, or see any mold or discoloration. Whipped cream spoils faster than many desserts, so when in doubt, throw it out.

Pro Tips
Chill your mixing bowl and beaters for 10 minutes before whipping. Cold equipment helps the cream reach stiff peaks faster and with less risk of overbeating. Keep the cream itself cold until you are ready to use it.
To keep cocoa paint from bleeding into the cream, wait until the cream is firm from its first chill. Then use a light touch and a dry brush. If a line smears, dab it gently with a folded paper towel instead of rubbing it.
Peppermint is strong, so measure it carefully. A little goes a long way, and more than 3/4 teaspoon for this amount of cream can taste medicinal. Taste a small spoonful of the whipped cream before you start building, and adjust only if needed.
Keep a dish towel nearby while you assemble. Wipe the spatula and your fingers often, so cream does not smear on the cookies and make the log look messy.
Questions and Answers
When is the best time to eat Yule Log Icebox Cake?
The best time to eat it is after it has chilled for at least 6 hours, ideally the next day. Overnight chilling lets the cookies soften fully into cake-like layers, and the cream sets so slicing stays clean. Serve it cold, straight from the fridge, for the best texture and the sharpest peppermint flavor.
Can I make Yule Log Icebox Cake a day ahead?
Yes, making it a day ahead is ideal. Assemble and decorate the log, then refrigerate it covered overnight. The cookies soften during that time, and the flavors blend. Slice it the next day, just before serving.
Why are my cookies still crunchy after chilling?
Crunchy cookies usually mean the log has not chilled long enough. Give it at least 6 hours, or overnight, before judging the texture. Also check that the cream was spread thickly enough between cookies, since thin layers can dry the wafers and keep them firm.
Can I use a different type of cookie?
Yes, but choose cookies that soften well in cream. Gingersnaps work at a one-to-one count and give a spicy flavor. Avoid thick shortbread or very crisp graham crackers, because they tend to stay firm and make slicing harder.
Why did my whipped cream turn grainy?
Grainy cream means the cream was overbeaten. Stop mixing as soon as stiff peaks form, usually about 3 minutes on medium-high speed. If it has already turned grainy, you can still use it for the log, but the texture will be less smooth, and the cream may separate over time.
Can I freeze Yule Log Icebox Cake?
Yes, you can freeze the whole log for up to 1 month. Wrap it tightly in plastic wrap and foil, then thaw it in the refrigerator for 12 to 24 hours. Expect the cocoa spirals to look a little softer after thawing, so refresh them if needed.
Is Yule Log Icebox Cake gluten-free?
No, it is not gluten-free when made with standard chocolate wafer cookies, because most contain wheat. If you need gluten-free food, look for certified gluten-free wafers and check every other ingredient label. People with celiac disease or other medical concerns should speak with a doctor or dietitian for personal advice.
More Recipes You Will Love
If you enjoy the chocolate and cream combination, try a Chocolate raspberry fizz recipe 1959175. The bright fruit and bubbles balance the richness of the whipped cream, and it makes a lighter companion for a holiday brunch or dessert table.
For another festive treat that uses simple dough and a fun shape, try this Bunny butt doughnut 3588510. It is a playful choice for a spring gathering or a relaxed weekend morning when you want something cheerful to share.
Both recipes work well alongside this dessert. Pick one that suits your menu, and keep the chilled log in the fridge until the rest of the meal is ready.
Conclusion
Yule Log Icebox Cake proves that a showstopping holiday dessert does not need an oven or a rolling pin. With whipped peppermint cream, a stack of chocolate wafers, and a patient chill, you get a log that looks impressive and tastes like a treat. Make it once, and you will likely find your own favorite twist. If you try it, leave a comment and let me know how your bark lines turned out. Sharing a photo or rating the recipe helps other cooks find it too.
FAQs
When is the best time to eat Yule Log Icebox Cake?
Yule Log Icebox Cake is best served after its full chill, as a holiday dessert or a make-ahead treat for winter gatherings. Chilling for about seven hours lets the cookies soften into cake-like layers, so plan to make it the day before or the morning of your event. Its light, minty flavor also works well after a heavy holiday dinner, especially alongside coffee or hot cocoa.
How long does Yule Log Icebox Cake last in the fridge?
Store Yule Log Icebox Cake covered in the refrigerator and eat it within a few days for the best texture. The whipped cream gradually loses its volume, and the cookies keep softening, so slices become less firm over time. Wrap leftovers tightly in plastic wrap and keep them chilled until you serve them again.
What can I use instead of peppermint extract in icebox cake?
Vanilla extract is the simplest substitute and pairs well with chocolate and whipped cream. For a different holiday flavor, try orange extract or a small amount of espresso powder dissolved in the cream. Start with about half the amount the recipe calls for and taste before adding more, since flavorings vary in strength.
Why is my icebox cake runny when I slice it?
A runny filling usually means the cream was warm or under-whipped. Chill the heavy cream and mixing bowl before whipping, and beat until stiff peaks form. Pat dry any moisture from the cookies or cocoa paint, since extra liquid thins the layers. Chilling the finished log fully also helps it firm up.
How do I slice Yule Log Icebox Cake without it falling apart?
Chill the log thoroughly, then use a sharp knife dipped in hot water and wiped dry before each cut. Slice with a gentle sawing motion so the cream layers do not smear. Cleaning the blade between slices keeps the bark-like ridges looking neat on the serving board.