Why Rainbow Layer Cake?
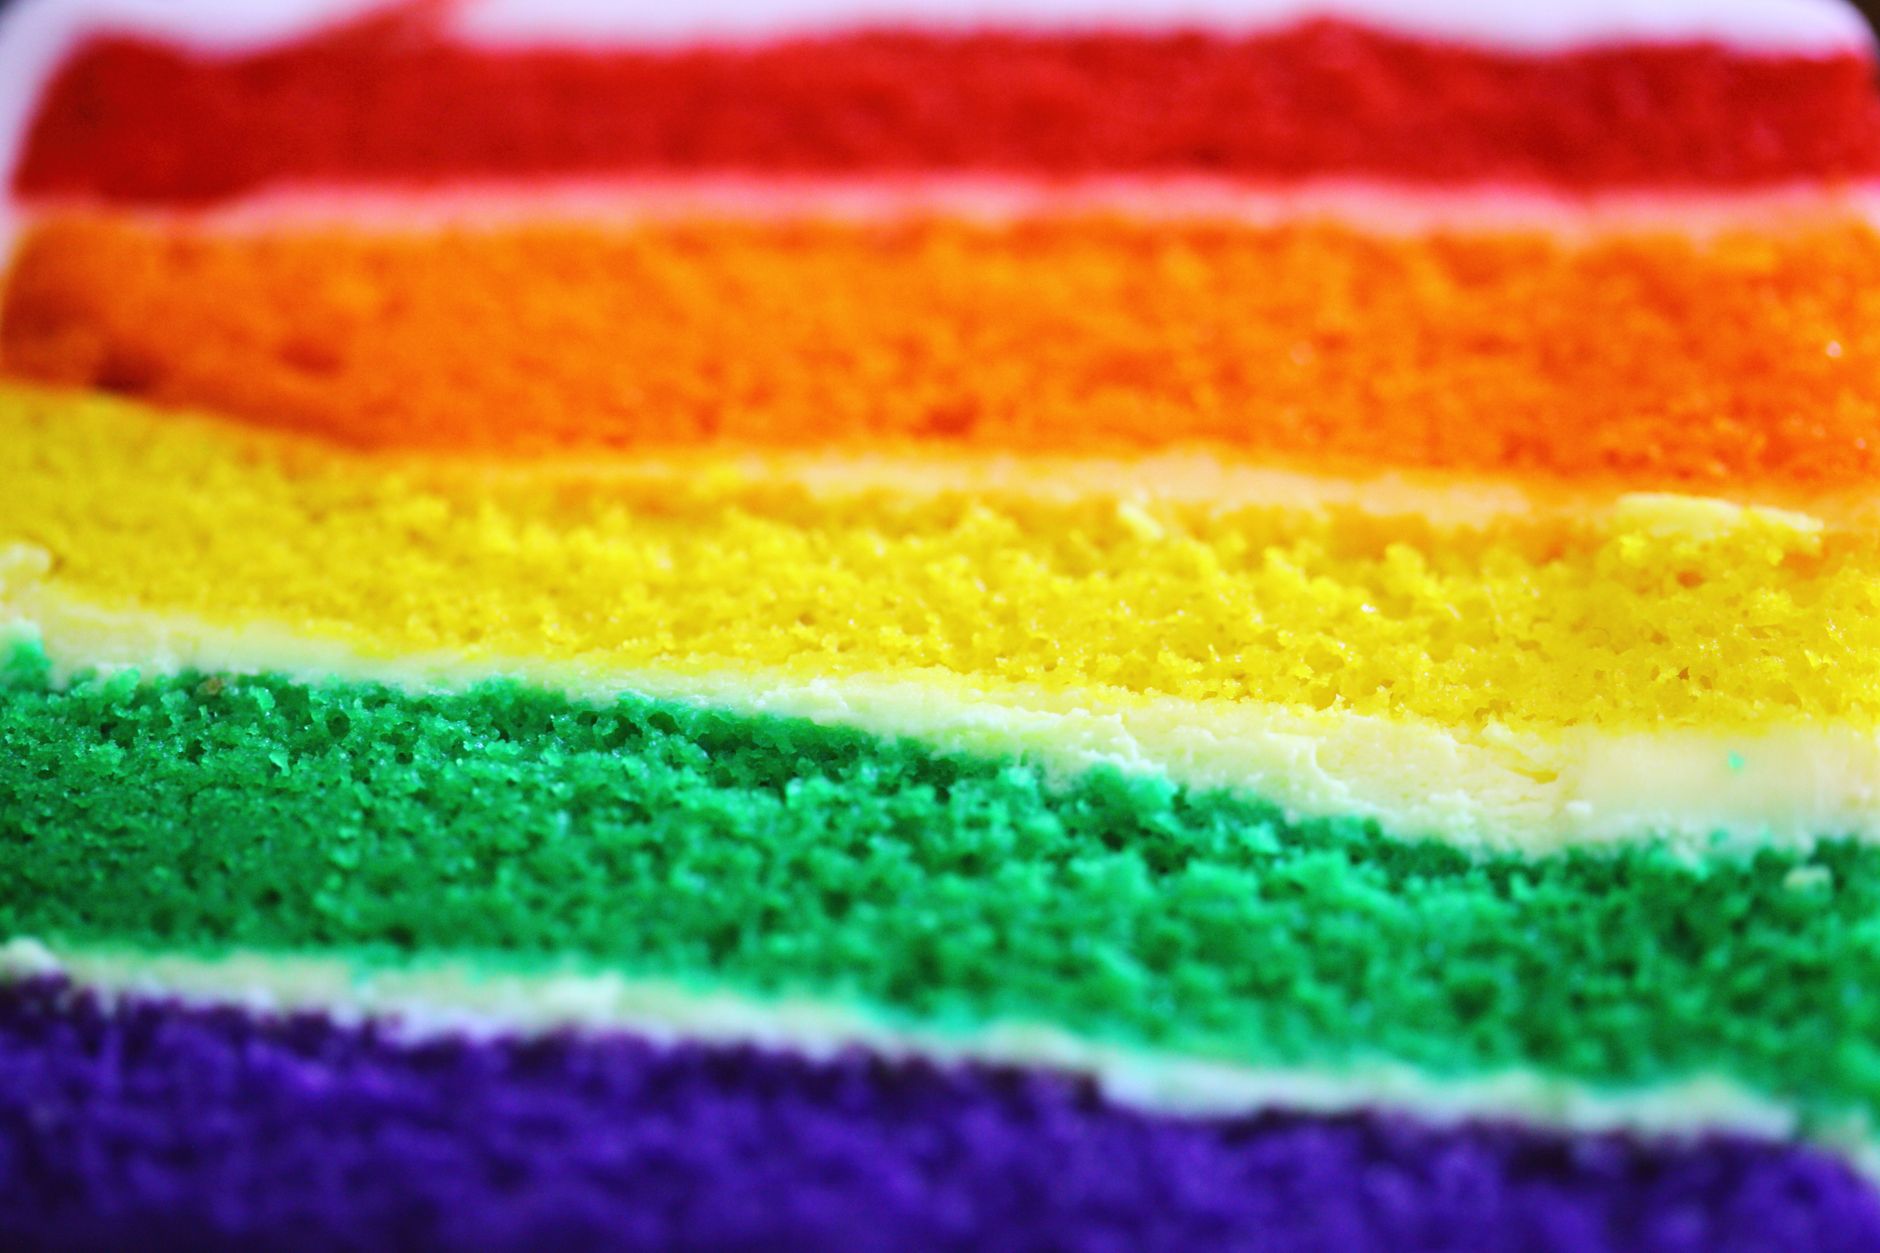
Bursting with vivid colors and layers of moist cake, a Rainbow Layer Cake is a feast for both the eyes and the palate. Every slice reveals a bright spectrum of colors, making it perfect for celebrations or a joyful treat any day. This cake combines the rich, buttery texture of classic cake with a whimsical twist that lights up any dessert table. Whether you’re impressing guests or delighting your family, the Rainbow Layer Cake transforms simple ingredients into a dazzling centerpiece that appeals to all ages.
Health Benefits & Nutrition
While Rainbow Layer Cake is primarily a dessert, it contains some nutritional aspects worth noting. The cake‘s moderate protein content comes mainly from eggs, which are rich in essential amino acids important for muscle repair. Butter provides fat-soluble vitamins A, D, and E, contributing to skin and eye health. Incorporating sour cream adds a tangy flavor plus probiotics, which support digestion as shown in various studies on fermented dairy products (Journal of Dairy Science, 2020).
However, due to its sugar and saturated fat content, it’s best enjoyed in moderation. Those with allergies to dairy or eggs should avoid or seek suitable alternatives. Pregnant individuals should consult healthcare providers before consuming foods high in raw or undercooked eggs.
Ingredients & Preparation
Recipe Card
| Prep Time | Total Time | Servings | Calories (per serving) | Diet Tags |
|---|---|---|---|---|
| 45 minutes | 2 hours 15 minutes | 6 to 8 | 344 | Vegetarian |
Full Ingredient List
- 3 ½ cups (450 grams) all-purpose flour
- 1 tablespoon baking powder
- 1 ½ teaspoons kosher salt
- 1 ¼ cups (300 grams) heavy cream, room temperature
- ½ cup (120 grams) sour cream, room temperature
- 2 sticks (225 grams) unsalted butter, room temperature
- ½ cup (100 grams) coconut oil, soft but not melted
- 2 ¼ cups (450 grams) granulated sugar
- 4 large eggs, room temperature
- 1 tablespoon vanilla bean paste or extract
- ½ teaspoon almond extract (optional)
- Food coloring gels: red, orange, yellow, green, blue, purple
- Sprinkles for decoration (optional)
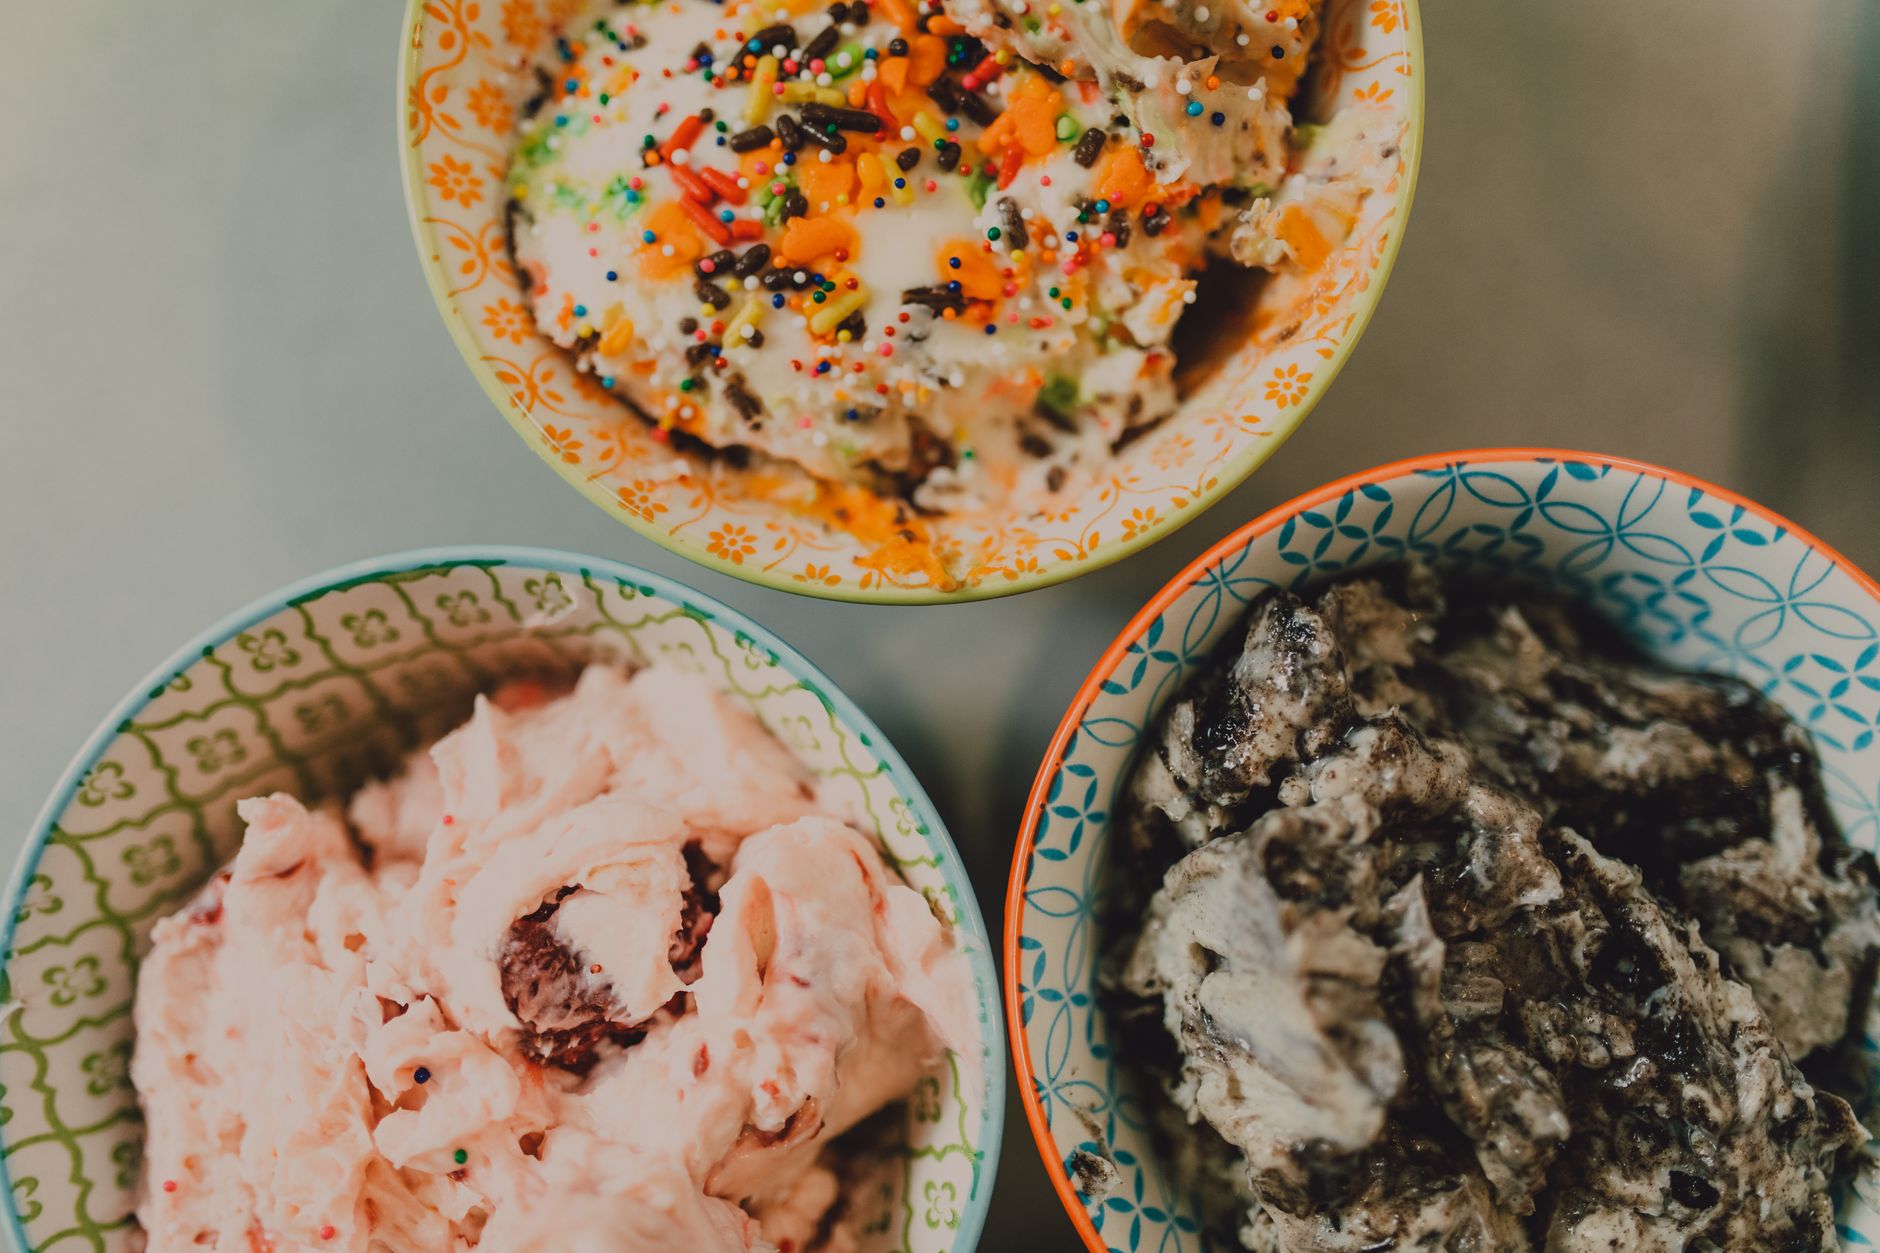
Strawberry Buttercream Ingredients
- 2 sticks (225 grams) unsalted butter, room temperature
- ¼ cup (80 grams) strawberry preserves
- 5 cups (600 grams) powdered sugar
- ⅛ teaspoon kosher salt
- 1 ½ teaspoons vanilla bean paste or extract
- 6 tablespoons (90 grams) heavy cream
- Pink food coloring (optional)
Equipment Needed
- Six 8-inch round cake pans
- Mixing bowls
- Electric hand mixer or stand mixer
- Measuring cups and spoons
- Rubber spatula
- Cooling racks
- Offset spatula for frosting
- Food-safe paintbrush (optional for food coloring)
Tips for Choosing Quality Ingredients
- Use fresh, room-temperature butter and eggs to ensure smooth, even batter.
- Pick pure vanilla bean paste instead of imitation for a richer aroma.
- Select coconut oil that’s unrefined for added subtle coconut flavor.
- Choose gel food coloring over liquid for more vibrant hues without thinning the batter.
- Opt for high-quality strawberry preserves with real fruit bits to enhance the buttercream.
Step-by-Step Instructions
Step 1: Prepare the Batter (15 minutes)
Preheat your oven to 350°F (175°C). Grease and flour six 8-inch cake pans or line them with parchment paper. In a medium bowl, whisk together flour, baking powder, and salt. In a large mixing bowl, beat unsalted butter, coconut oil, and sugar on medium speed for 3 minutes until creamy and light. Add eggs one at a time, beating on low after each for 30 seconds, then stir in vanilla bean paste and almond extract (if using).
Step 2: Combine Wet and Dry Ingredients (10 minutes)
Alternate adding the flour mixture and heavy cream/sour cream to the butter mixture, beginning and ending with flour. Mix each addition on low for 45 seconds, scraping down the bowl halfway through. The batter should be smooth but thick enough to hold colors well.
Step 3: Divide and Color the Batter (10 minutes)
Evenly divide the batter into six small bowls. Tint each bowl using gel food coloring—red, orange, yellow, green, blue, and purple—to create the rainbow layers. Stir gently but thoroughly until you achieve vivid, consistent colors.
Step 4: Bake the Cake Layers (25–30 minutes)
Pour each colored batter evenly into the prepared cake pans. Bake all pans simultaneously on the middle rack for 25 to 30 minutes or until a toothpick inserted in the center comes out clean. Rotate pans halfway through for even baking. Cool layers on racks for 15 minutes, then remove from pans and let cool completely.
Step 5: Make Strawberry Buttercream (15 minutes)
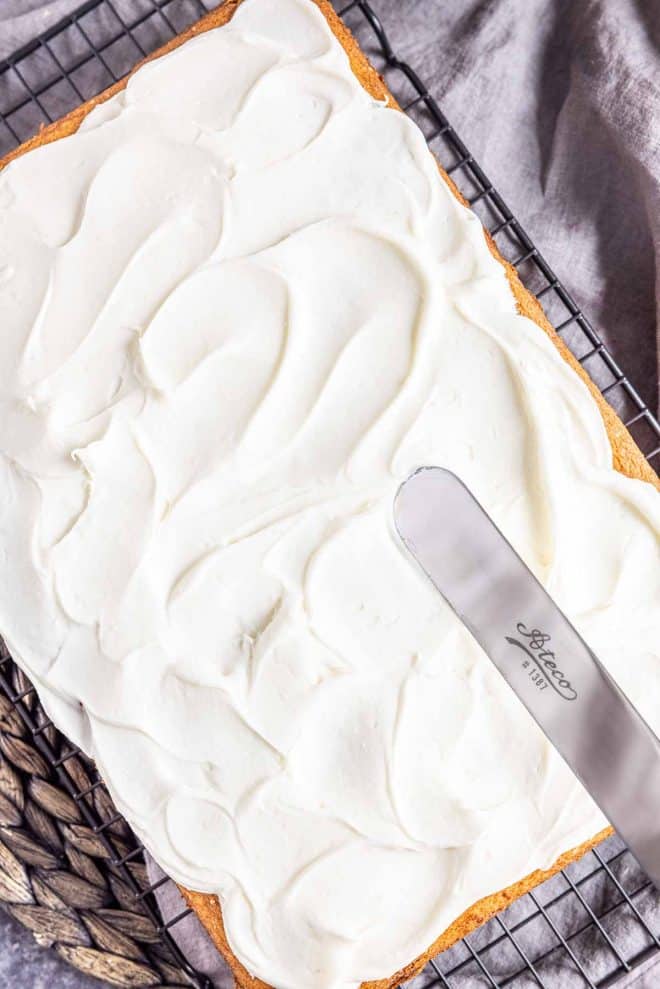
Beat butter in a large bowl on medium speed until fluffy (about 3 minutes). Gradually add powdered sugar and salt, mixing on low to incorporate, then increase to medium. Blend in strawberry preserves, vanilla, and heavy cream. Add pink food coloring for a blush tone if desired. Beat until light and spreadable.
Step 6: Assemble and Decorate (20 minutes)
Place the purple cake layer on a serving plate. Spread a generous layer of buttercream on top, then stack the blue layer. Repeat layering until all six colors are stacked. Frost the cake‘s top and sides with remaining buttercream. Decorate with sprinkles for a festive touch.
Variations & Substitutions
- Gluten-Free: Substitute all-purpose flour with a gluten-free baking mix designed for cakes. Ensure the blend contains xanthan gum for structure.
- Dairy-Free: Swap butter and cream with vegan butter and coconut cream. Choose non-dairy yogurt as a sour cream alternative to maintain moisture.
- Flavor Twists: Add citrus zest (lemon or orange) to each batter portion for a fresh aroma that complements the vibrant colors. Alternatively, experiment with almond or coconut extracts instead of vanilla.
- Buttercream Variations: Instead of strawberry, use classic vanilla buttercream or chocolate ganache for a richer finish.
Storage & Shelf Life
Store your Rainbow Layer Cake covered in the refrigerator for up to 4 days to keep the buttercream fresh. Place it in an airtight cake keeper or loosely covered with plastic wrap. Before serving, let the cake come to room temperature for 20 minutes for optimal texture.
For longer storage, freeze the cake either whole or as separate layers wrapped tightly in plastic and foil. Frozen cake lasts up to 2 months. To thaw, refrigerate overnight before unwrapping and frosting.
Signs of spoilage include an off smell, discoloration, or mold on either the cake or frosting. When in doubt, it’s safer to discard.
Pro Tips
- When coloring your batter, use gel food color to keep the cake texture intact without adding extra moisture.
- For perfectly even layers, use an ice cream scoop to portion equal amounts of batter into pans.
- Prevent color bleeding during assembly by chilling cake layers before frosting.
- Beat buttercream at medium speed for at least 3 minutes to ensure fluffiness and smooth spreading.
- Use an offset spatula for cleaner frosting edges and layering precision.
When is the best time to eat Rainbow Layer Cake?
The Rainbow Layer Cake shines as a celebratory dessert for birthdays, baby showers, and festive gatherings. Its bright colors and soft texture are best enjoyed within a day or two of baking, ensuring every slice feels fresh and vibrant. Still, allowing it to rest overnight enhances flavors and makes slicing neater.
Can I prepare the cake layers in advance?
Absolutely. Bake the layers up to two days ahead and wrap them tightly in plastic wrap. Store refrigerated until ready to frost and assemble. This saves active prep time on the day of your event.
Are there vegan alternatives for this recipe?
Yes. Replace butter with vegan plant-based butter and use flax eggs (1 tablespoon ground flaxseed + 3 tablespoons water for each egg) instead of traditional eggs. Substitute dairy cream with coconut cream for a similar fat content and texture.
How can I keep the colors vibrant while baking?
Use highly concentrated gel food coloring and avoid overmixing the batter, which can dull colors. Bake at the recipe’s suggested temperature to prevent browning. Using a fanless oven setting also helps preserve color intensity.
What’s the best way to level cake layers?
Use a serrated knife or a cake leveler to trim domed tops for even stacking. A chilled cake slices more cleanly, minimizing crumbs.
Can I substitute strawberry preserves in the buttercream?
Yes, feel free to use other fruit preserves like raspberry or apricot for a different tangy sweetness. Reduce added food coloring accordingly if the preserves affect color.
What’s the difference between vanilla extract and vanilla bean paste?
Vanilla bean paste contains vanilla seeds and has a richer, more aromatic flavor and texture. Vanilla extract is a liquid solution and milder but still provides good vanilla flavor. Using paste intensifies both taste and visual appeal with tiny vanilla specks.
How do I prevent cake layers from sticking to pans?
Grease pans with butter or nonstick spray and dust lightly with flour. Alternatively, line pans with parchment paper circles to release layers smoothly.
More Recipes You Will Love
If you enjoy colorful desserts, you might try the Homemade cinnamon grahams and salted chocolate ganache s’mores. The combination of toasted grahams and rich ganache delivers a delectable contrast that perfectly complements any party spread.
For a rustic side or snack alongside your Rainbow Layer Cake, the Skillet cornbread with strawberry jam recipe offers warm, slightly sweet cornbread paired with fruity jam. It’s a delightful balance of textures and flavors your guests will remember.
Conclusion
The Rainbow Layer Cake is more than a treat—it’s an experience that awakens your senses with its vibrant colors and creamy strawberry buttercream. This joyful dessert combines classic buttery layers with a playful spectrum, guaranteed to impress any crowd. Try the recipe, customize it your way, and share your creations. We’d love to hear how your Rainbow Layer Cake turned out—please rate, comment, or share your story with us!
FAQs
When is the best time to eat Rainbow Layer Cake?
Rainbow Layer Cake is ideal for celebrations such as birthdays, anniversaries, or festive gatherings. It also makes a delightful treat for weekends or special occasions when you want a colorful and joyful dessert to share.
Can I make Rainbow Layer Cake dairy-free or vegan?
Yes, with ingredient substitutions like plant-based butter, non-dairy milk, and egg replacers, you can make a vegan or dairy-free version. However, the texture and flavor may vary slightly from the traditional recipe.
How should I store Rainbow Layer Cake after baking?
Store the cake in an airtight container in the refrigerator to keep the frosting fresh. It typically stays good for 3 to 4 days. Bring to room temperature before serving for the best taste and texture.
What is the easiest way to get vibrant colors in my cake layers?
Using gel food coloring instead of liquid ensures the colors remain vivid without thinning the batter. Add the gels gradually to reach your desired shade for bright, bold layers.
Can I prepare the Rainbow Layer Cake in advance?
Absolutely! You can bake the layers a day or two ahead and wrap them well in plastic wrap. Assemble and frost the cake on the day of serving for the freshest results.