Introduction
Why Dutch Oven Chicken Breast and Vegetables Is a Game-Changer
One of the classic challenges in home cooking is avoiding the chicken breast drying out problem. Thats why this dutch oven chicken breast and vegetables recipe stands out. It locks in juices to deliver tender juicy chicken breast every time, paired perfectly with roasted vegetables bursting with flavor. The magic lies in the dutch ovens heat retention, which surrounds your chicken and vegetables evenly, creating a one-pot dutch oven meal that is both effortless and rewarding.
Who This Recipe Is For
If you crave easy dutch oven chicken recipes that require minimal prep but maximize taste, youll love this. Its suitable for anyone seeking gluten-free baked chicken dinners with wholesome veggies on the side. Beginners and seasoned cooks alike will appreciate how forgiving and straightforward the baking chicken breast techniques here really are.
What Makes This Recipe Unique
Roasting vegetables with chicken in a dutch oven is not new, but this version balances herbs and cooking times to avoid the usual dryness or undercooked sides. The caramelized crust on vegetables and juicy interior of the chicken make it a stellar choice. Plus, its an inviting all-in-one dish with comforting aromas and minimal cleanup.
Ingredients & Preparation
Recipe Card
| Prep time | Cook time | Total time | Servings | Calories | Diet tags |
|---|---|---|---|---|---|
| 10 minutes | 20 minutes | 30 minutes | 4 | ~350 kcal | Gluten-Free, Dairy-Free |
Full Ingredient List and Substitutions
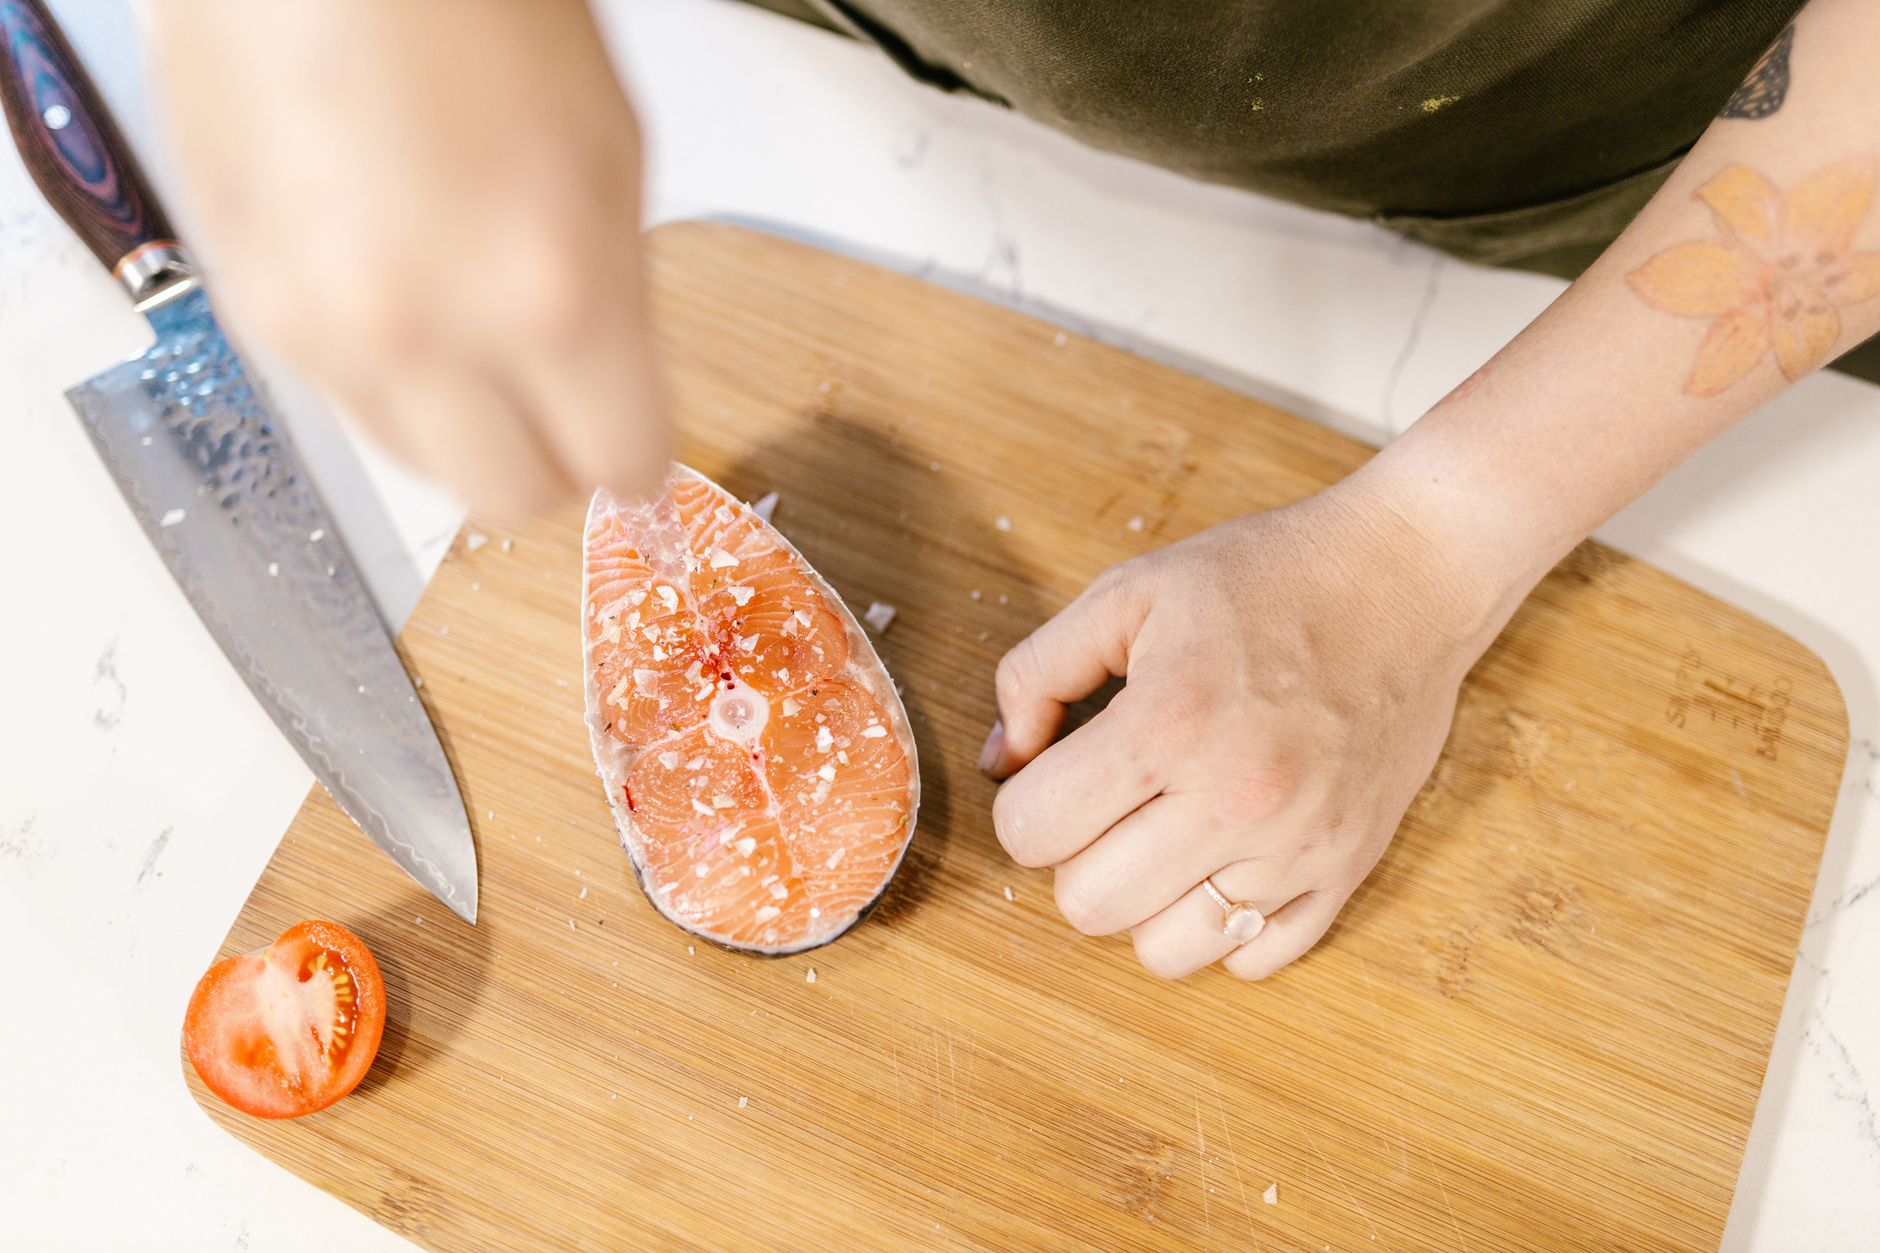
- 4 boneless, skinless chicken breasts (substitute chicken thighs for richer flavor)
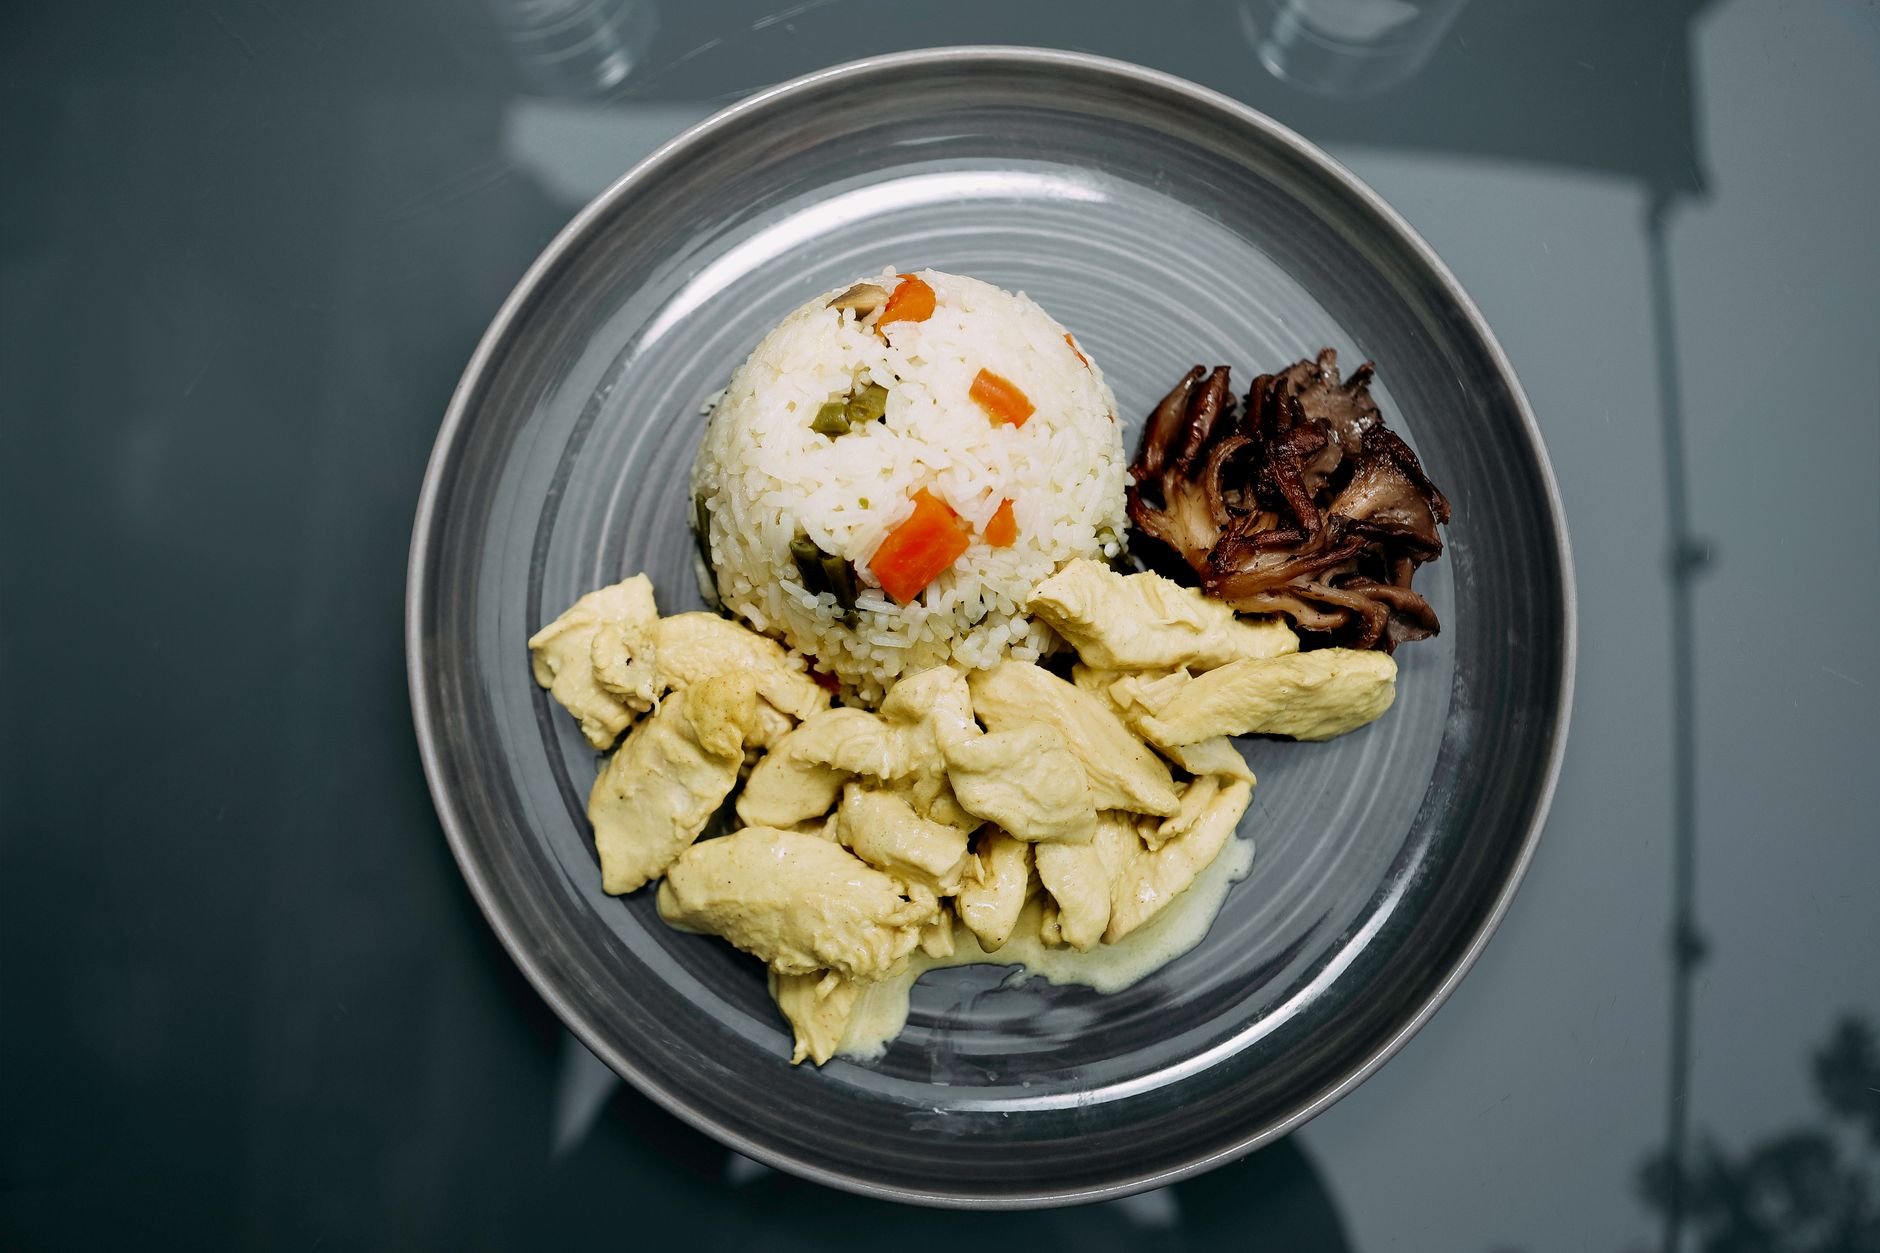
- 3 cups mixed vegetables (carrots, potatoes, bell peppers; you can swap with sweet potatoes or zucchini)
- 2 tablespoons olive oil (avocado oil works well too)
- 1 teaspoon garlic powder
- 1 teaspoon dried thyme
- Salt and black pepper to taste
- Optional: fresh rosemary sprigs for aroma
Equipment Needed
A 5 to 6-quart dutch oven is ideal to trap moisture and distribute heat evenly. Oven-safe glass or ceramic dishes wont replicate the moisture-trapping effect a dutch oven provides, which is key to avoiding the chicken breast drying out problem common with baked chicken.
Tips for Choosing Ingredients
Choose fresh, firm vegetables without blemishes or bruises for even roasting. Organic chicken breasts offer a slightly firmer texture and pronounced flavor but conventional poultry will also work well here. Fresh herbs will provide a brighter aroma, but dried herbs bring convenience and shelf-life.
Key Highlights of This Baking Technique
Retains Juiciness Through Even Heat Circulation
This baking chicken breast technique uses the dutch ovens thick cast iron walls to store and evenly circulate heat. The gentle convection surrounds the chicken, preventing moisture lossthis is the secret to tender juicy chicken breast. The chicken roasts in a slightly steamy environment rather than dry heat, sealing in natural juices.
Versatile Flavor Profile and Texture
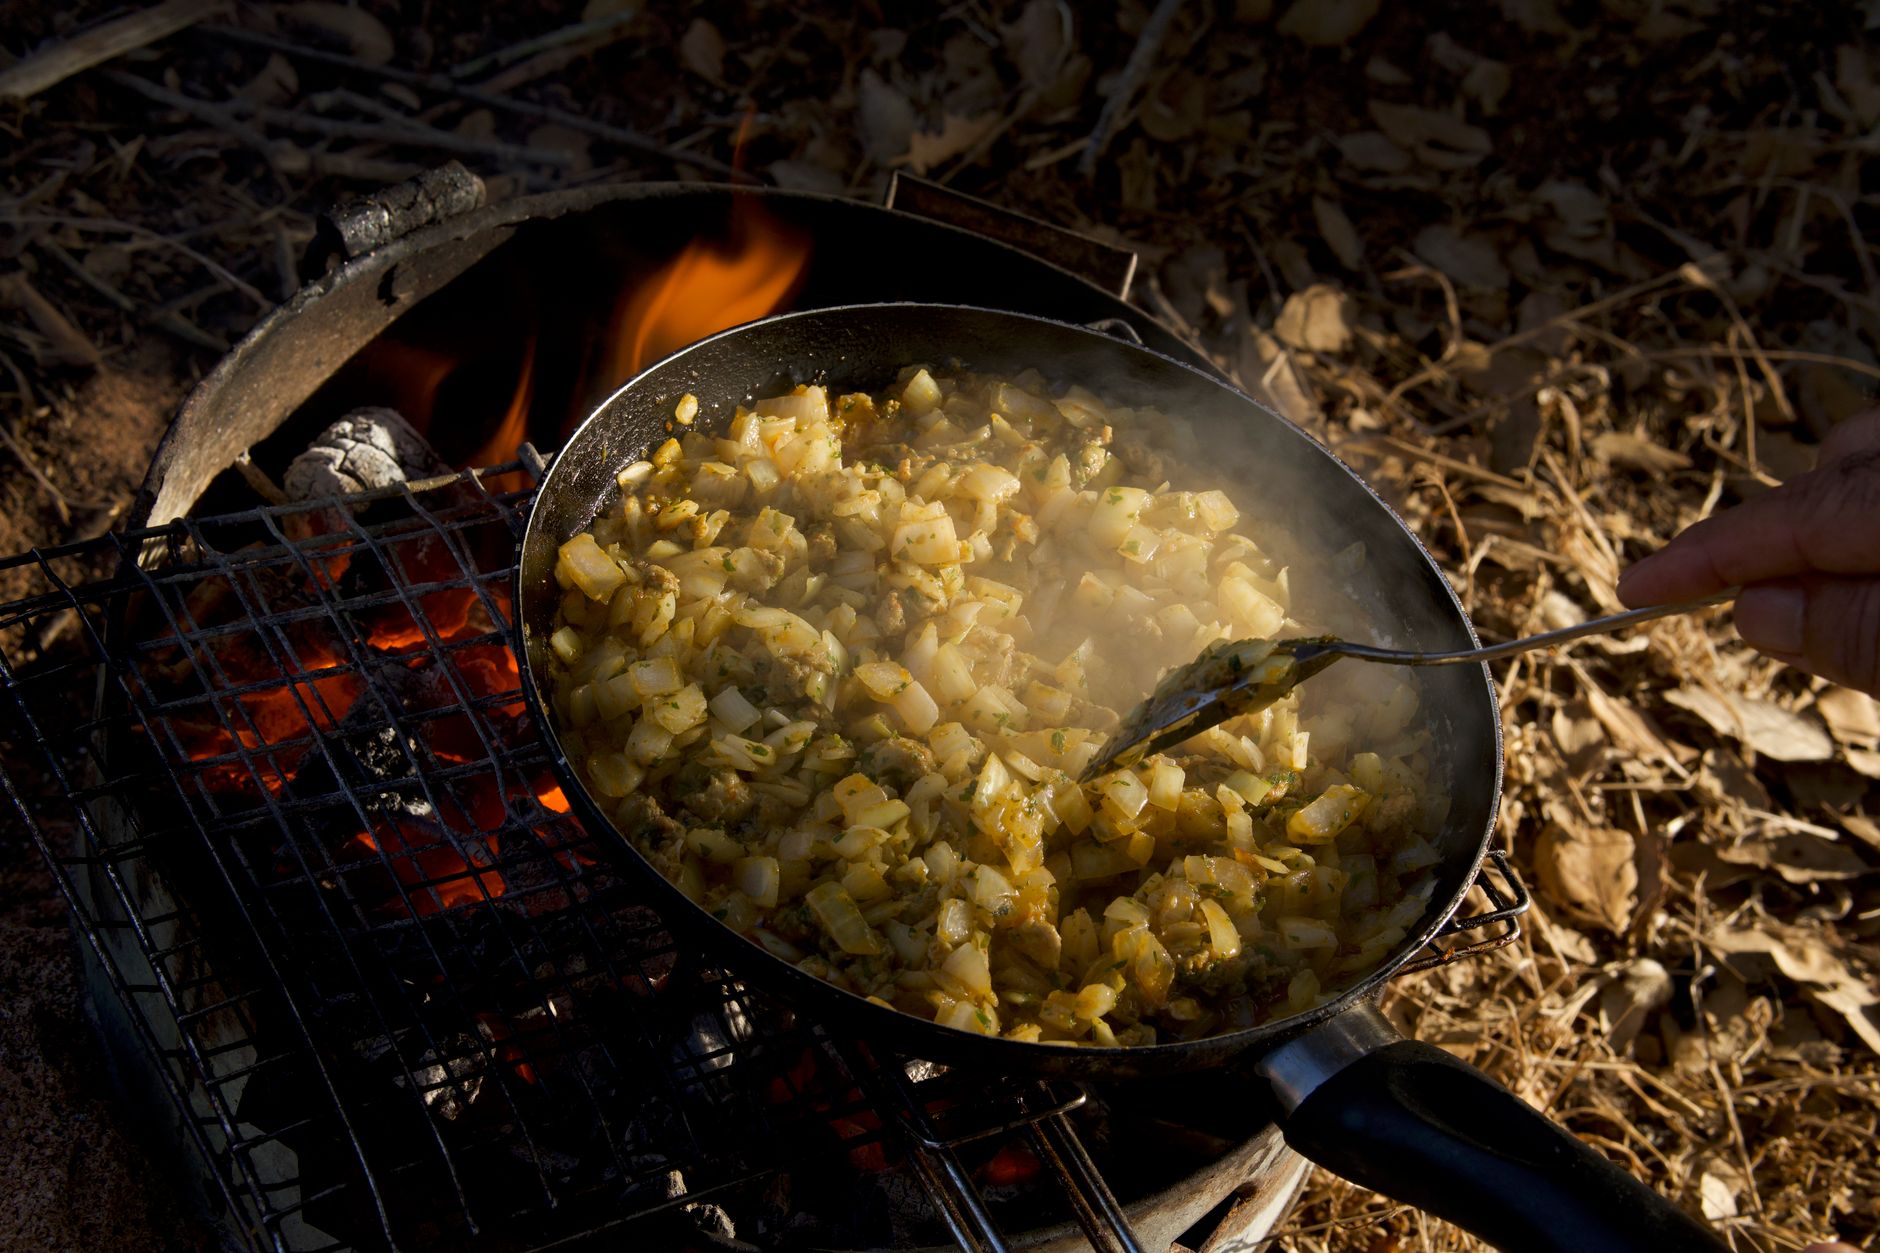
Roasting vegetables with chicken in this one-pot dutch oven meal brings out their natural sweetness. The vegetables develop a golden caramelized crust while remaining tender inside. This adds texture and flavor contrast without needing extra sauces or long cooking steps.

Caution for Specific Diets
If you have allergies or dietary restrictions regarding poultry or nightshade vegetables, check with your healthcare provider before trying this recipe. Generally, gluten-free baked chicken meals like this one suit most dietary plans, but individual needs vary.
Step-by-Step Cooking Instructions
Step 1: Preheat and Prepare
Preheat your oven to 400F (200C). Wash and chop your mixed vegetables into approximately 1-inch pieces to ensure even roasting. Pat the chicken breasts dry with paper towelsdry skin promotes browning.
Step 2: Season the Chicken and Vegetables
Drizzle olive oil over chicken breasts and vegetables. Sprinkle garlic powder, dried thyme, salt, and pepper evenly. Toss vegetables lightly so seasoning distributes evenly. If using rosemary sprigs, tuck them alongside the chicken.
Step 3: Arrange in the Dutch Oven
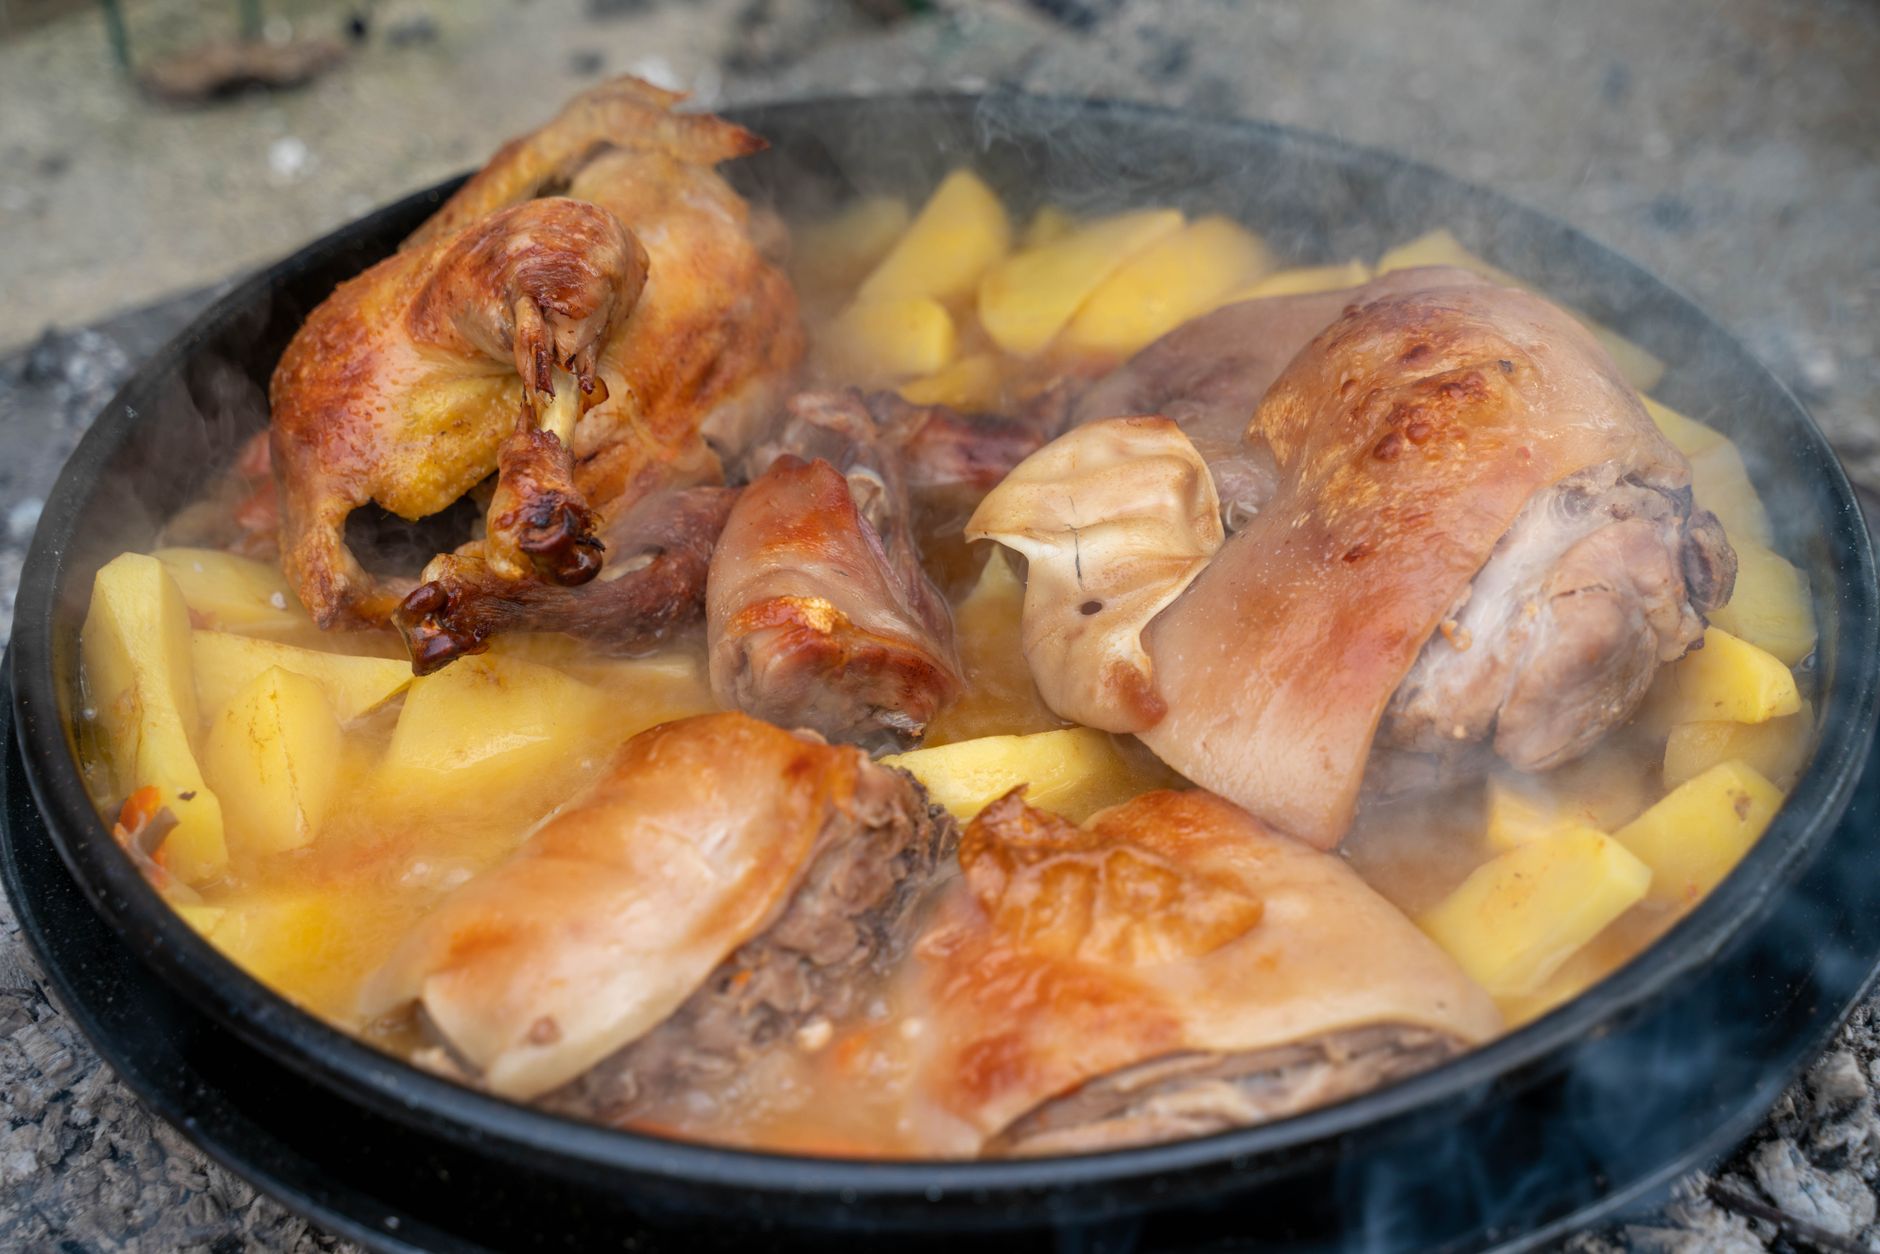
Place vegetables loosely in the bottom of a 5-6 quart dutch oven. Nestle chicken breasts on top, skin side up if using skin-on thighs. The layering helps shield chicken from direct heat, promoting juiciness.
Step 4: Bake at 400F for 20 Minutes
Cover the dutch oven with its lid and place it in the preheated oven. Bake for exactly 20 minutes. This timing perfectly cooks the chicken through while caramelizing the vegetables lightly.
Step 5: Rest Before Serving
Remove the dutch oven from the oven and keep the lid on. Let chicken rest for 5 minutes before slicing. Resting allows juices to redistribute, keeping the chicken tender and juicy.

Storage Instructions
Refrigerate leftovers in an airtight container for 45 days. To reheat, cover with foil and warm in a 325F (160C) oven for about 15 minutes or until heated through. Avoid microwave reheating to preserve moisture and texture.
Pro Tips
Balance Moisture Without Soggy Veggies
Excess moisture can steam vegetables rather than roast them. Dry vegetables thoroughly before seasoning. Avoid overcrowding the dutch oven, ensuring air can circulate and produce crispy edges on veggies.
Use a Meat Thermometer
Insert a meat thermometer into the thickest part of the chicken breast. Remove from the oven once the internal temperature reaches 165F (74C). This avoids overcooking and the chicken breast drying out problem often seen with guesswork timing.
Herb Variations for Flavor Depth
Experiment with sage, oregano, or tarragon instead of thyme for different aromatic profiles. Fresh herbs added right before baking release essential oils, creating inviting aromas that elevate the simple ingredients.
Upgrade with a Searing Step
For extra color and flavor, quickly sear the chicken breasts skin side down over medium-high heat in the dutch oven for 3 minutes before adding vegetables and baking. This step deepens the taste and develops an appealing golden crust.
More Recipes You May Like
For fans of hearty baked chicken, try these le creuset chicken breast recipes featuring similar cooking techniques and bold flavors.
Looking to satisfy your sweet tooth, check out our No sugar banana bread with applesauce for wholesome baking with fewer calories.
When is the best time to eat dutch oven chicken breast and vegetables?
This dish works brilliantly as a hearty lunch or dinner option. The balance of protein and vegetables makes it filling but not heavy. Having it within a couple of hours after cooking ensures the juiciest texture and best flavor. It also fits well for family meals and meal prepping early in the week.
Can I use frozen vegetables instead of fresh?
Frozen vegetables can work but tend to release more water, which may affect the roasting process. If using frozen, thaw them thoroughly and pat dry to reduce moisture. This helps maintain a caramelized texture close to fresh vegetables.
How do I prevent chicken breasts from drying out during baking?
Keep your chicken moist by patting it dry, seasoning well, and roasting in a dutch oven with a lid to trap steam. Using a meat thermometer to avoid overcooking is crucial. Additionally, letting the chicken rest after baking allows juices to redistribute, enhancing tenderness.
What vegetables work best when roasting with chicken?
Root vegetables like carrots, potatoes, and sweet potatoes roast beautifully alongside chicken. Bell peppers and zucchini add color and softness. Choose vegetables cut uniformly to ensure even cooking within the 20-minute bake.
Is this recipe suitable for gluten-free diets?
Yes, this recipe is naturally gluten-free since it uses fresh whole ingredients without any wheat-based sauces or breading. Just ensure any oil or seasonings used are verified gluten-free if cross-contamination is a concern.
Can I make this recipe dairy-free?
Absolutely. This recipe contains no dairy ingredients. Olive oil or avocado oil replace butter or other fats, making it safe for dairy-free diets while retaining rich, roasted flavors.
Why use a dutch oven instead of a baking dish?
The dutch ovens thick walls evenly distribute heat and trap moisture, creating a steaming effect inside while roasting. This contrasts with shallow baking dishes, which expose chicken to dry heat more directly, often leading to dryness and unevenly cooked vegetables.
Is it possible to add a sauce or gravy after baking?
Yes, you can pair this dish with simple pan sauces or gravy made from pan drippings or store-bought options to enhance moisture and flavor. However, the natural juices retained during baking usually make the chicken moist enough without additional sauces.
Conclusion
This dutch oven chicken breast and vegetables recipe is a perfect blend of ease and delicious results. It solves the common chicken breast drying out problem by sealing moisture inside, while roasting vegetables alongside add color and texture. Give this one-pot dutch oven meal a try tonight, and enjoy a wholesome, satisfying dinner with minimal cleanup. Feel free to share your experience or favorite tweaks in the comments below!
FAQs
When is the best time to eat dutch oven chicken breast and vegetables?
This dish works well as a hearty lunch or dinner. Eating it within a couple of hours after cooking ensures the juiciest texture and best flavor, making it ideal for family meals or meal prepping.
Can I use frozen vegetables instead of fresh?
Frozen vegetables can be used but tend to release extra moisture, which may affect roasting. Thaw and pat them dry thoroughly to maintain a caramelized texture similar to fresh vegetables.
How do I prevent chicken breasts from drying out during baking?
Patting chicken dry before seasoning, baking covered in a dutch oven, using a meat thermometer to avoid overcooking, and letting the chicken rest after baking all help retain moisture and keep it juicy.
What vegetables work best when roasting with chicken?
Root vegetables like carrots, potatoes, and sweet potatoes roast well with chicken. Bell peppers and zucchini add color and softness. Cut all vegetables uniformly for even cooking in the 20-minute bake.
Why use a dutch oven instead of a baking dish?
A dutch oven’s thick walls distribute heat evenly and trap moisture, creating a steaming environment that keeps chicken tender and vegetables caramelized, unlike baking dishes which can cause dryness.